Introduction
This article will walk you through how to set up your local backup schedule, take manual backups, adjust the % of free storage required for backups to run on your server, and how to restore a website from a backup. The backups include both files and database.Getting Started
To get started, head over to the Sites page in your account:

Then click on the name of any of your websites to open up the site configuration modal, and navigate through to the backups tab.

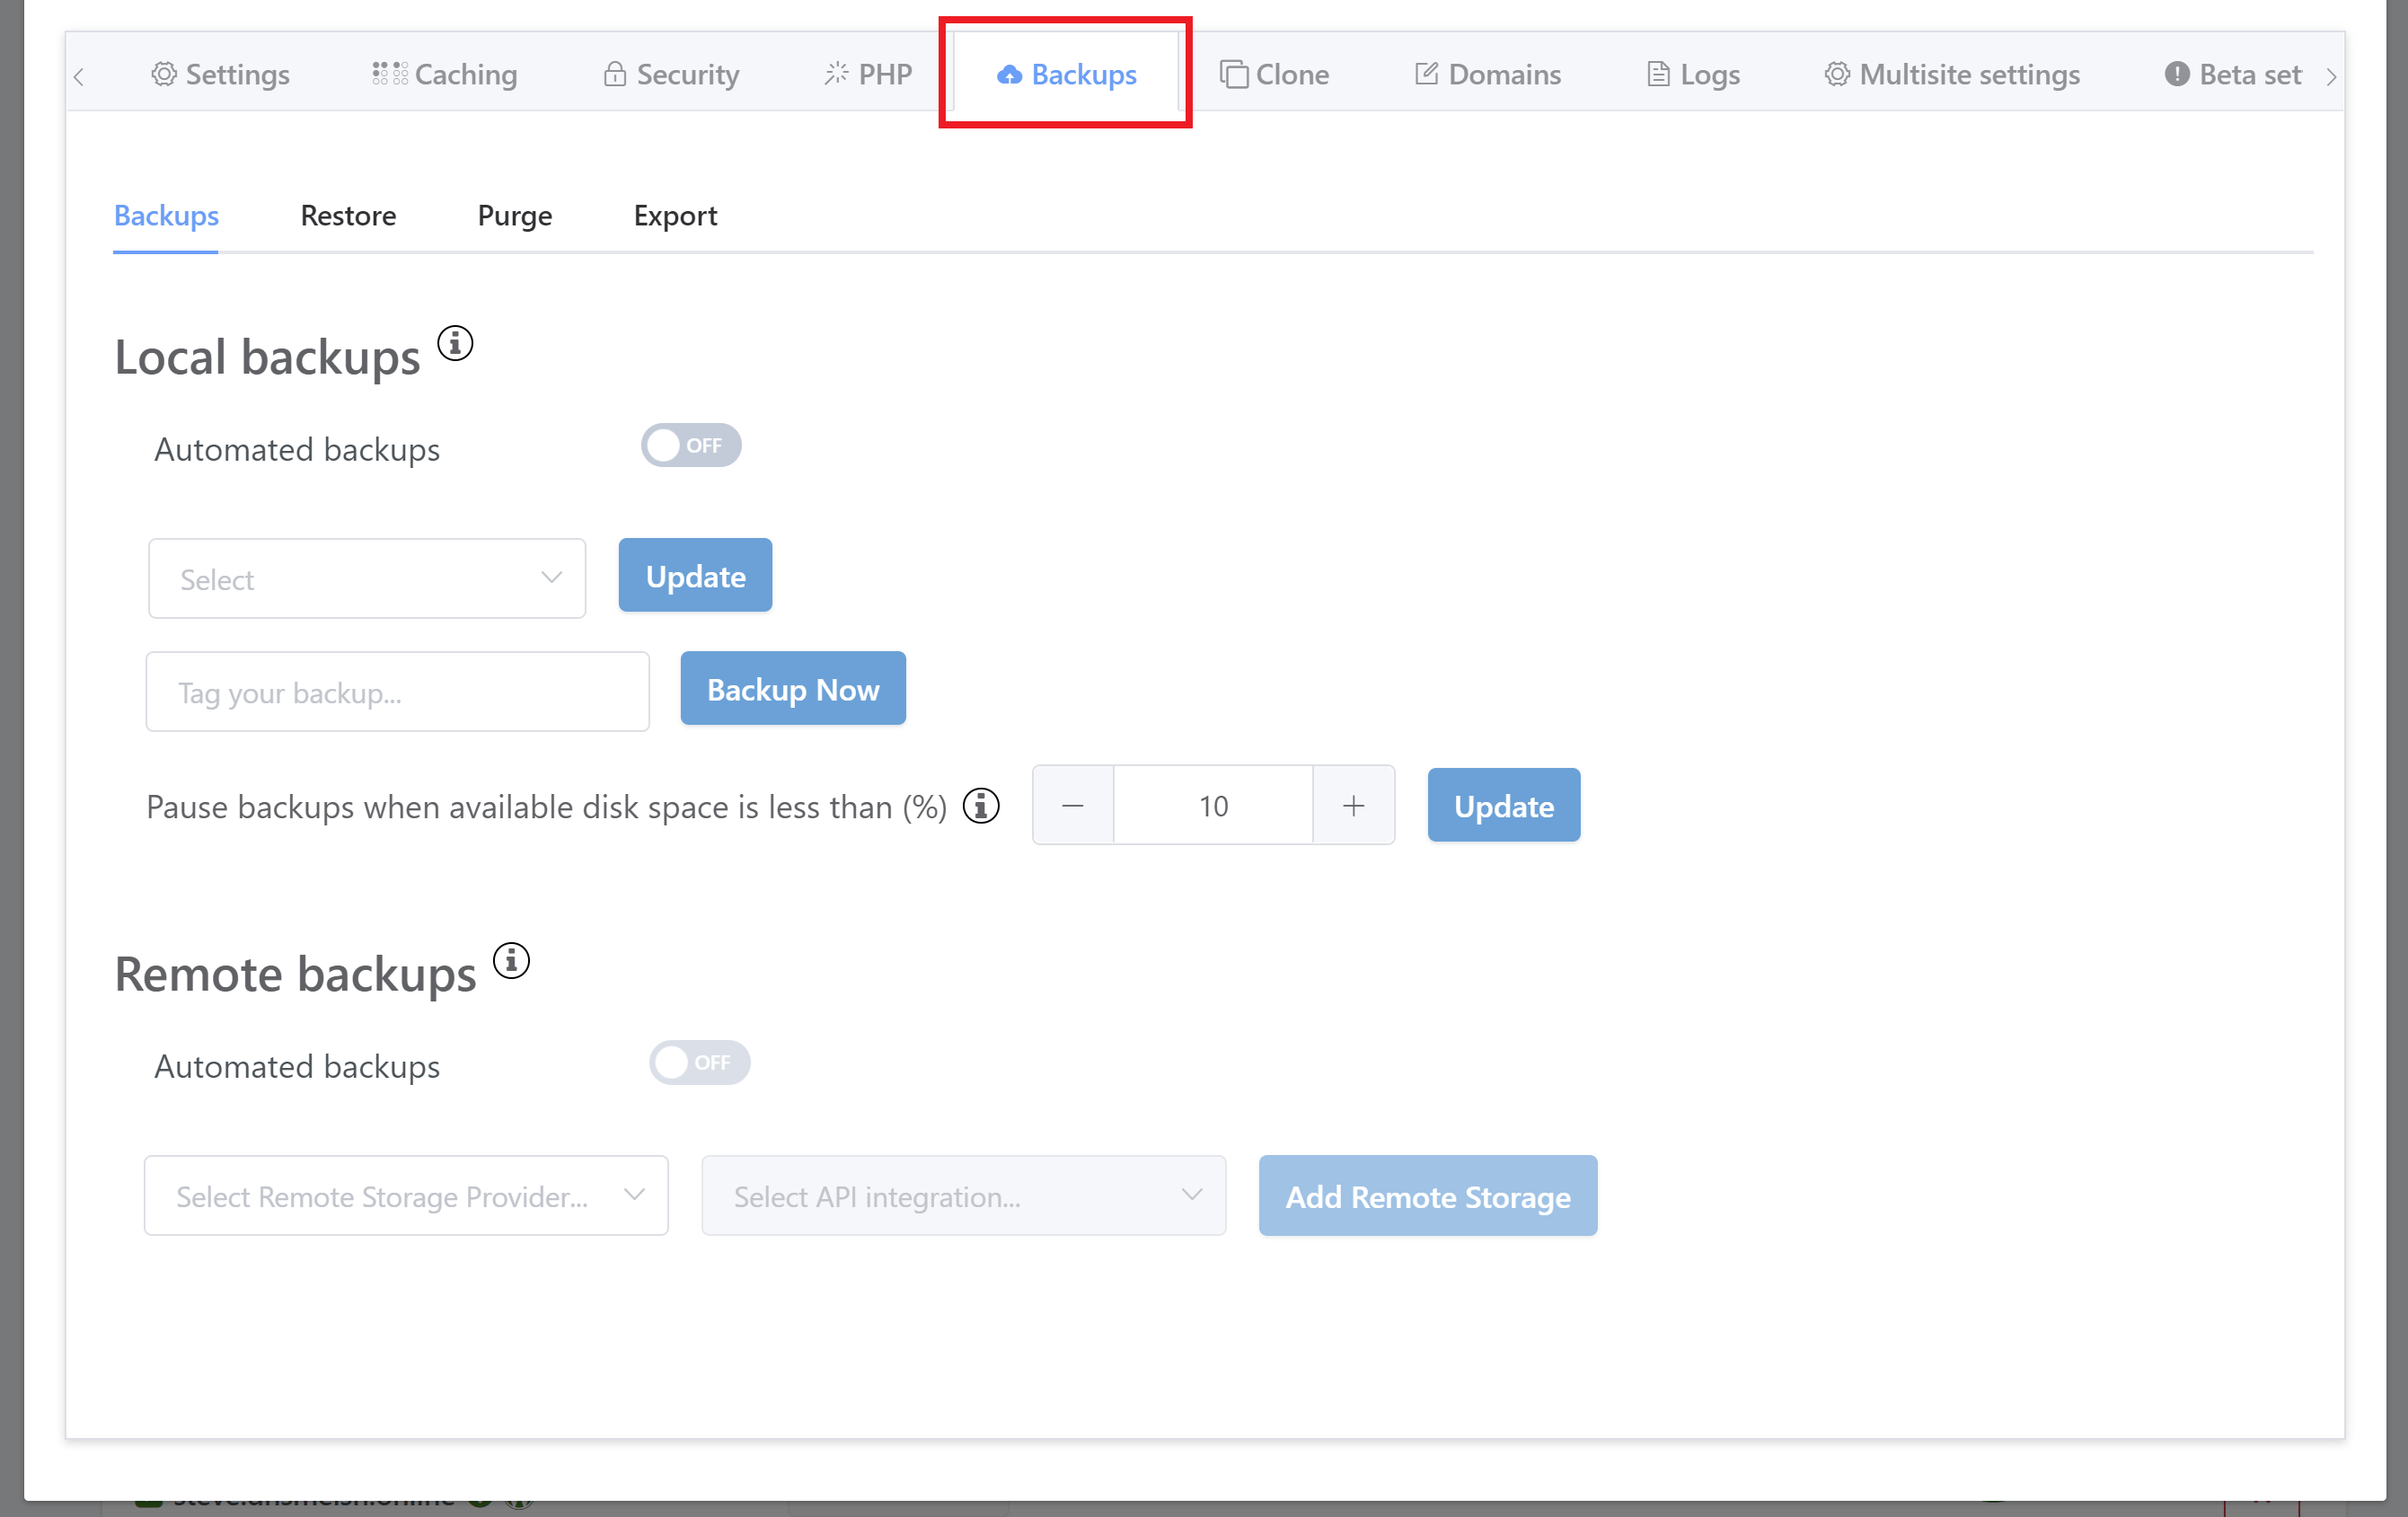
Here you’ll see the new options available for the new backup system. You’ll see both local and remote options are located in this tab, and you can learn more about remote backups in this article:

Automatic Backups
You have the option to set your backups on an automatic schedule. This can be set at any of the following intervals:
- Hourly
- Daily
- Weekly
- Monthly

Select your preferred schedule from the dropdown.
Next you’ll be presented with a time option where you can set the specific date and time down to the minute you would the backups should take place. Below, for example, shows the option to pick the hour of the day when choosing daily:

Hit the Update button to confirm your choice. Backups will then take place automatically according to this schedule.
Manual Backups
You can take a local backup of your site manually any time you need to do so.
You can also tag your backup to make it easily identifiable if you later need to use it to restore your website.

Local Backups Storage Threshold
This is the threshold of the available free disk space required in order for a scheduled backup to proceed. If the available disk space on your server less than this amount, your website backups will be paused.
You can adjust the threshold % to tell the server when backups should pause, based on available free storage space. Backups will automatically resume when space becomes available again.
For example, if the threshold is set to 10% as pictured below, backups will cease to run when the available disk space on your server is less than 10%.

Restoring from a Local Backup
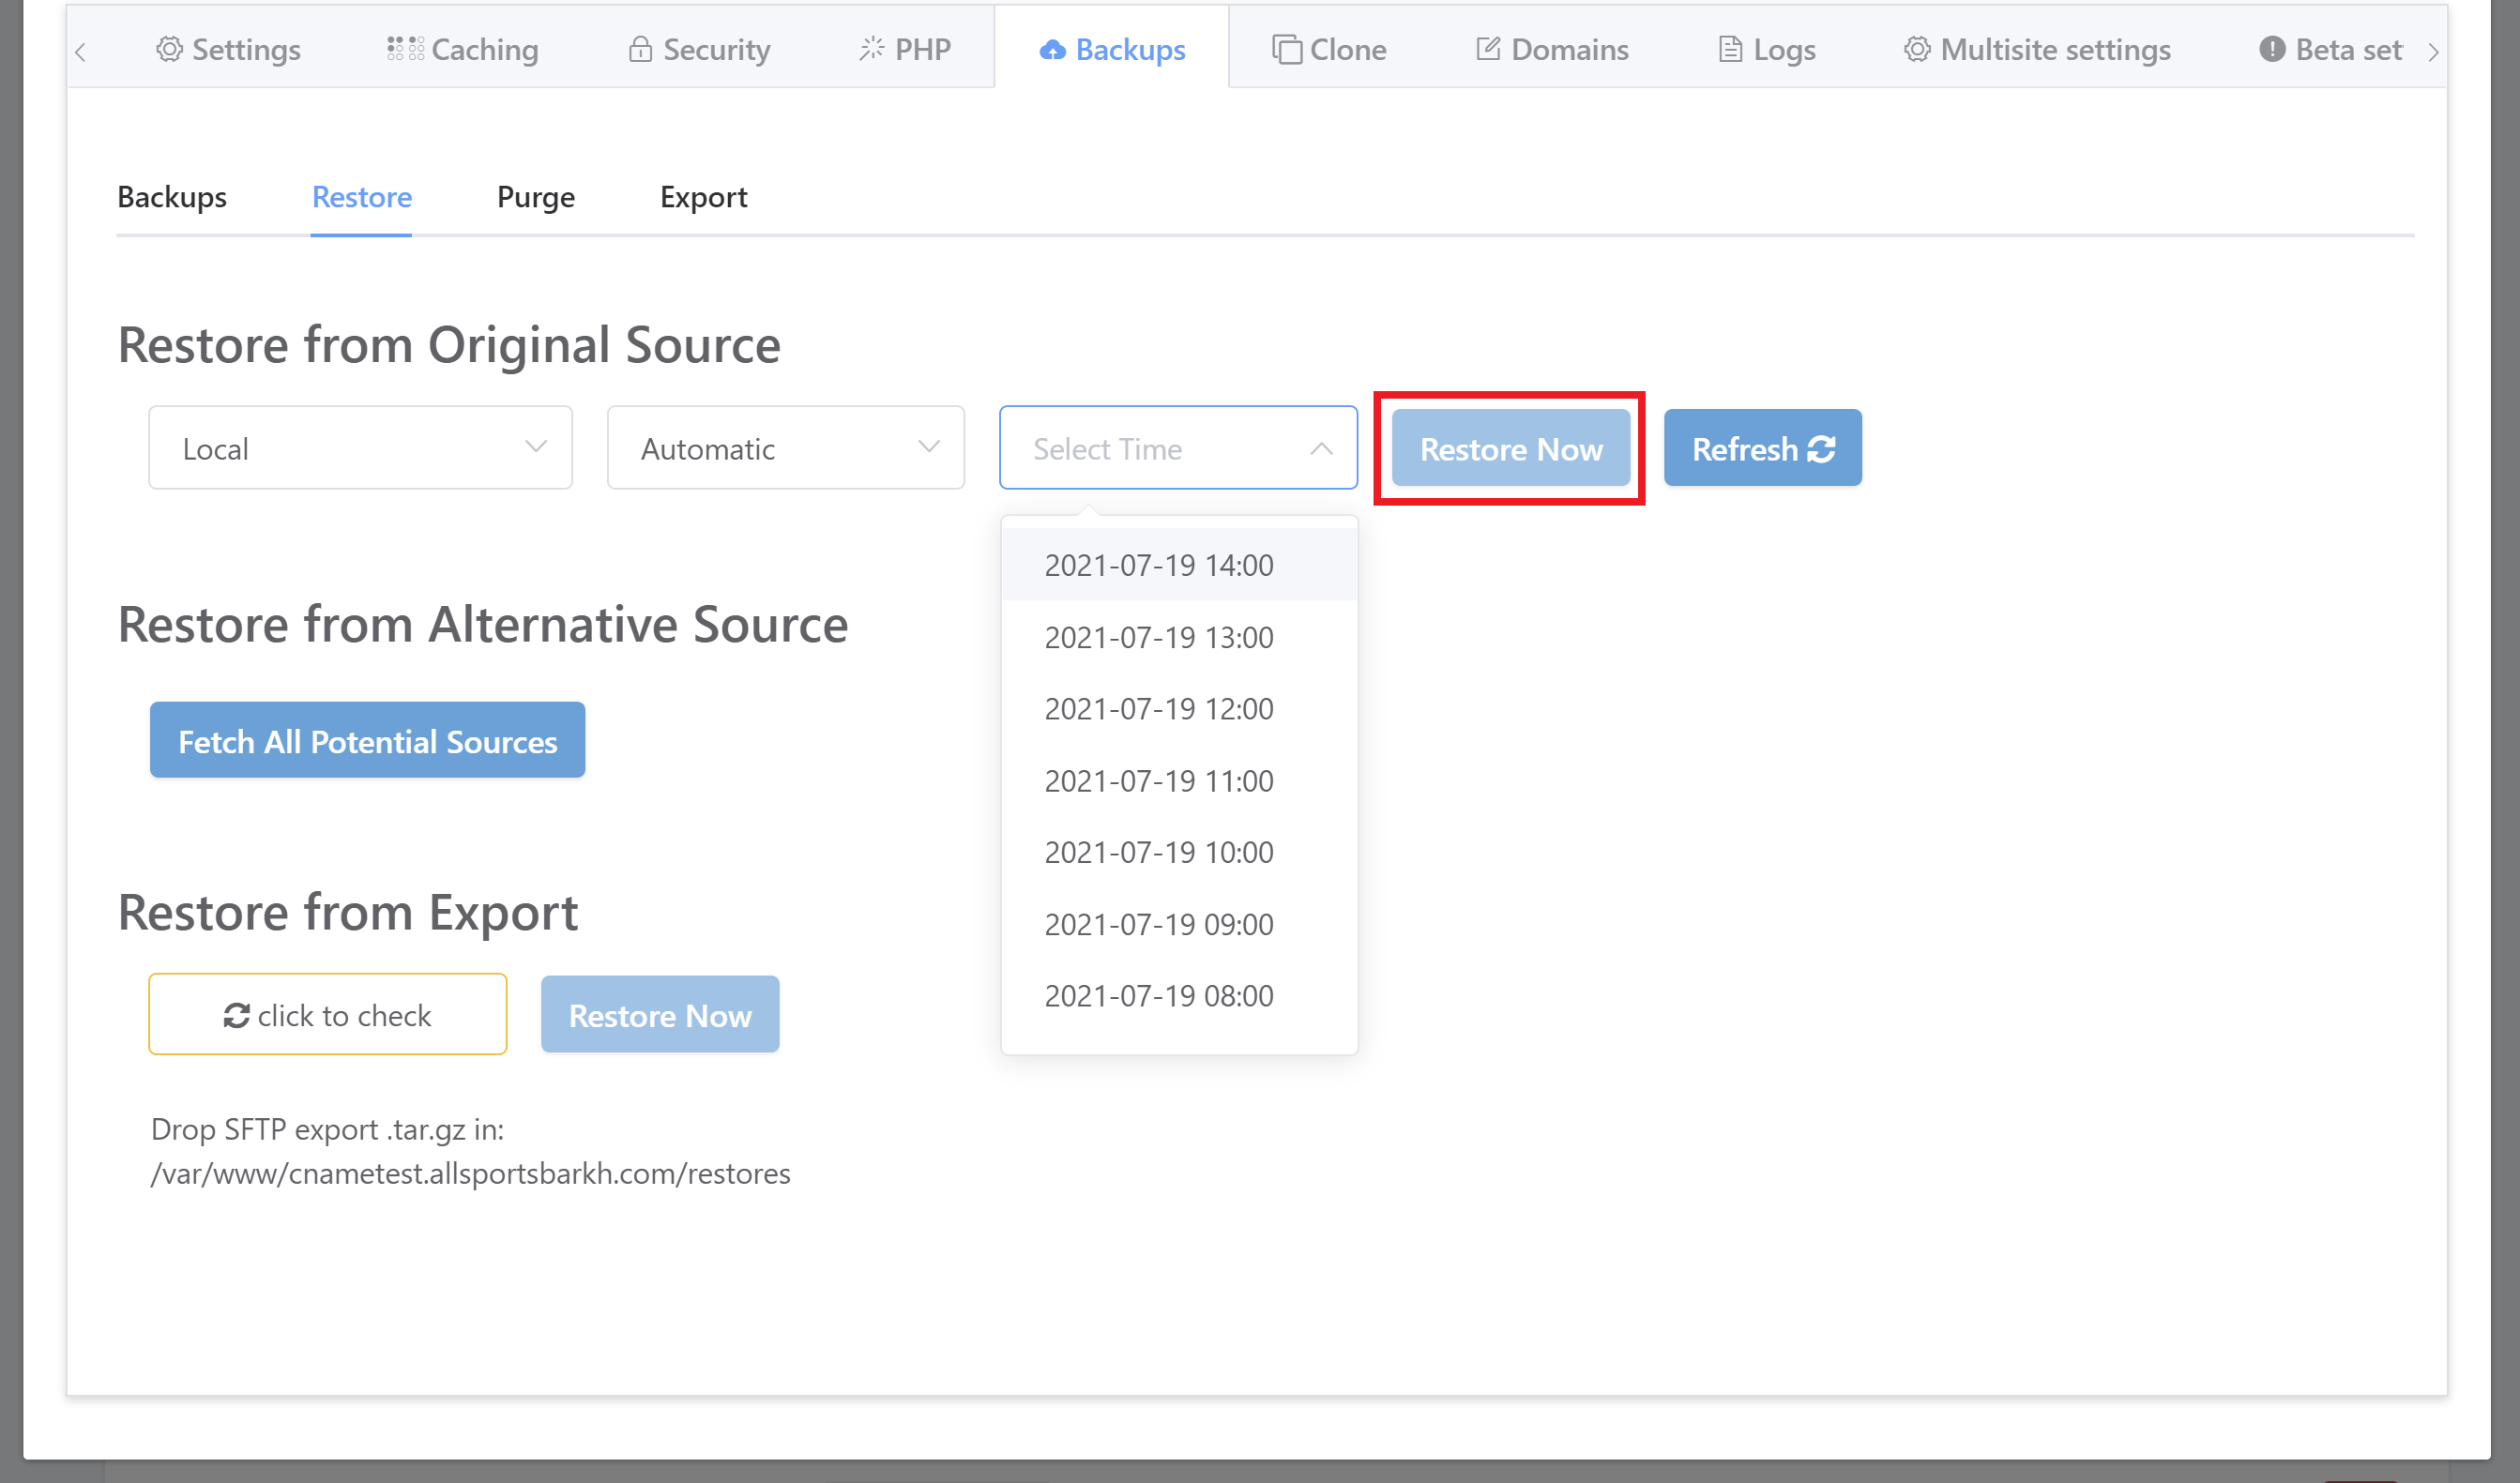
If you ever need to restore one of your websites from a local backup you can do so quickly and easily. Inside the Restore tab you’ll find the options.
Select local, and then choose either automatic or manual from the second dropdown, and then choose the backup you wish to restore from in the third dropdown.
When you’ve selected your backup hit the “Restore Now” button.

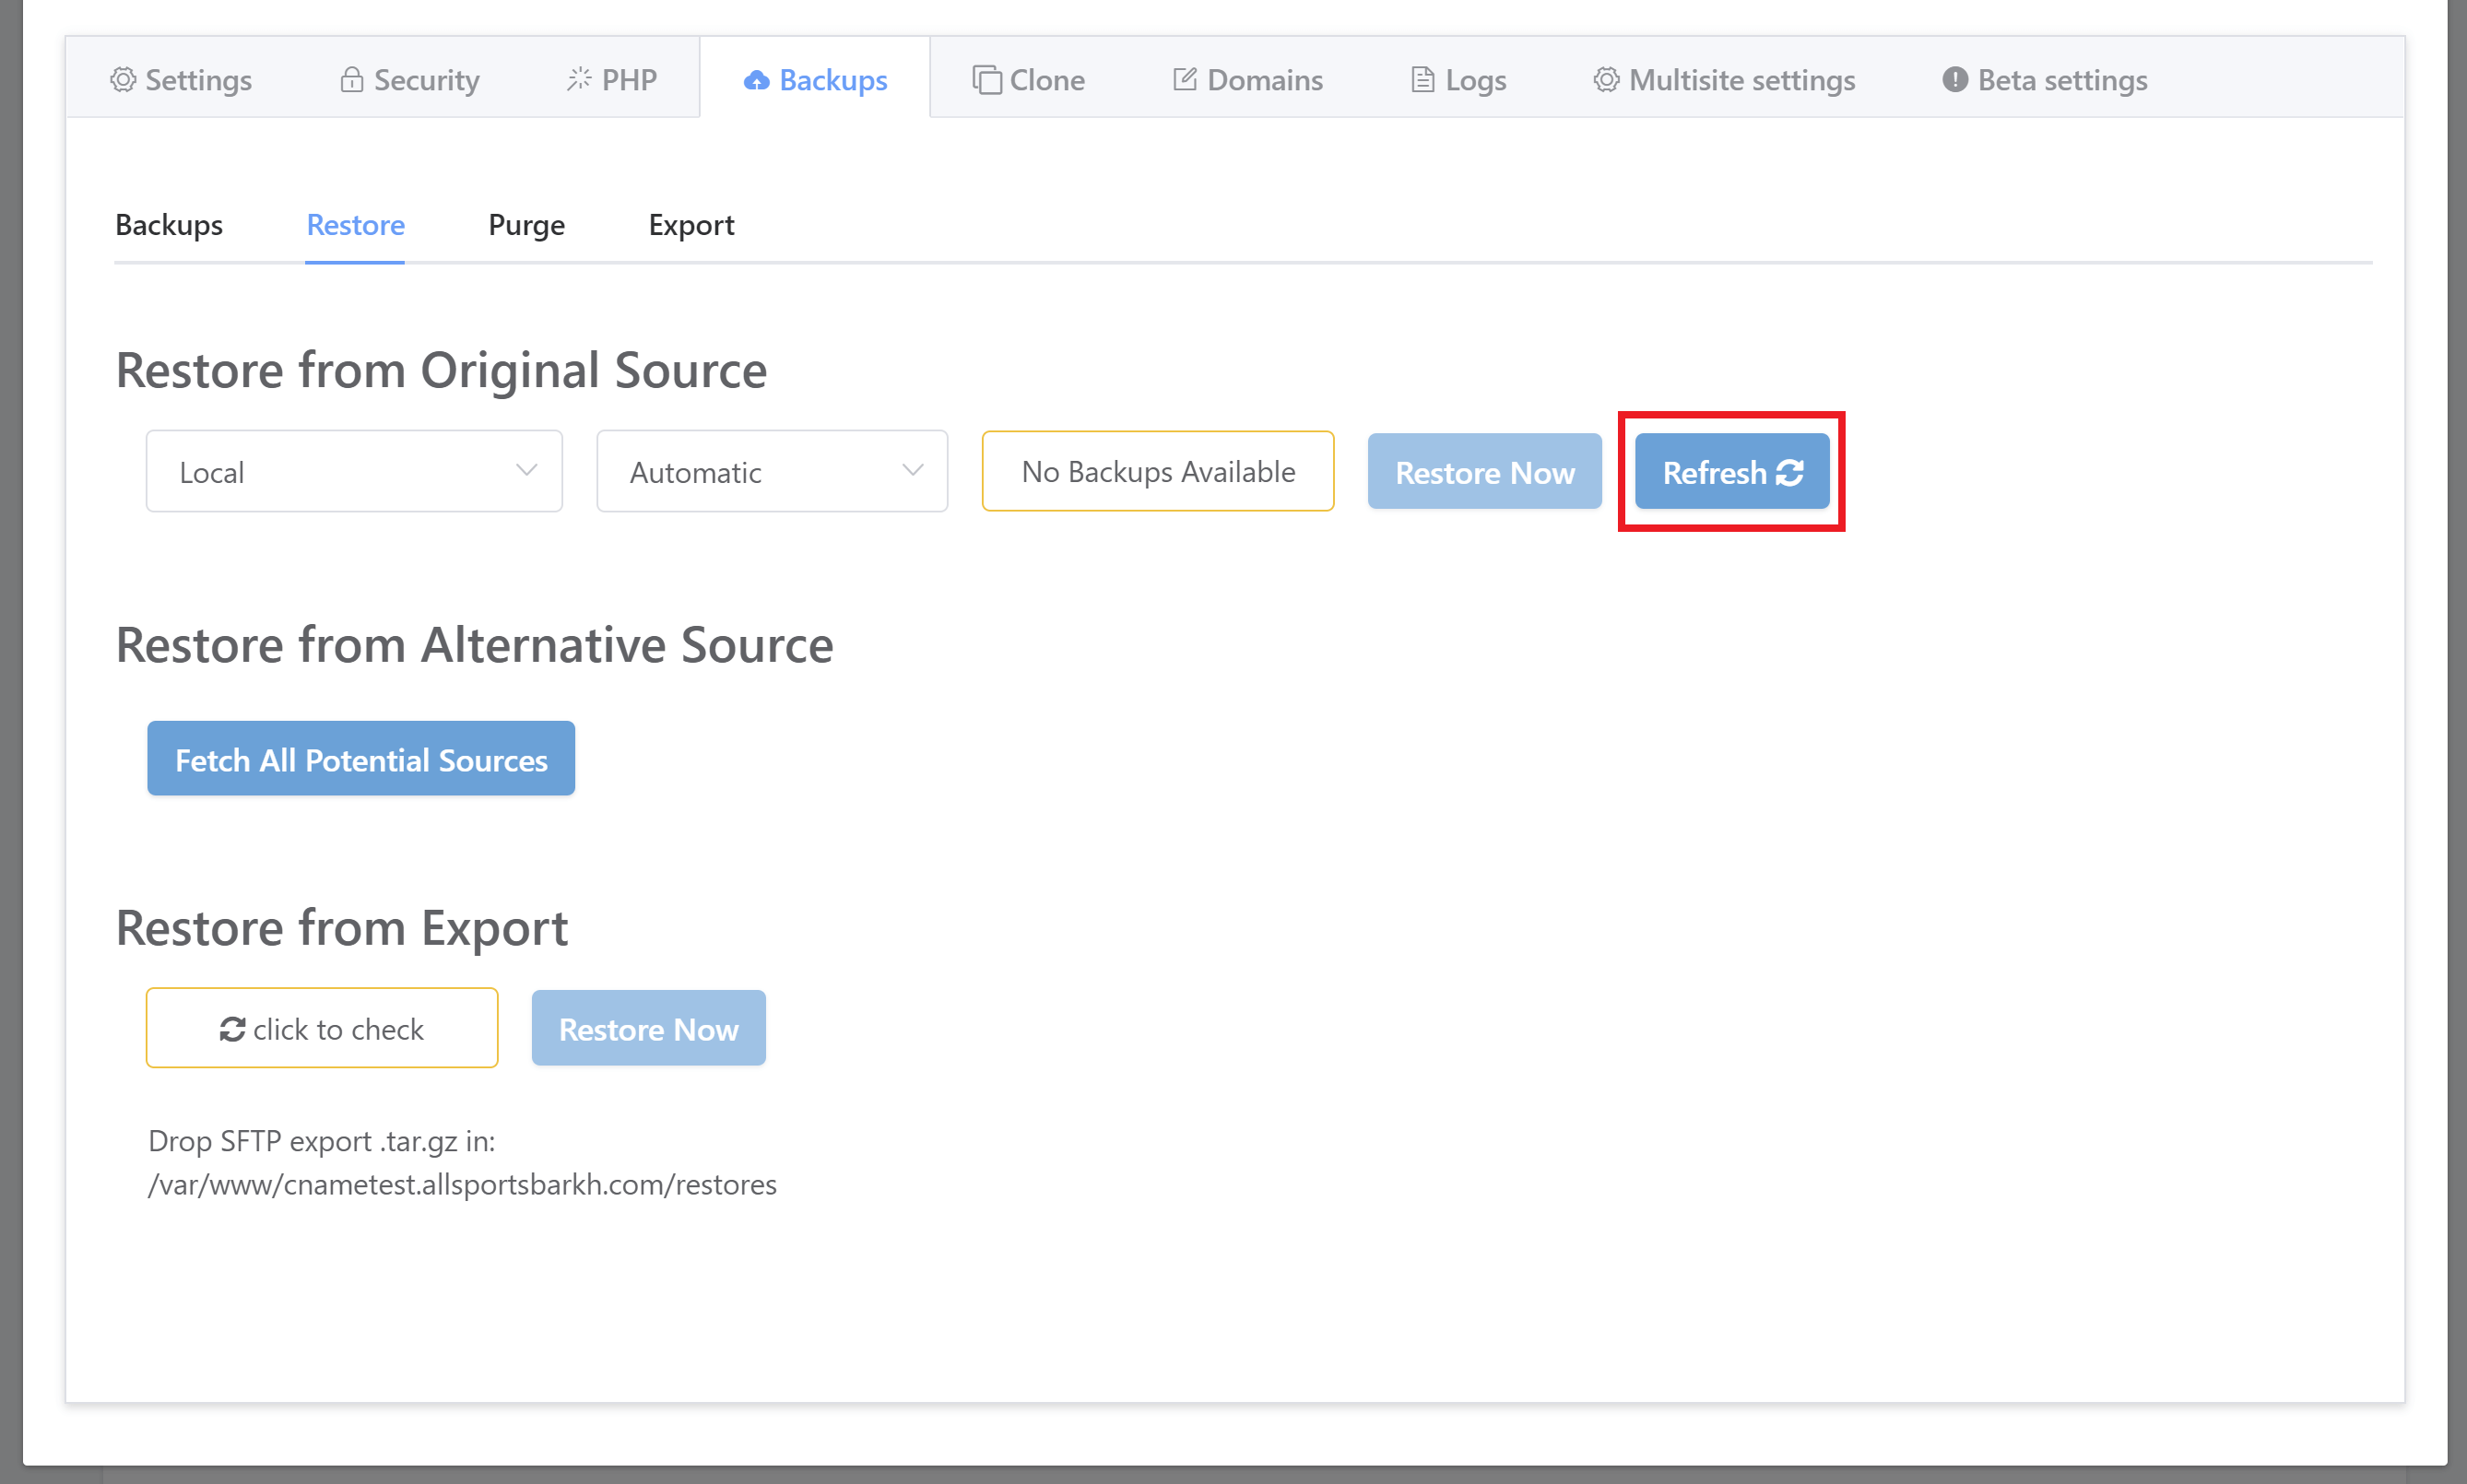
If you’re not seeing the backup you’re looking for, hit the “Refresh” button to get ensure all of the latest backups are available for you to view.

You can also restore from an alternative source or from remote backups. Details are are covered in parts 1 and 3 of our V2 documentation.
IMPORTANT
Local backups should make up one point of your backup strategy. However, even though our system is highly reliable, you should never rely on just one datacentre for your information. In his case, your server is where your website also lives, which is immediately problematic should your server provider ever experience any issues.
We highly recommend backups of your server at your IaaS provider, and at least one offsite backup at a secure third party such as Backblaze B2, Wasabi, Amazon S3, Dropbox, or whoever your preferred storage provider is. Storing them locally on your hard drive and at multiple locations should also be considered.
Further Reading
For further information about how backup systems work, the available options for configuring them, and for setting up remote backups (available on V2), please see the articles listed below.
