Introduction
GridPane secures your wp-config.php files by storing them one level up from the /htdocs directory where your websites are installed.
We also use an include called user-configs.php, where you can safely add your own wp-config.php edits. This file will then be copied along with the website when you clone it. Full details on how this works can be found here:
Working with the wp-config.php on GridPane and an introduction to user-configs.php
This can be useful for defining plugin licenses, preventing new default themes from being installed, and more.
In this article, we’ll take a look at how you can create a server-level user-configs.php file that will automatically get applied to any new websites that get created on your server.
How it Works
How this works is straightforward: During a website site build if this file is found on your server:
/var/www/server-user-configs.php
And it passes a PHP syntax check:
php -l /var/www/server-user-configs.php
Then it is used to create the user configs file for any new websites that you create on this server.
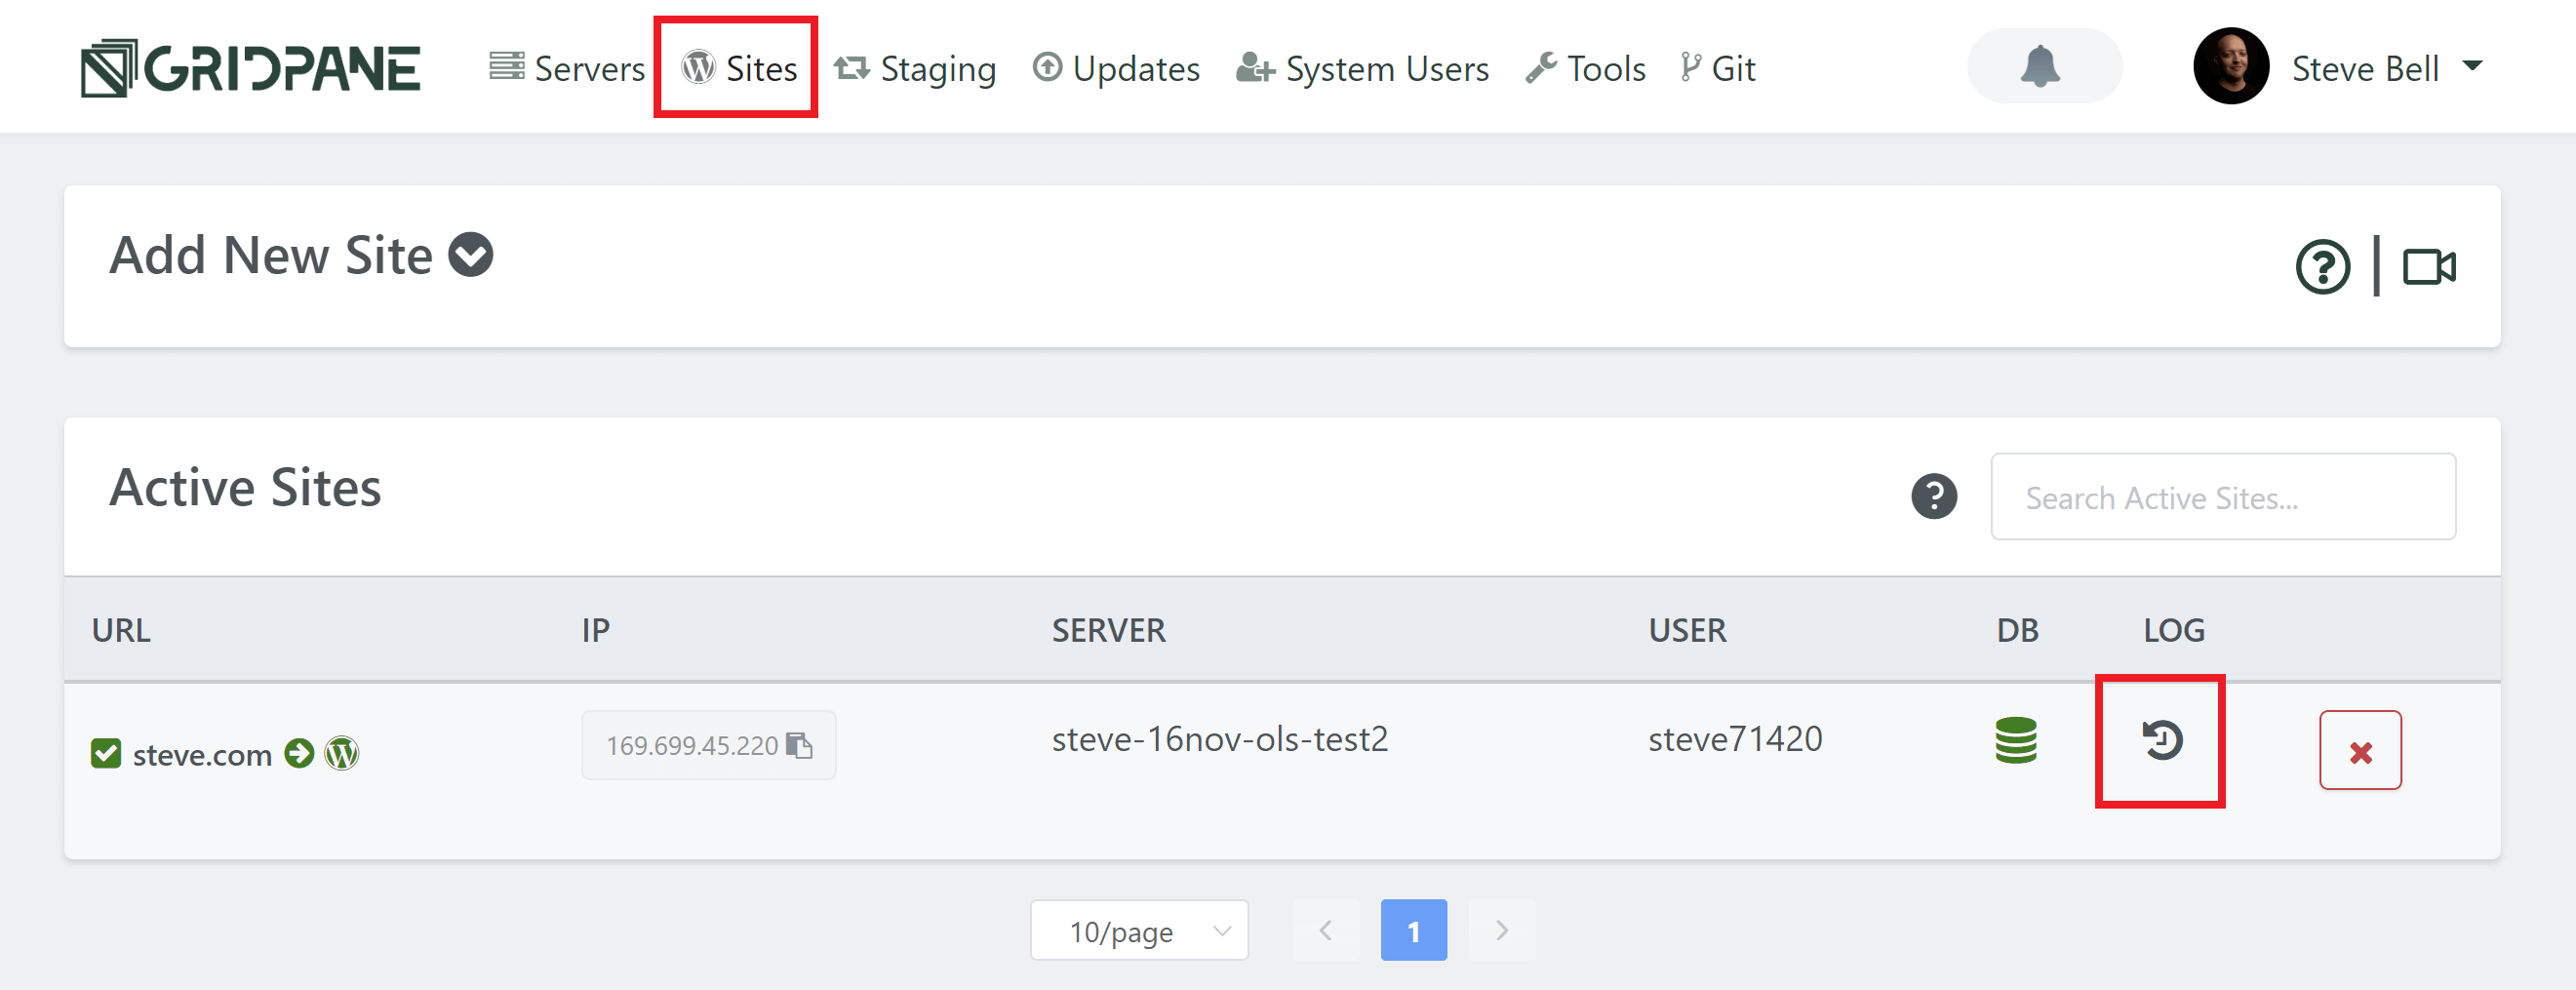
You will be able to confirm this inside your website build log located here:
And in the log, if it was successful, you will see:
If the file failed the PHP syntax check, then the default user-configs.php will be created, and you’ll see the following in the log instead:
Getting Started: Connect to Your Server
To get started, you will need to connect to your server as the root user. You can do this via SFTP (detailed in this article), however, I recommend you do so via SSH. If this is your first time connecting to your server via SSH, please see the following guides to get started:
Step 1. Generate your SSH Key
Step 2. Add your SSH Key to GridPane (also see Add default SSH Keys)
Step 3. Connect to your server by SSH as Root user (we like and use Termius)
Create Your Server Level User Configs File
As mentioned above, we need to create a file called server-user-configs.php inside the /var/www directory.
If you’re connected to your server via SFTP, you can simply create the file and then drag and drop it in.
If you’re connected via SSH, create the file with the following command:
nano /var/www/server-user-configs.php
This creates and opens the file in the nano editor, and here you can create your file. It should be formatted with a PHP opening tag at the very beginning. You may want to simply copy our default and then add your customizations below (they always need to be below the opening PHP tag):
<?php
/**
* This file is included in the wp-config.php file.
* Users can add their own WordPress configurations here
*/
For example:
					<?php
/**
* This file is included in the wp-config.php file.
* Users can add their own WordPress configurations here
*/

/* Prevent file editing inside wp-admin */
define('DISALLOW_FILE_EDIT',  true);

/* Don't install new default WordPress themes */
define('CORE_UPGRADE_SKIP_NEW_BUNDLED', true);
Once you’ve added your customizations, save the file with CTRL+O followed by Enter. Exit nano with CTRL+X.
You can now check it passed a PHP syntax check with:
php -l /var/www/server-user-configs.php
You’re all set! Any websites that you create will now include your customizations out of the box.


