Introduction
Wasabi is an inexpensive and reliable cloud storage provider. This article will walk you through to generate Wasabi API credentials and add them to your GridPane account so that you can use their service for remote website backups.
Table of Contents
Step 1. Sign up for a Wasabi account
To get started head on over to https://wasabi.com/sign-up/ and create your account. At the time of writing it comes with a 30 day free trial. Be sure to set up your billing details before your free trial is up to prevent any loss of data.
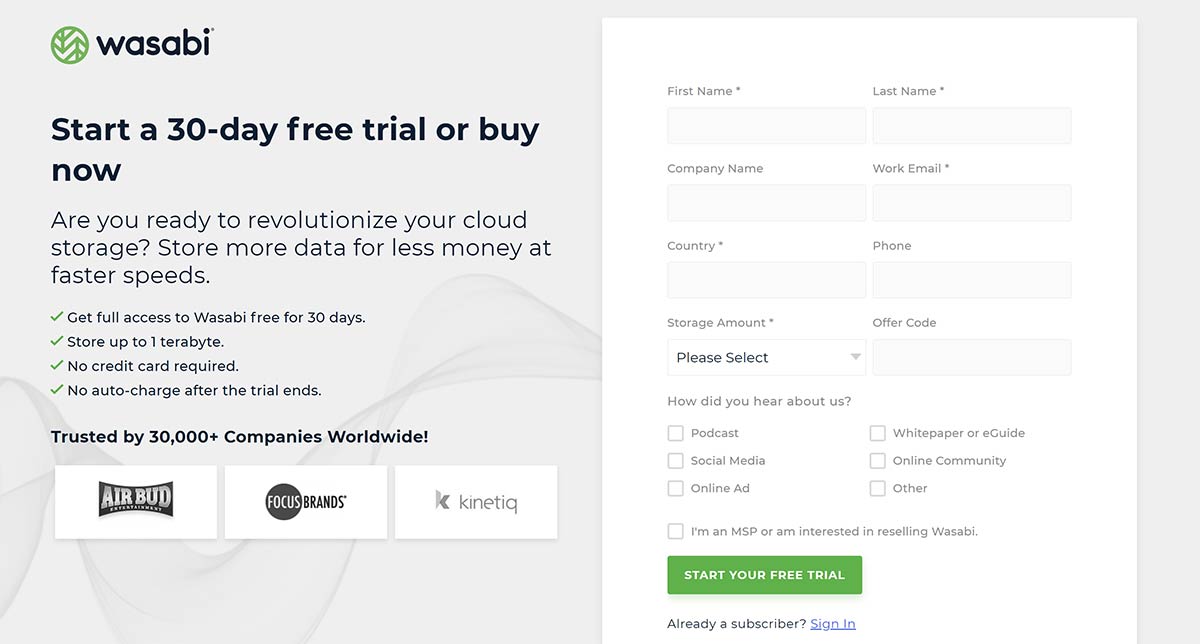
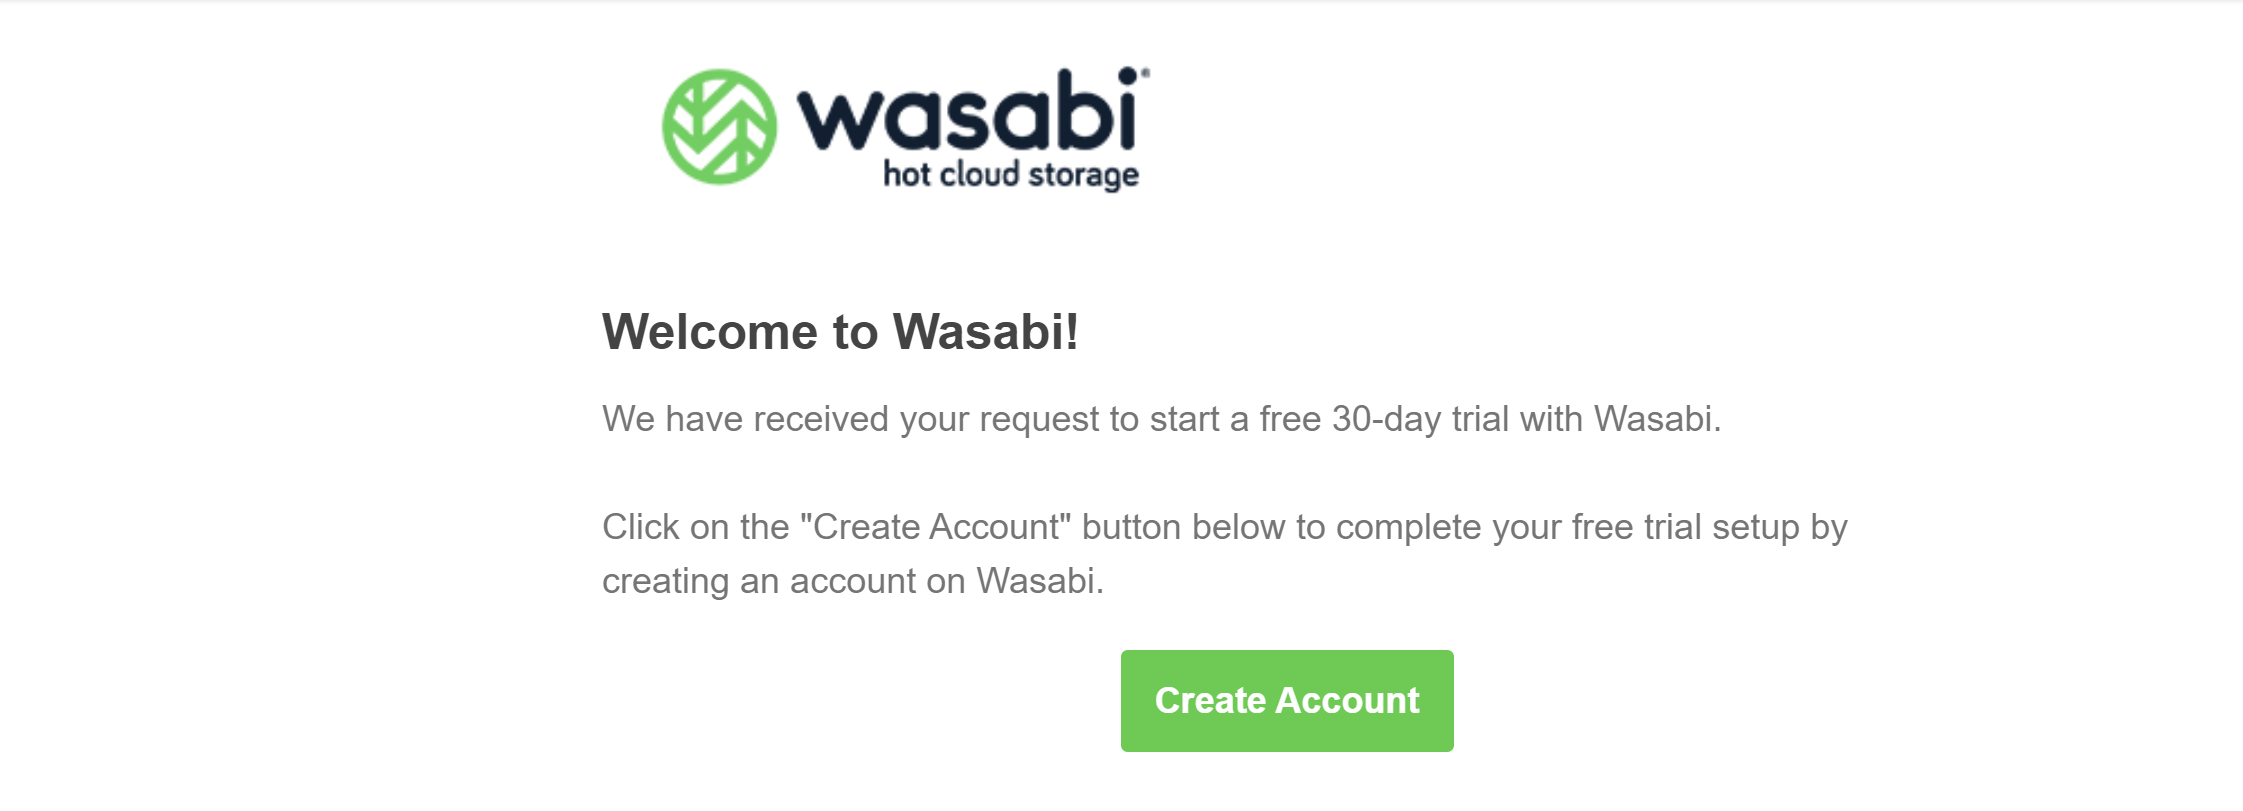
On completing the sign up form you’ll receive an email inviting you to create an account.
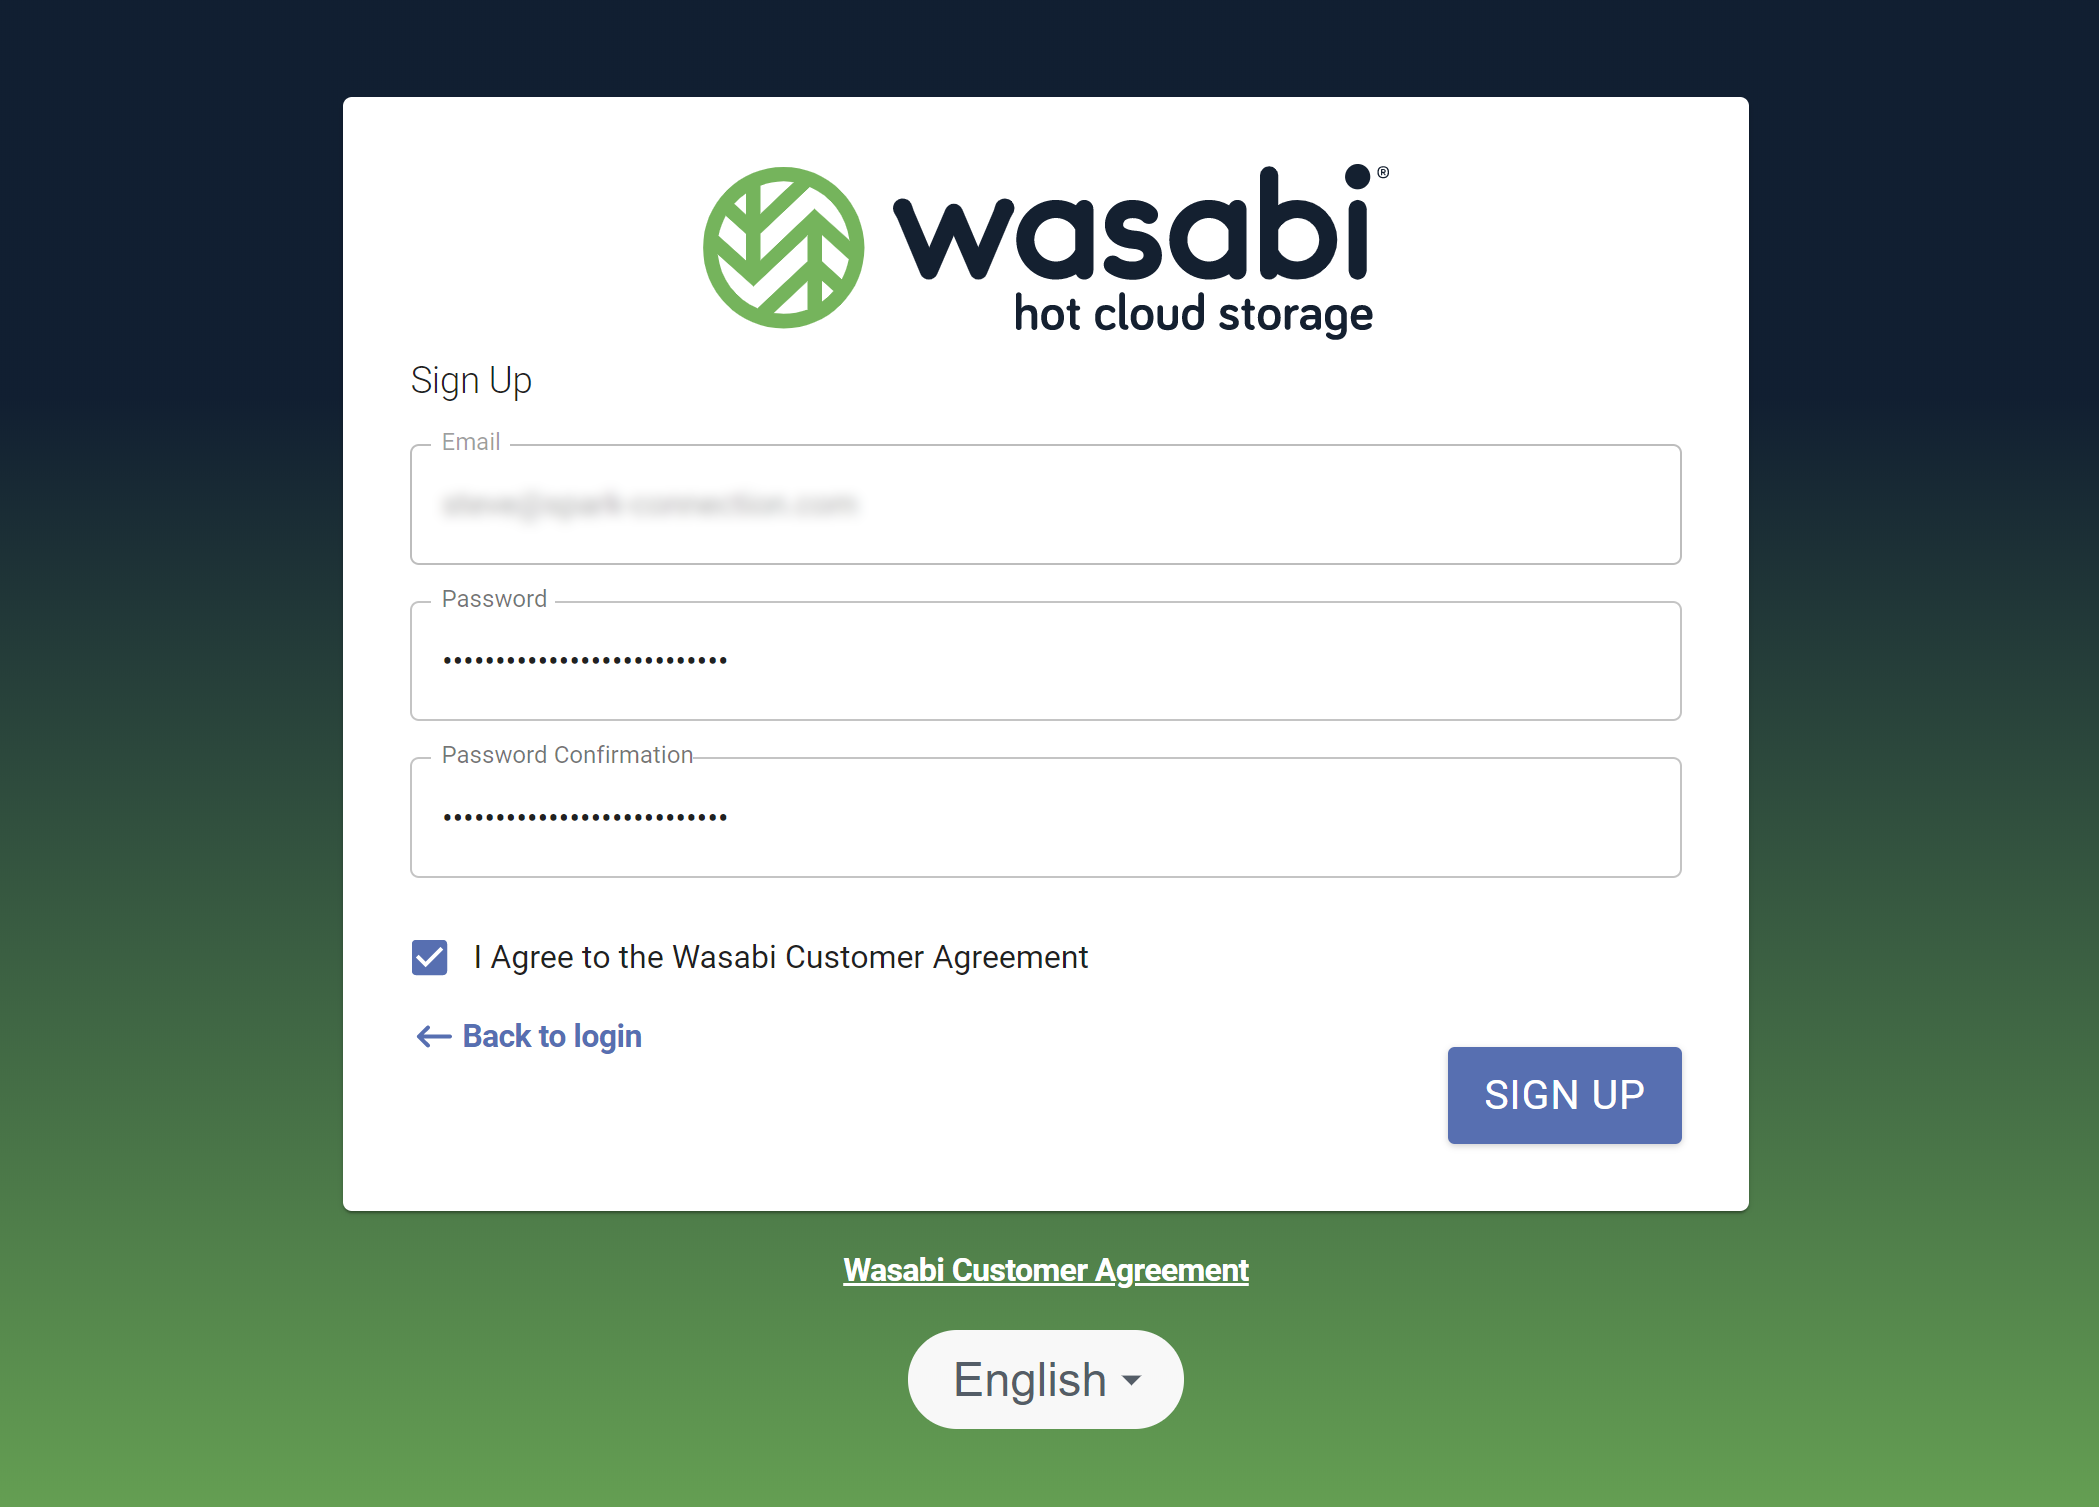
You’ll be taken to a page to complete your sign up.
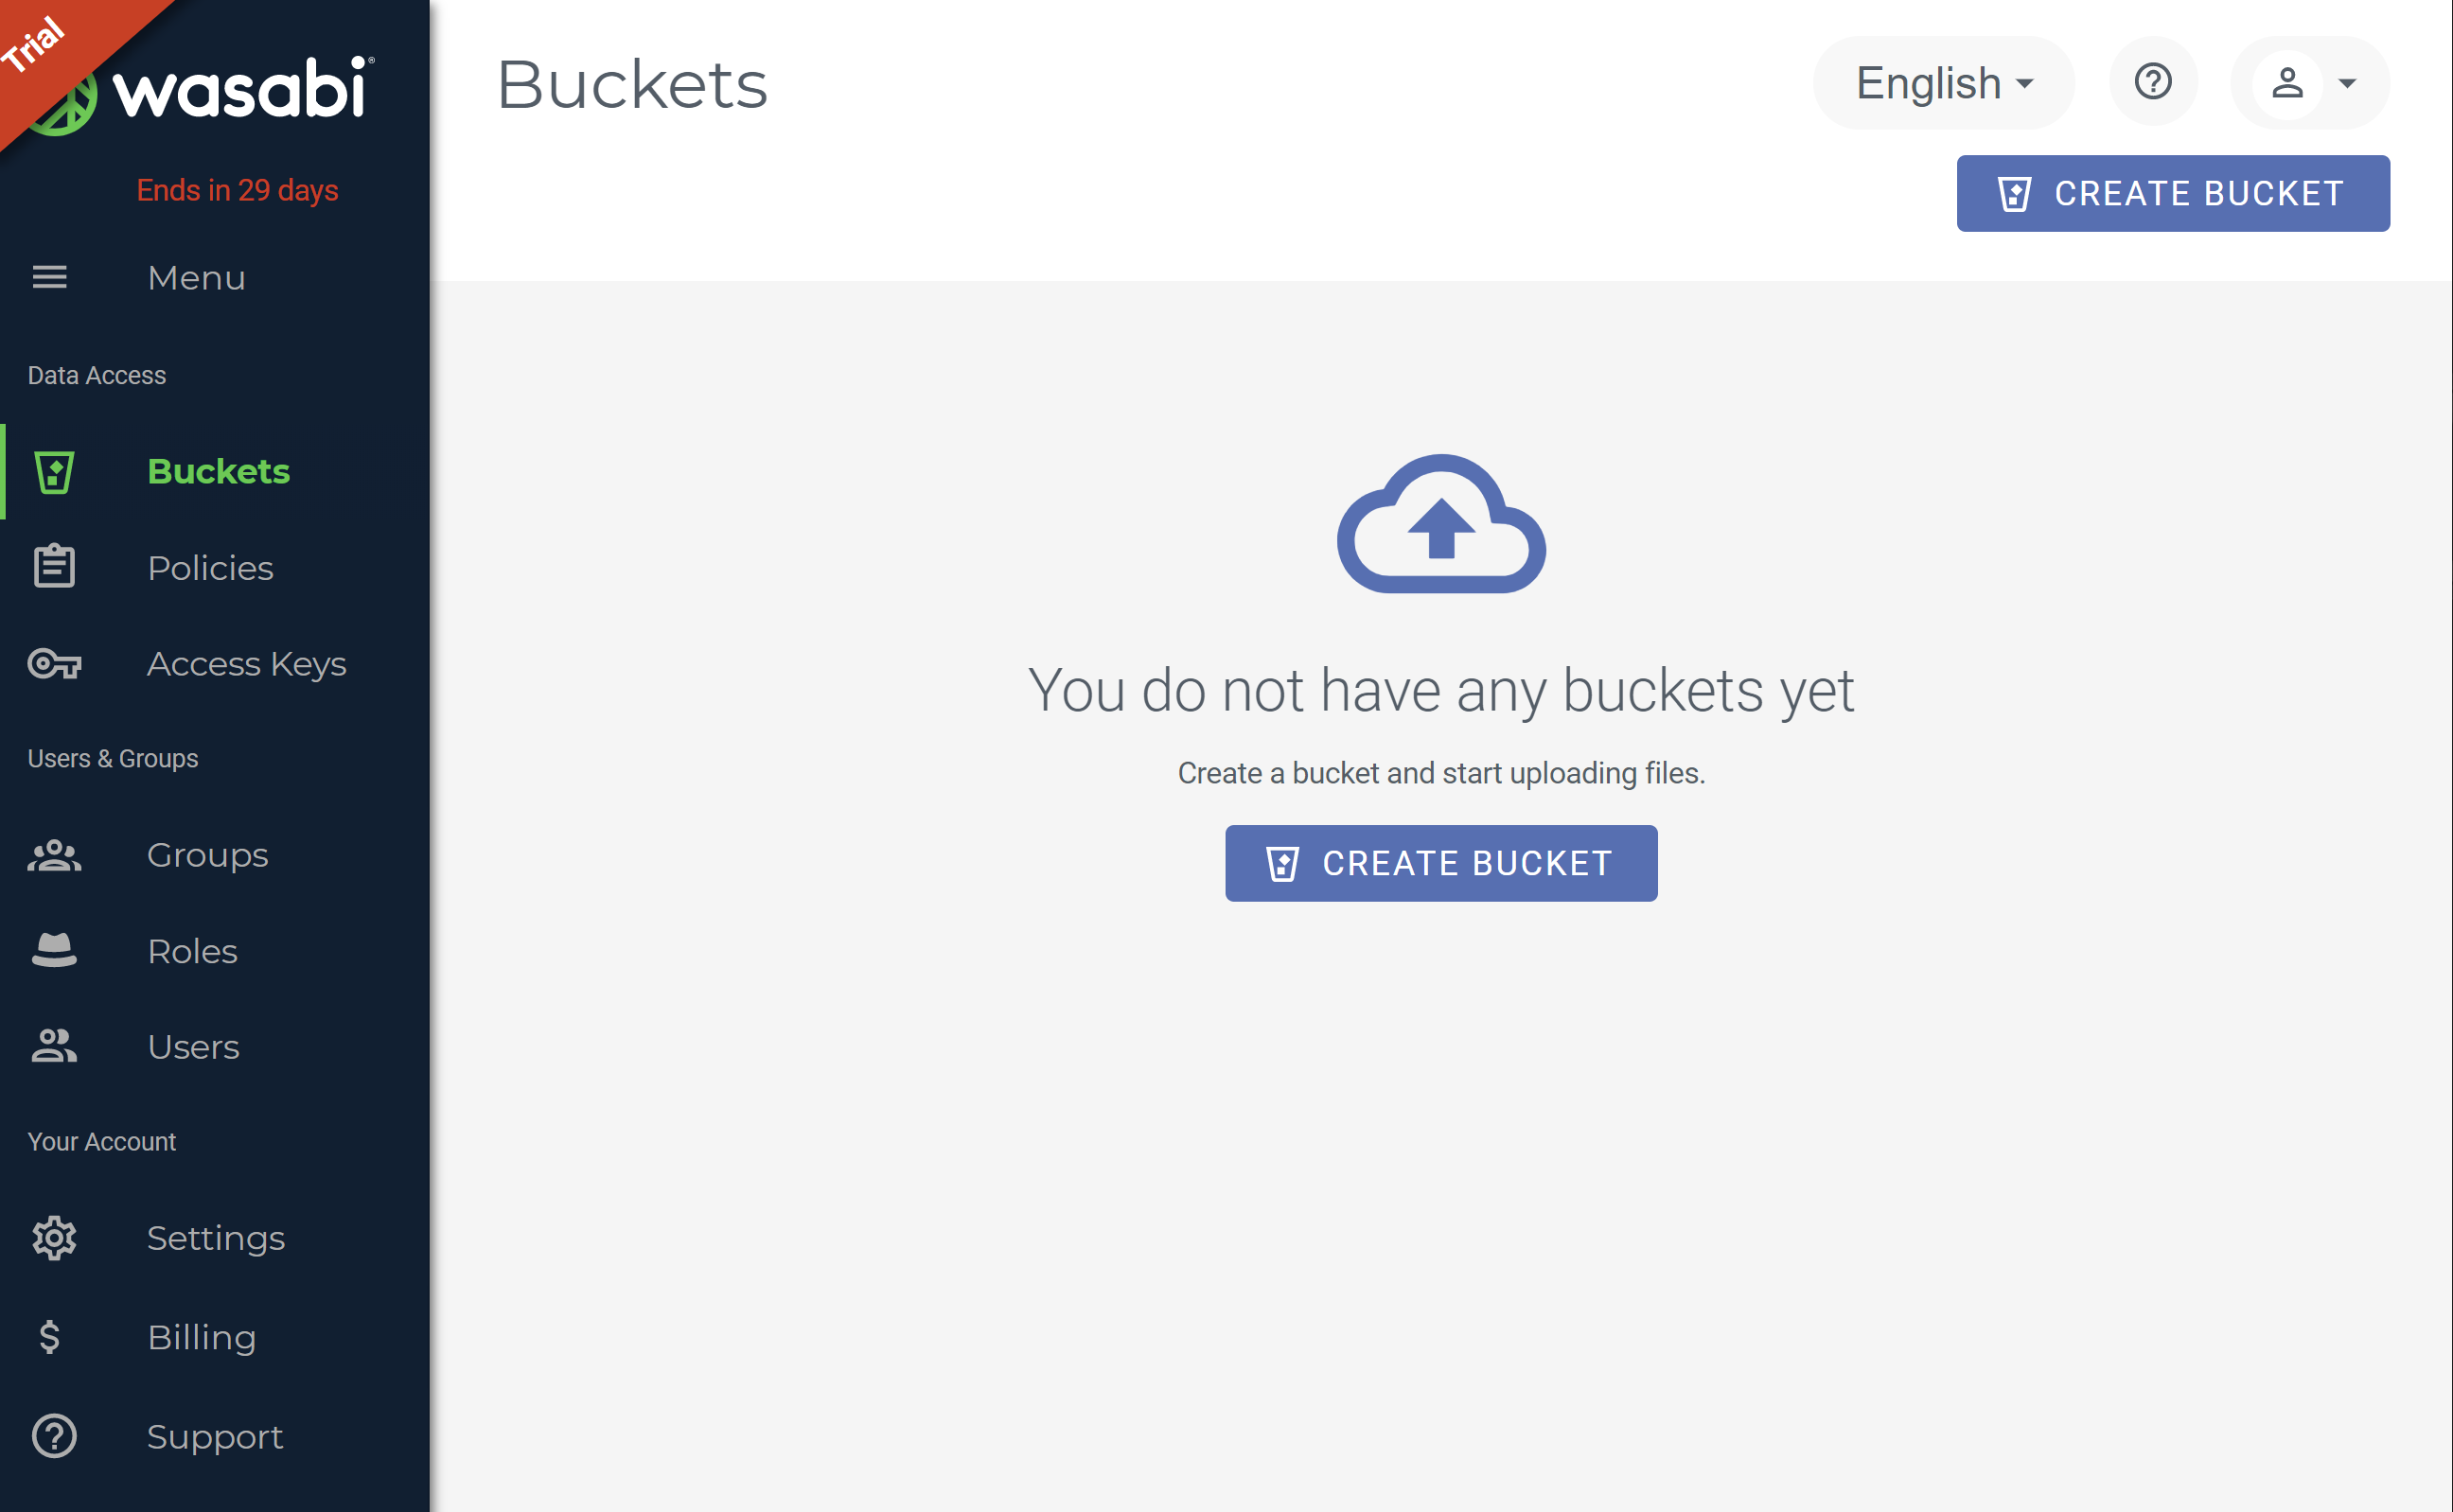
And you will then be logged into your new account.
Step 2. Create Your Wasabi API Credentials
To create your credentials click through to the Access Keys page, and then click on the “Create New Access Key” button in the top right hand corner.

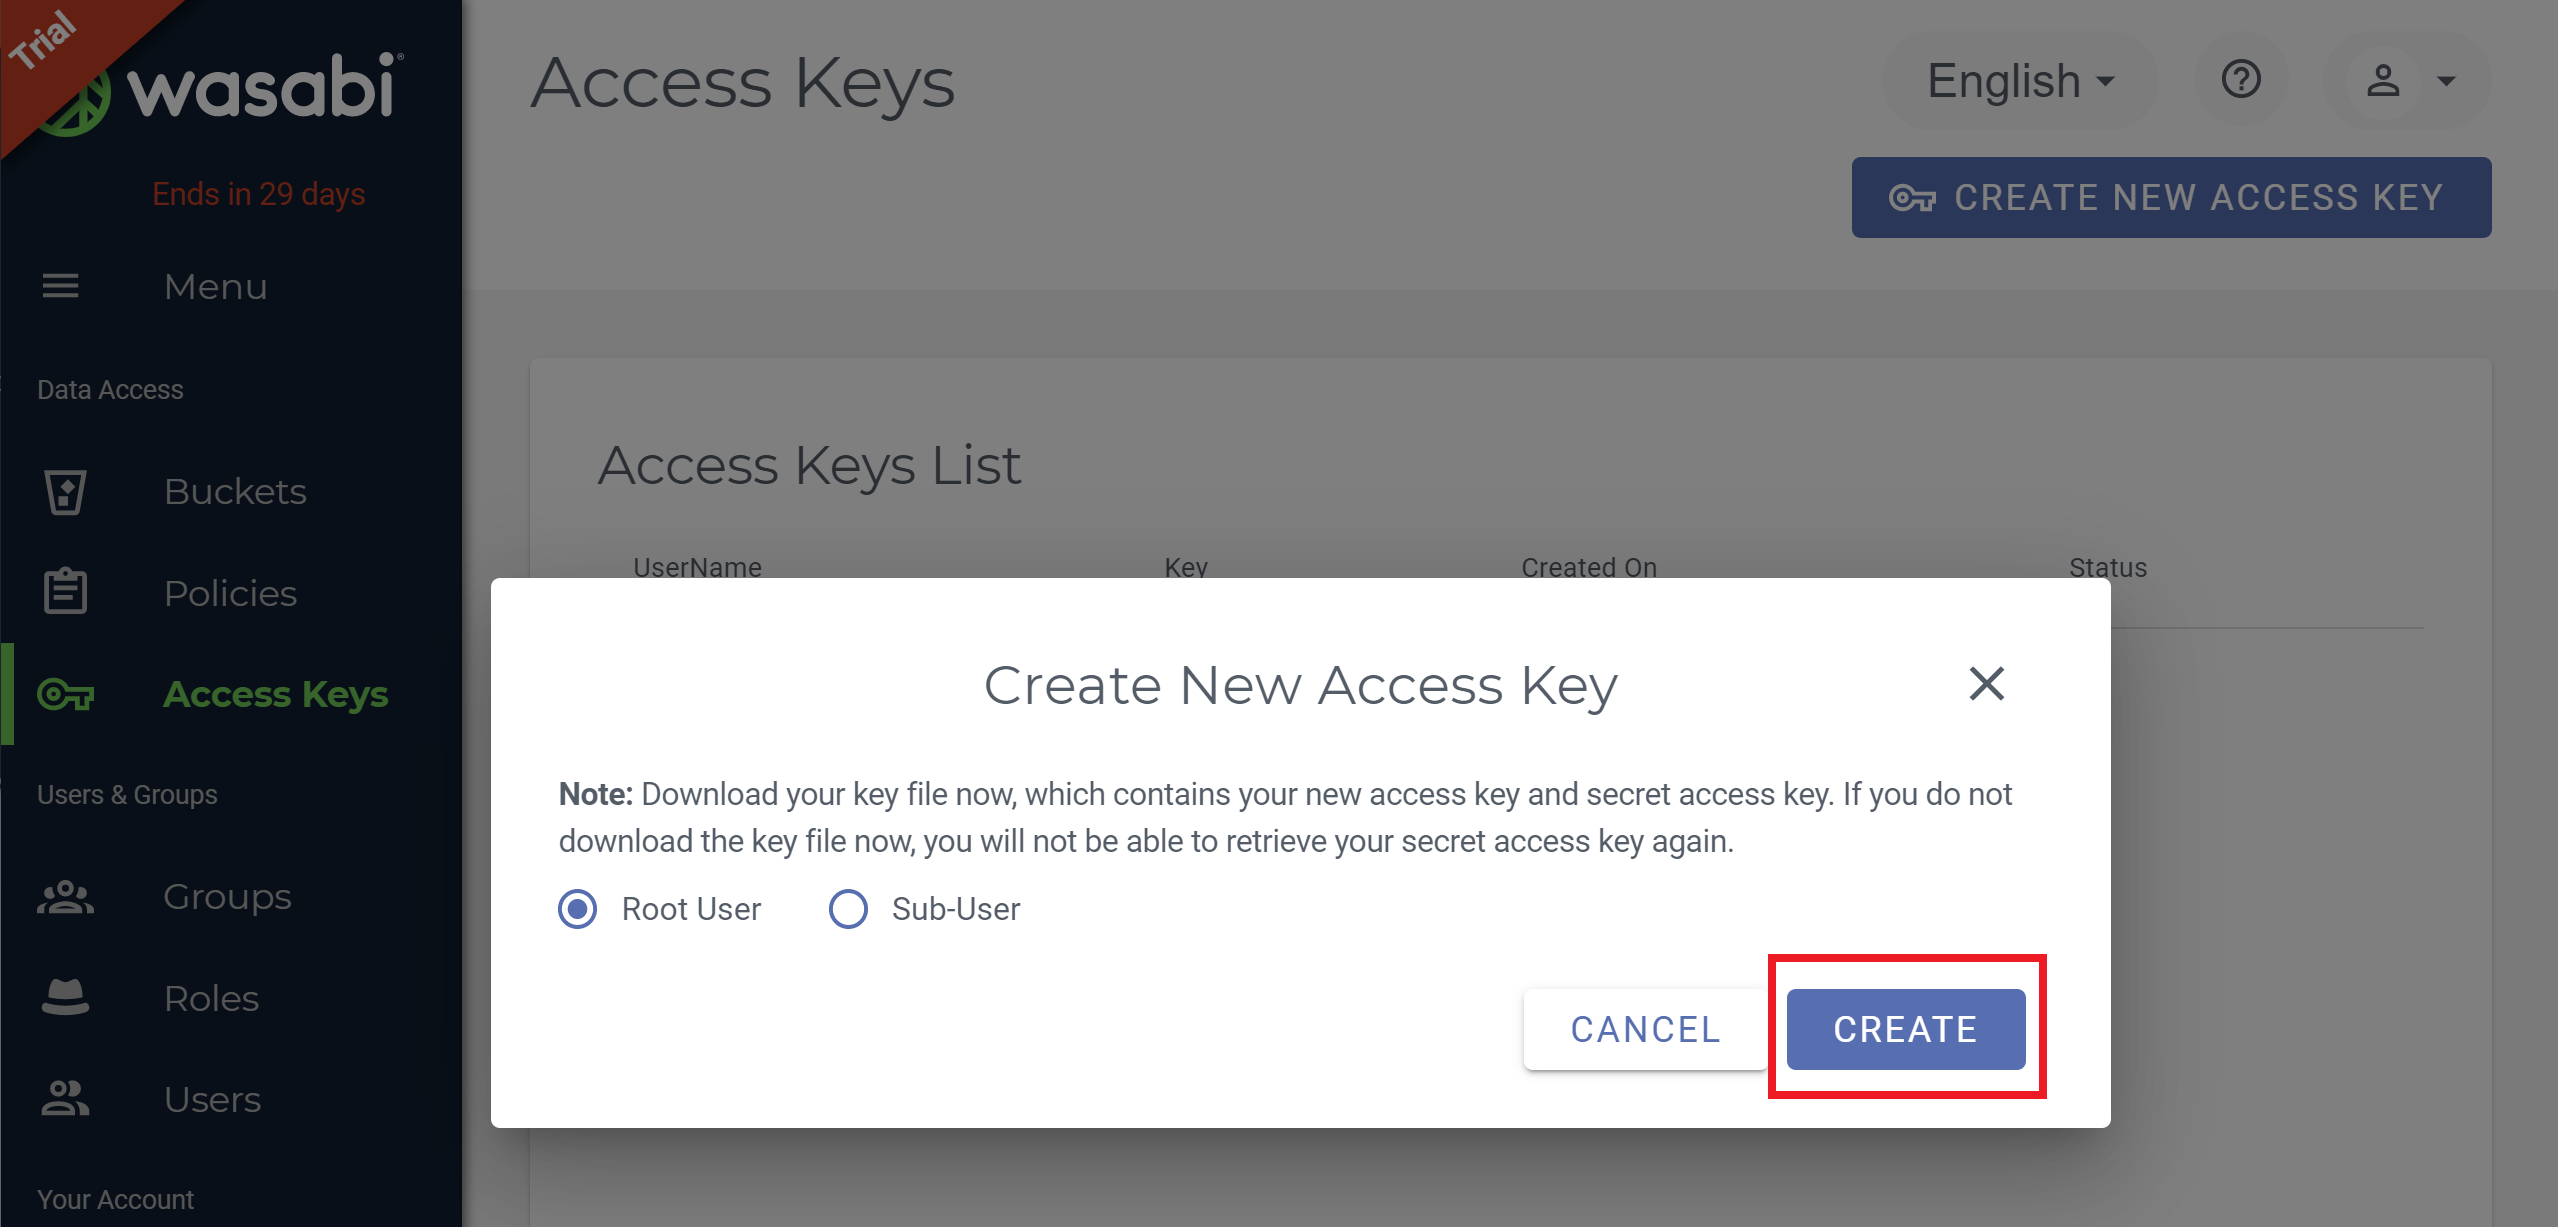
A modal will appear. Select “Root User” and then click on the Create button.
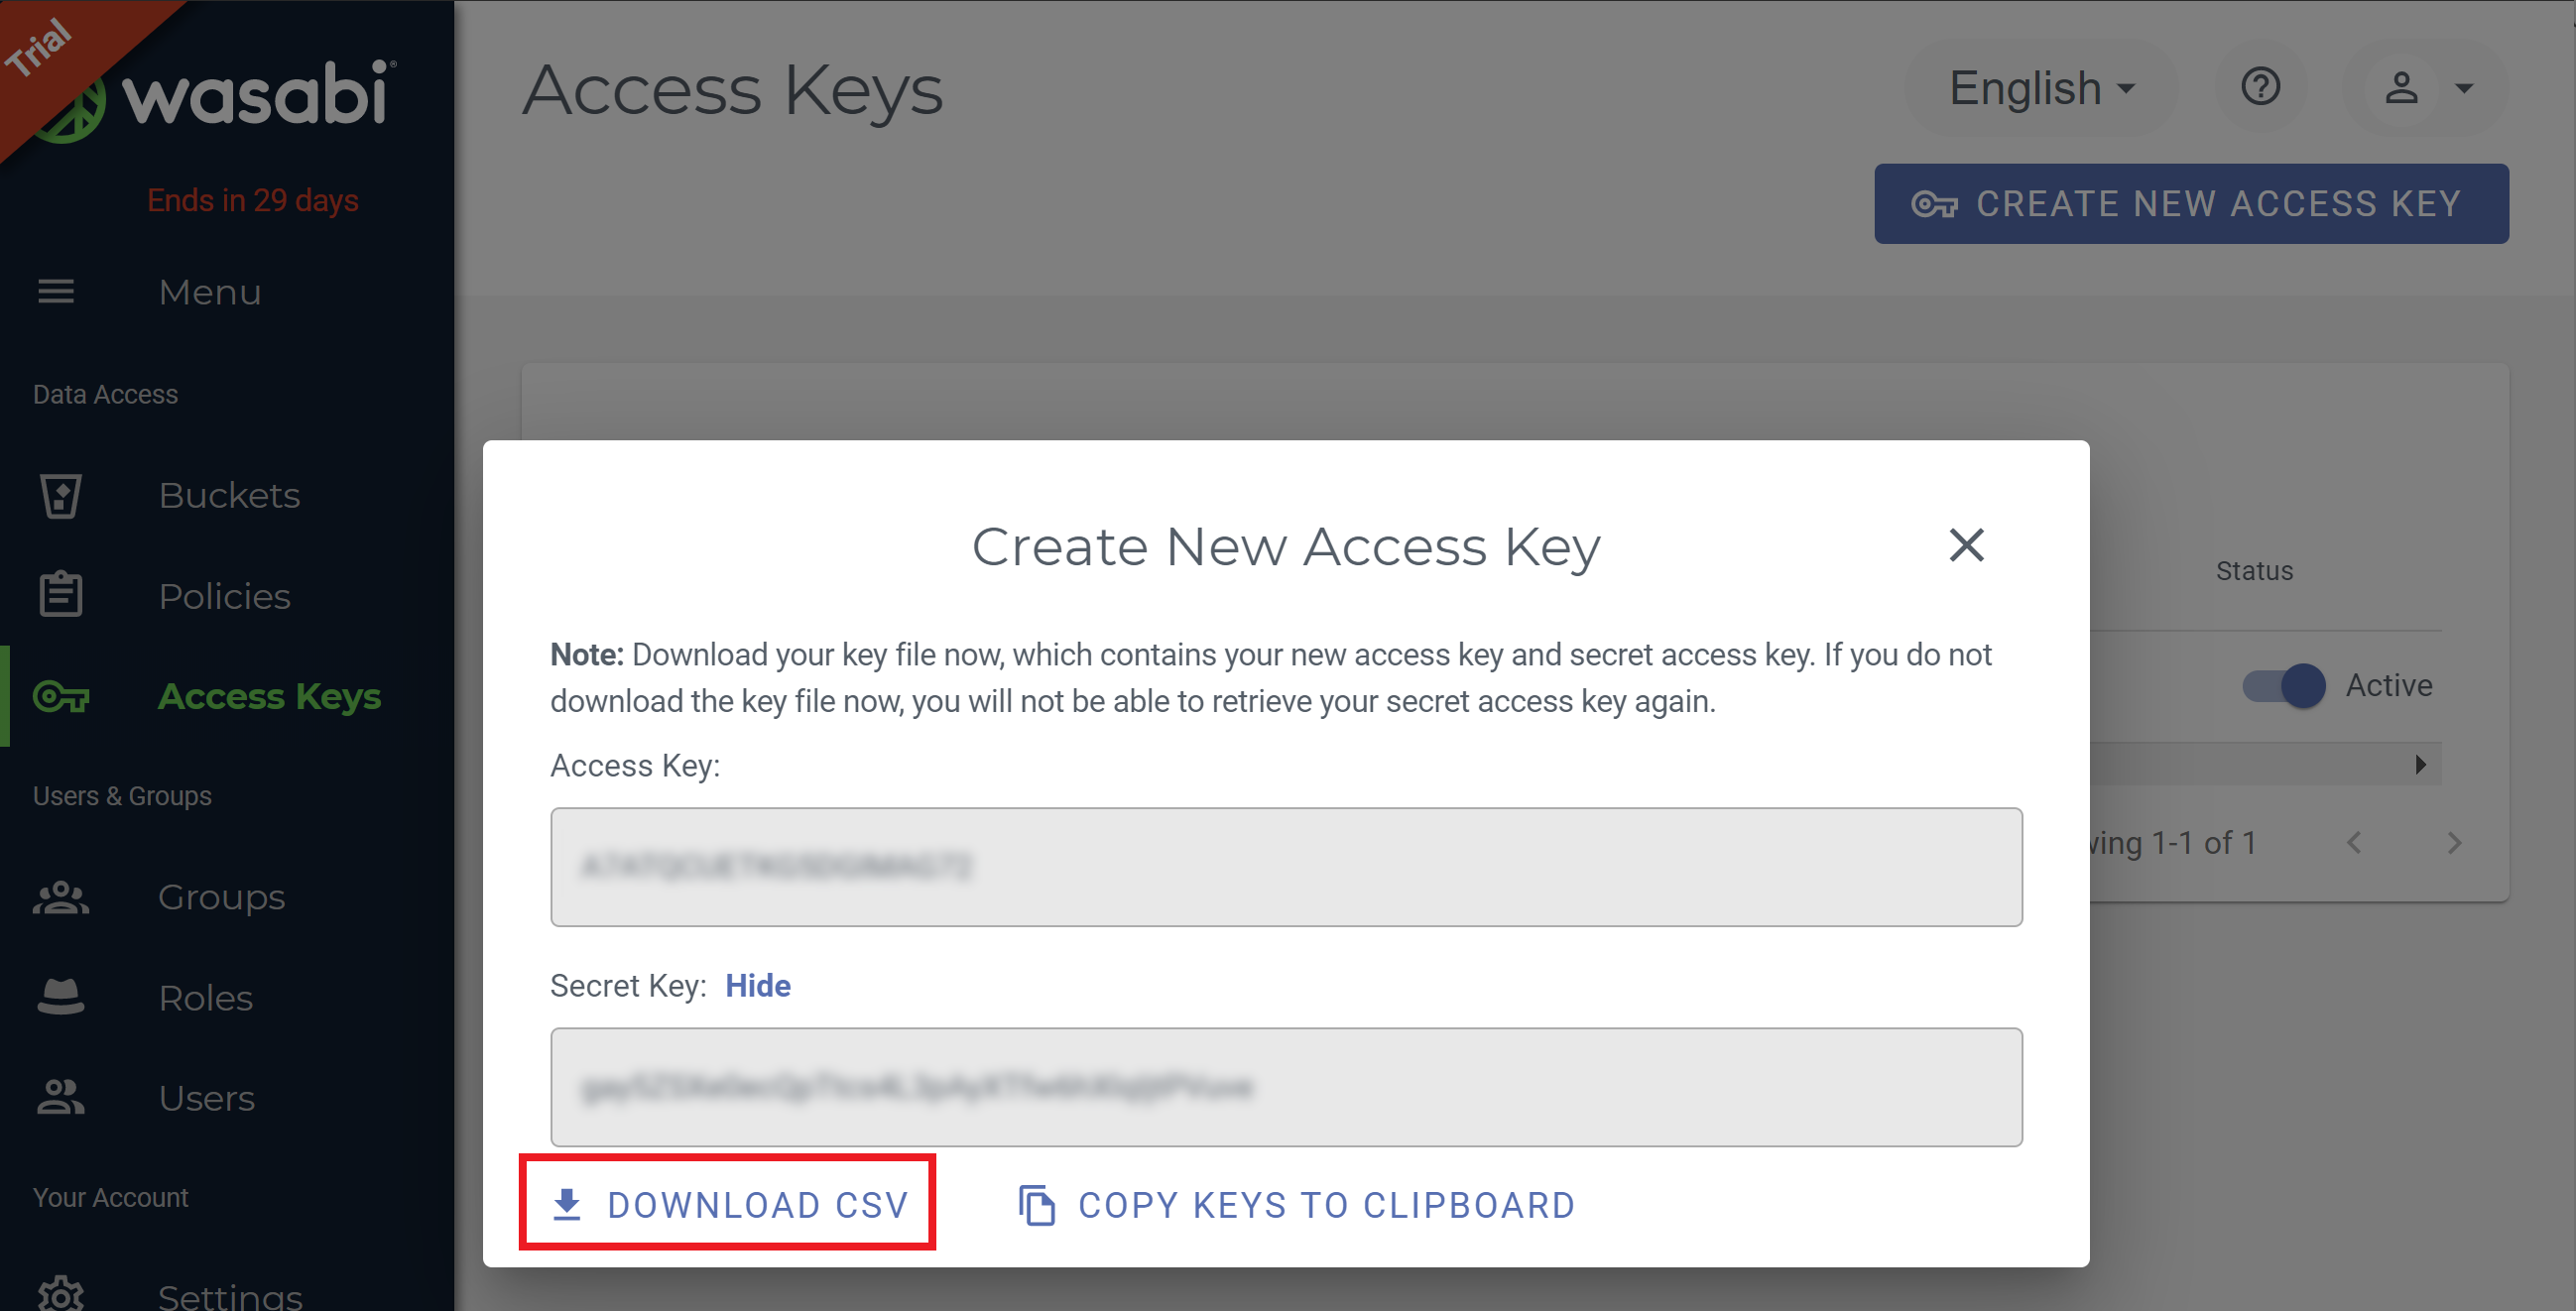
Your credentials will be created and displayed on the screen. You’ll need to either make a copy or download the CSV file as these will not be shown again.
Step 3. Add your Wasabi API credentials to GridPane
Back in your GridPane account, click through to your settings page:

Here, click through to the Integrations page, click Backup Providers, and enter your API details in the Wasabi tab:
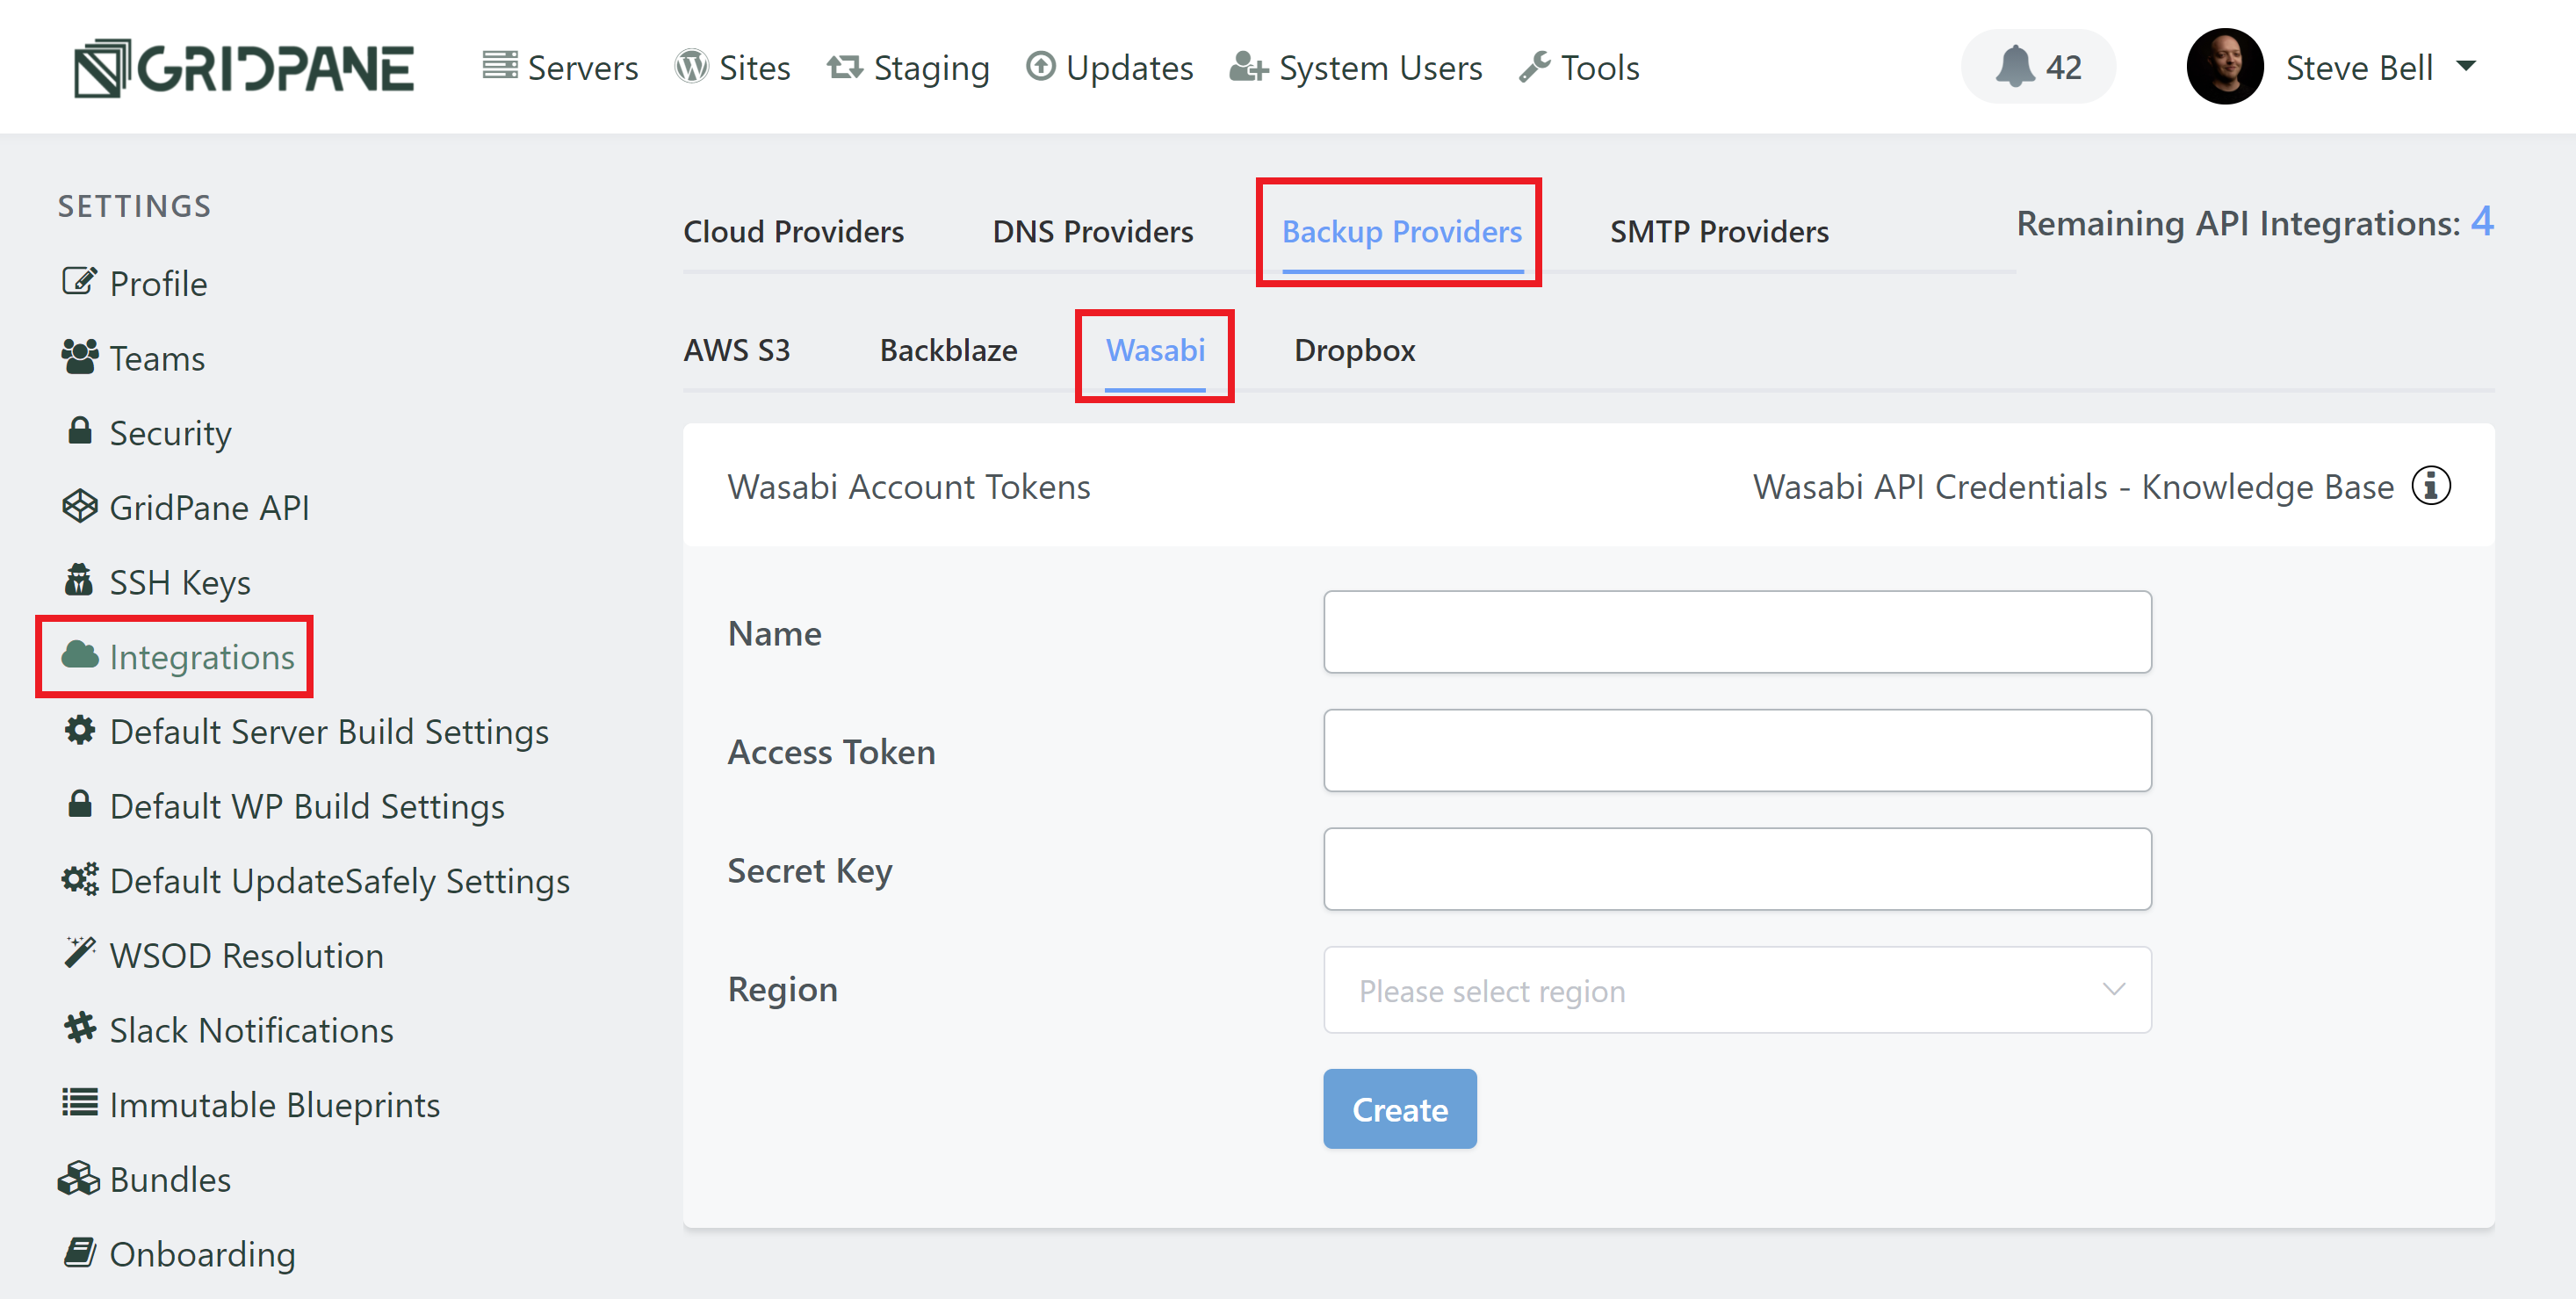
Enter your Wasabi credentials:
- Give your key a name.
- Access ID Key = Access Token
- Secret Access Key = Secret Key
- Then choose your preferred datacentre from the dropdown, and click the Create button.
You’re all set!
To learn how to configure remote backups for your websites check out the following article for a full walk-through:
Further Reading
For further information about how backup systems work, the available options for configuring them, and for setting up remote backups (available on V2), please see the articles listed below.
