GitHub Personal Access Tokens
GitHub’s access tokens aren’t ideal as they apply to an entire account, and there isn’t an option to create an individual token that’s specific to a single repo. However, there is scope for them, and this can still be an acceptable setup for most use cases.
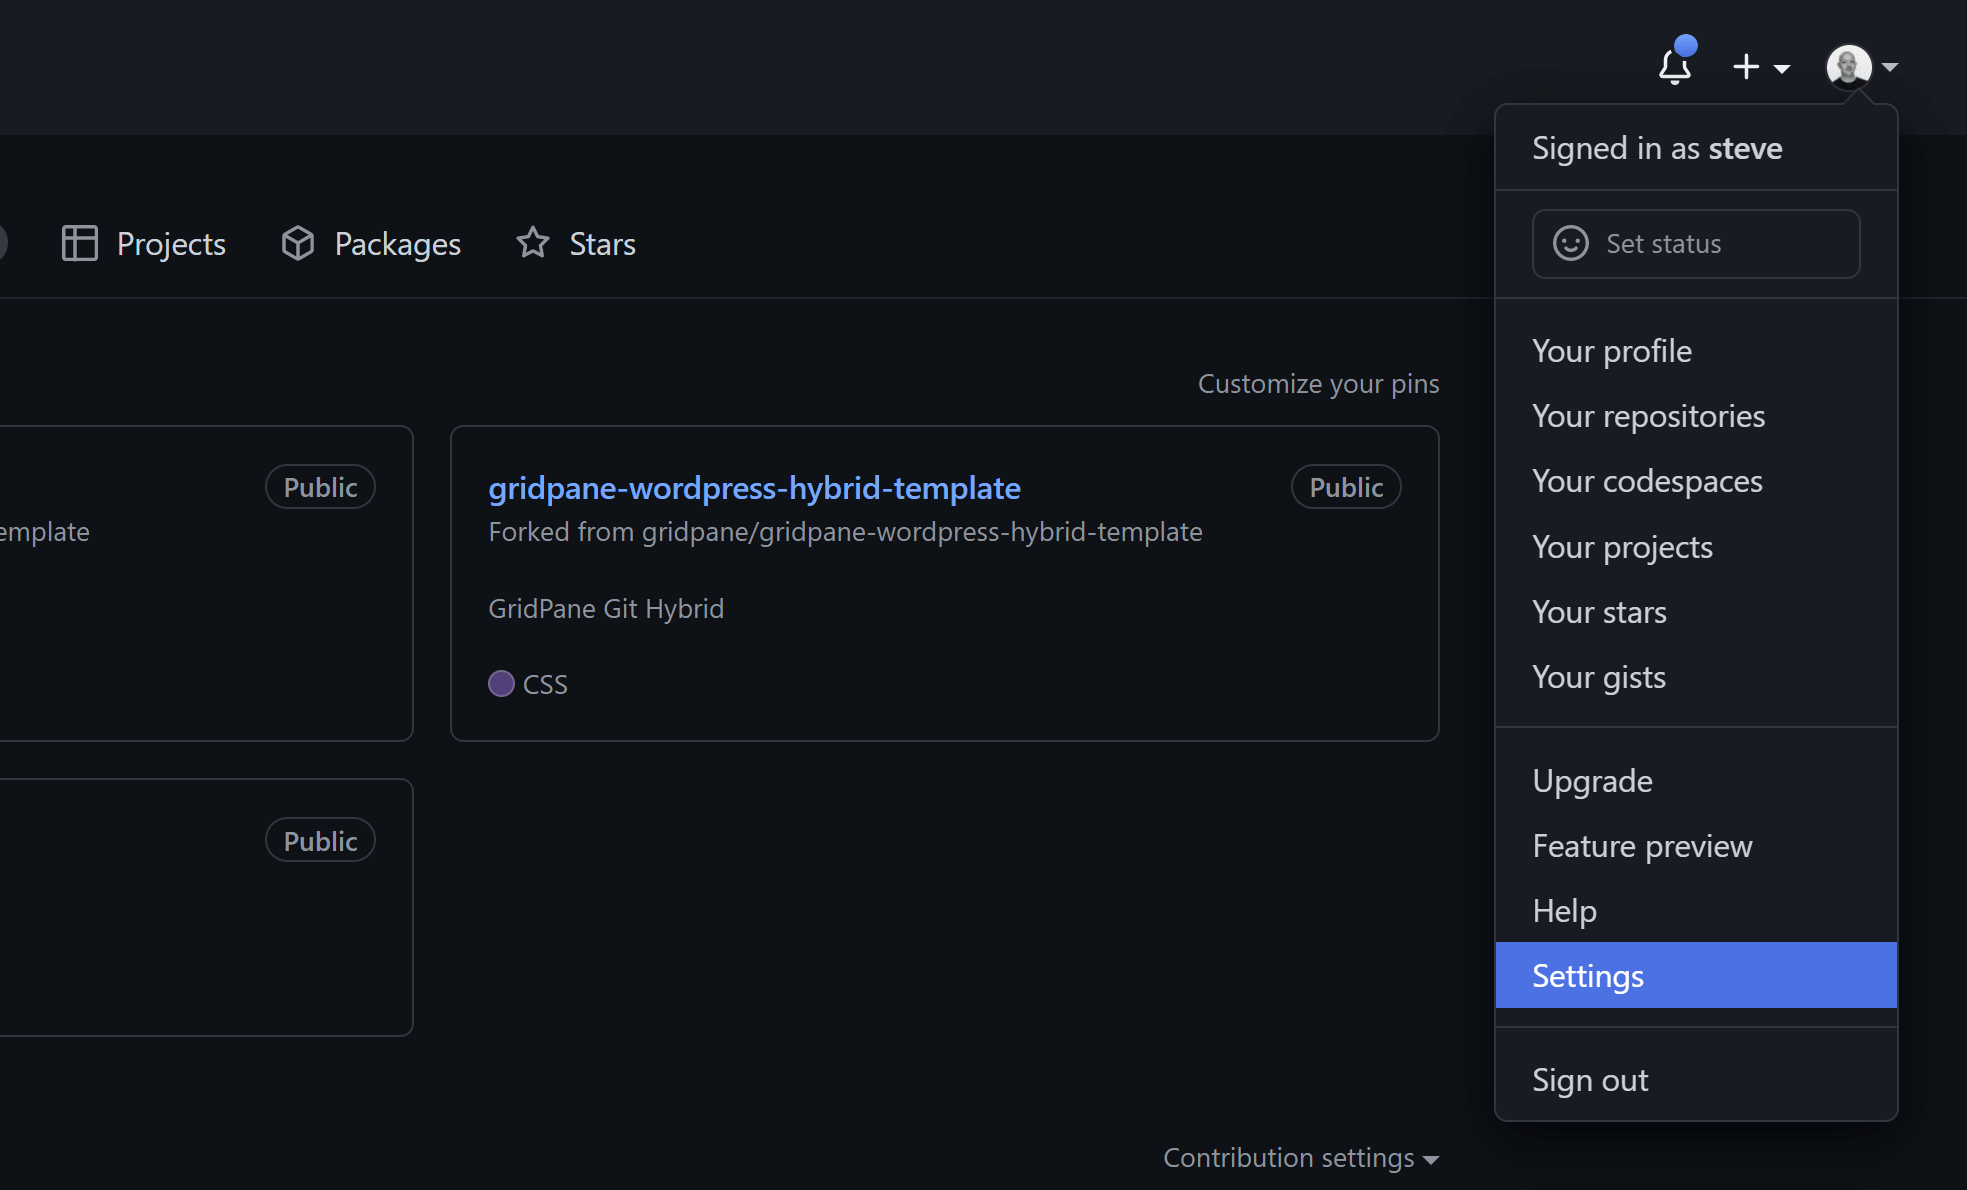
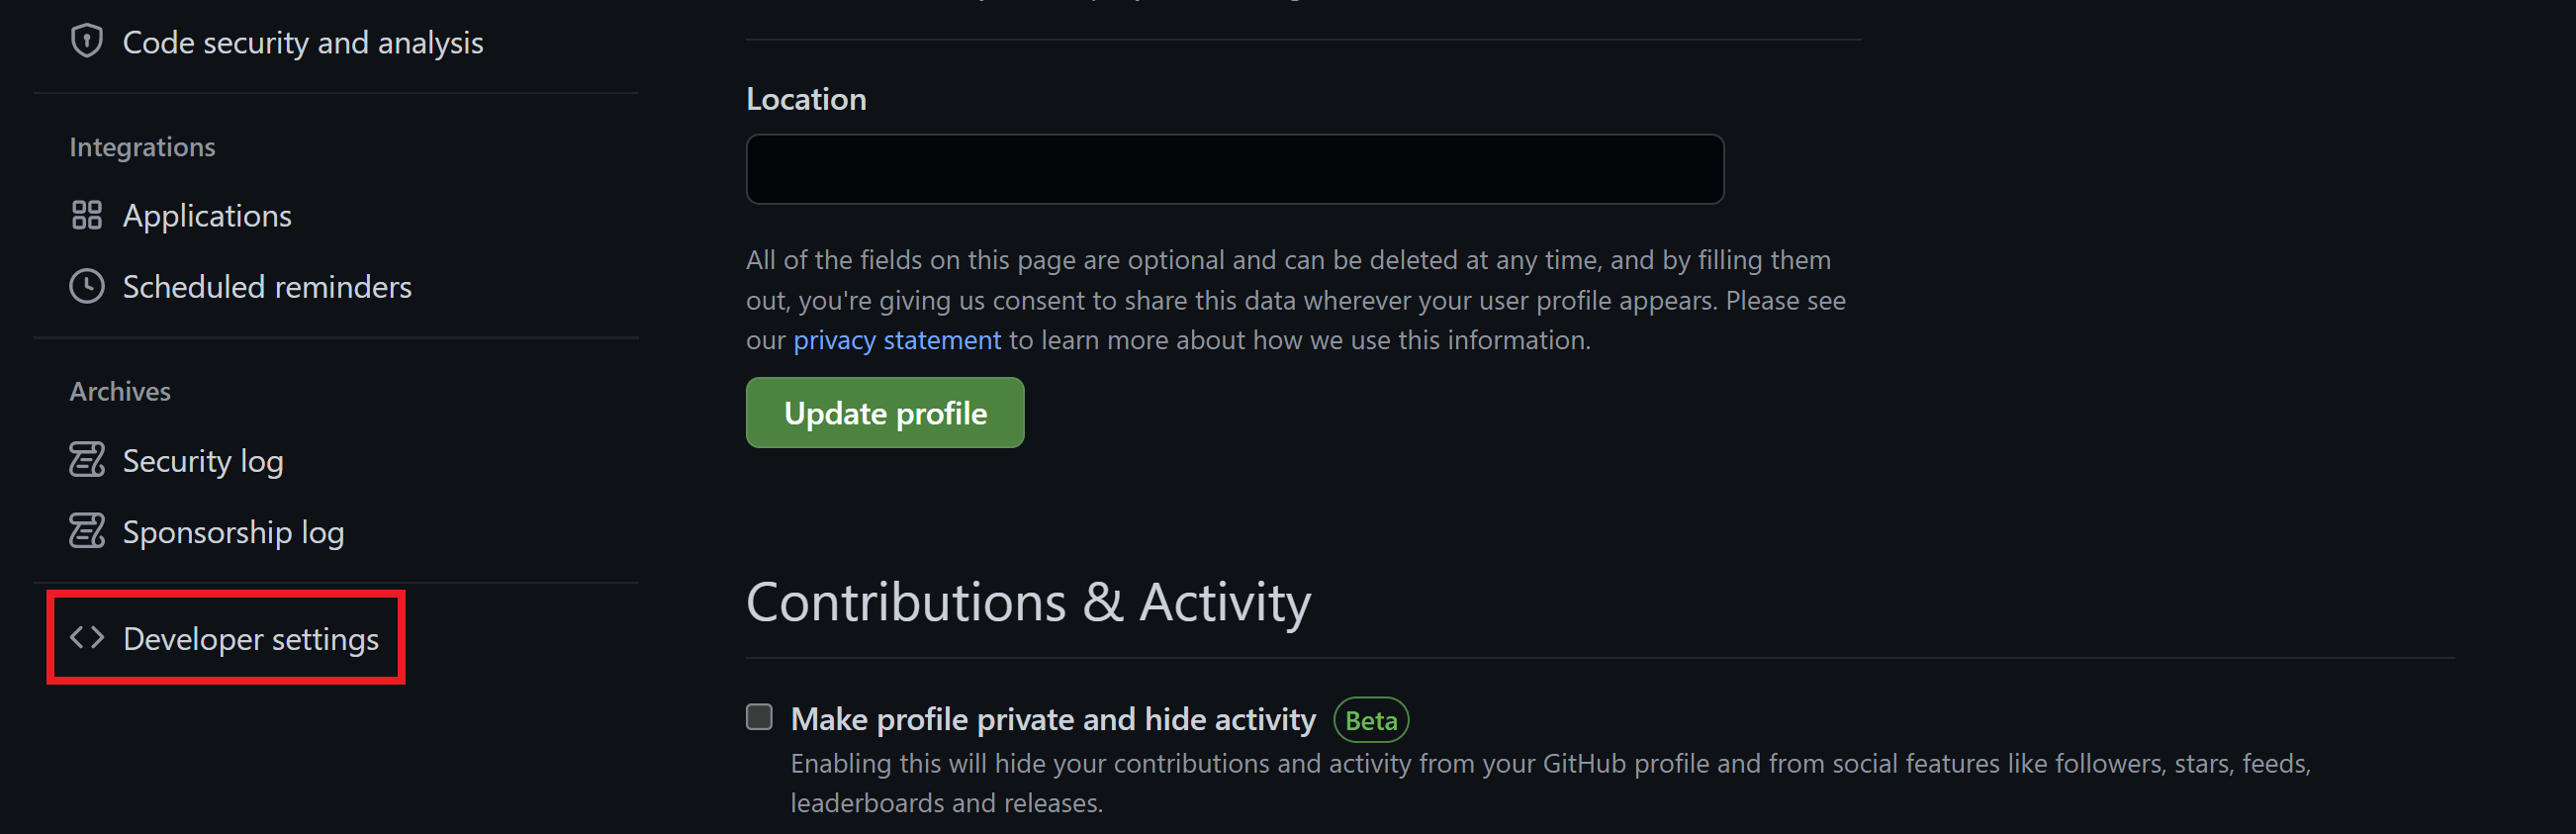
In GitHub from your account dropdown and go to: Settings > Developer Settings > Personal Access Tokens:
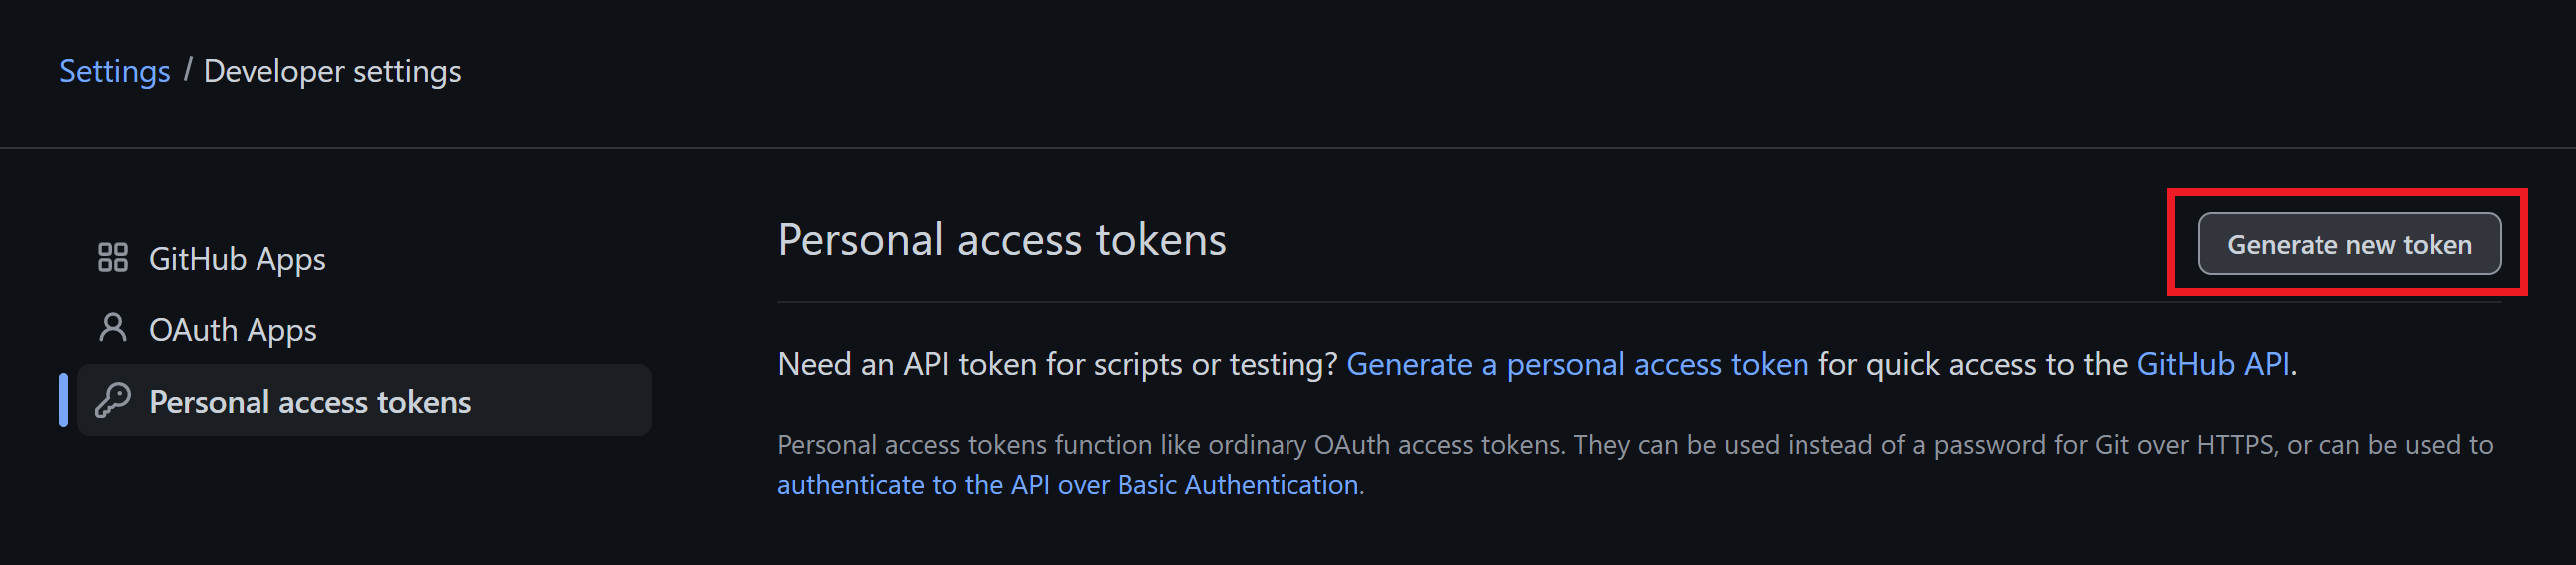
Click Generate new token:
Here we need to:
- Add a note (this is the name for your token)
- Set the expiration time
- Check the repo checkbox to allow all repo functions – nothing else here is needed.

Next, scroll down to the bottom and click the Generate Token button.
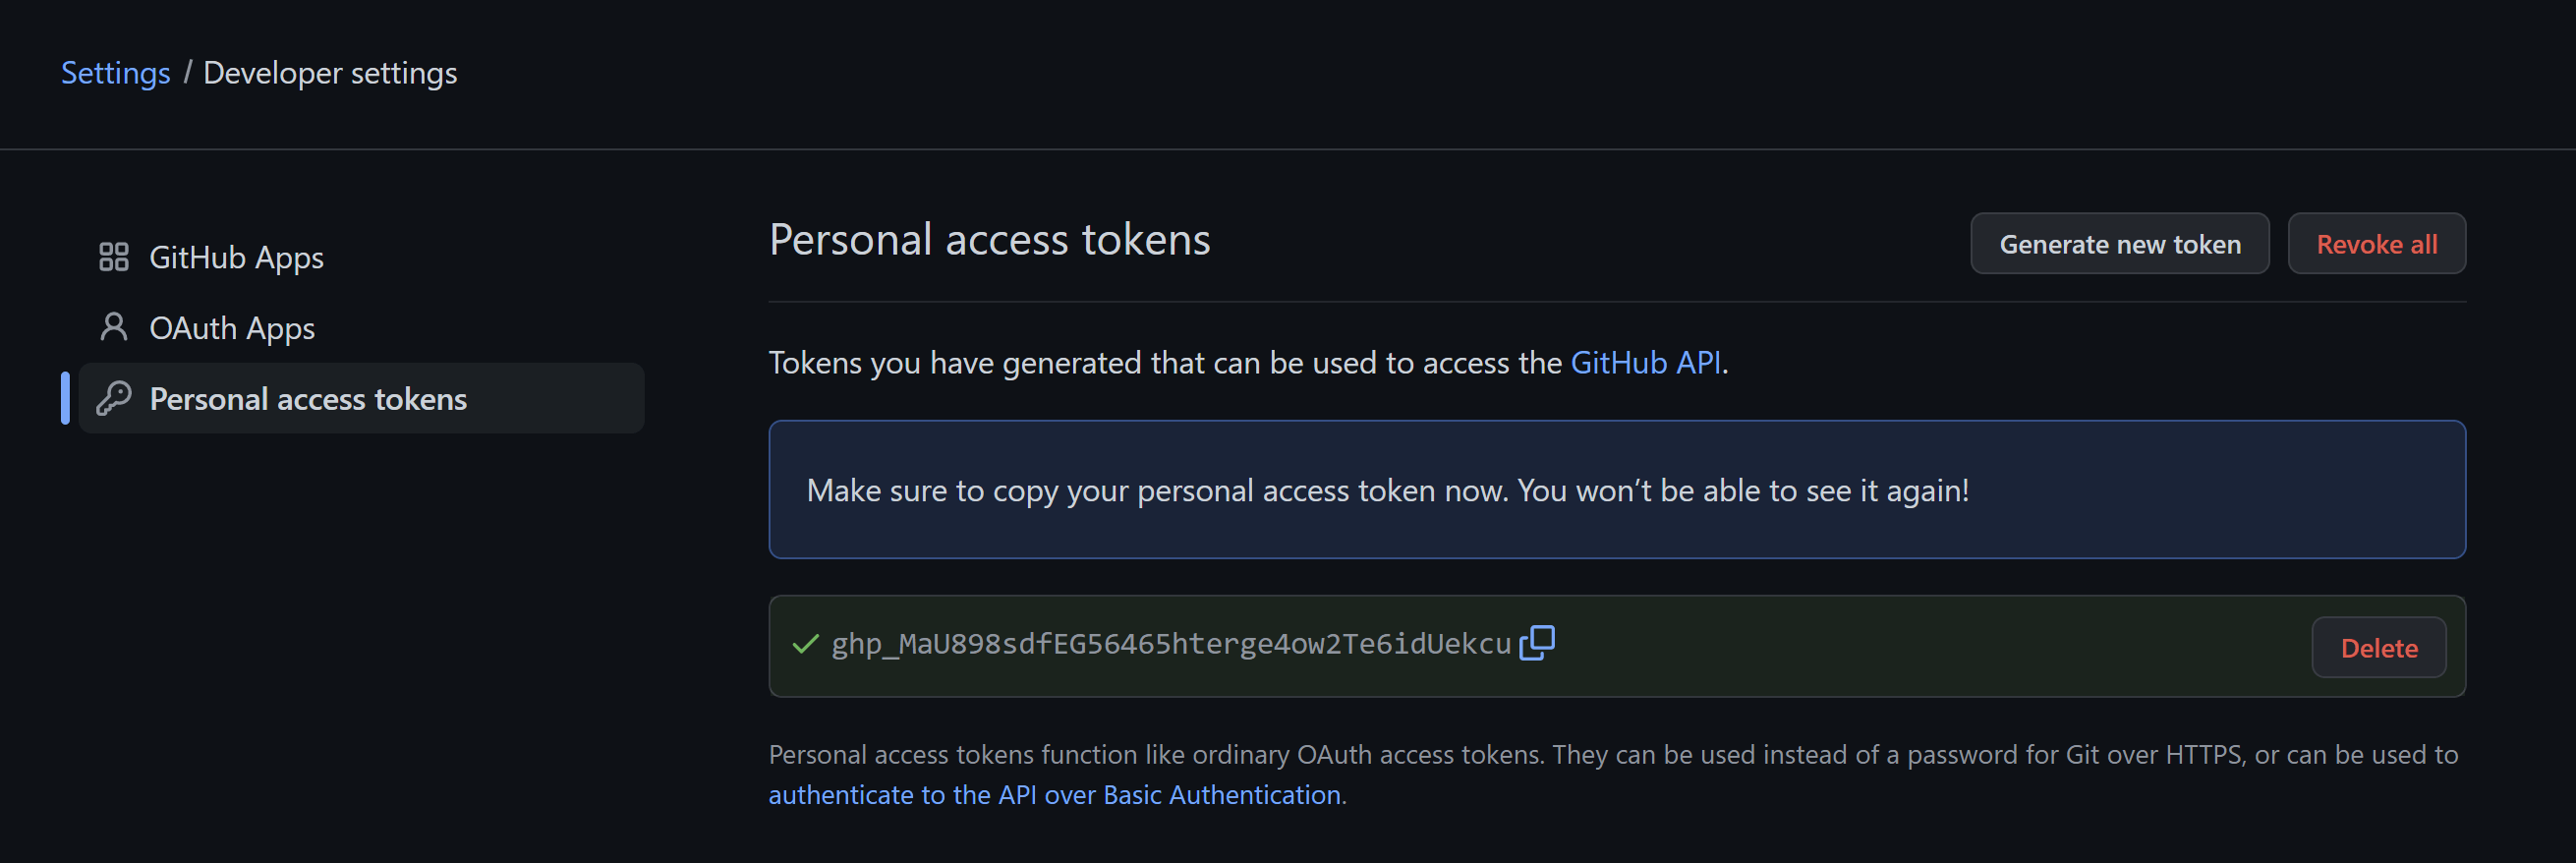
You’ll be taken to a new page and presented with your token. Click the copy icon.
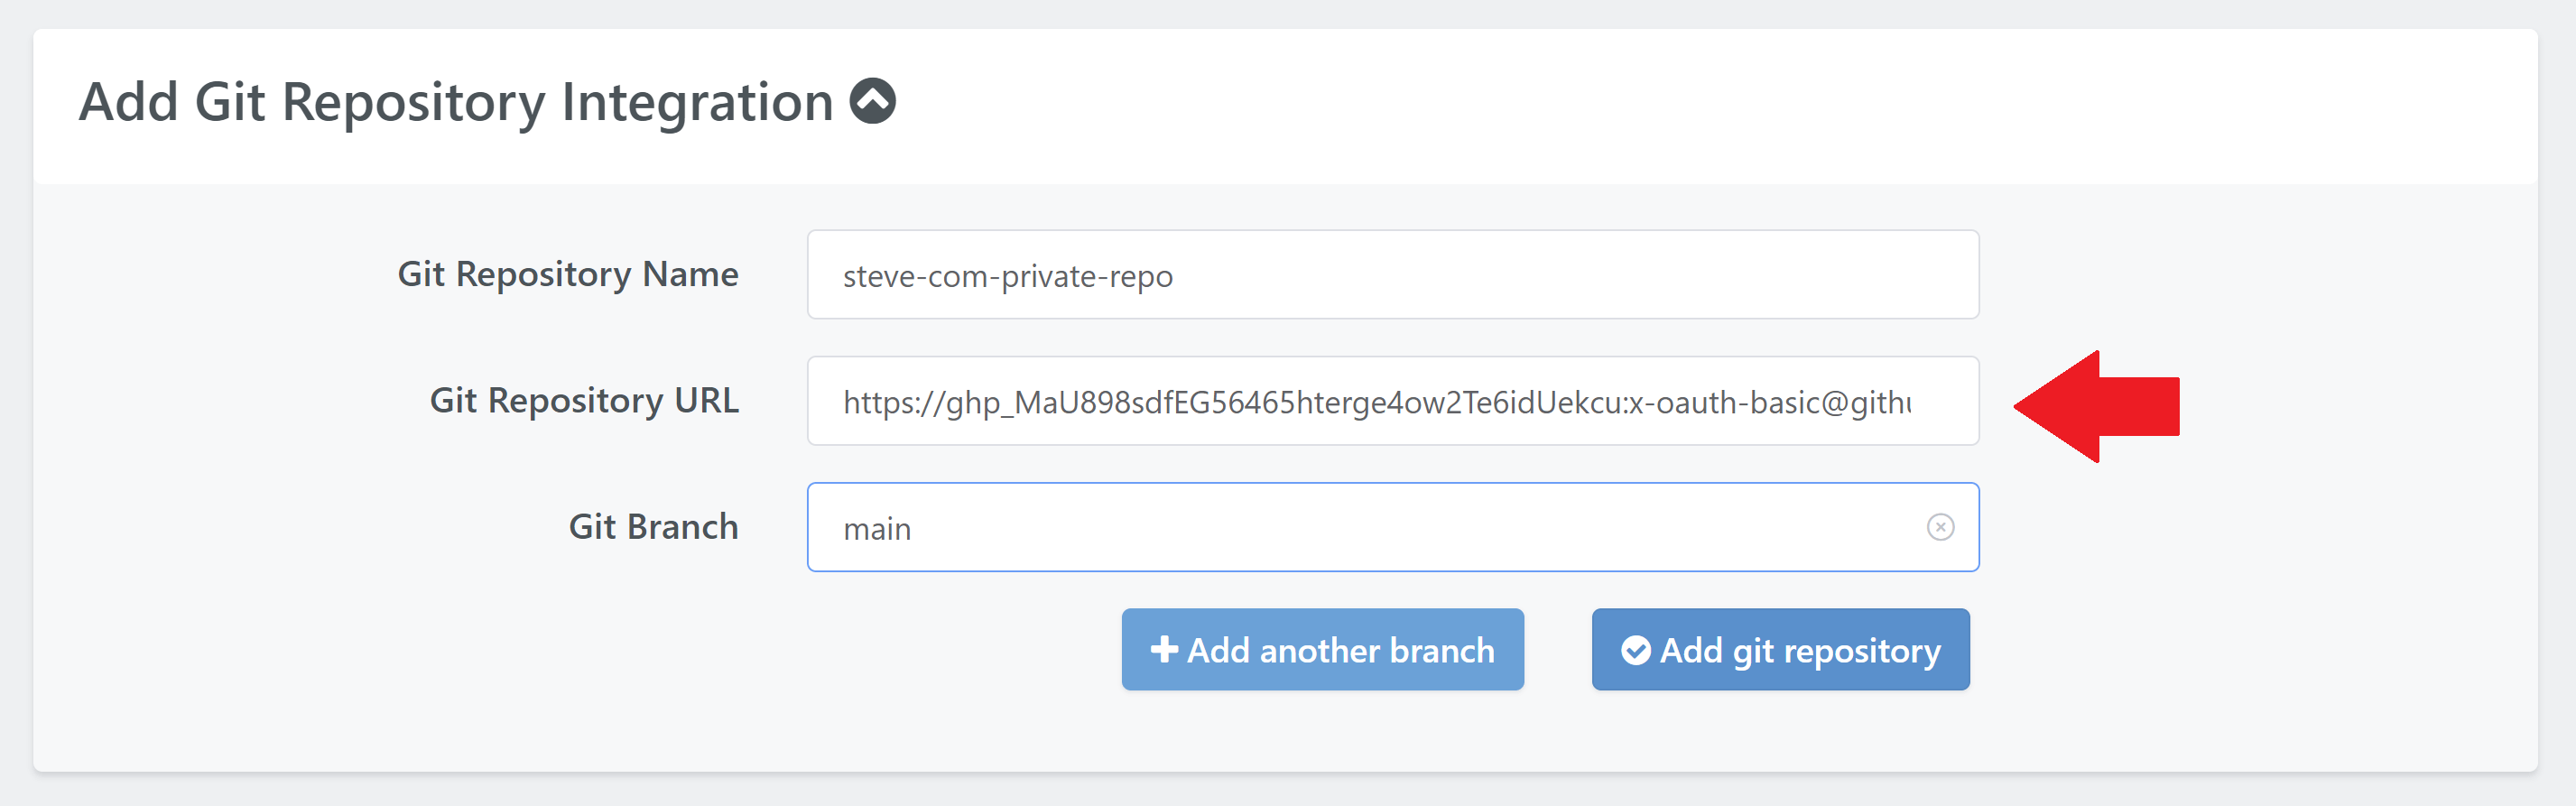
Now you can use that key to create the URL for the repo to add, like so:
https://{token}:x-oauth-basic@{repo.domain}/path/to/repo
For example:
https://ghp_iLo3jxeUAMavH7y4xsfmoer349224SQh0pofg1:x-oauth-basic@github.com/gridpane/private-gridpane-wordpress-template
This is the URL that you will add to the Git Repository URL field when creating a new repo:
Your private repo is now ready to use with GridPane. To get started using your repo with GridPane, please see this article:
Using the GridPane Git Integration
GitLab Deploy Tokens
GitLab allows for individual tokens per repo, which is great.
Navigate to your GitLab hosted repo and go to: Settings > Repository > Deploy Tokens.
Here, enter a name (token name) and a username, select the appropriate permissions (read is necessary, write is optional), and click create. Do not set the expiration date (since a new token would need a new repo connection in the app).
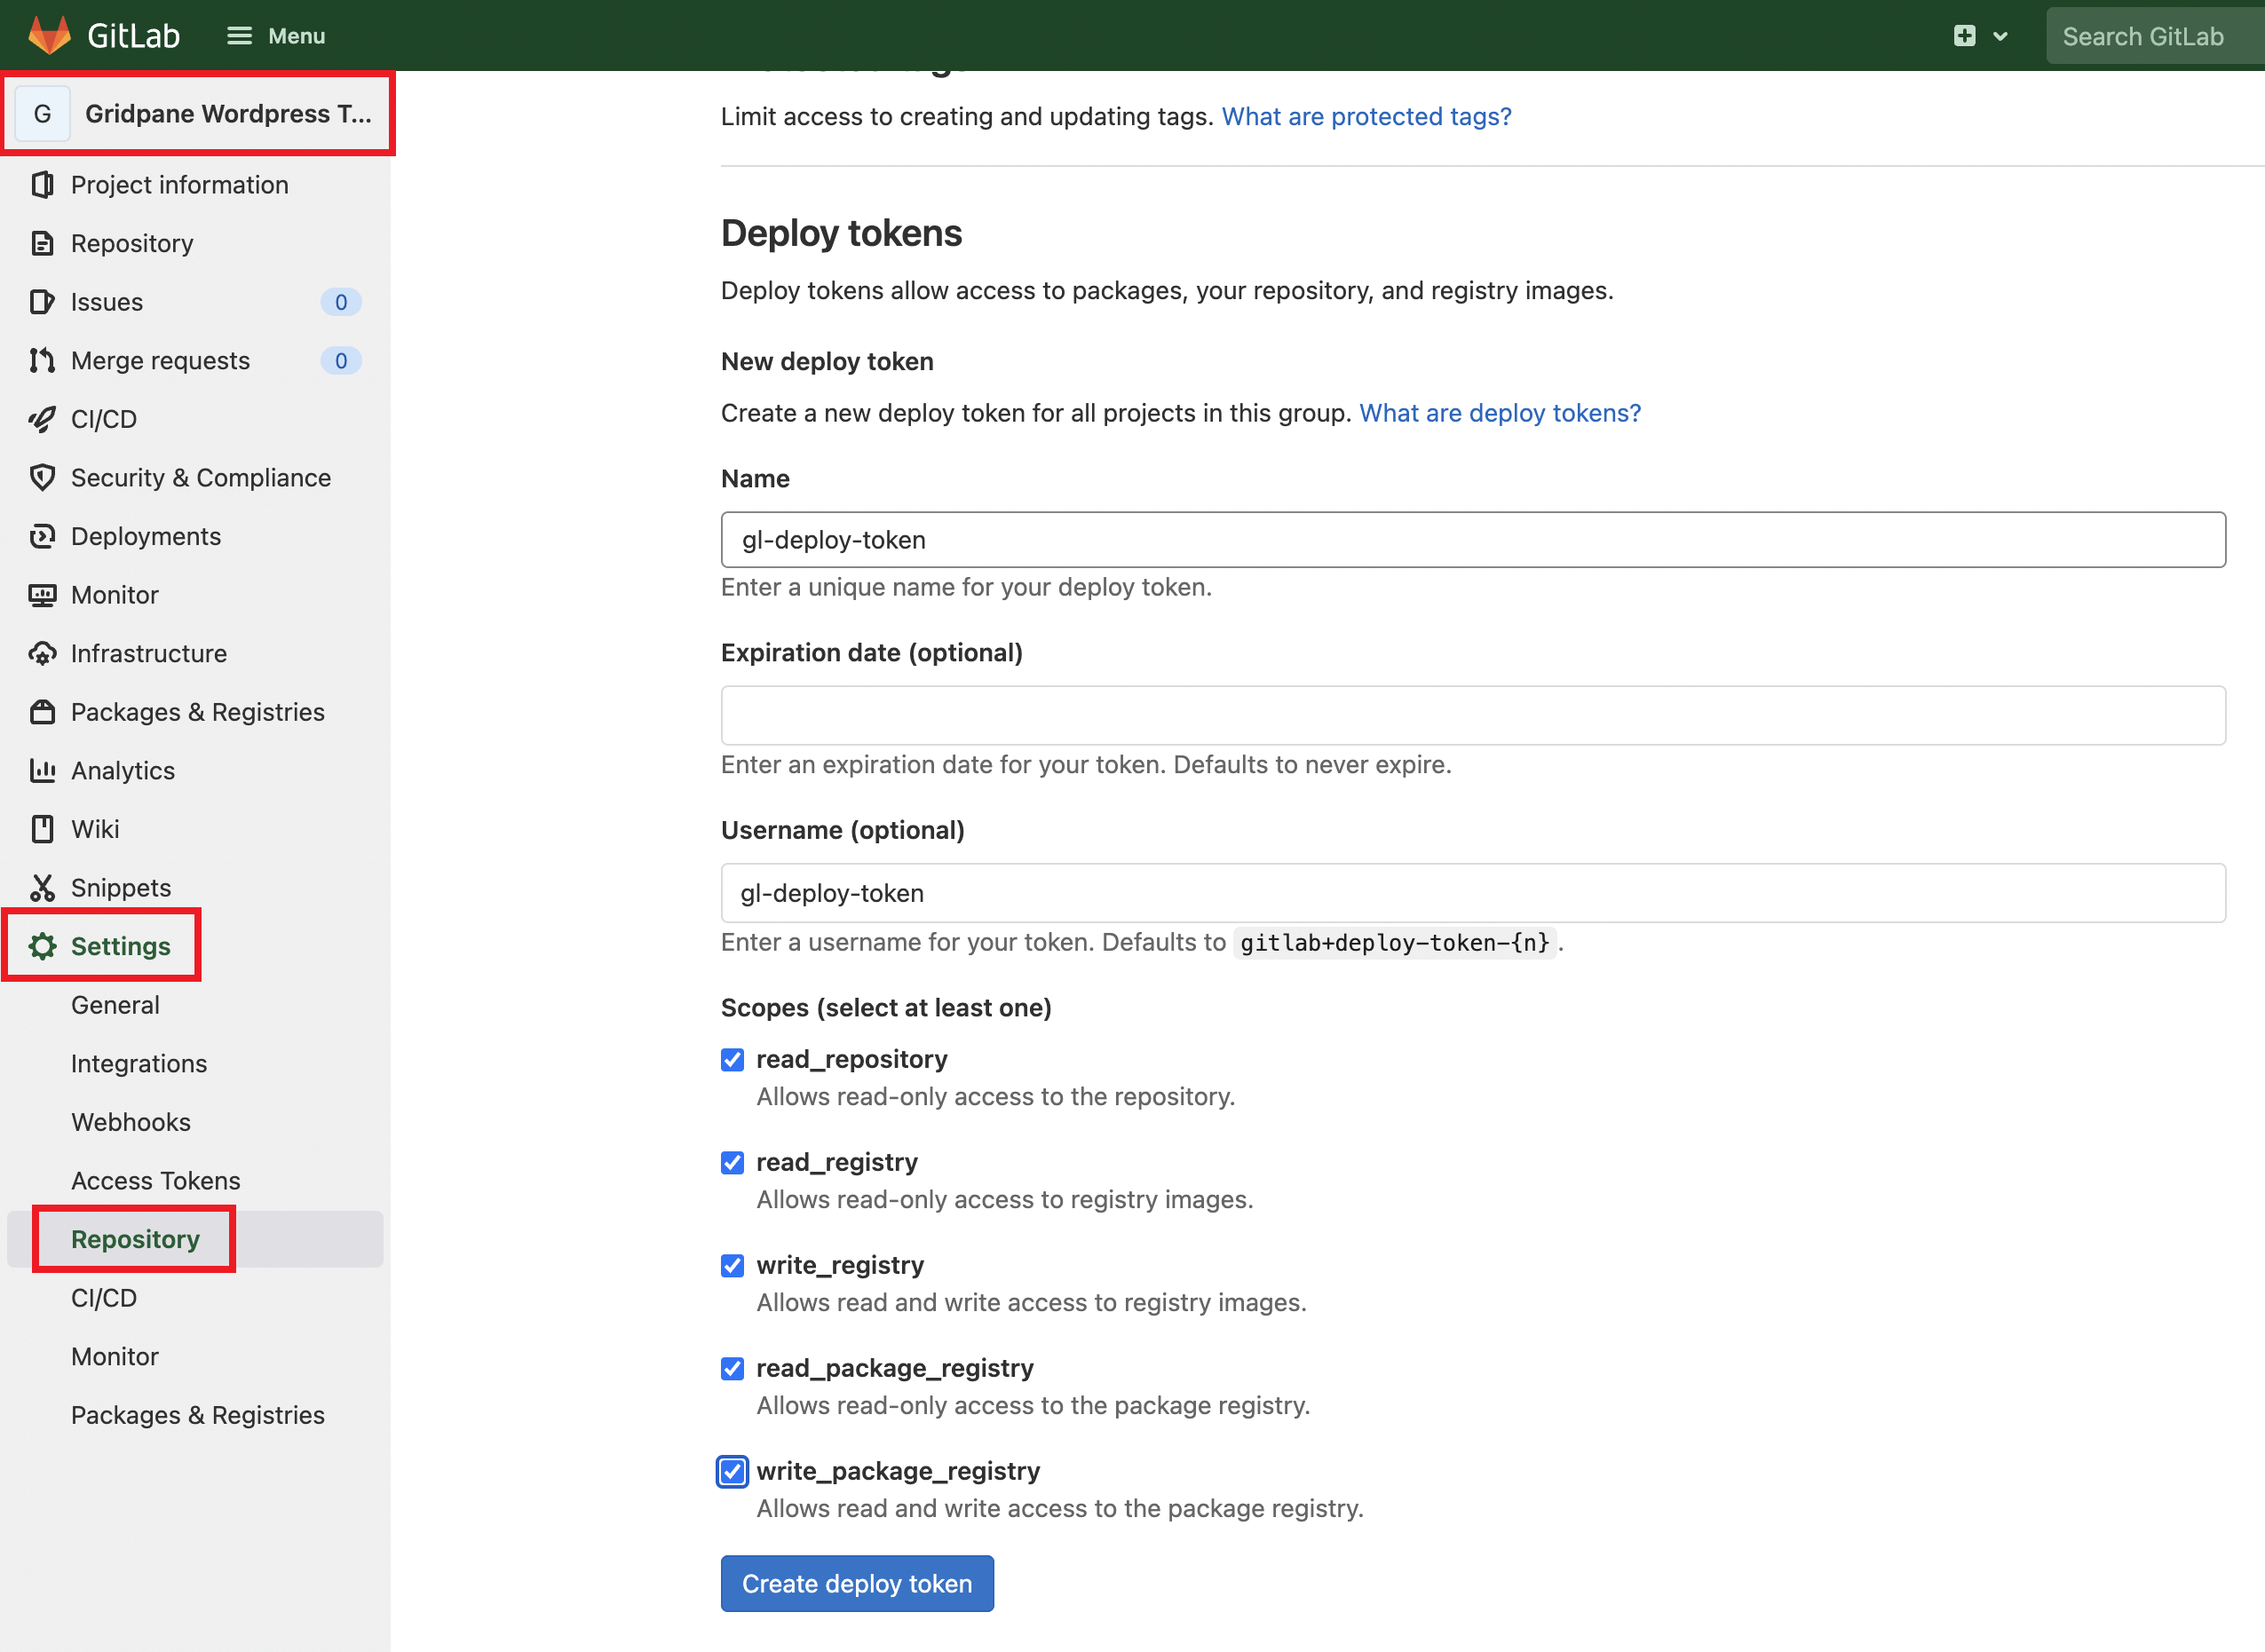
Once configured, click the Create deploy token button.
GitLab will show you your token one time, and never again, so be sure to copy it down.

Add Your Repo to GridPane
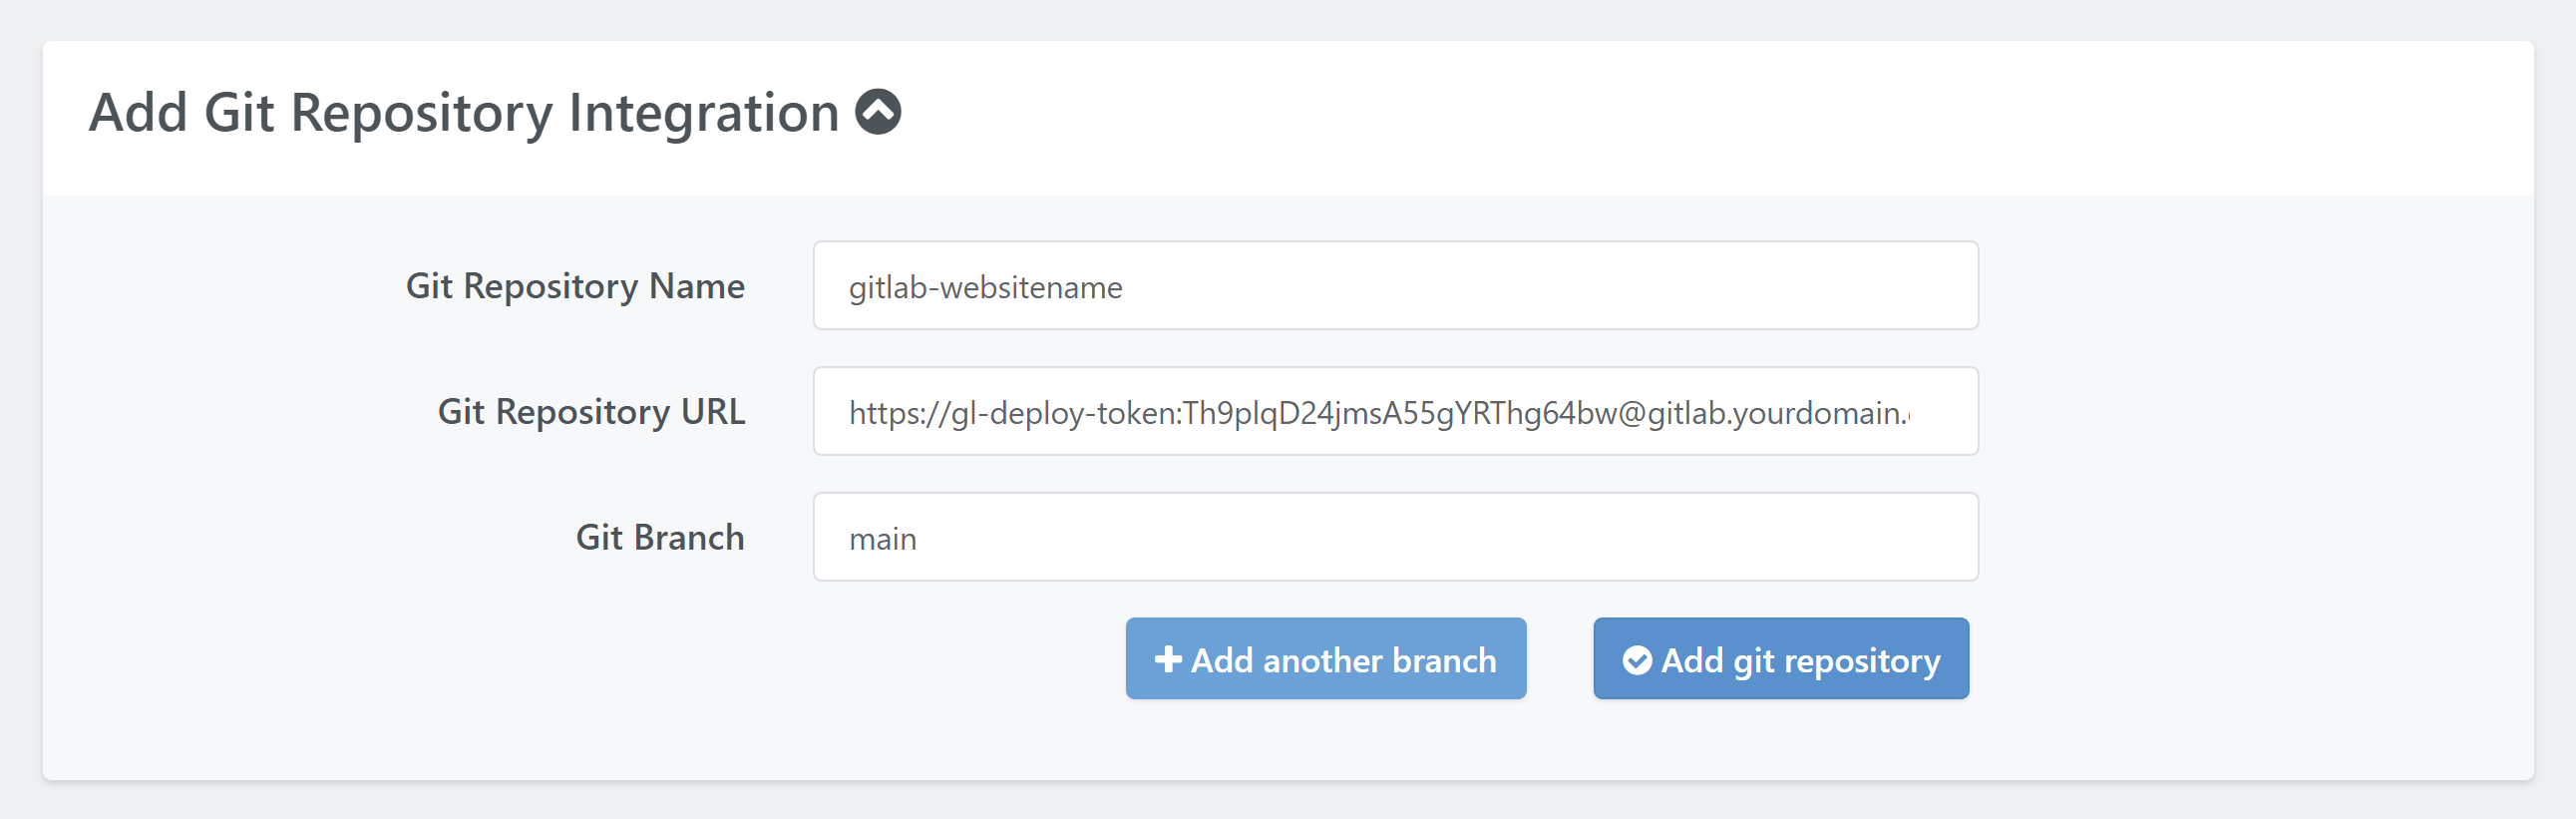
You can use the token username and the token to create the string that you enter in the app as your URL:
https://{token.username}:{token}@{repo.domain}/path/to/repoFor example:
https://gl-deploy-token:[email protected]/gridpane/gridpane-wordpress-template
Your private repo is now ready to use with GridPane. To get started using your repo with GridPane, please see this article:
Using the GridPane Git Integration
Create and Configure a New SSH Key Pair: Full & Hybrid Git Repositories
The following steps apply to both GitHub and GitLab, with sections specific to each as we go.
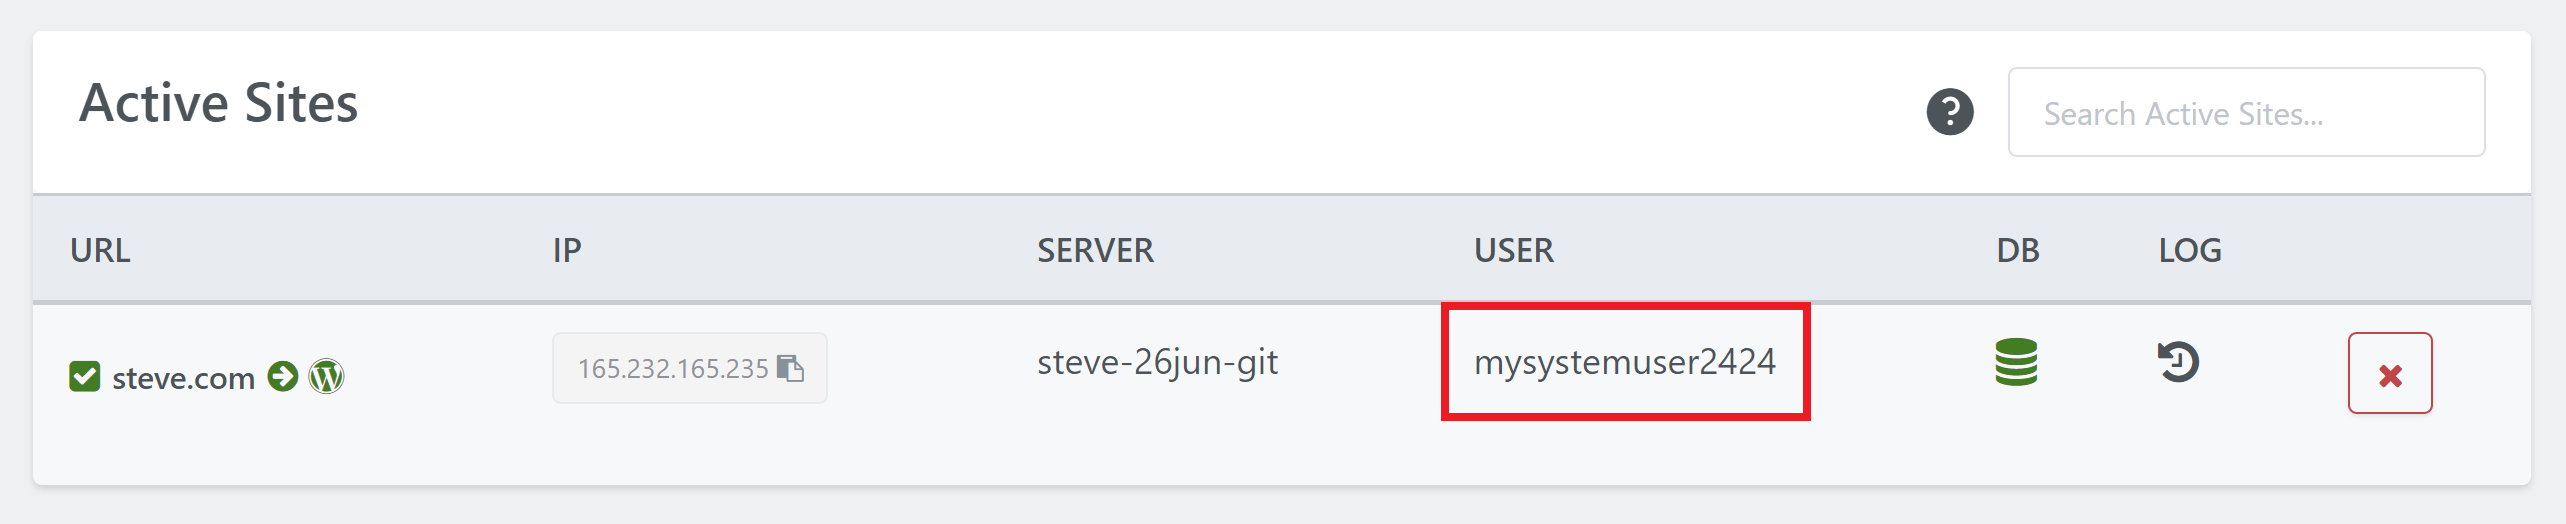
The {system.user} referred to in the steps below is your website system user:
Step 1. Generate System User SSH to use for Git access
Build a site on your server, it will have its user, we will need to create an SSH key for that user:
ssh-keygen
It will ask you where to add the key, enter the correct file path for an SSH key in the sites system user path:
/home/{system.user}/.ssh/id_rsaFor example:
root@myserver:~# ssh-keygen
Generating public/private rsa key pair.
Enter file in which to save the key (/root/.ssh/id_rsa): /home/mysystemuser2424/.ssh/id_rsa
Enter passphrase (empty for no passphrase):
Enter same passphrase again:
Your identification has been saved in /home/mysystemuser/.ssh/id_rsa.
Your public key has been saved in /home/mysystemuser/.ssh/id_rsa.pub.
The key fingerprint is:
SHA256:d1W+dc5Dg9Rwjiof389tyj40rgk3wojfkrxfhQ2W+j85c root@jun15-rep-jeff-do20
The key's randomart image is:
+---[RSA 2048]----+
| =oOoo ..o. .|
| + Bo*... oo.+ |
| . . *o....=.=o+|
| . + .= @.o=|
| . S + * .oo|
| + . .|
| o . |
| . E |
| . |
+----[SHA256]-----+
root@myserver:~#
Private SSH Key Repo URL Format
I’m covering this part in advance of actually adding your SSH key to GitHub and GitLab
When using a private repo with an SSH key you will still need to add a repo URL when you configure things inside of your GridPane account.
With the above 3 steps done you can enter the URLs for your Git repo like so:
git@{git.user}:relative/path/to/repoWhere the {git.user} is that user from the .ssh/config and the relative/path/to/repo is relative to {git.repo.domain.hostname}.
GitHub URL Format
If, as an example, my GitHub repo URL is as follows:
https://github.com/ste-bell/mywordpresssite
Then this is how you would configure your repo URL inside GridPane:
git@github-mywprepo:ste-bell/mywordpresssite

If you’re using a self-hosted GitHub clone, please select the Self Hosted Git option and then select GitHub clone.
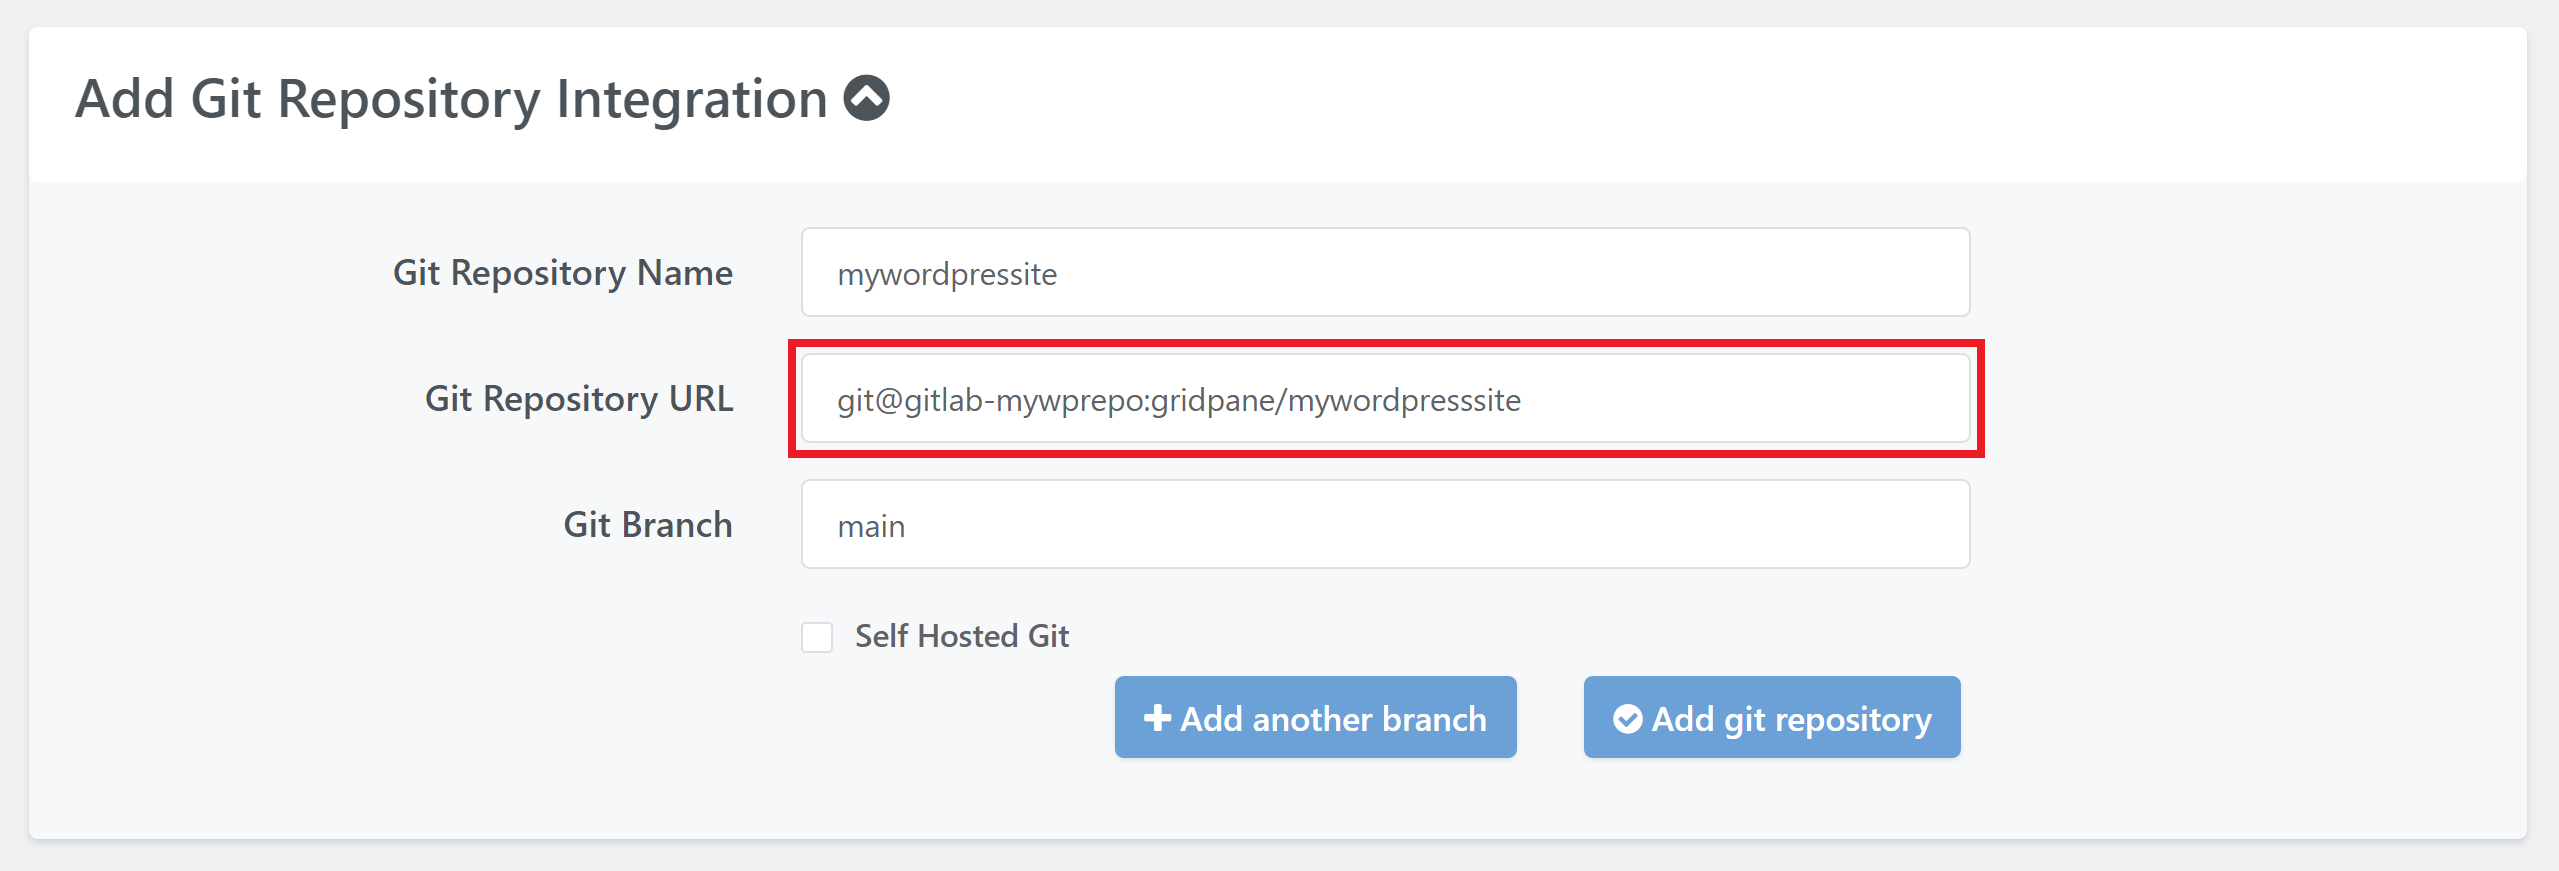
GitLab URL Format
If, as an example, my GitLab repo URL is as follows:
https://gitlab.mywebsite.com/gridpane/mywordpresssite
Then this is how you would configure your repo URL inside GridPane:
git@gitlab-mywprepo:gridpane/mywordpresssite
If you’re using a self-hosted Gitlab, please select the Self Hosted Git option and then select Gitlab Community Edition.
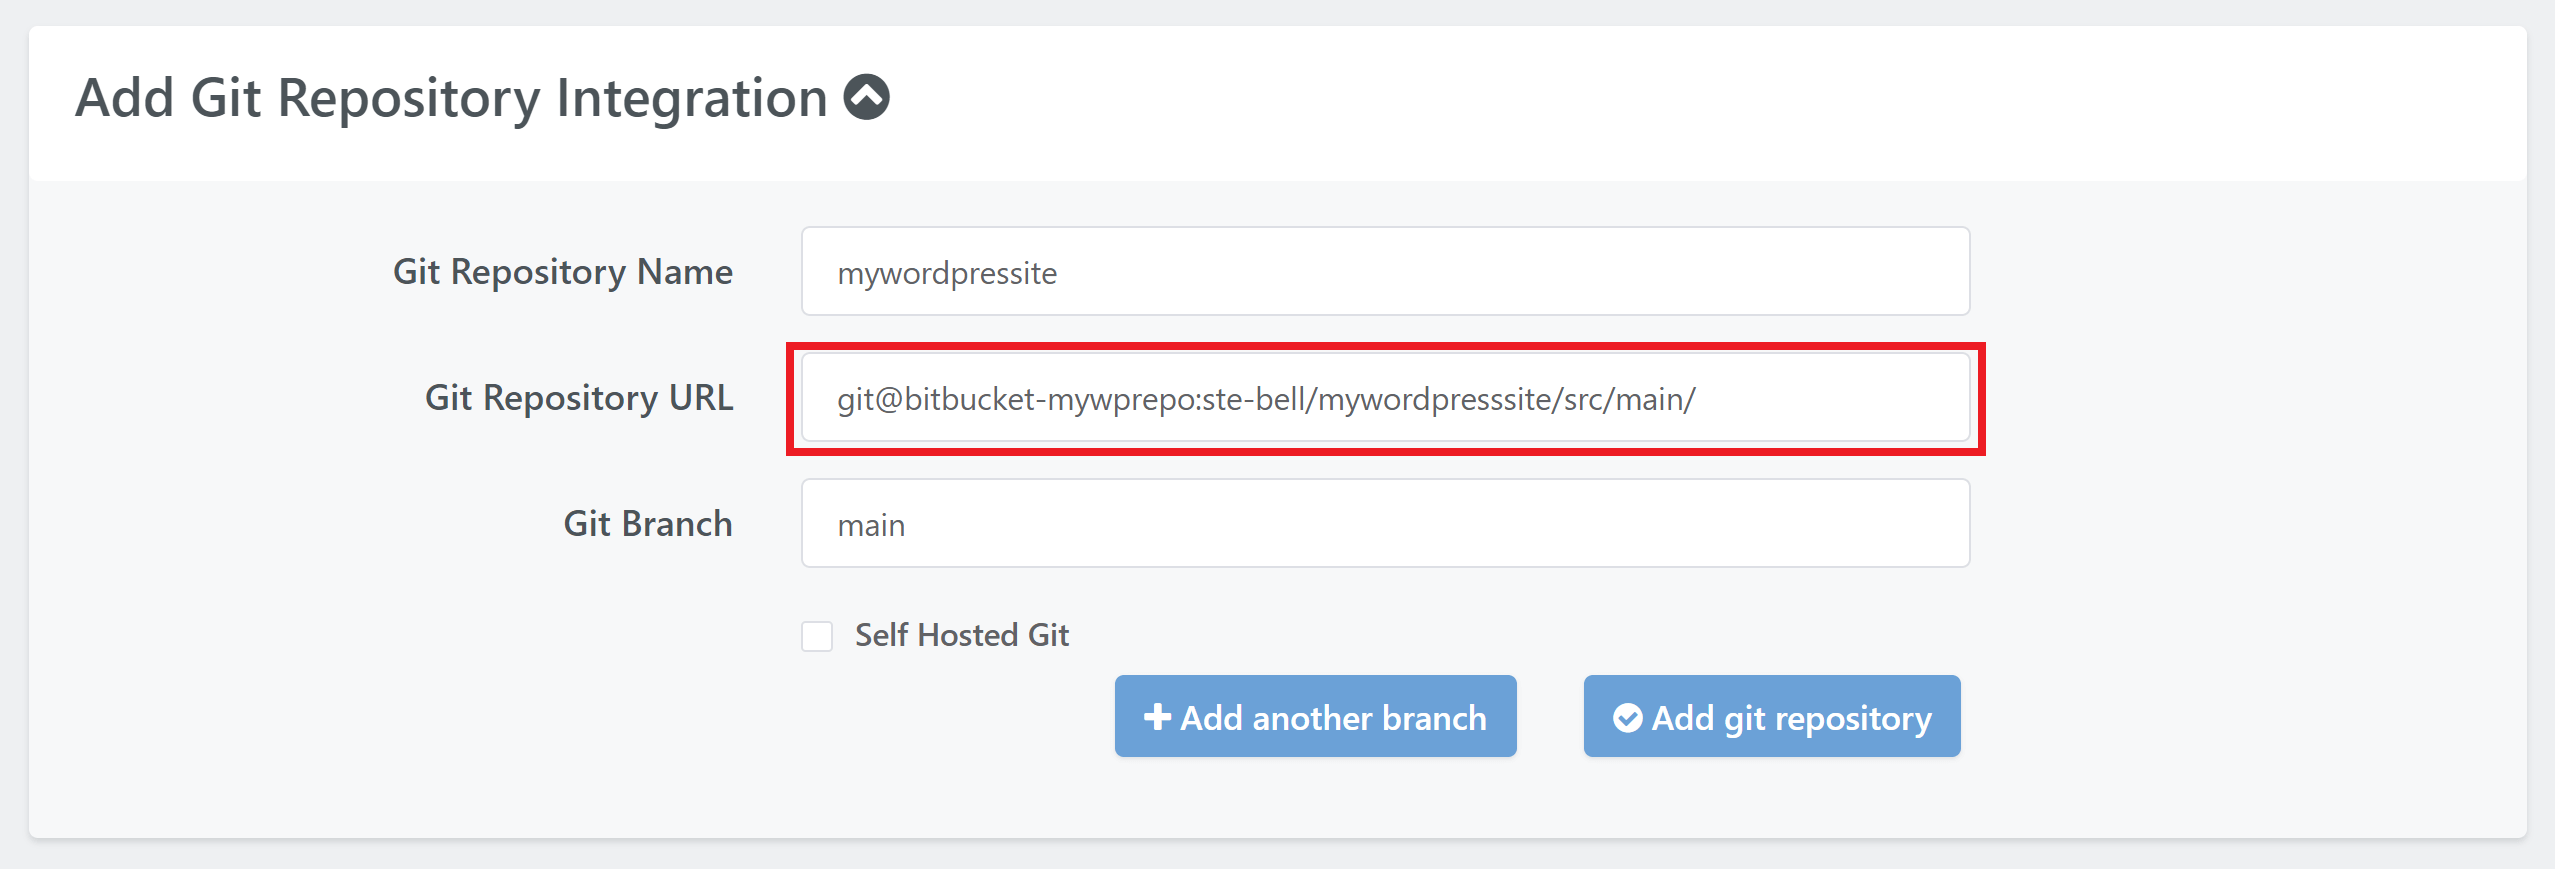
Bitbucket URL Format
Note: Bitbucket appends the branch to the URI. I’m not sure if there’s a way around this to work with multiple branches inside one GridPane Git repository integration.
If, as an example, my Bitbucket repo URL is as follows:
https://bitbucket.org/ste-bell/mywordpresssite/src/main
Then this is how you would configure your repo URL inside GridPane:
git@bitbucket-mywprepo:ste-bell/mywordpresssite/src/main/
If you’re using a self-hosted Bitbucket server, please select the Self Hosted Git option and then select Bitbucket Server.
Add SSH Key to GitHub Repo
Head over to your GitHub account and open the repo that you want to add your SSH key to.
Here choose Settings > Deploy Keys. Click the Add deploy key button and you’ll then be able to add your public SSH key and give it a name:
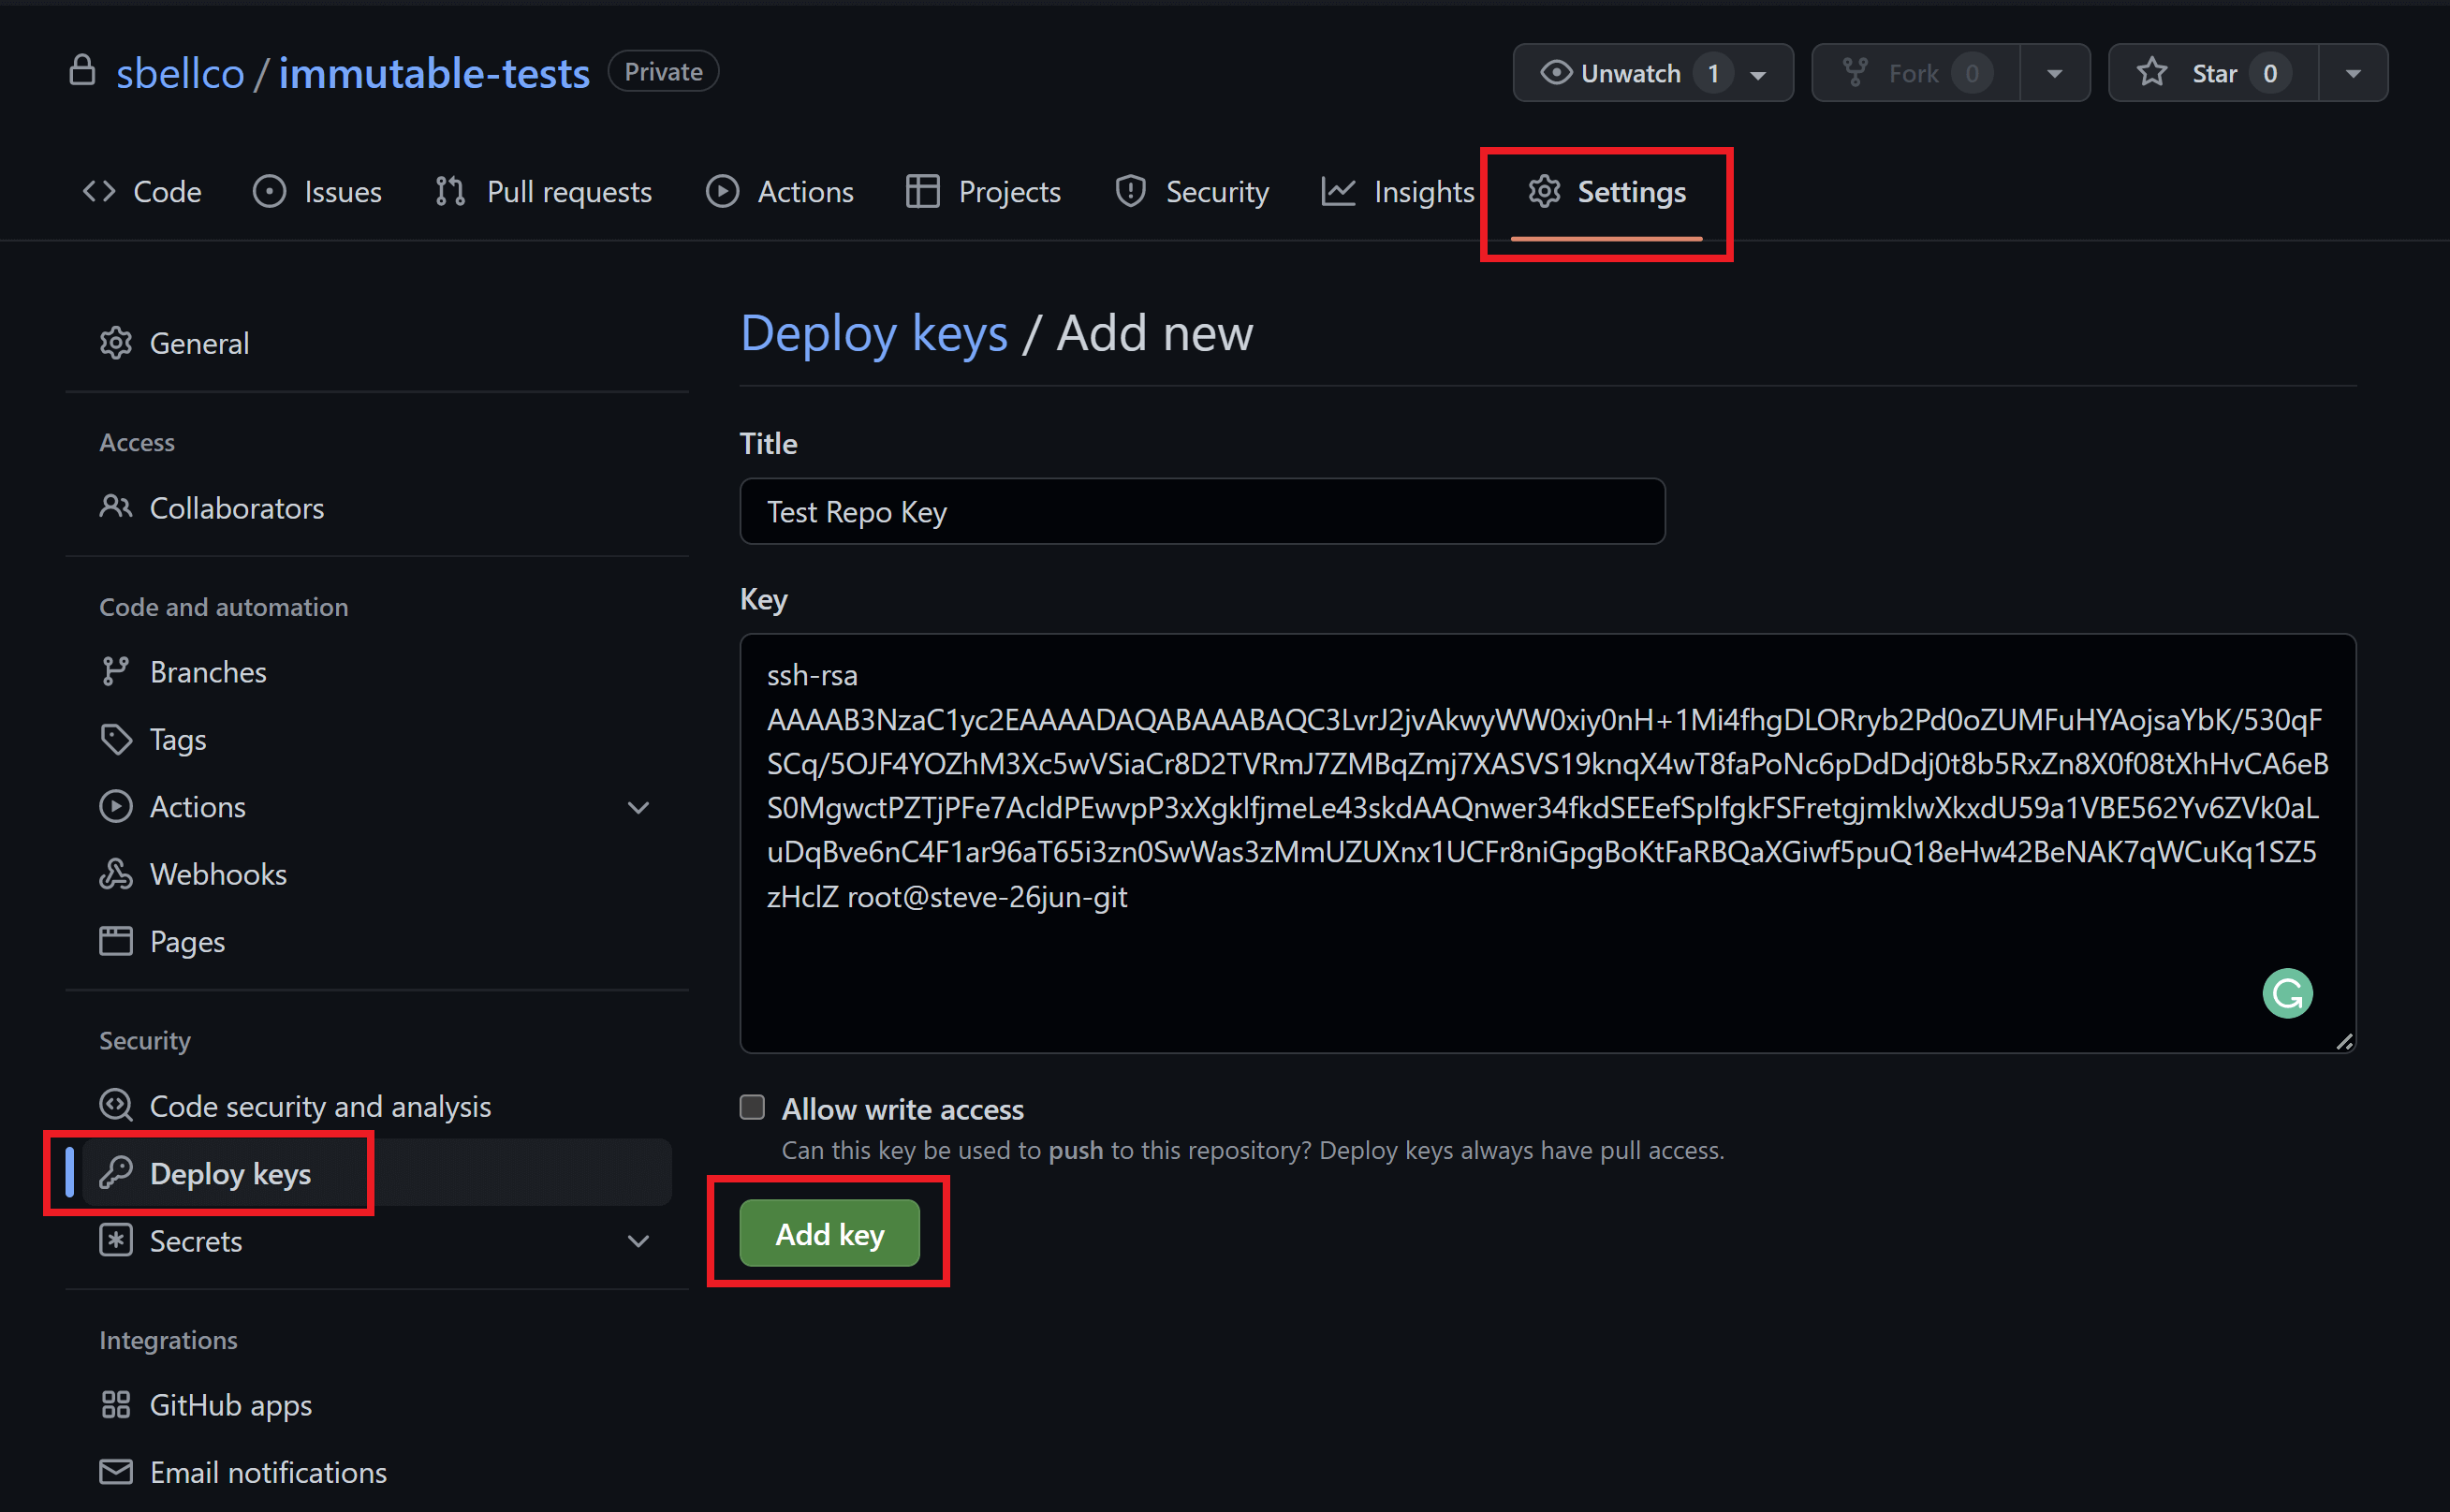
You may want to name this in a way that it’s easy to connect it to your specific website and its current server name/IP address for easy reference in the future.
You don’t need to allow write access.
Click the Add key button when ready. You’ll then see your key listed and with any other keys you may have and you can also delete it from here as well.

You can now use this repo with your GridPane account.
Add SSH Key to GitLab Repo
Inside your GitLab account and head to Settings > Repository > Deploy Keys.
Here you can add your public SSH key and give it a name.
You may want to name this in a way that it’s easy to connect it to your specific website and its current server name/IP address for easy reference in the future.
You don’t need to allow write access.

When ready, click the Add key button.
Once added, it will appear alongside any other keys that have access to the repo, and you can revoke access from here in the future when needed.
You can now use this repo with your GridPane account.
Add SSH Key to Bitbucket Cloud Repo
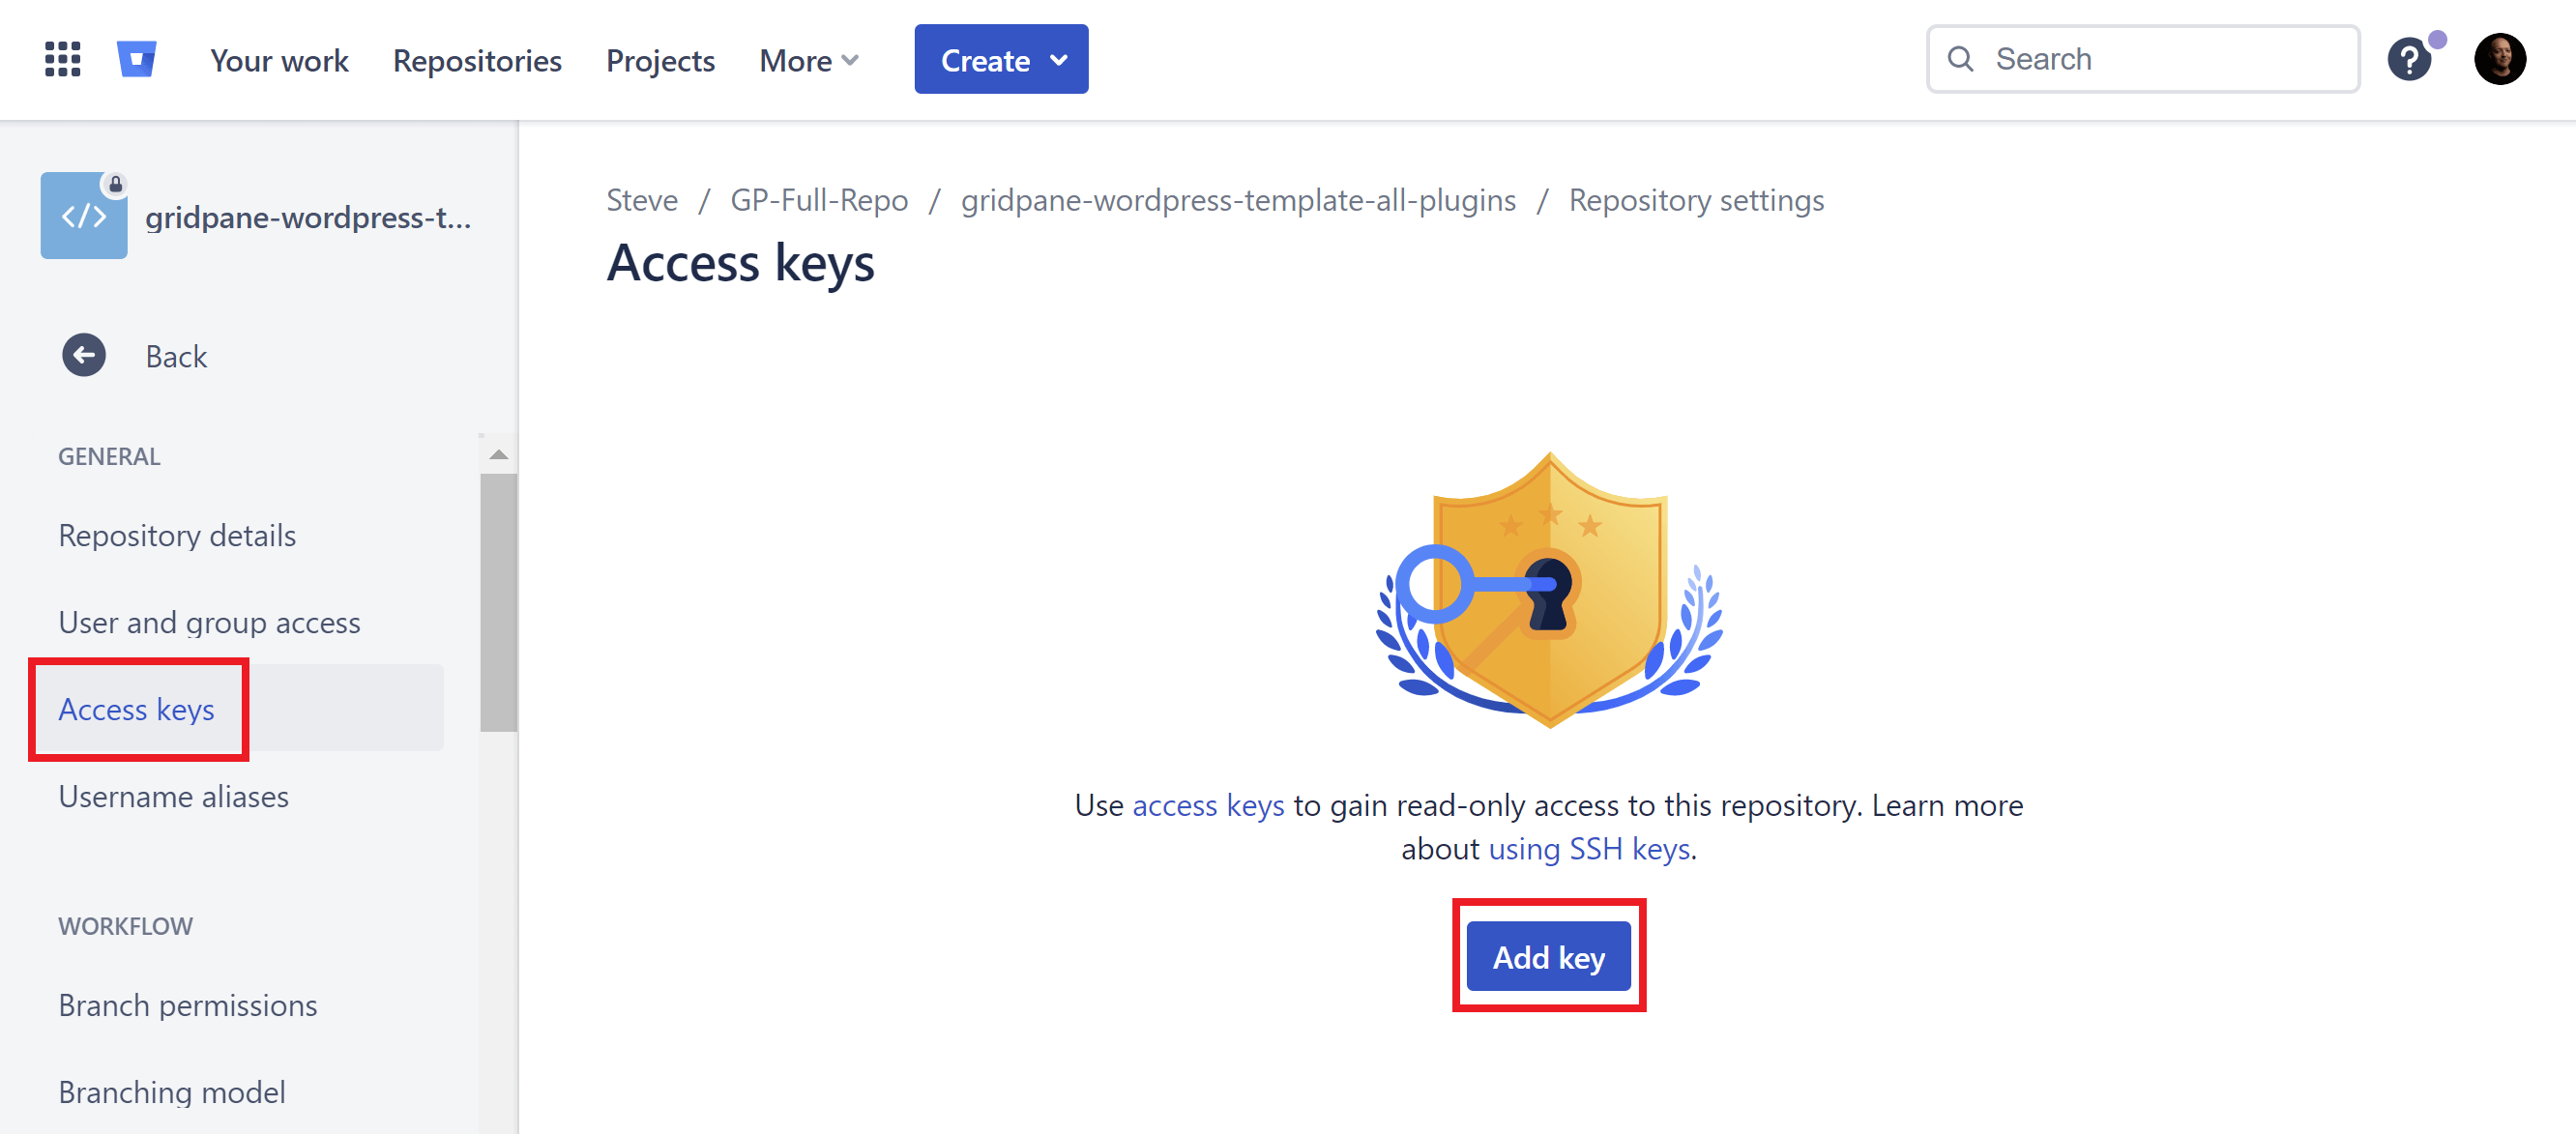
Inside your Bitbucket Cloud account open up your repo and then through to Repository settings > Access Keys.
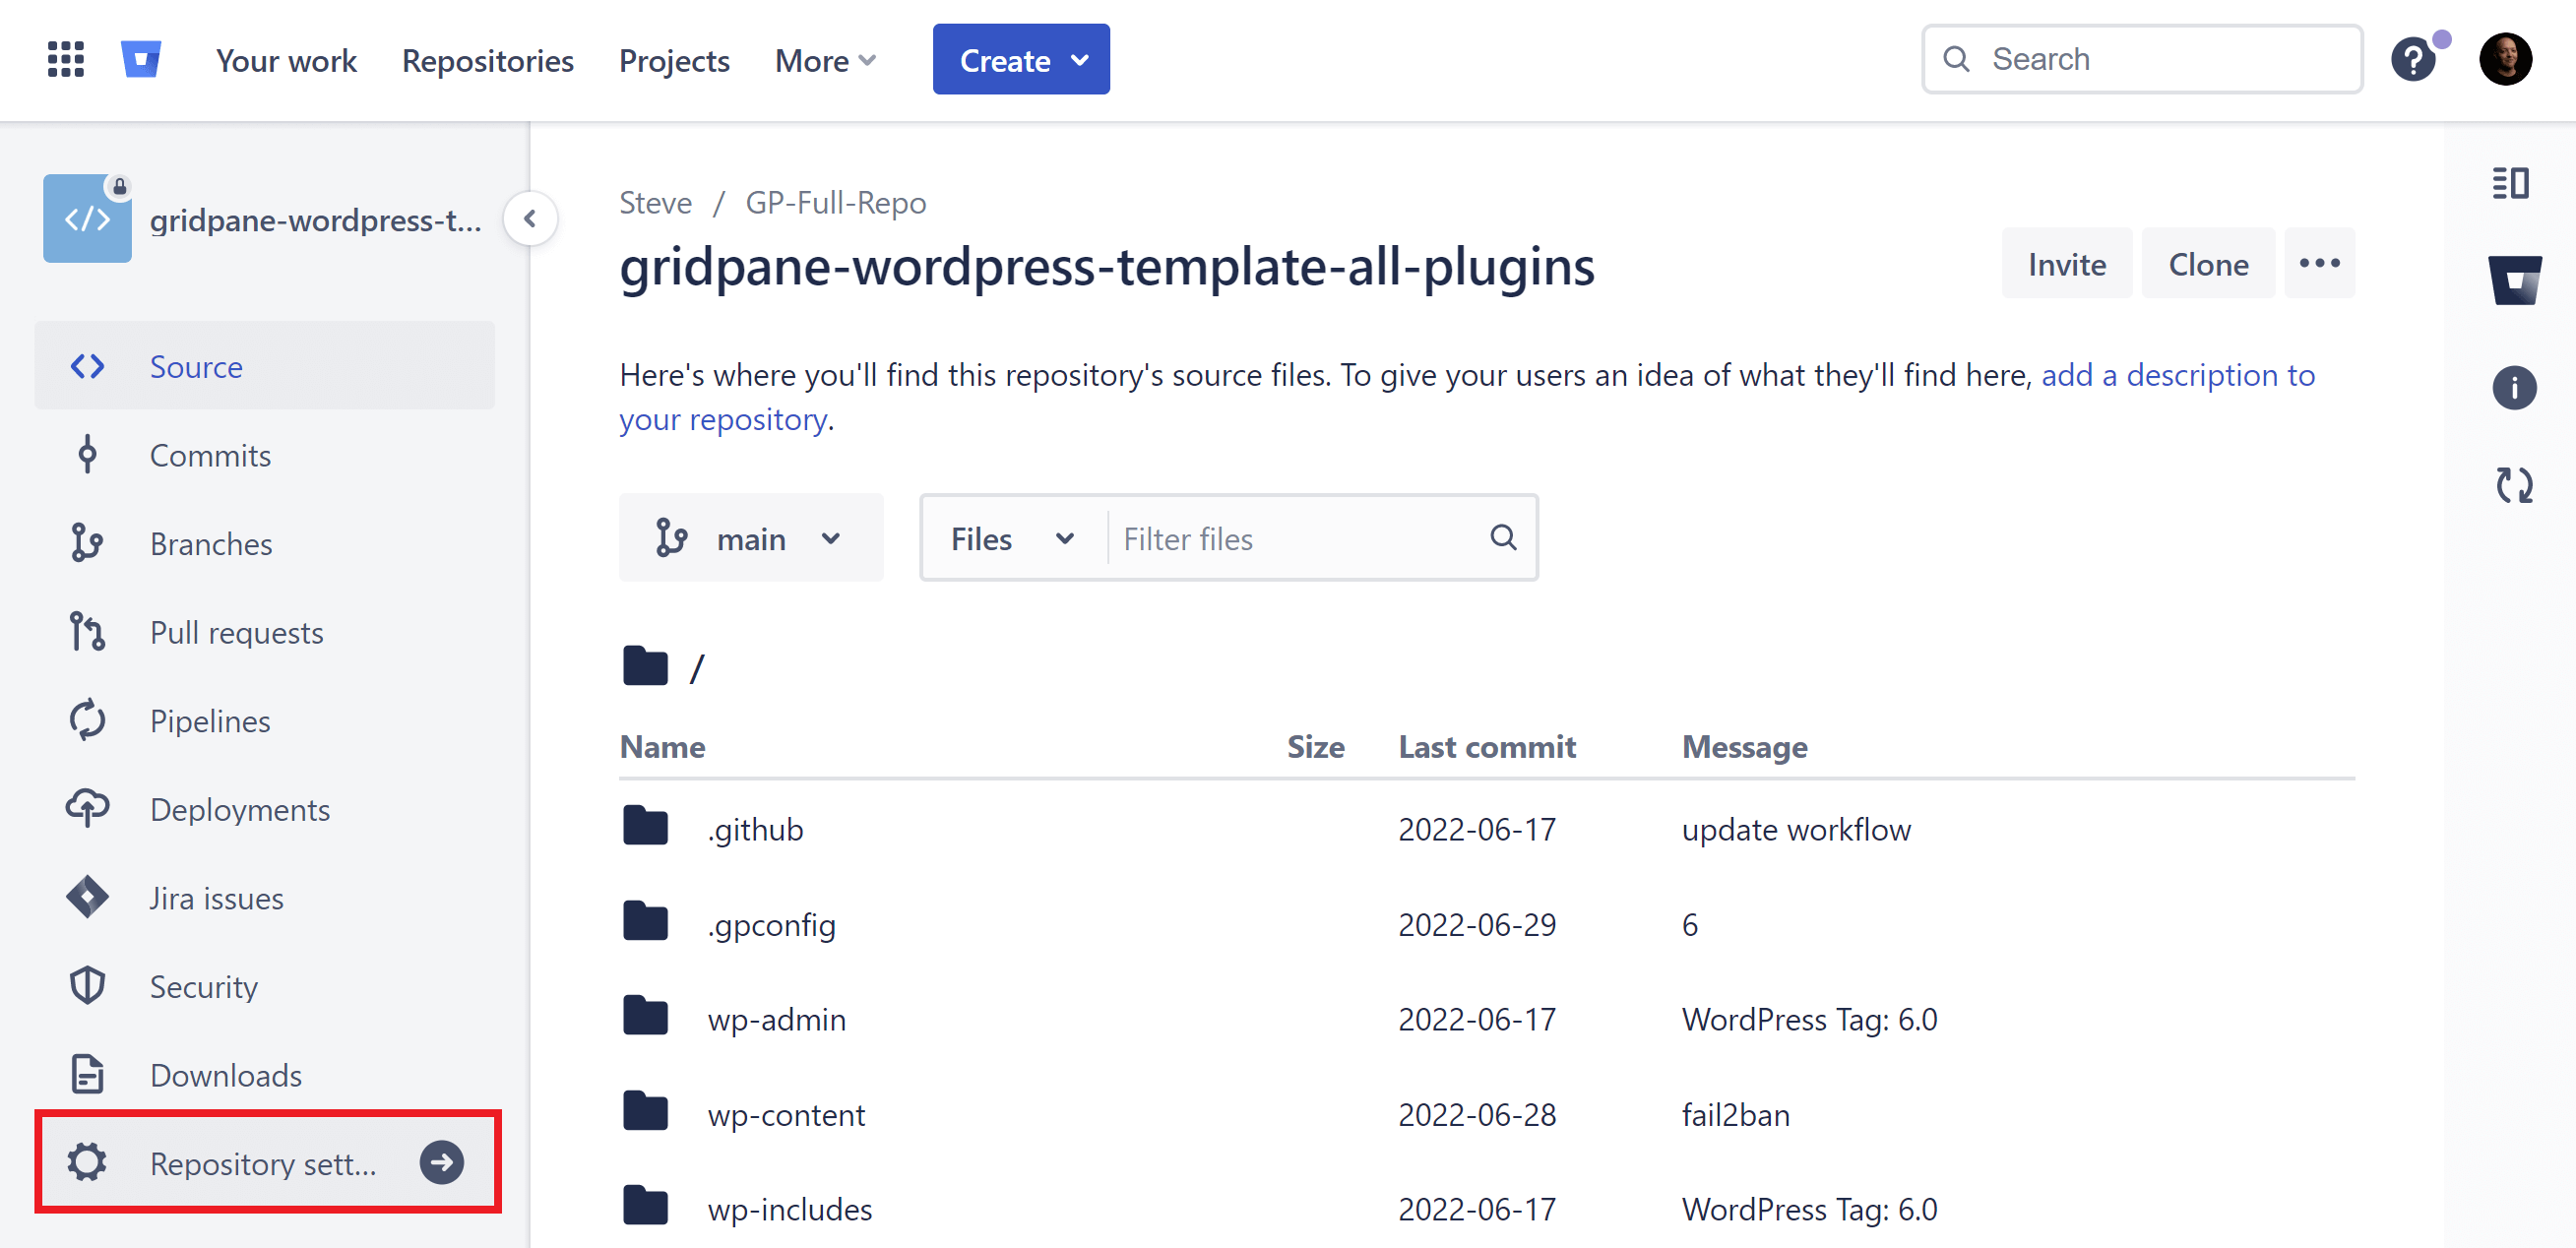
Click the Add key button:
Here you can add your public SSH key and give it a name.
You may want to name this in a way that it’s easy to connect it to your specific website and its current server name/IP address for easy reference in the future.
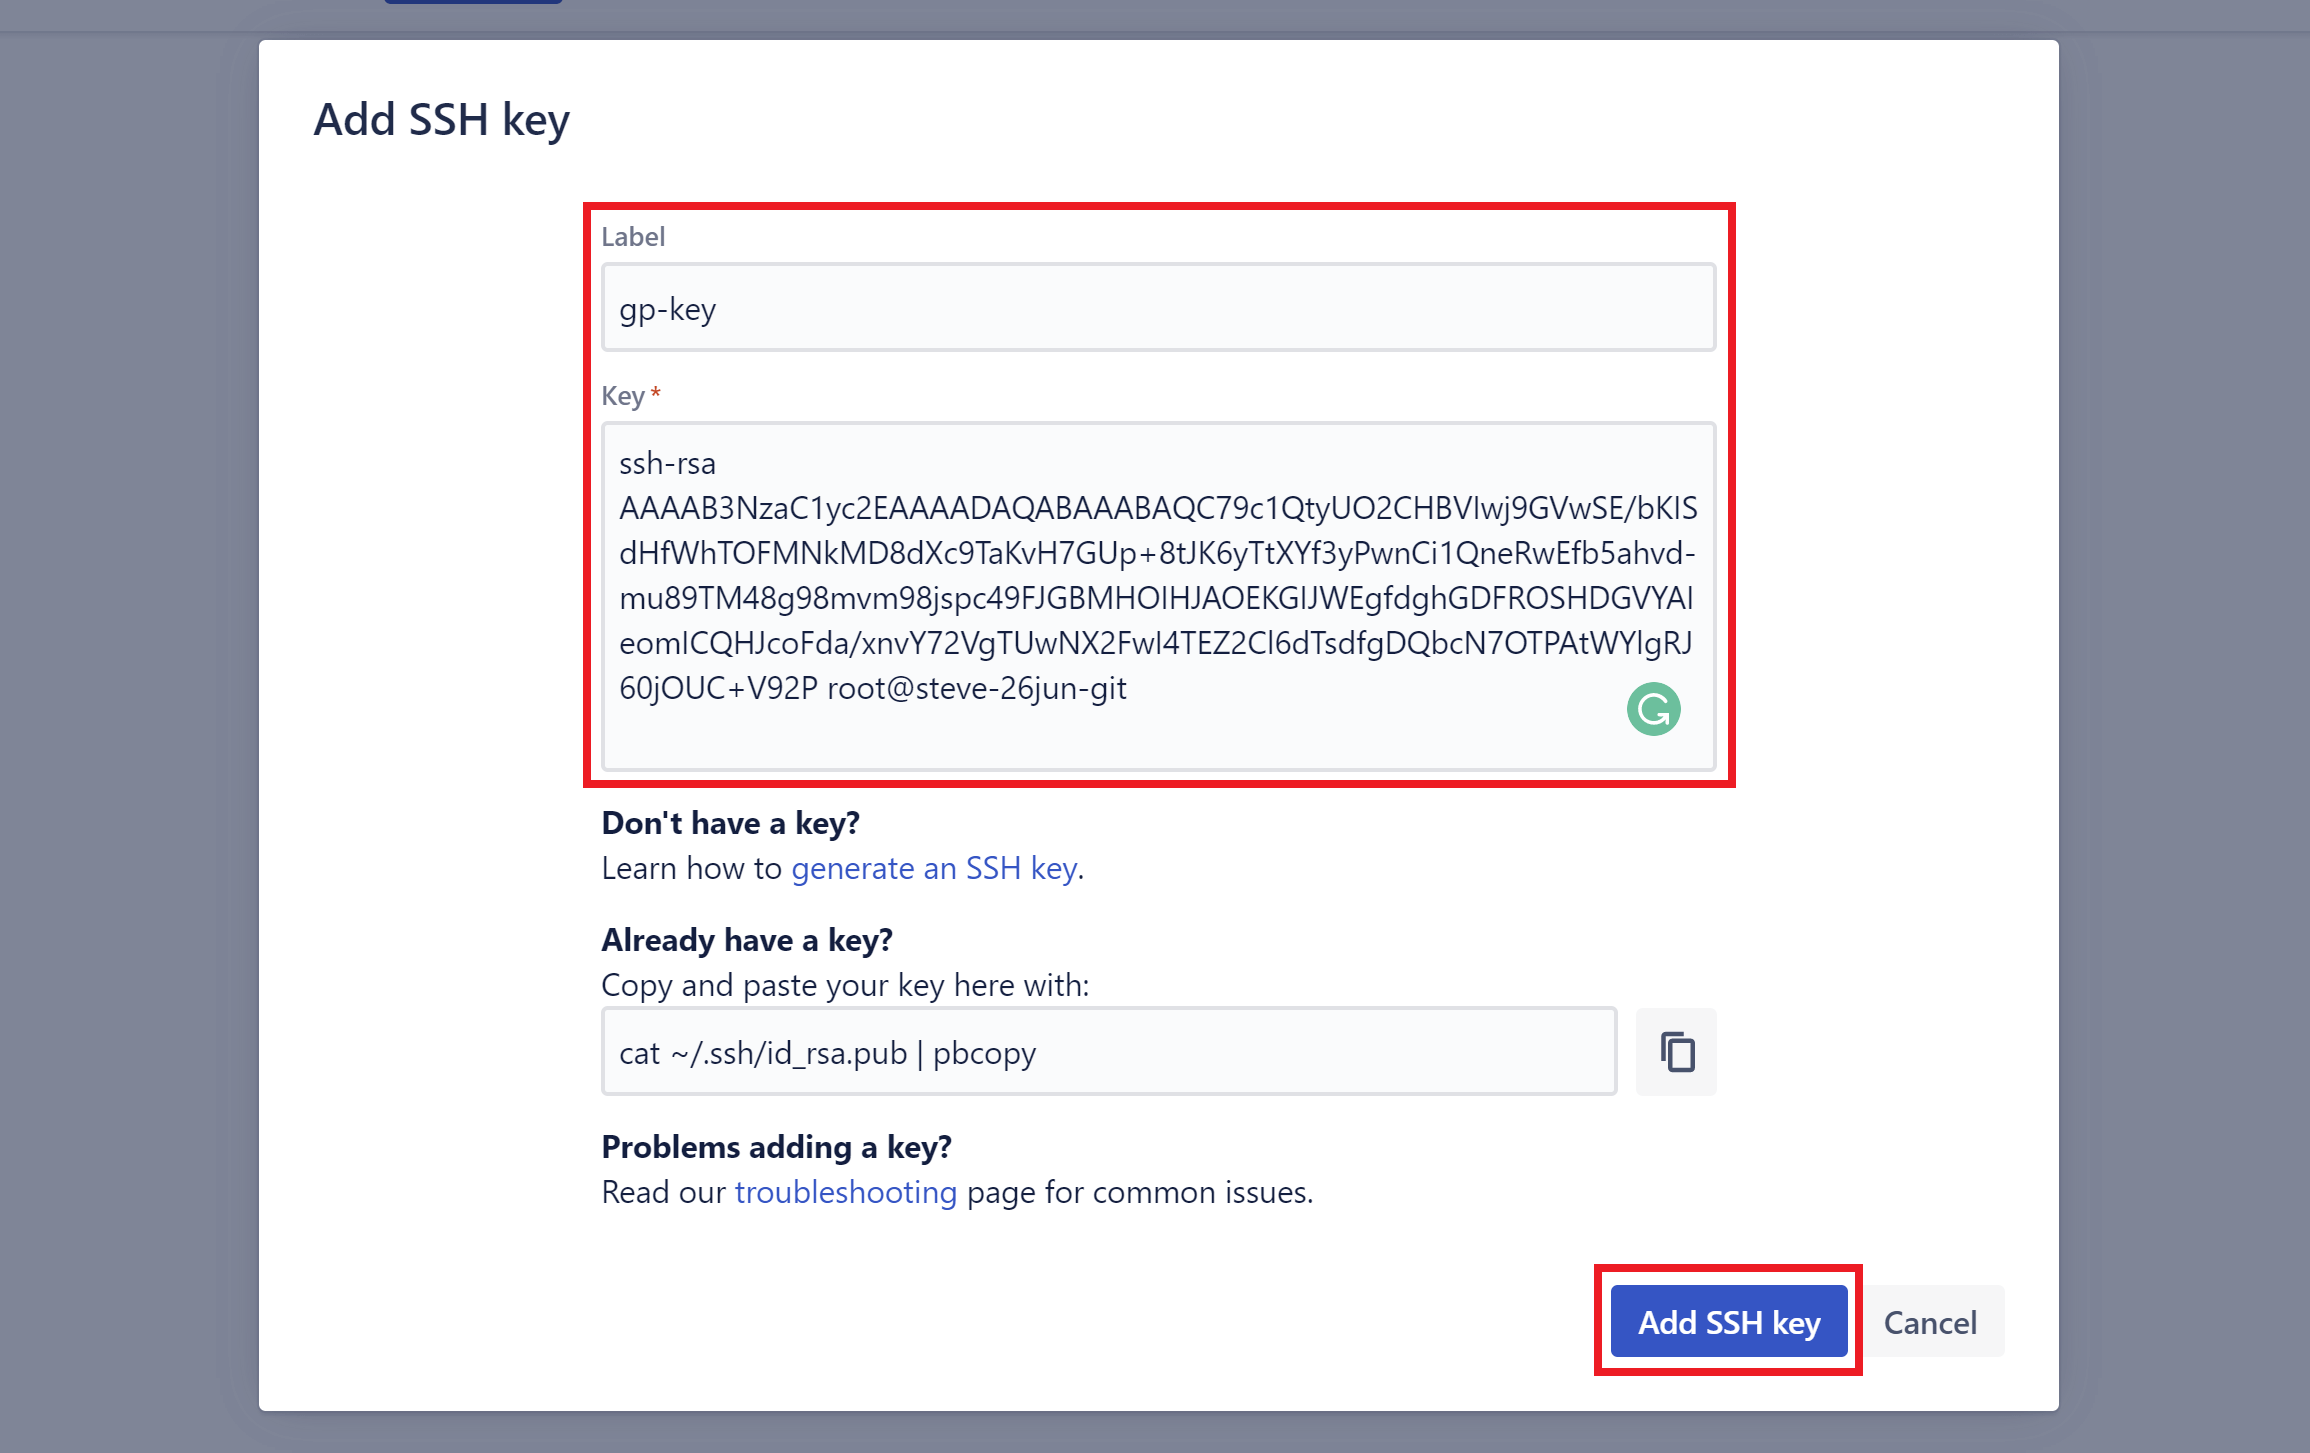
You can ignore the sections below the section where you paste in your key. By default, these only allow for read-only access.
Click the Add SSH key button when done.
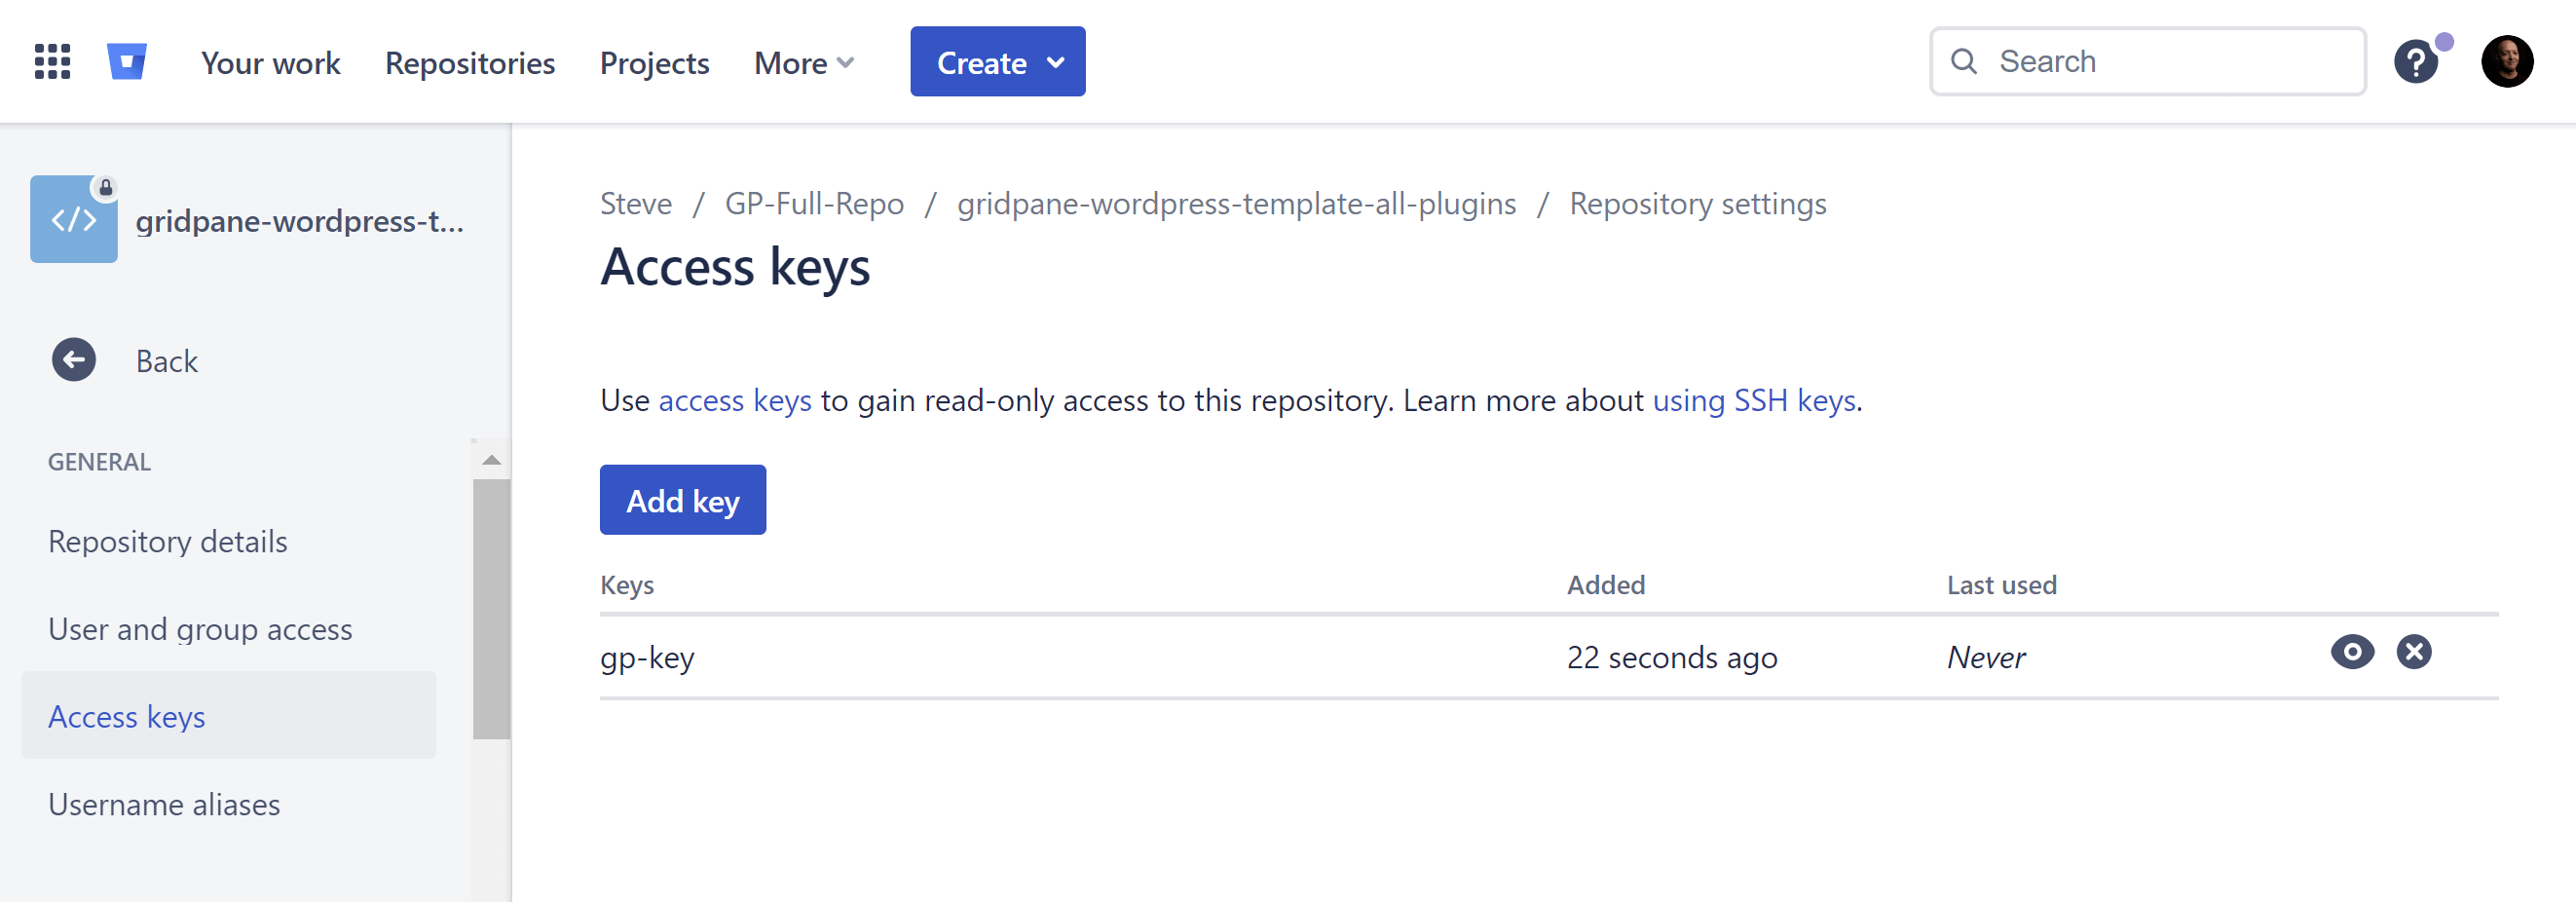
Once added, it will appear alongside any other keys that have access to the repo, and you can revoke access from here in the future when needed.
You can now use this repo with your GridPane account.