GridPane Bundles let you preconfigure your GridPane WordPress site deployments with the Plugins and Themes installed that you most commonly used.
You can create many different types of Bundles to suite the different types of projects that you work on.
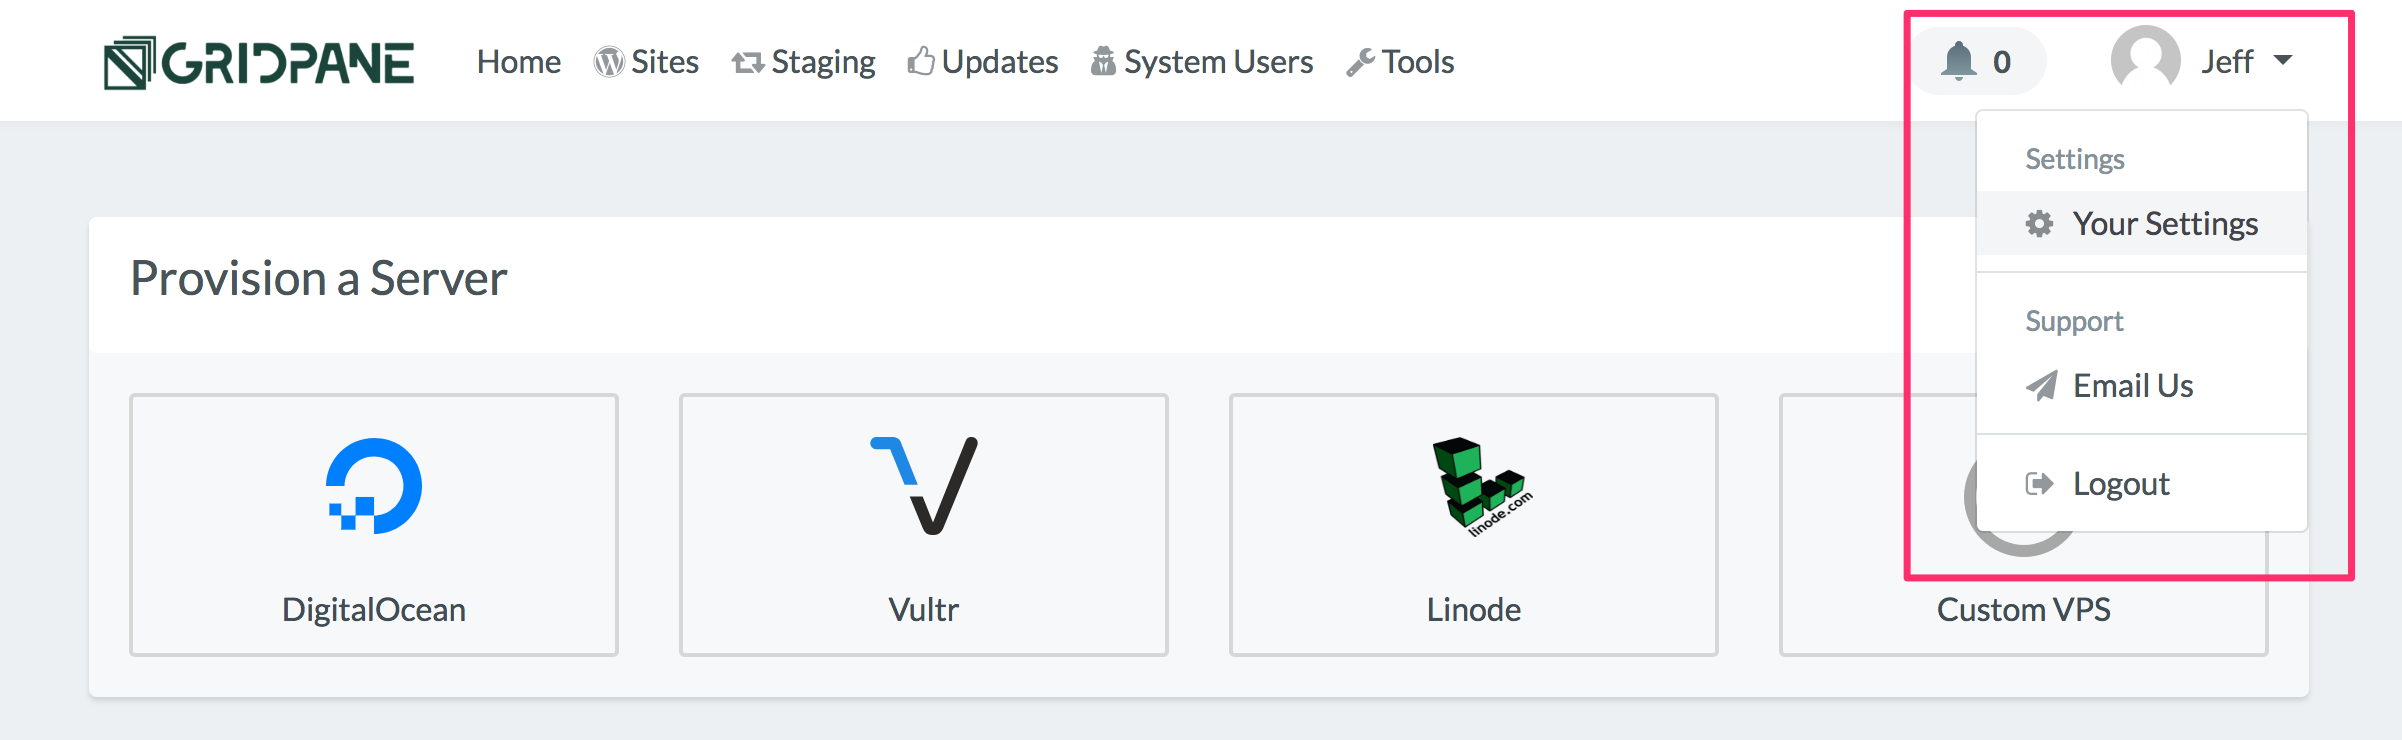
Step 1. Go to Your GridPane Settings
Login to your GridPane account and click the Your Settings menu item in the dropdown menu accessible by clicking on your username and icon.
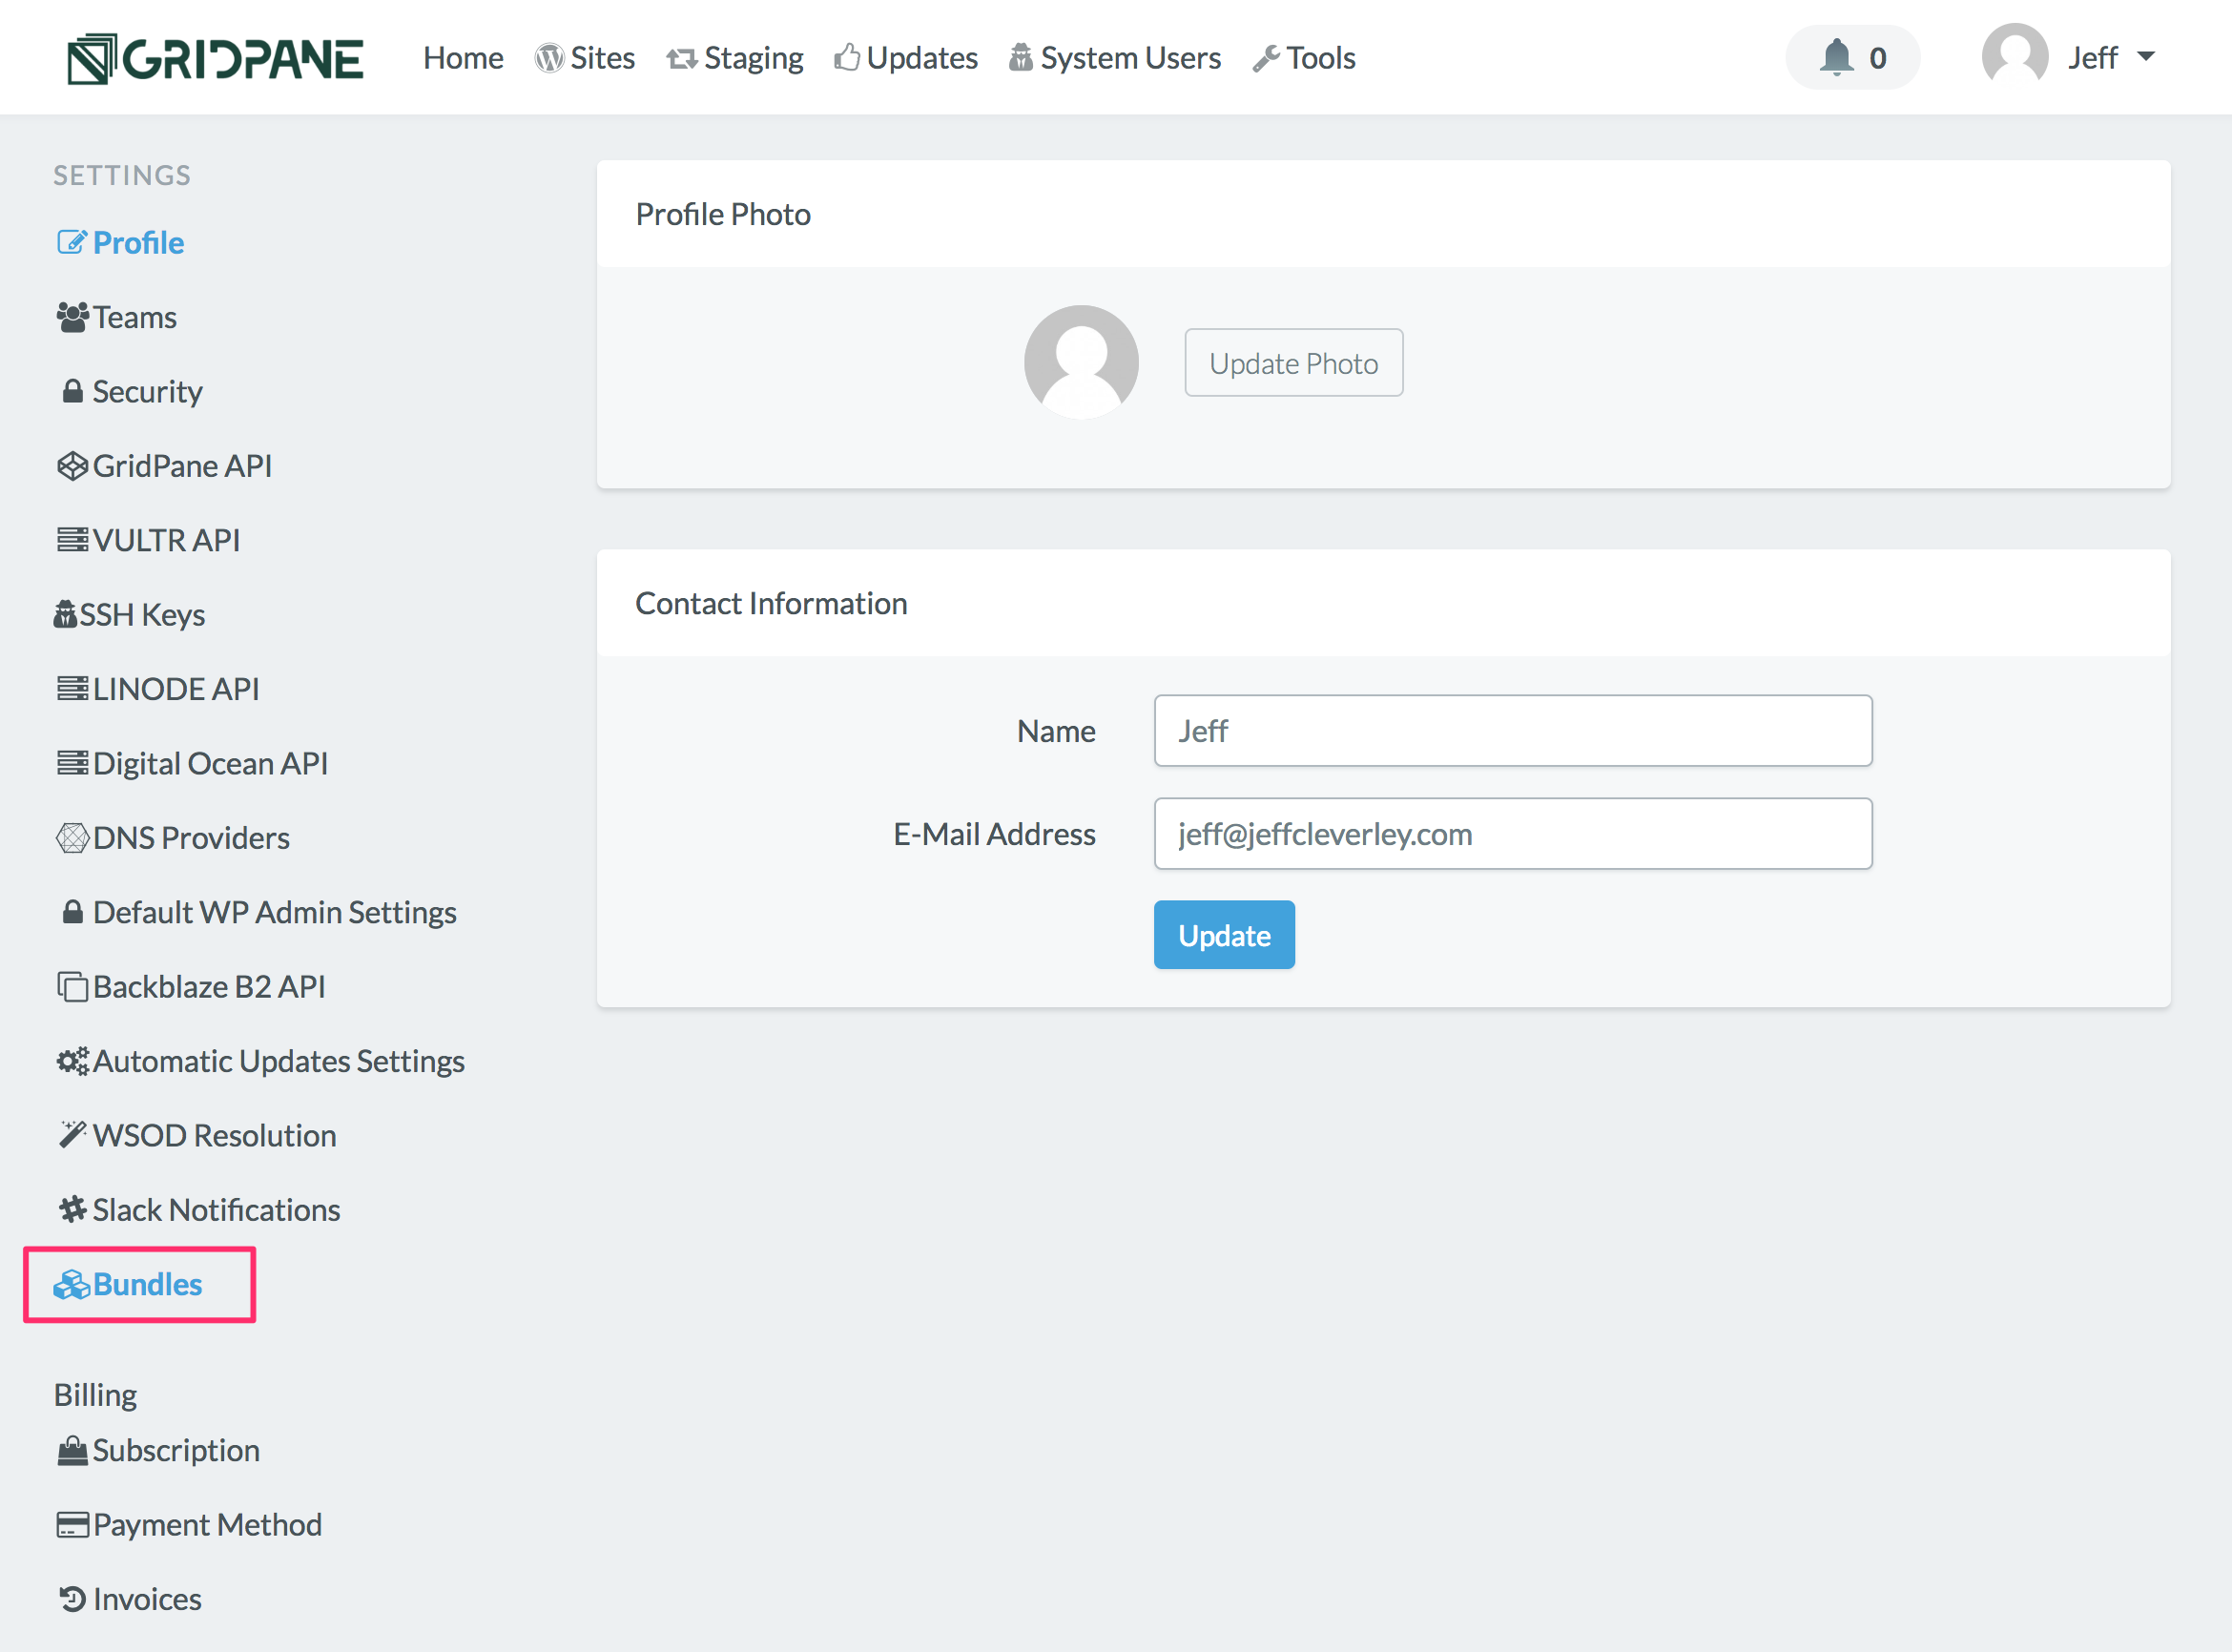
Step 2. Add a New Bundle
Locate Bundles
Locate and click Bundles in the horizontal settings navigation to open the Bundles settings panel.
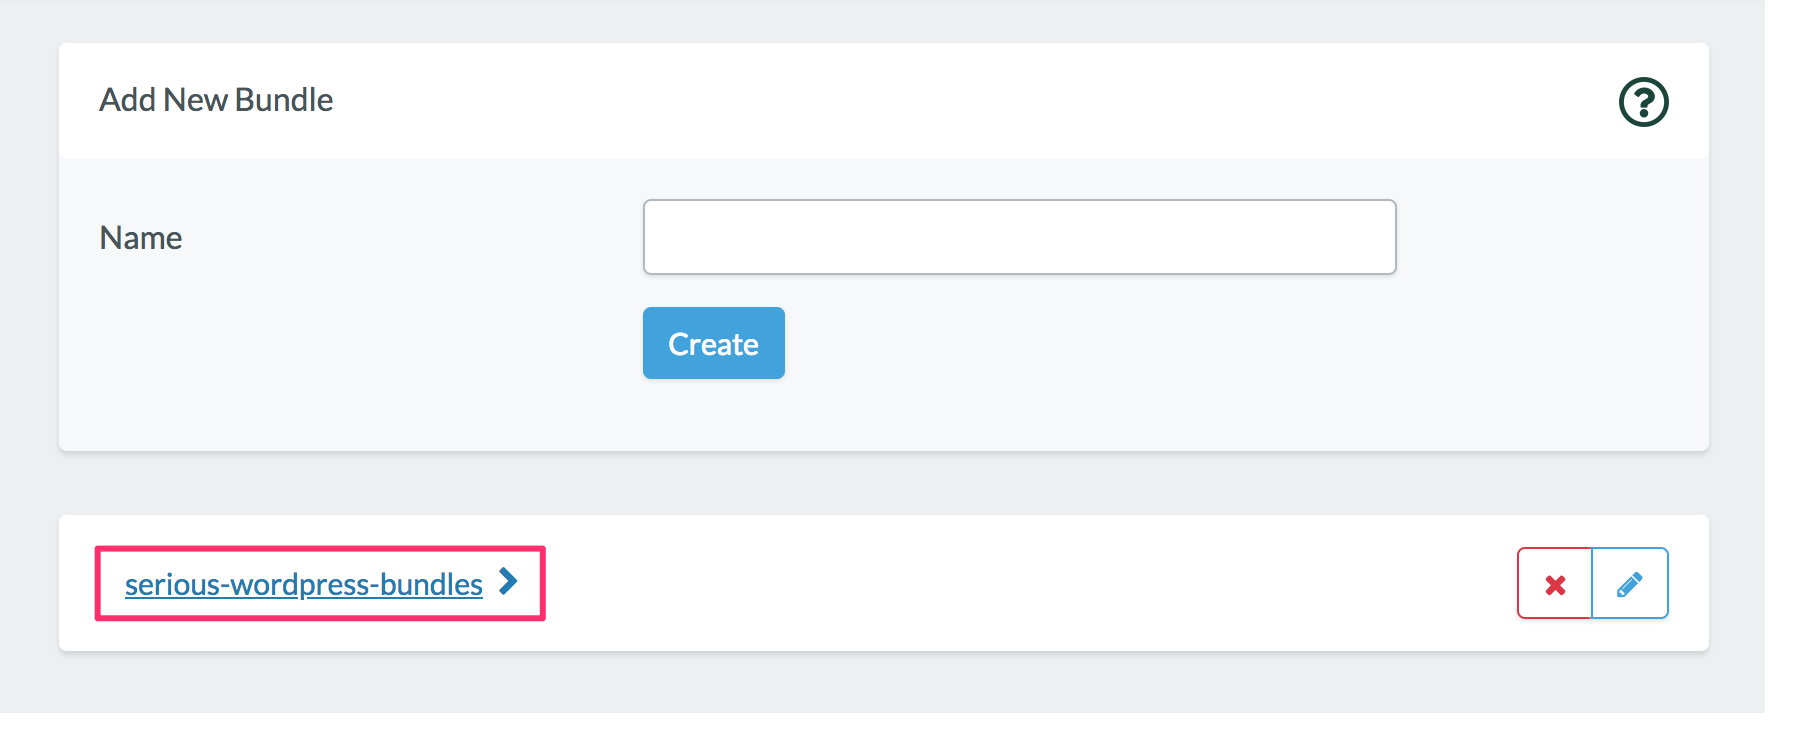
Add a New Bundle
Enter the name for your Bundle in the Name input field and click Create.
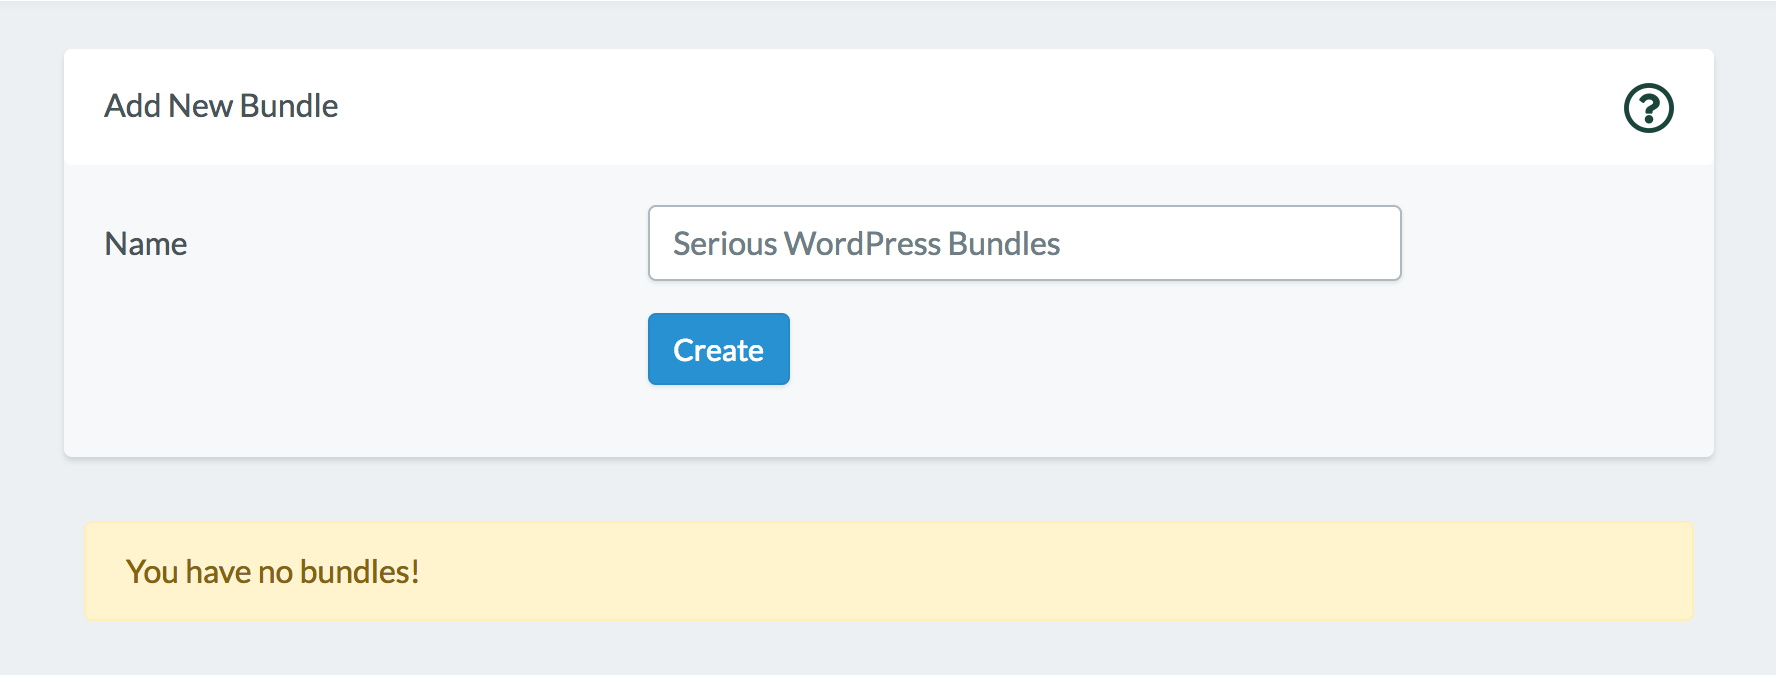
Your Bundle will now appear in a panel underneath the Add New Bundle Panel. Click on your Bundles name to begin configuring it.
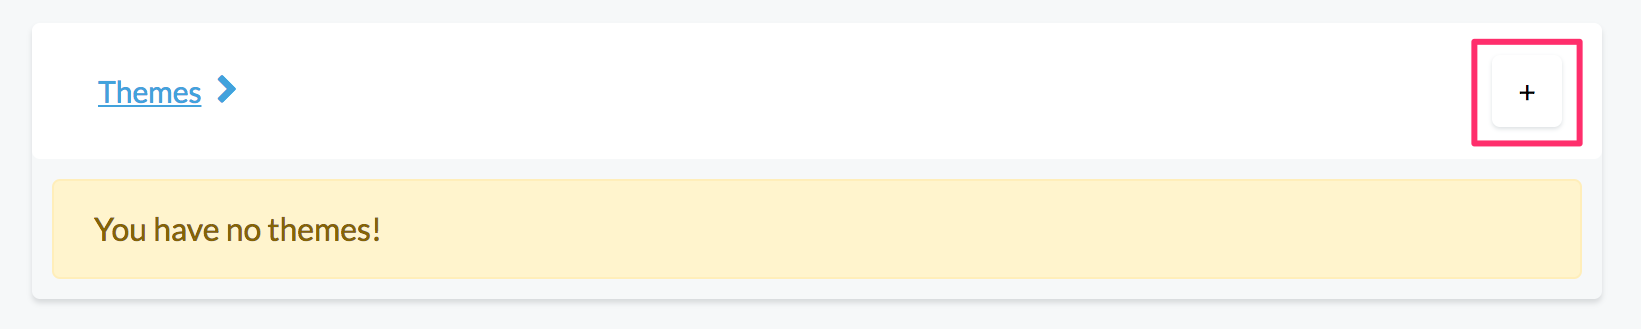
Your Bundles Panel will open and you will see two sub panels, one for Themes and another for Plugins, each with a button to add plugins and themes to the Bundle.

Step 3. Configure your Bundle
Add Themes to your Bundle
Click the button to add a theme.
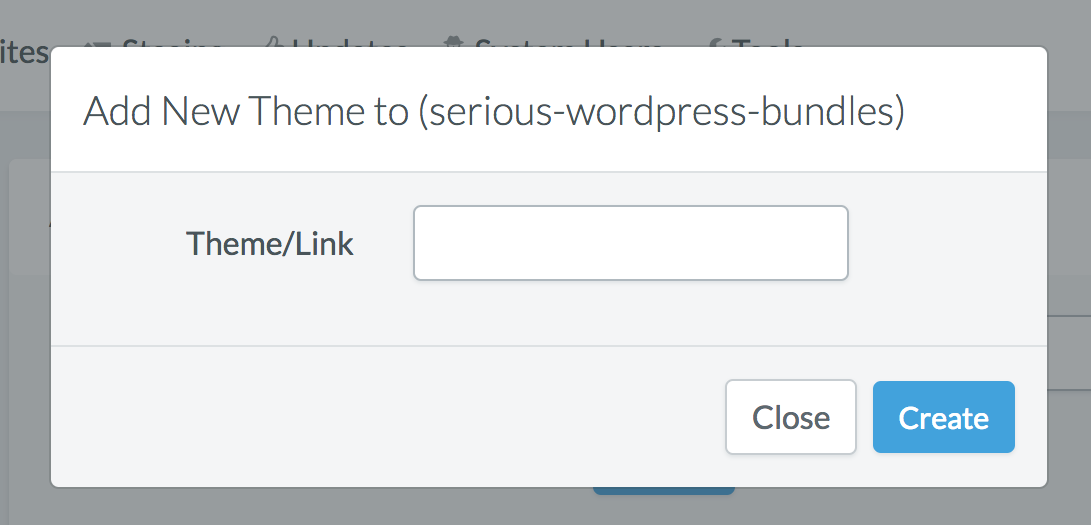
A Popup modal will appear and provide you an input field to add a WordPress repository theme slug.
Note: currently the popup modal says ‘Theme/Link’ – this will be corrected shortly.
Select a theme that you like from the WordPress.org Theme repository, and make a note of it’s theme slug.
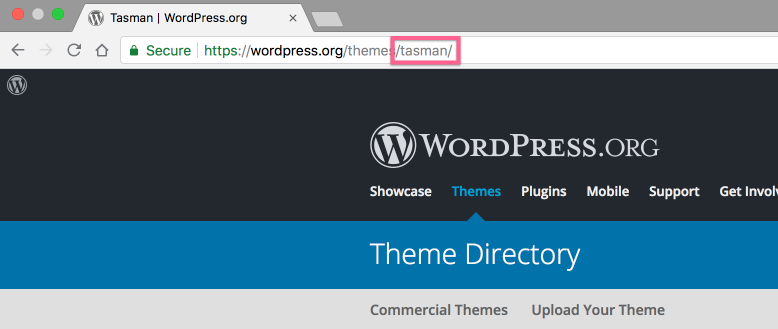
Enter the theme slug into Add New Theme popup modal and click Create.
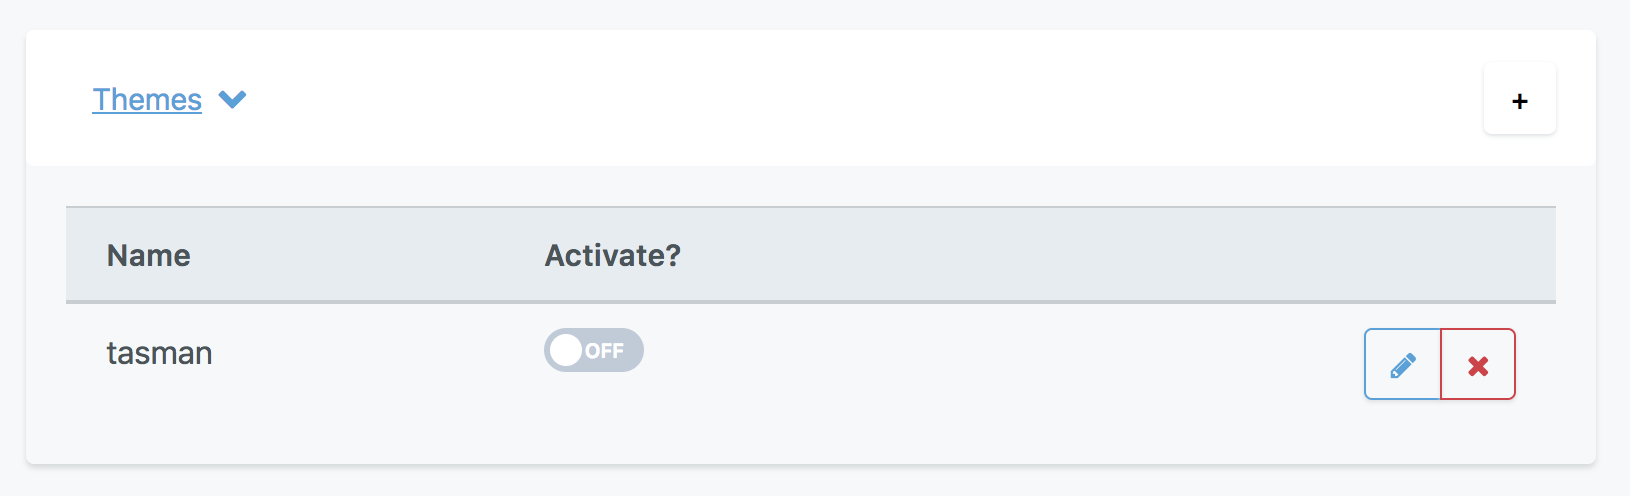
The theme will now appear in the Bundle Theme panel.
Repeat this process with any other themes that you may wish to add to your bundle.
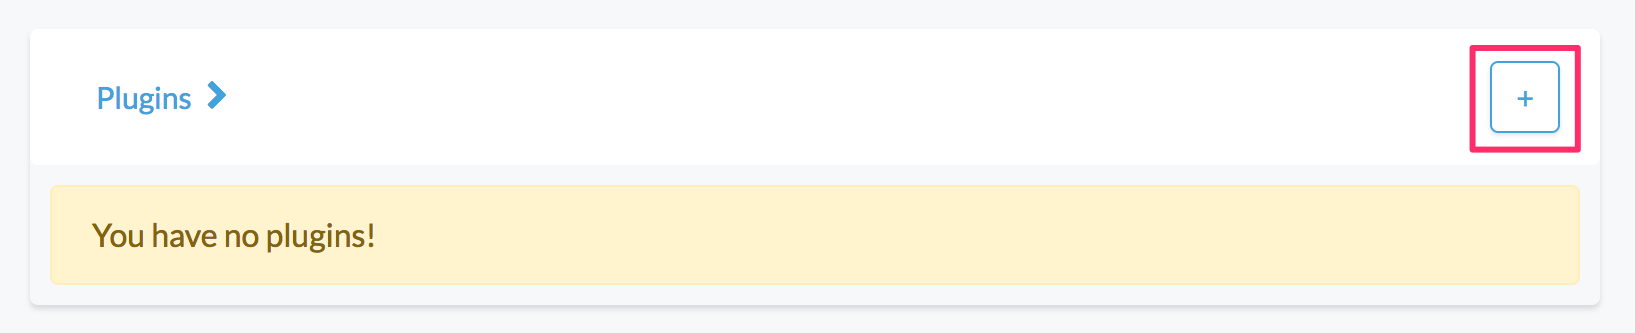
Add Plugins to your Bundle
Click the button to add a plugin.
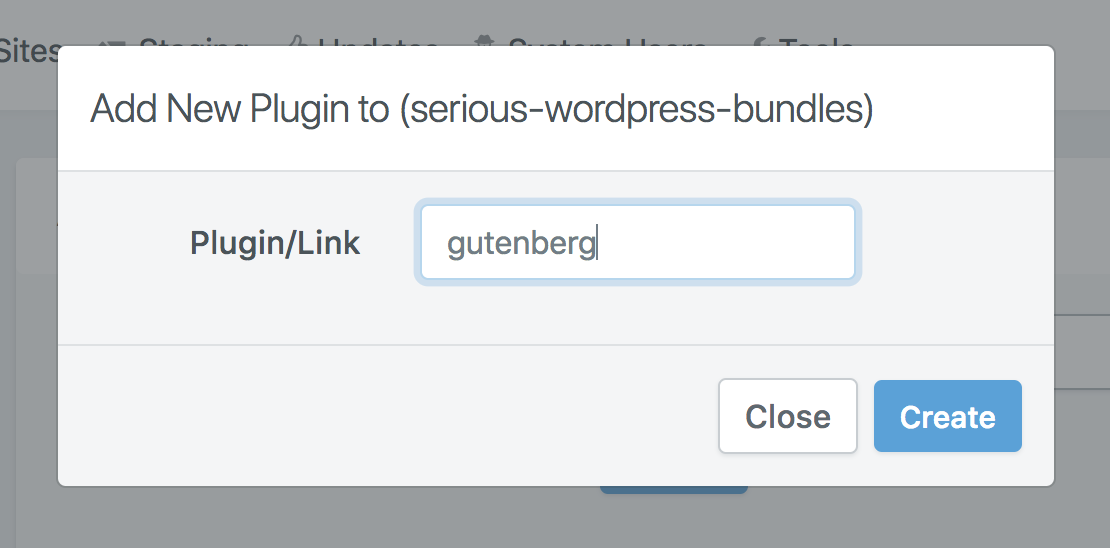
A Popup modal will appear and provide you an input field to add a WordPress repository plugin slug.
Note: currently the popup modal says ‘Plugin/Link’ – this will be corrected shortly.
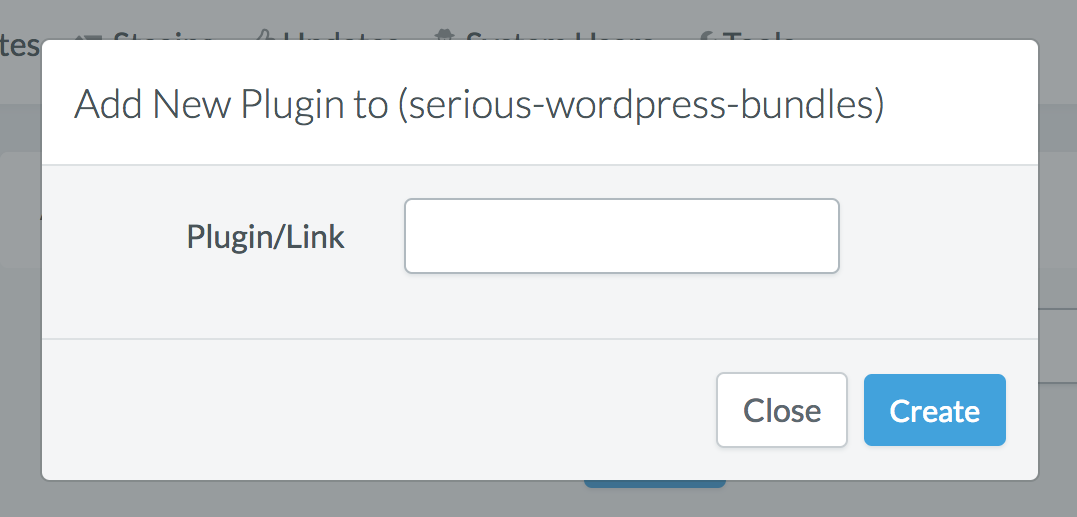
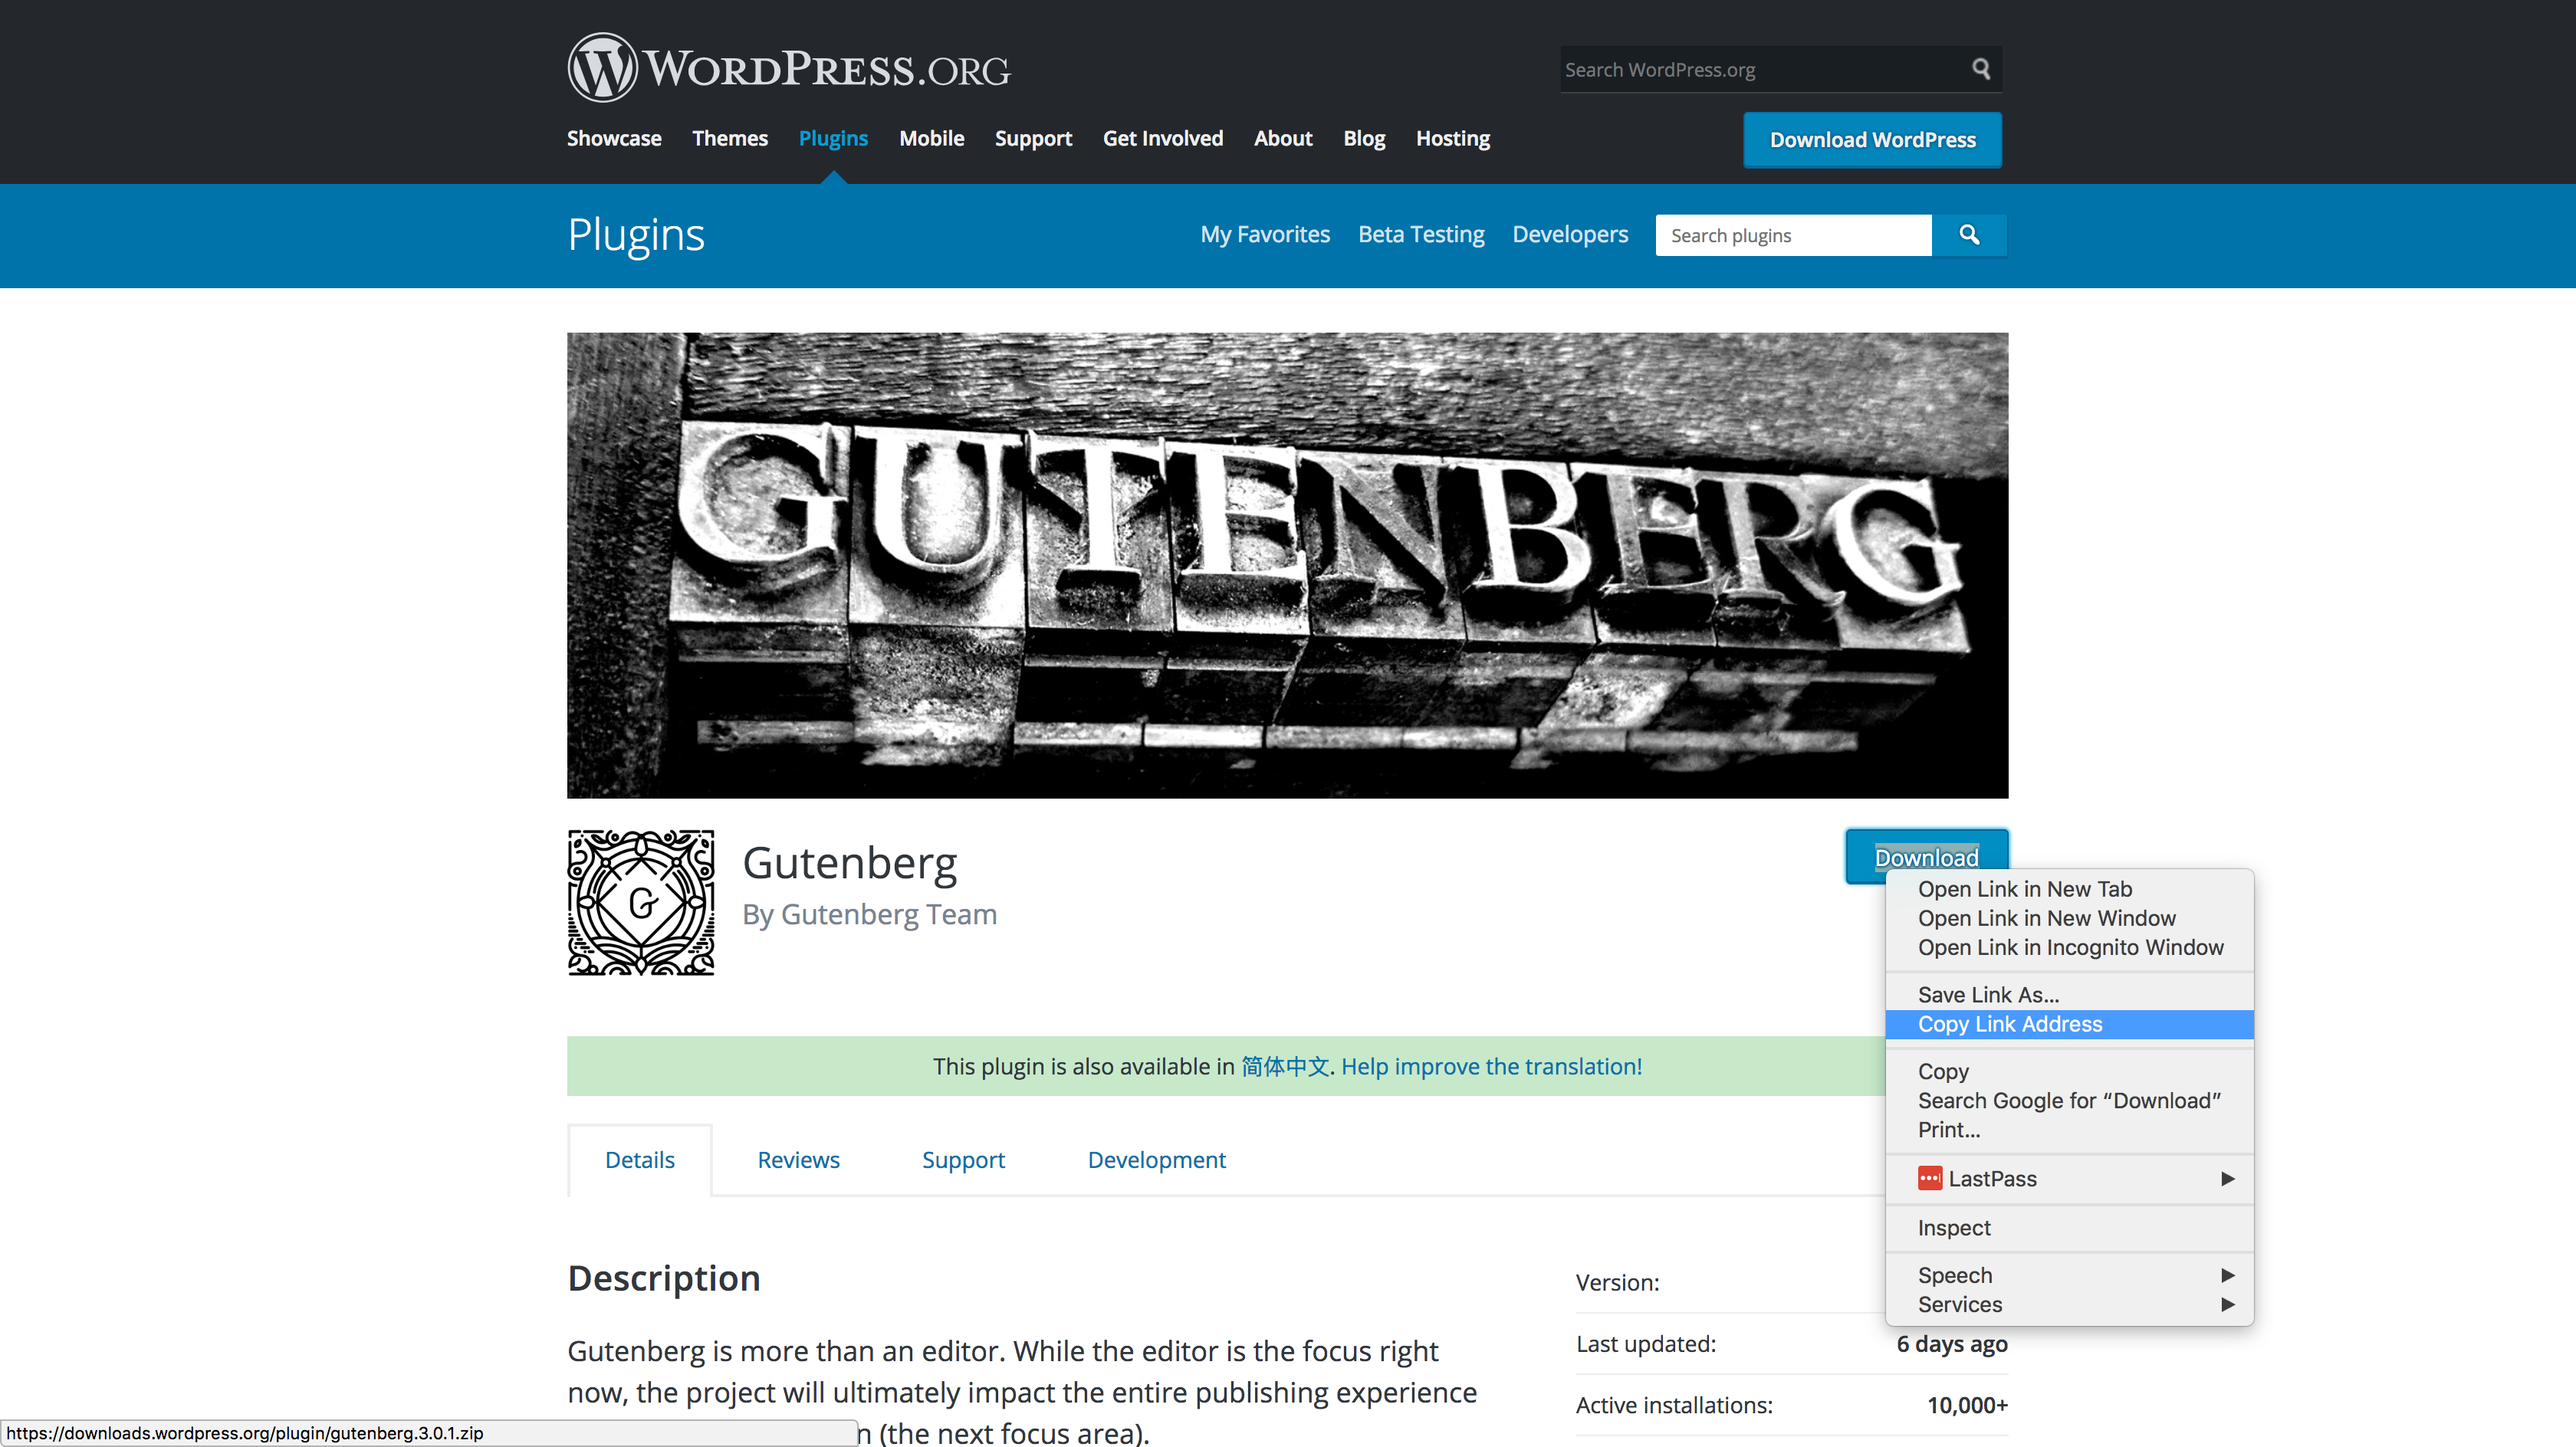
Select a plugin that you like from the WordPress.org repository, and make a note of it’s plugin slug.
Enter the plugin slug into Add New Theme popup modal and click Create.
The Plugin will now appear in the Bundle Plugin panel.

Repeat this process with any other plugins that you may wish to add to your bundle.
Non-WordPress Repository Themes and Plugins
For any plugins or themes that you use that are not in wordpress.org, you can self-host these and still have our system install them for you. The one requirement is that the link you use must automatically download them. For tutorials on how to do this with Google Drive and/or Dropbox, we have these 2 articles:
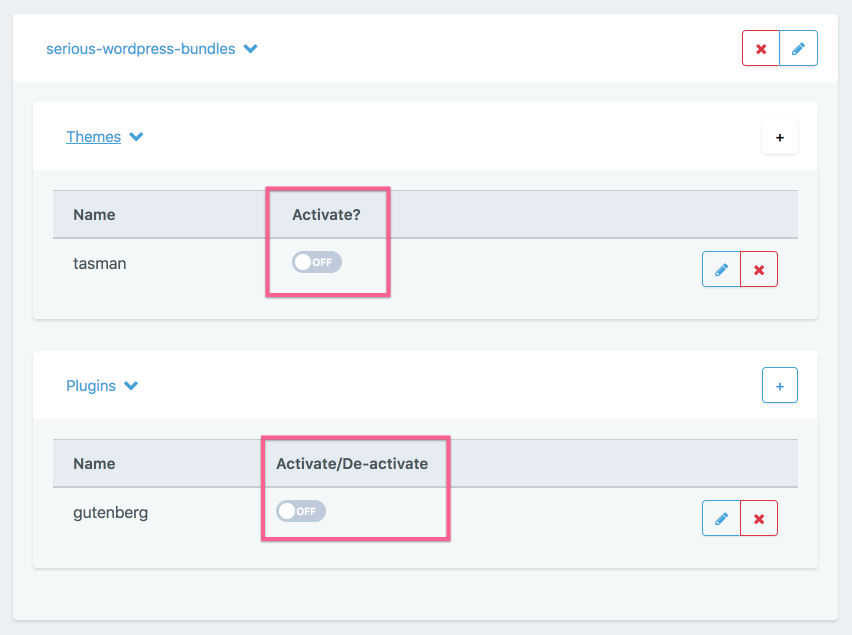
Activate Bundle Themes and Plugins
Next choose which Themes and Plugins you wish to be activated upon site deployment. Click the activate toggle in each panel for those themes and plugins you want to be active.

Step 4. Deploy a Site with a Bundle
We have an easy to follow article with a step-by-step guide on deploying a site using GridPane here.
When you configure your WordPress site with GridPane, select whichever GridPane Bundle you wish to use from the dropdown selector.
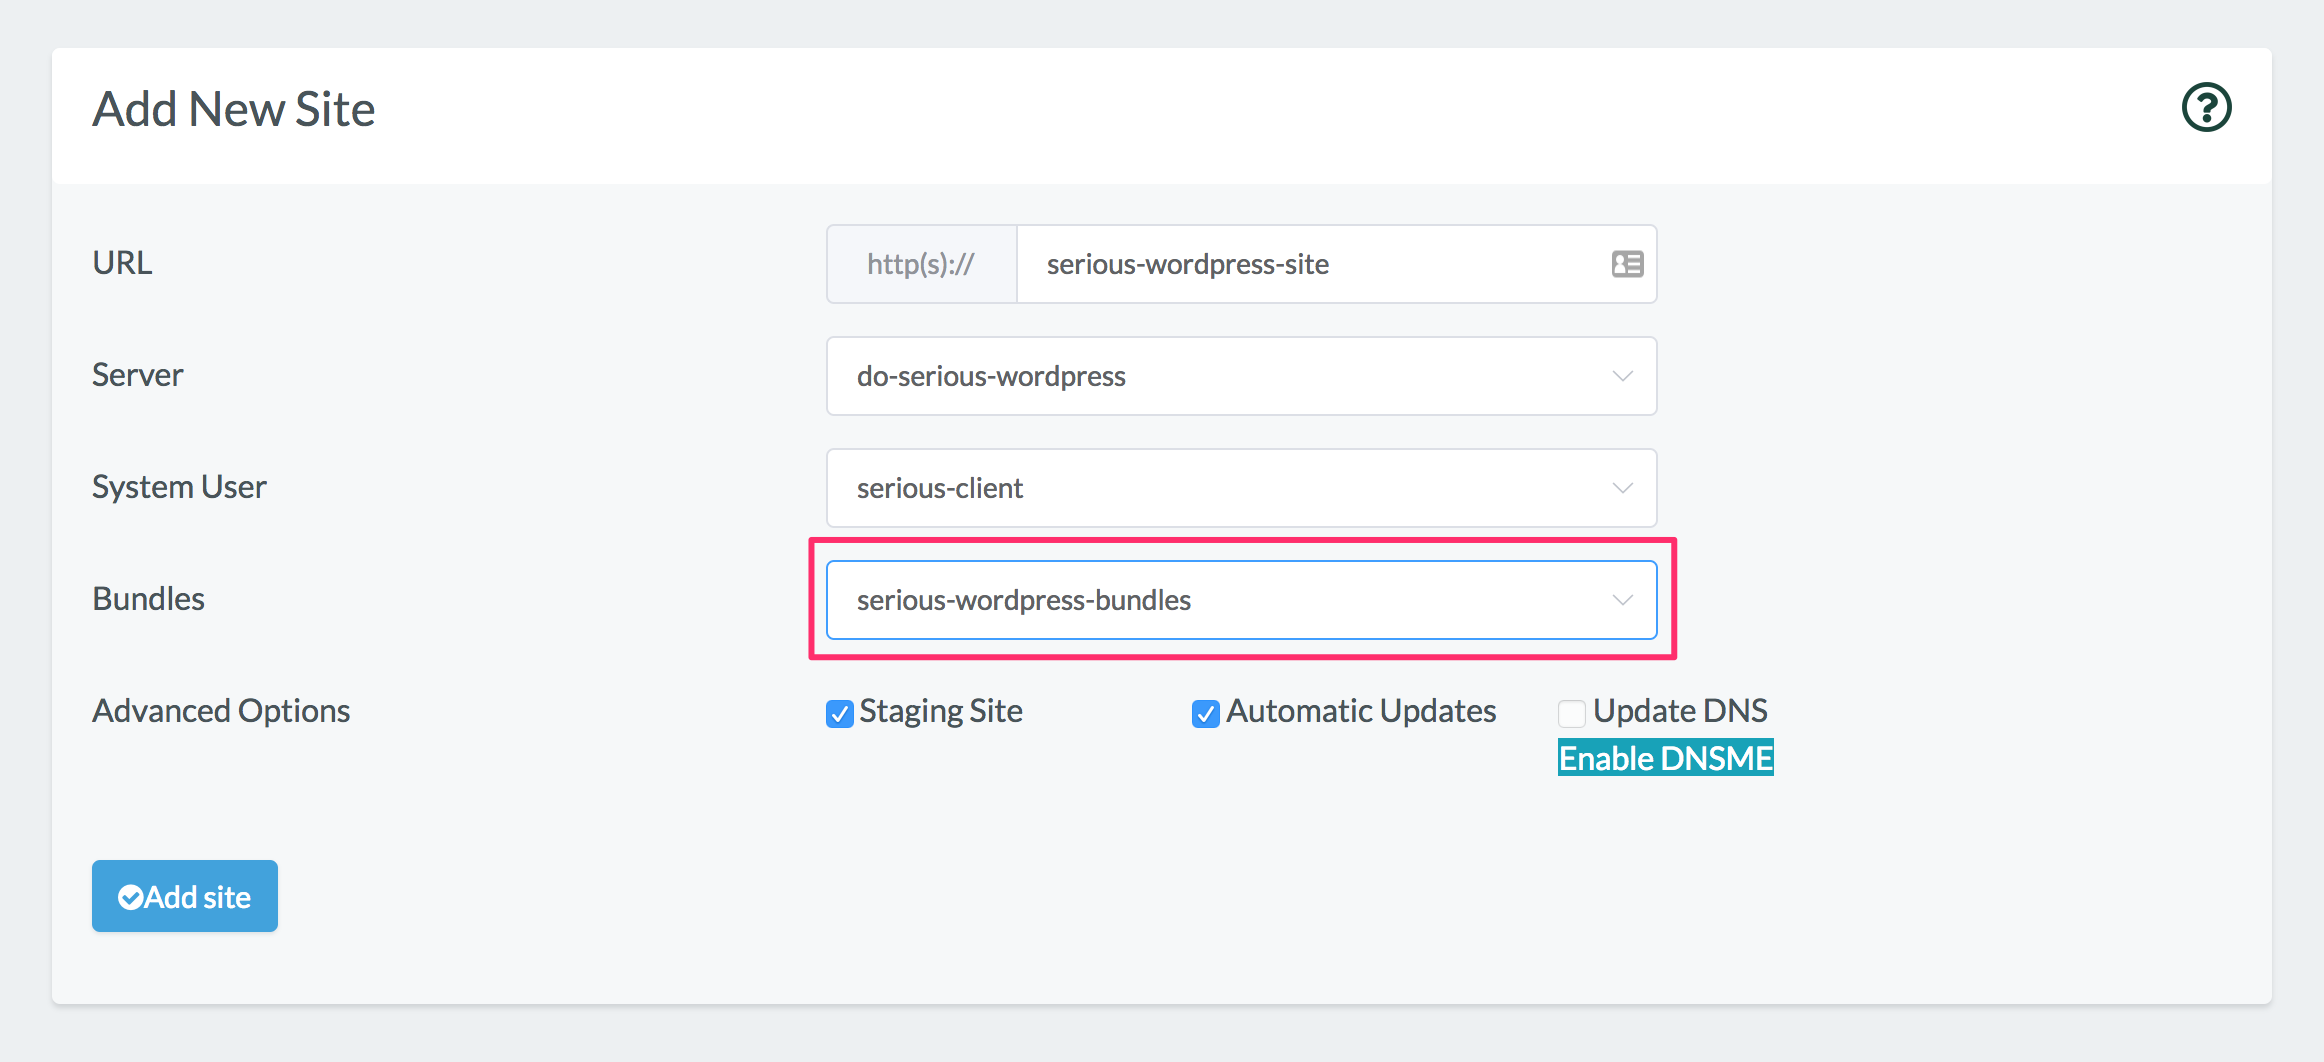
Then just click Add Site to deploy your site.
Step 5. Managing Bundles
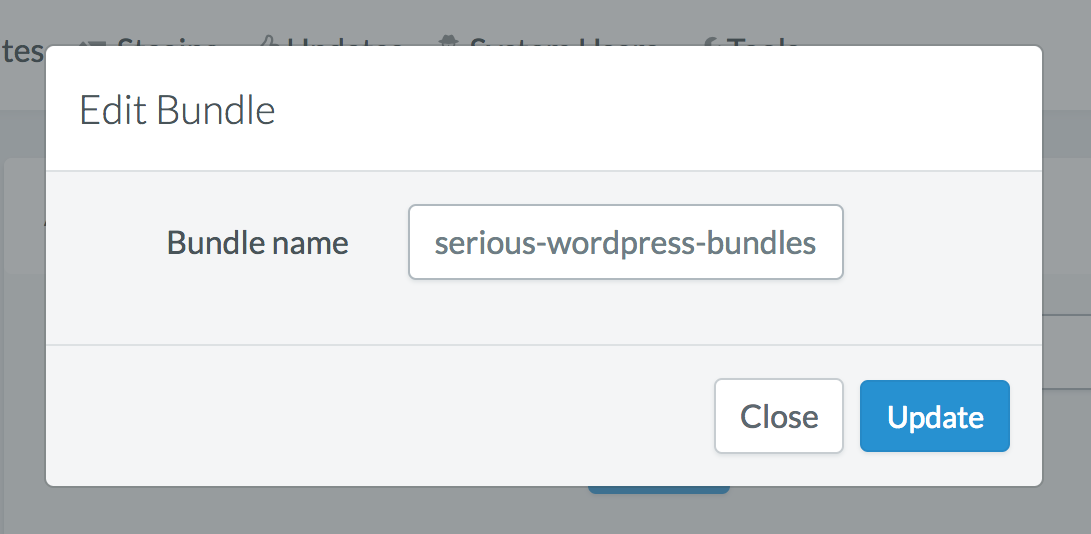
Editing a Bundles Name
Click the Edit button on the Bundle Panel

Edit the Bundles name in the pop up modal, and click Update.
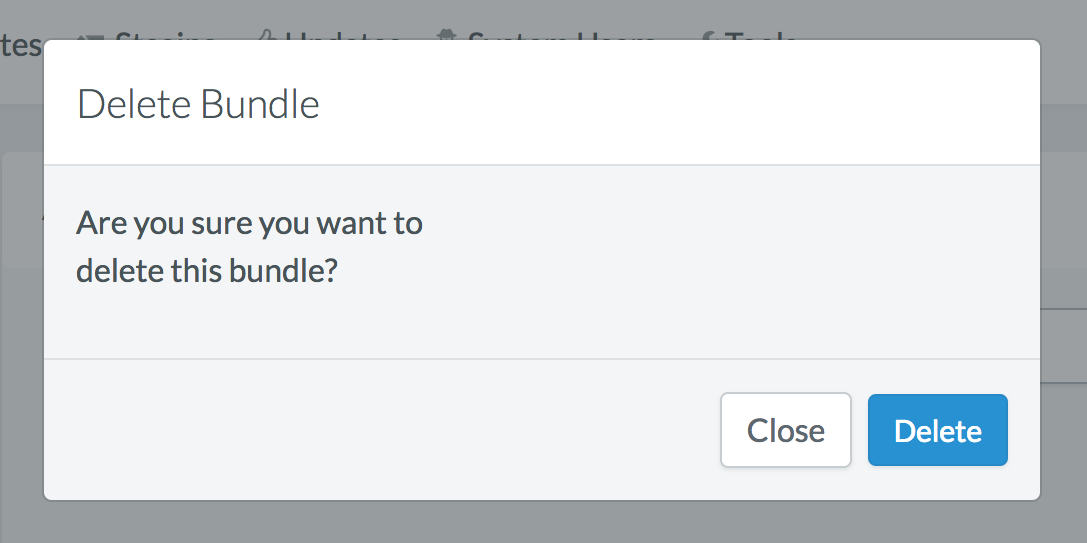
Deleting a Bundle
Click the Delete button on the Bundle panel

Step 6. Managing Bundled Themes and Plugins
Editing a Bundled Theme
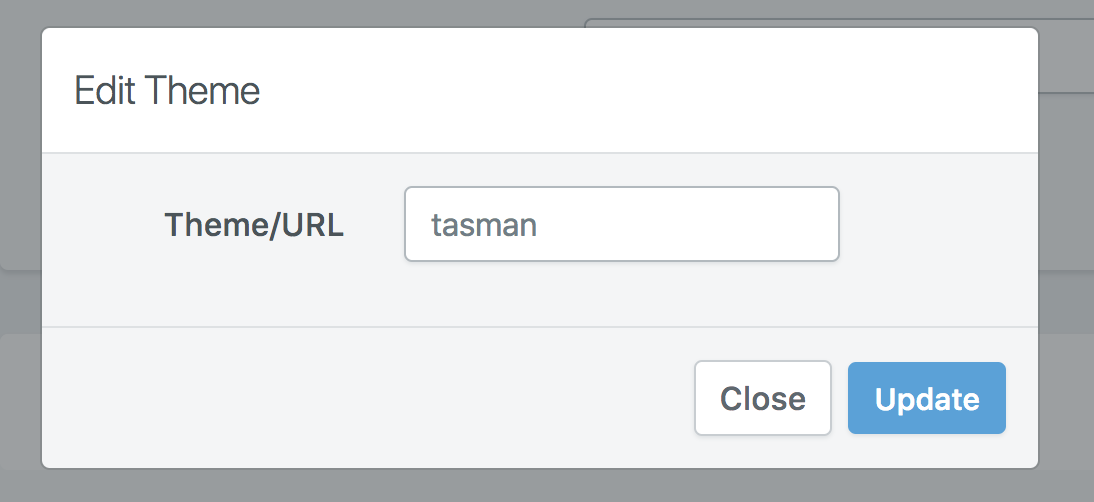
Click the Edit button on the Bundle Theme Panel
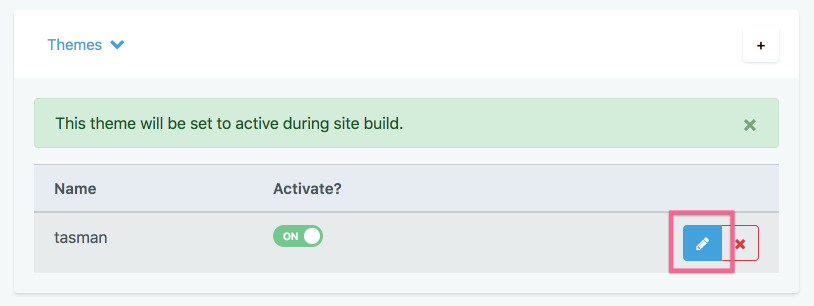
Edit the Bundle theme in the pop up modal, and click Update.
Deleting a Bundled Theme
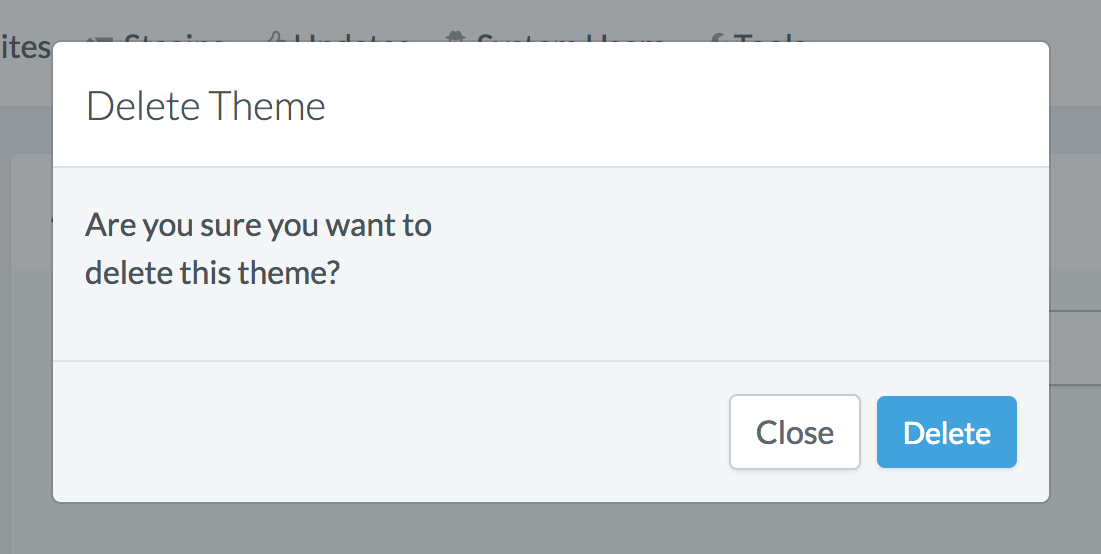
Click the Delete button on the Bundle Theme Panel
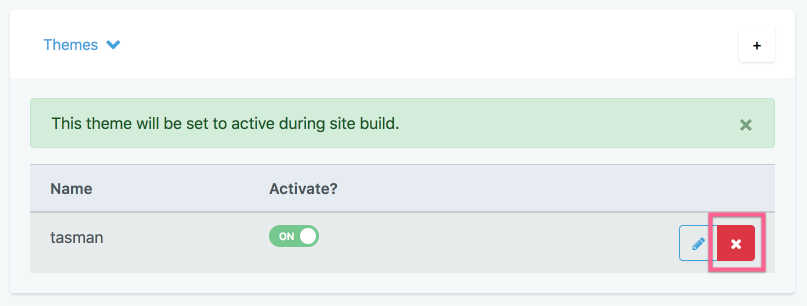
Confirm Bundle Theme deletion in the pop up modal by clicking Delete
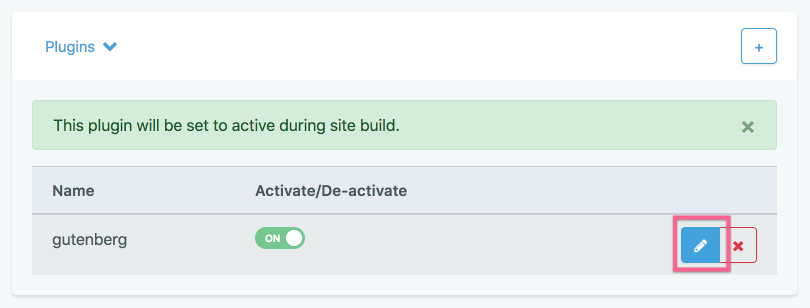
Editing a Bundled Plugin
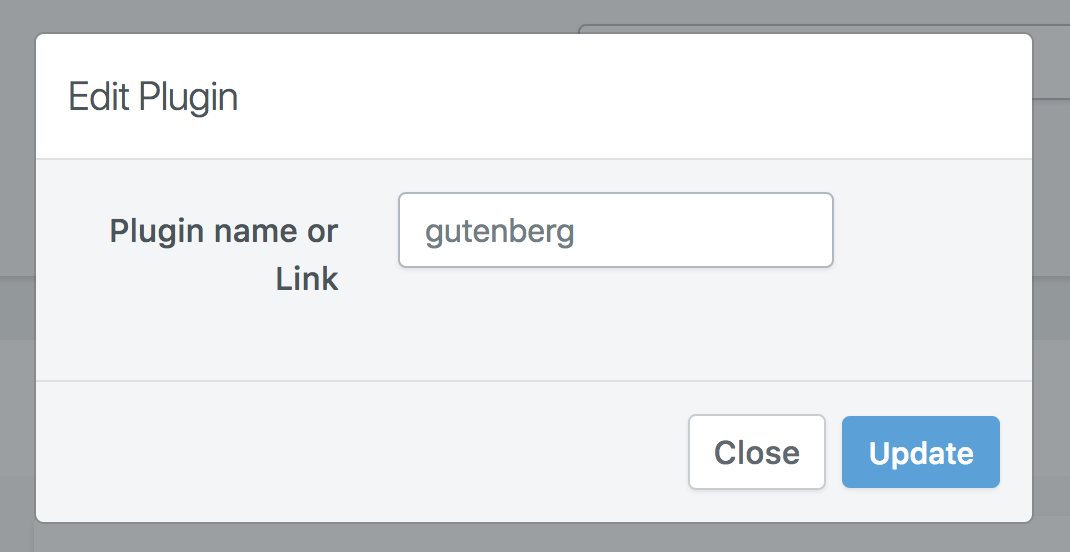
Click the Edit button on the Bundle Plugin Panel
Edit the Bundle plugin in the pop up modal, and click Update.
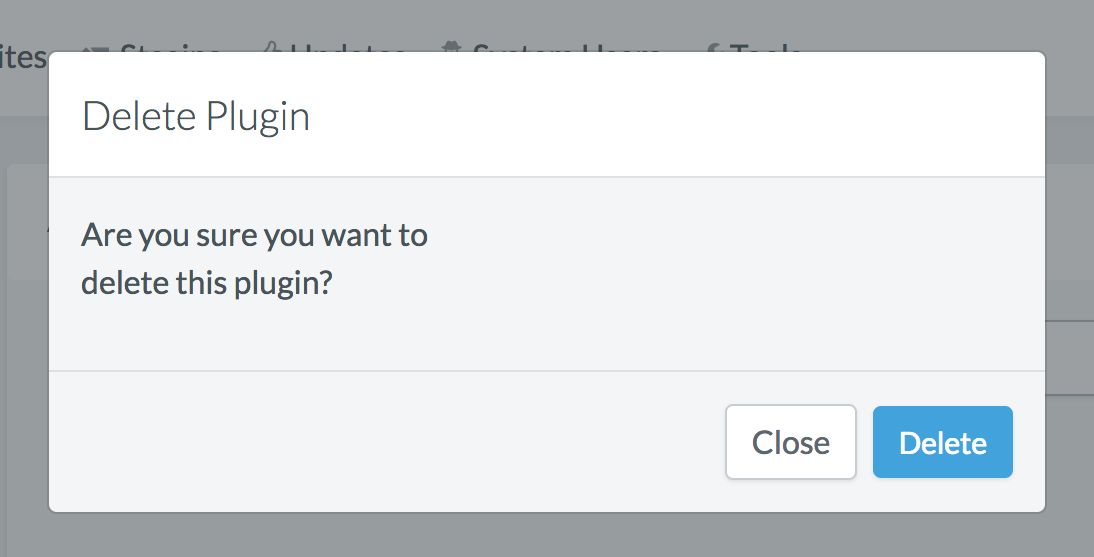
Deleting a Bundled Theme
Click the Delete button on the Bundle Plugin Panel
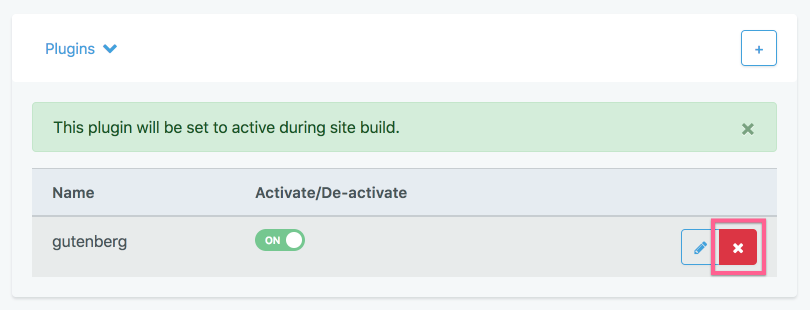
Confirm Bundle Plugin deletion in the pop up modal by clicking Delete