SEOPress – Nginx Configuration Rules

6 min read

Introduction

The wildly popular SEO plugin SEOPress normally requires a bit of extra care to work correctly in an Nginx environment, but not on GridPane Nginx as we have you covered by default.

As long as you flush your permalinks inside of your WordPress Dashboard > SEO > XML – HTML Sitemap settings.

Part 1. Nginx Rules (Skip in most cases)

Part 1 of this article will walk you through the basic setup should you ever encounter any issues.

Part 2. 7G WAF and Google Search Console

There’s also a known conflict when connecting Google Search Console to your GridPane site is active. In most cases simply deactivating 7G, running the authorisation, and then turning 7G back on is the simplest and fastest solution. For WaaS networks where your clients are using SEOPress, check out Part 2.

Getting Started

If you’ve never connected to your server over SSH before, please see the following links to get started:

IMPORTANT

Part 1 of this article is NOT necessary for most people - even with their latest update. If you're finding that your sitemap and robots.txt file are not working correctly, then you can add the following to your server. However, we have configurations that allow all popular SEO plugins to work correctly on our Nginx stack out of the box.

Part 1. Nginx Configuration

Below will walk you through the Nginx setup if needed. In almost all cases, this will not be necessary.

1. XML / Image / Video / HTML Sitemap

You’ll find this setting in your site at /wp-admin/admin.php?page=seopress-xml-sitemap

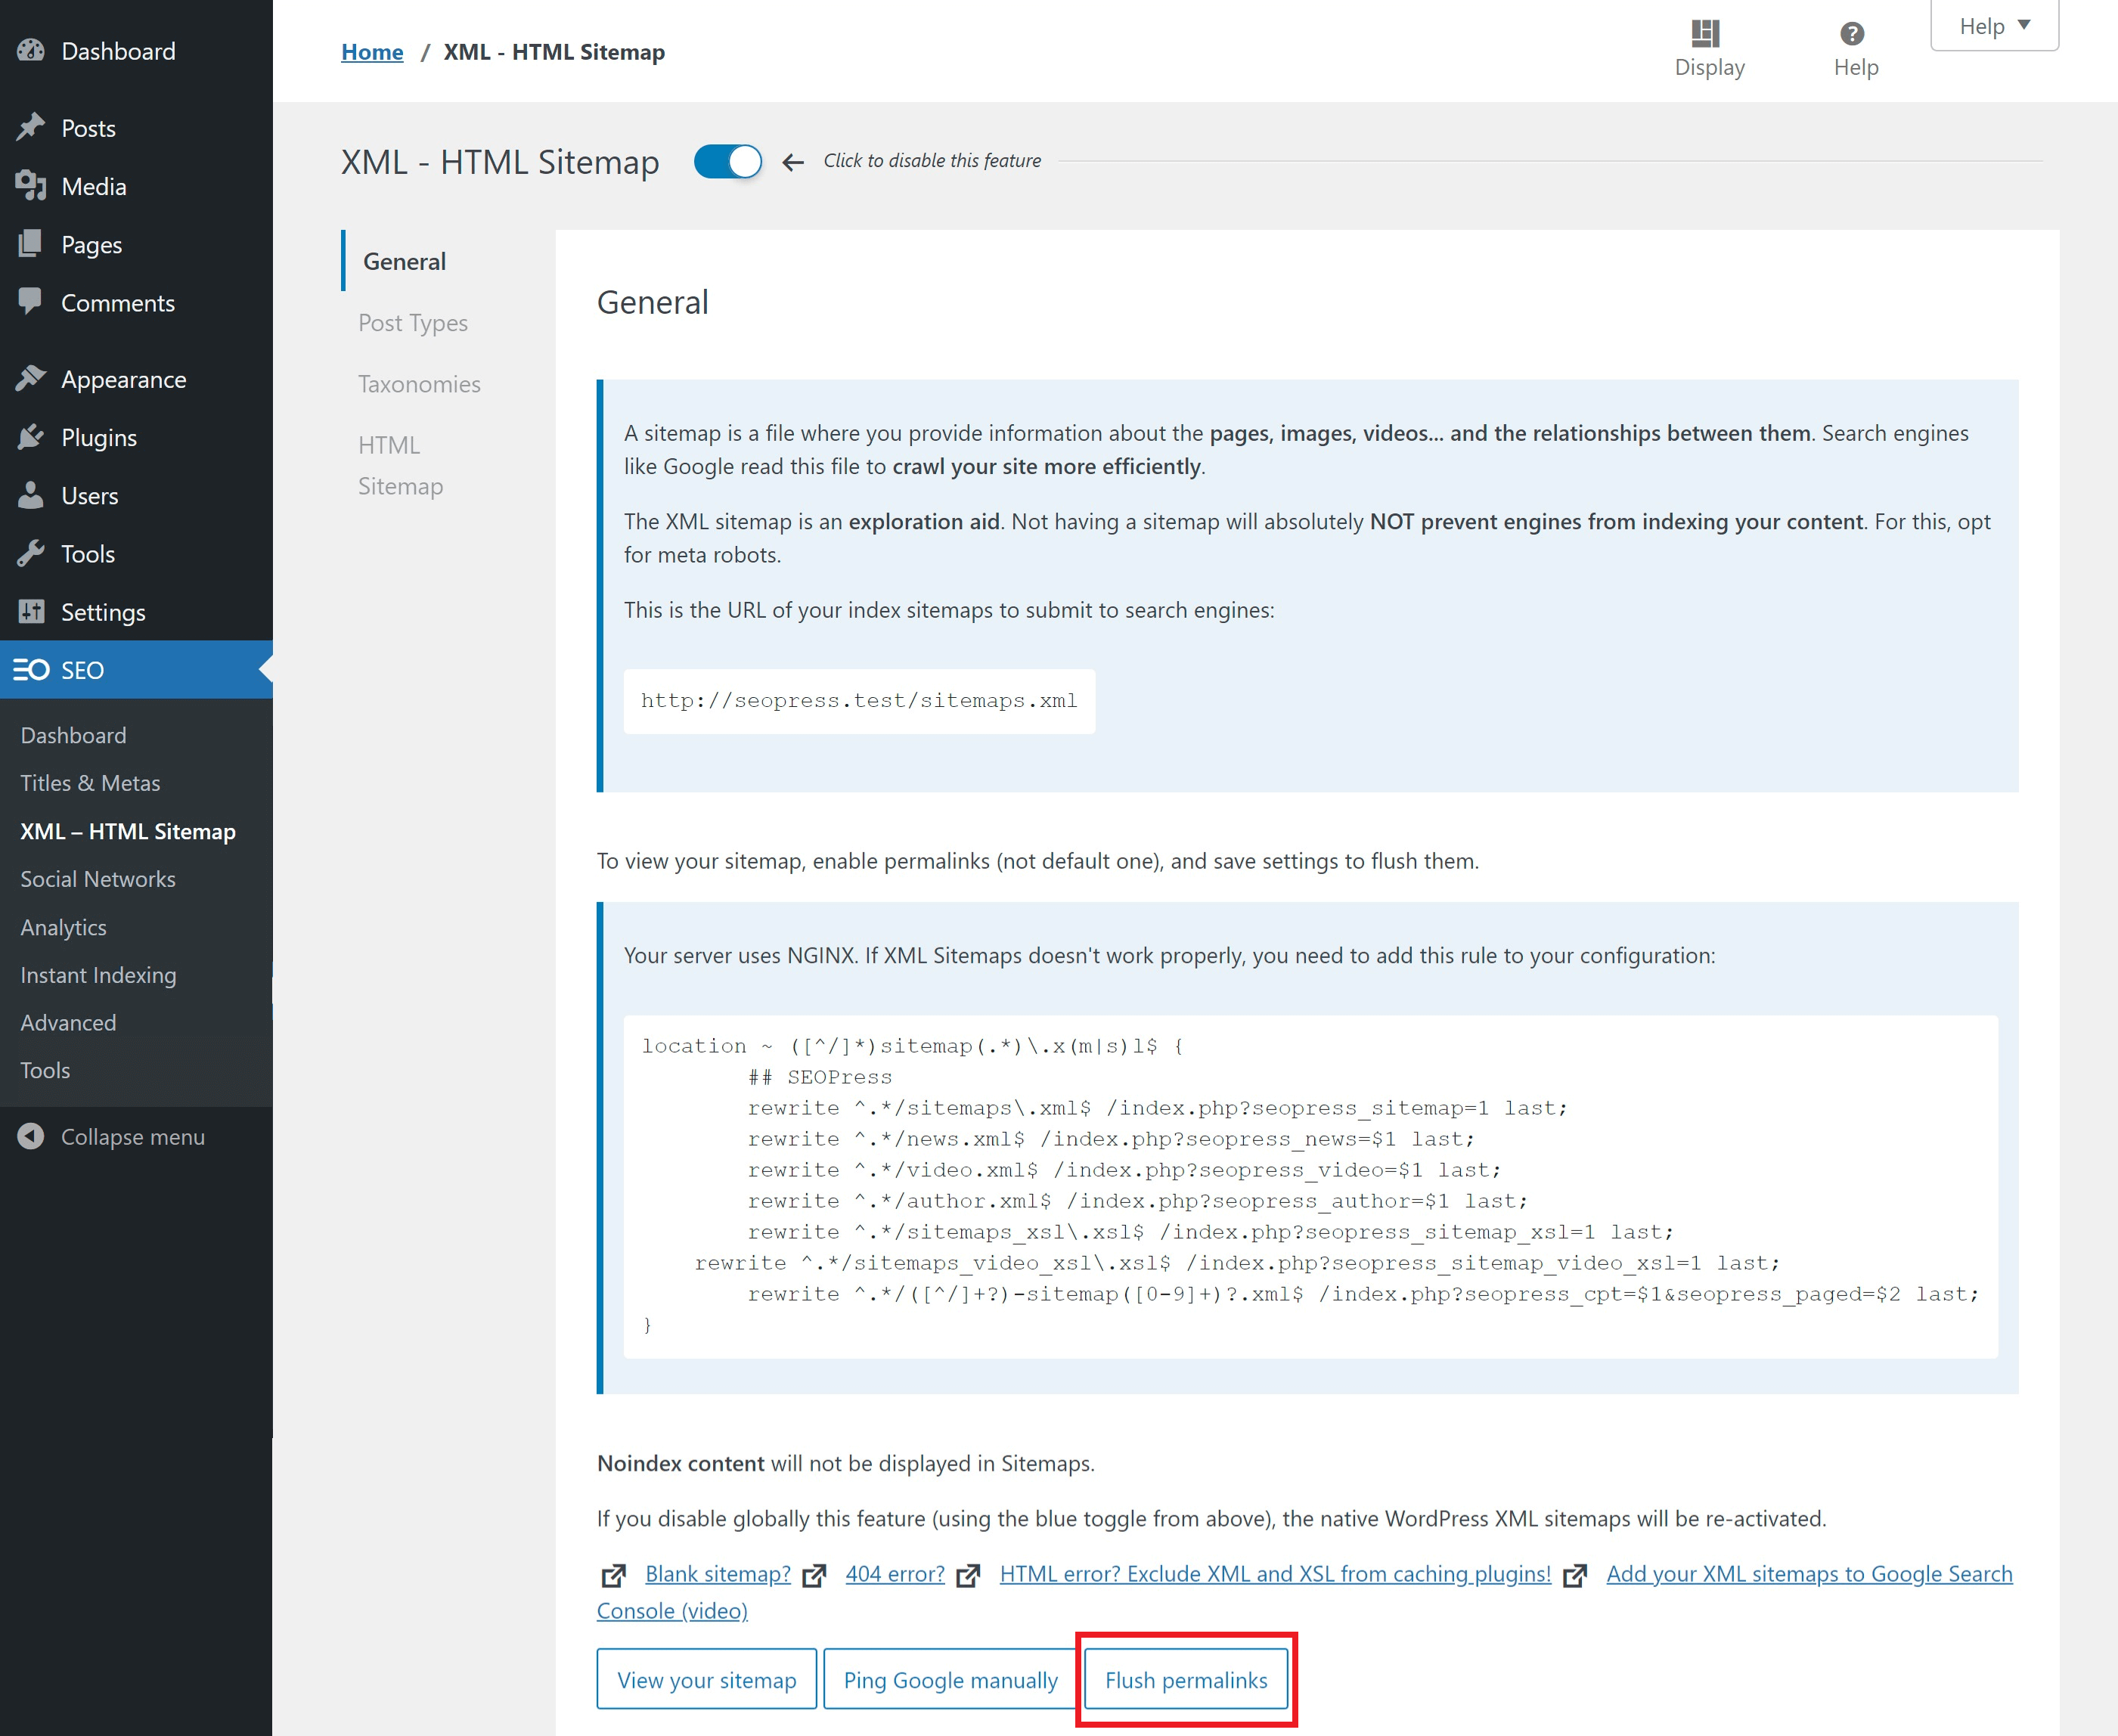
When you have the sitemap enabled and to your liking, save at the bottom of the page. Be sure to flush your permalinks with the provided button as well.

Next connect to your server and run the following command where site.url is your domain name.

nano /var/www/site.url/nginx/seopress-sitemap-context.conf

This will create and open the file seopress-sitemap-context.conf. Next, paste in the location block provided by SEOPress:

location ~ ([^/]*)sitemap(.*)\.x(m|s)l$ {
## SEOPress
rewrite ^.*/sitemaps\.xml$ /index.php?seopress_sitemap=1 last;
rewrite ^.*/news.xml$ /index.php?seopress_news=$1 last;
rewrite ^.*/video.xml$ /index.php?seopress_video=$1 last;
rewrite ^.*/author.xml$ /index.php?seopress_author=$1 last;
rewrite ^.*/sitemaps_xsl\.xsl$ /index.php?seopress_sitemap_xsl=1 last;
rewrite ^.*/([^/]+?)-sitemap([0-9]+)?.xml$ /index.php?seopress_cpt=$1&seopress_paged=$2 last;
}

Writing to and saving a file in nano is a three step process:

  • Hit CTRL-O to write to the file
  • Hit Enter to confirm the file you have open is the one you want to write to
  • Hit CTRL-X to exit the file

Next you must test the Nginx config and reload if there are no errors.

Test the config with this command

nginx -t

Reload Nginx with this command

gp ngx reload

Clear your site caches using the self help tools and your sitemap should display.

2. Robots.txt

You’ll find this setting in your site at /wp-admin/admin.php?page=seopress-pro-page#tab=tab_seopress_robots

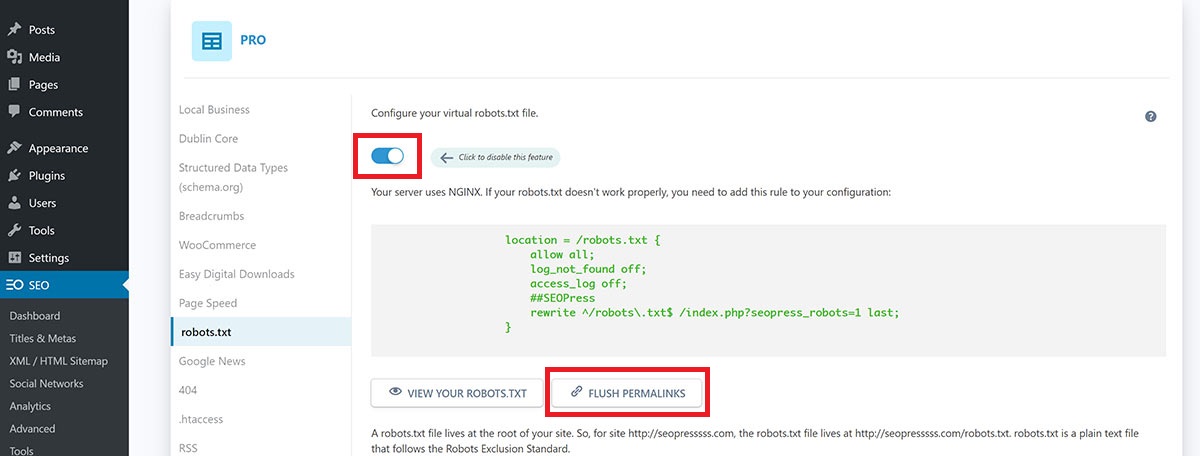
Most people will want to use the virtual robots file. Click that option and configure robots how you want. Save changes at the bottom and then use the flush permalinks button at the top.

Next connect to your server and run the following command where site.url is your domain name.

nano /etc/nginx/common/site.url-static.conf

This will open the already existing site.url-static.conf file for your site. Near the top of that file you will see this block of code:

location = /robots.txt {
try_files $uri $uri/ /index.php?$args;
more_clear_headers "Cache-Control";
more_set_headers "Cache-Control: no-store";
allow all;
access_log off;
log_not_found off;
}

Copy the bottom line of the code provided by the plugin and add it to the existing block. The end result will look like this:

location = /robots.txt {
try_files $uri $uri/ /index.php?$args;
more_clear_headers "Cache-Control";
more_set_headers "Cache-Control: no-store";
allow all;
access_log off;
log_not_found off;
rewrite ^/robots.txt$ /index.php?seopress_robots=1 last;
}

Write and save the file with the method above, then test the Nginx config and reload if no errors are present.

Test the config with this command

nginx -t

Reload Nginx with this command

gp ngx reload

Clear your site caches using the self help tools and your sitemap should display.

Part 2. Google Search Console and the 7G WAF

The 7G WAF is awesome, and we highly recommend you get to know how it works. It’s a fairly straightforward Web Application Firewall and our integration allows for a wide range of customisations and the ability to add your own custom rules. Learn more here:

Using the GridPane 7G Web Application Firewall

When connecting SEOPress to Google search console, the authorisation link results in two separate errors that looks as follows in the 7G log:

[17/Nov/2020:15:05:35 +0000] [":bad_querystring_12::bad_request_15:"] 199.199.199.199 yourdomain.com "GET /wp-admin/admin.php?page=seopress-google-analytics&code=4/0AY0e-g44ZrE9024kffJQ2LbRdRxVLOQgAruyU9wAHI1jYFCDaUo10xmwW5rpilPzqNKOSoaWlA&scope=https://www.googleapis.com/auth/analytics.readonly HTTP/1.1" 403 "https://accounts.google.com/" "Mozilla/5.0 (Macintosh; Intel Mac OS X 11_0_0) AppleWebKit/537.36 (KHTML, like Gecko) Chrome/86.0.4240.198 Safari/537.36"

We can exclude these two rules by targeting “page=seopress-google-analytics&code” and adding an exclusion for both errors. We’ll walk through this step by step below.

Step 1. SSH into your server

Please see the links at the top of the article to get started if needed.

Step 2. Create an exclusion rule for your website

To whitelist this SEOPress for these two specific rules, create a config with the following command (switching out site.url with your domain name):

nano /var/www/site.url/nginx/seopress-whitelist-7g-context.conf

Add the following to the file:

set $exclusion_rule_match "";
if ( $args ~* ^page=seopress-google-analytics&code ) {
set $exclusion_rule_match 15;
}
if ($bad_request_7g = $exclusion_rule_match) {
set $7g_drop_bad_request 0;
}

set $exclusion_rule_match "";
if ( $args ~* ^page=seopress-google-analytics&code ) {
set $exclusion_rule_match 12;
}
if ($bad_querystring_7g = $exclusion_rule_match) {
set $7g_drop_bad_query_string 0;
}

Hit CTRL+O and then Enter to save the file. Exit nano with CTRL+X.

Step 3. Check and reload Nginx

To set your rule into effect you will need to check your Nginx syntax with:

nginx -t

If no errors are present, reload Nginx with:

gp ngx reload

Your rule is now active.