Step 1. Purchase APO Inside of Cloudflare
APO is included in all of Cloudflare’s paid plans, and also be purchased as an add-on to the free plan. As mentioned in the introduction, this starts from $5 per month.
To purchase it, log into your account and:
- Select your website
- Select Speed and then Optimization from the left-hand menu
- Scroll down to the Automatic Platform Optimization for WordPress section and click Purchase
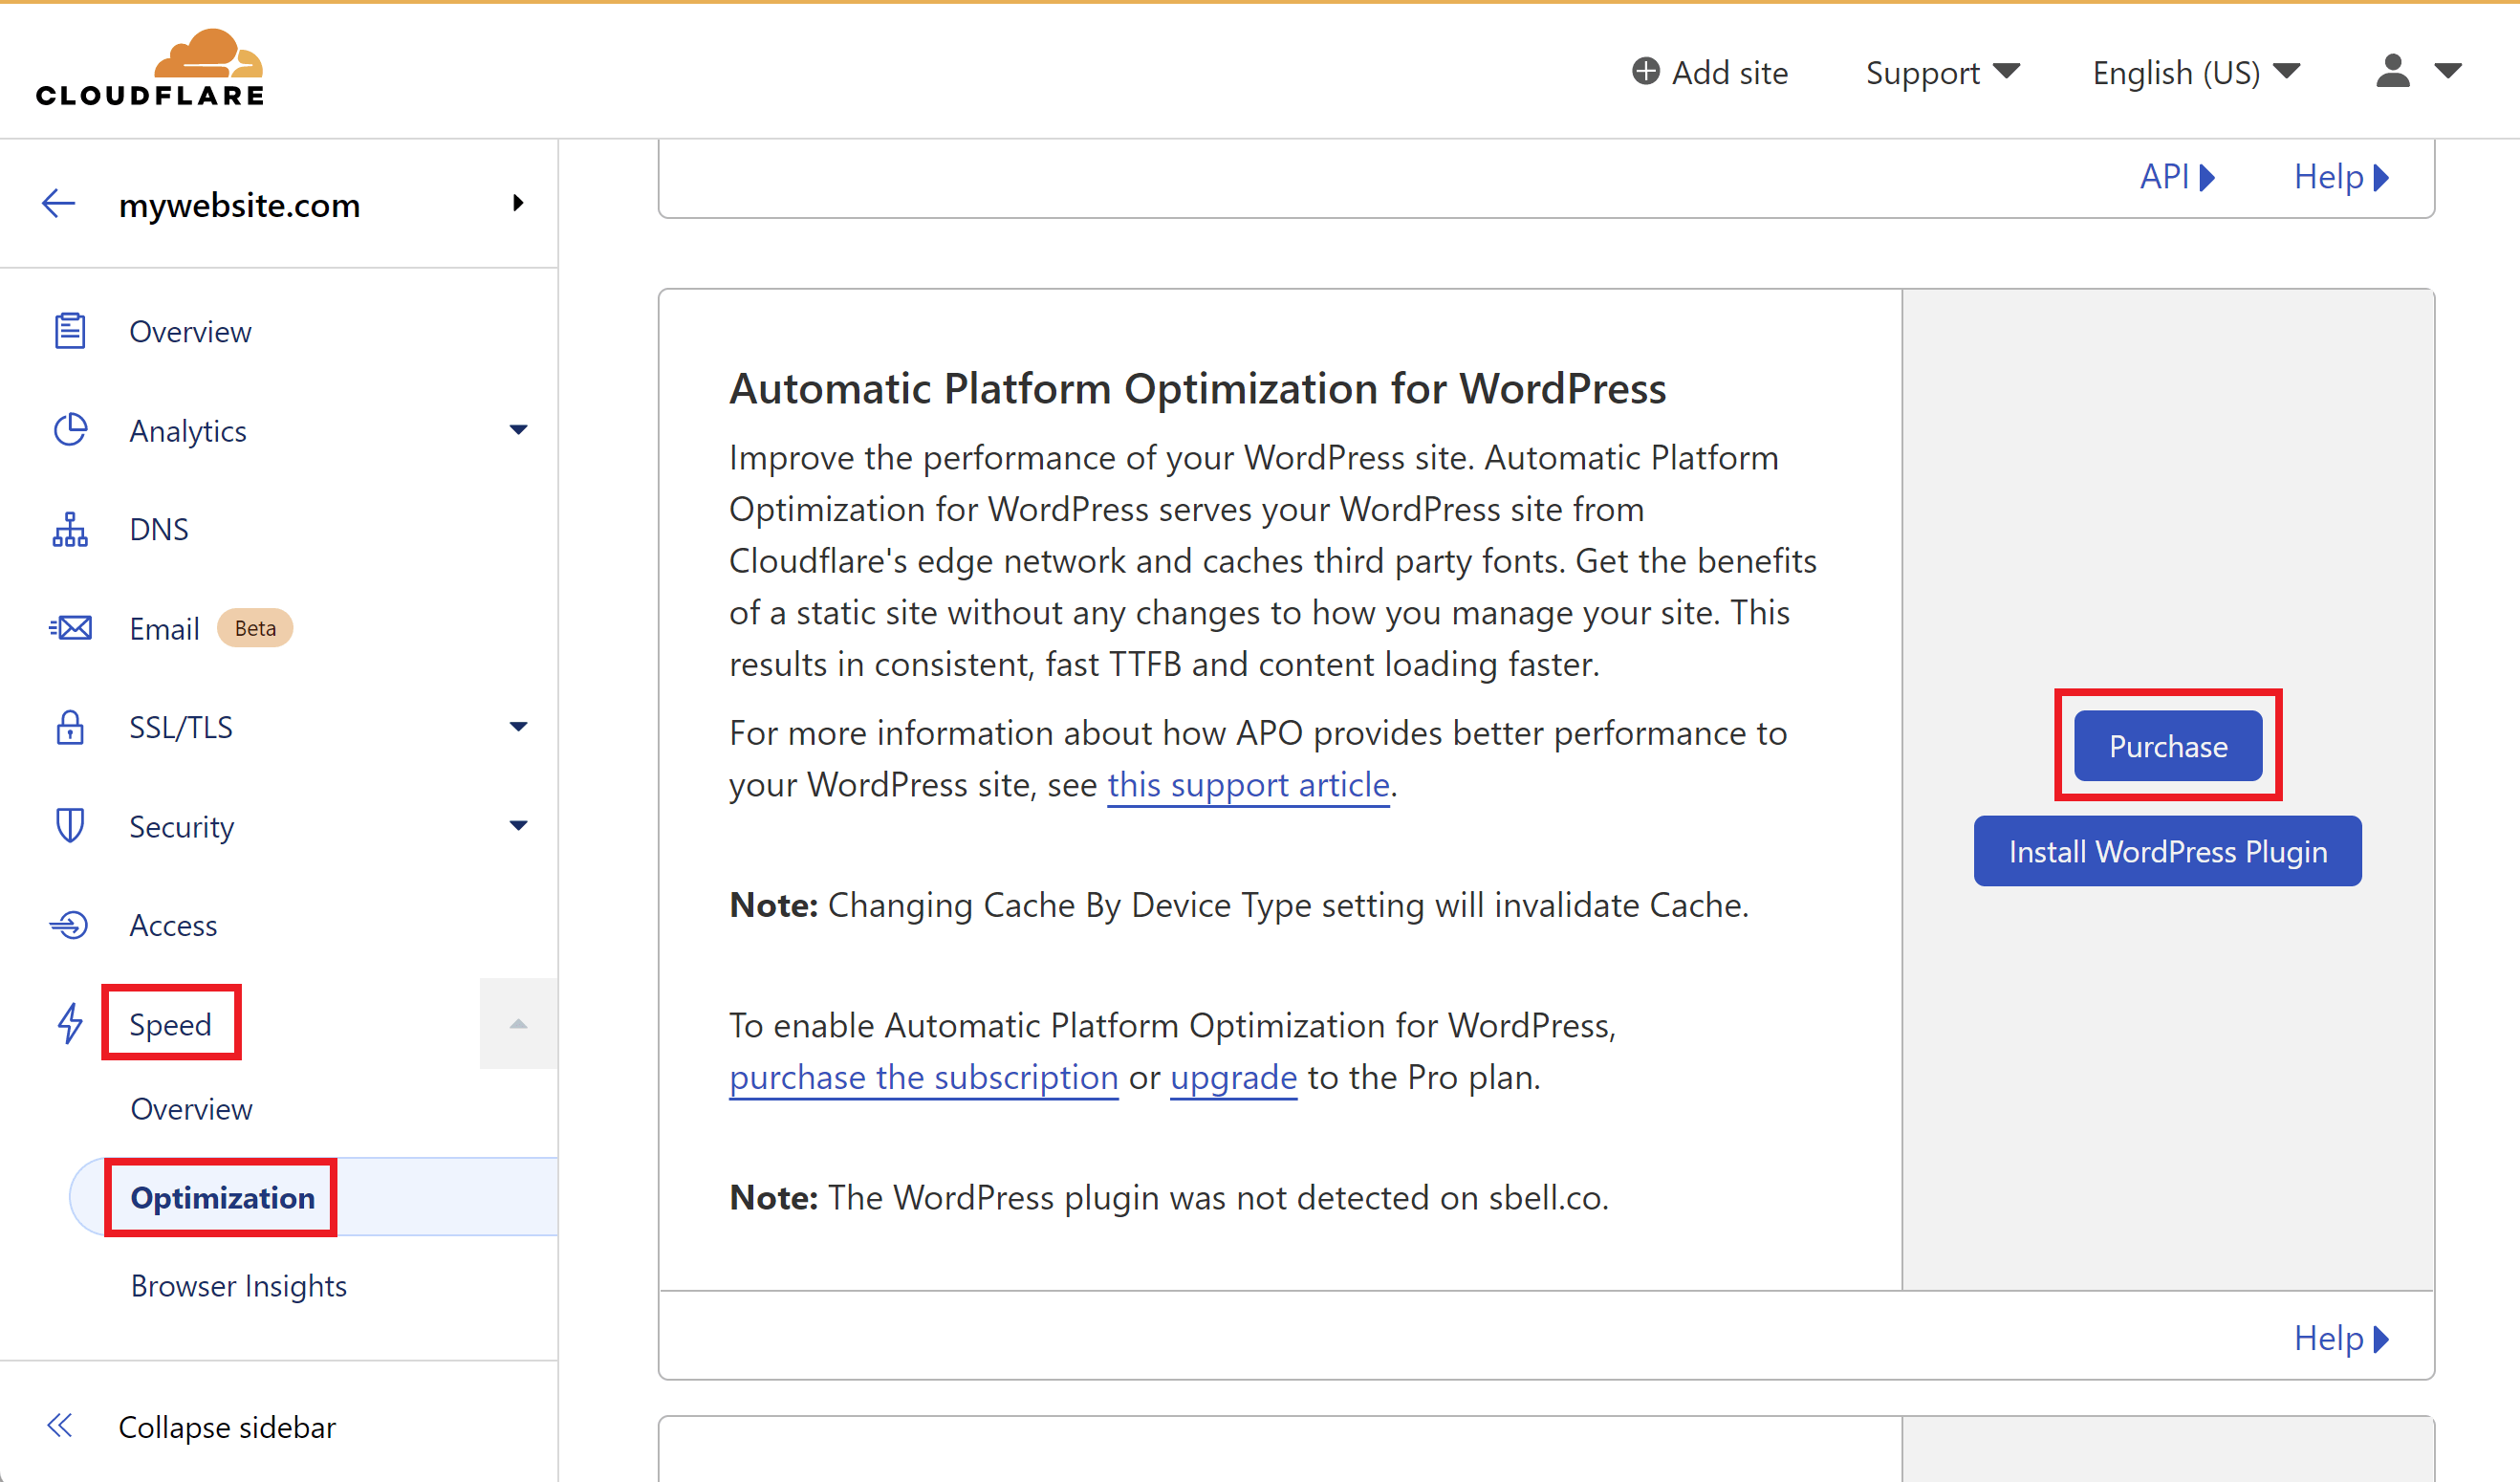
This will take you through to a page where you can confirm your payment. Click the Confirm Payment button.
Step 2. Create Your Cloudflare API Token
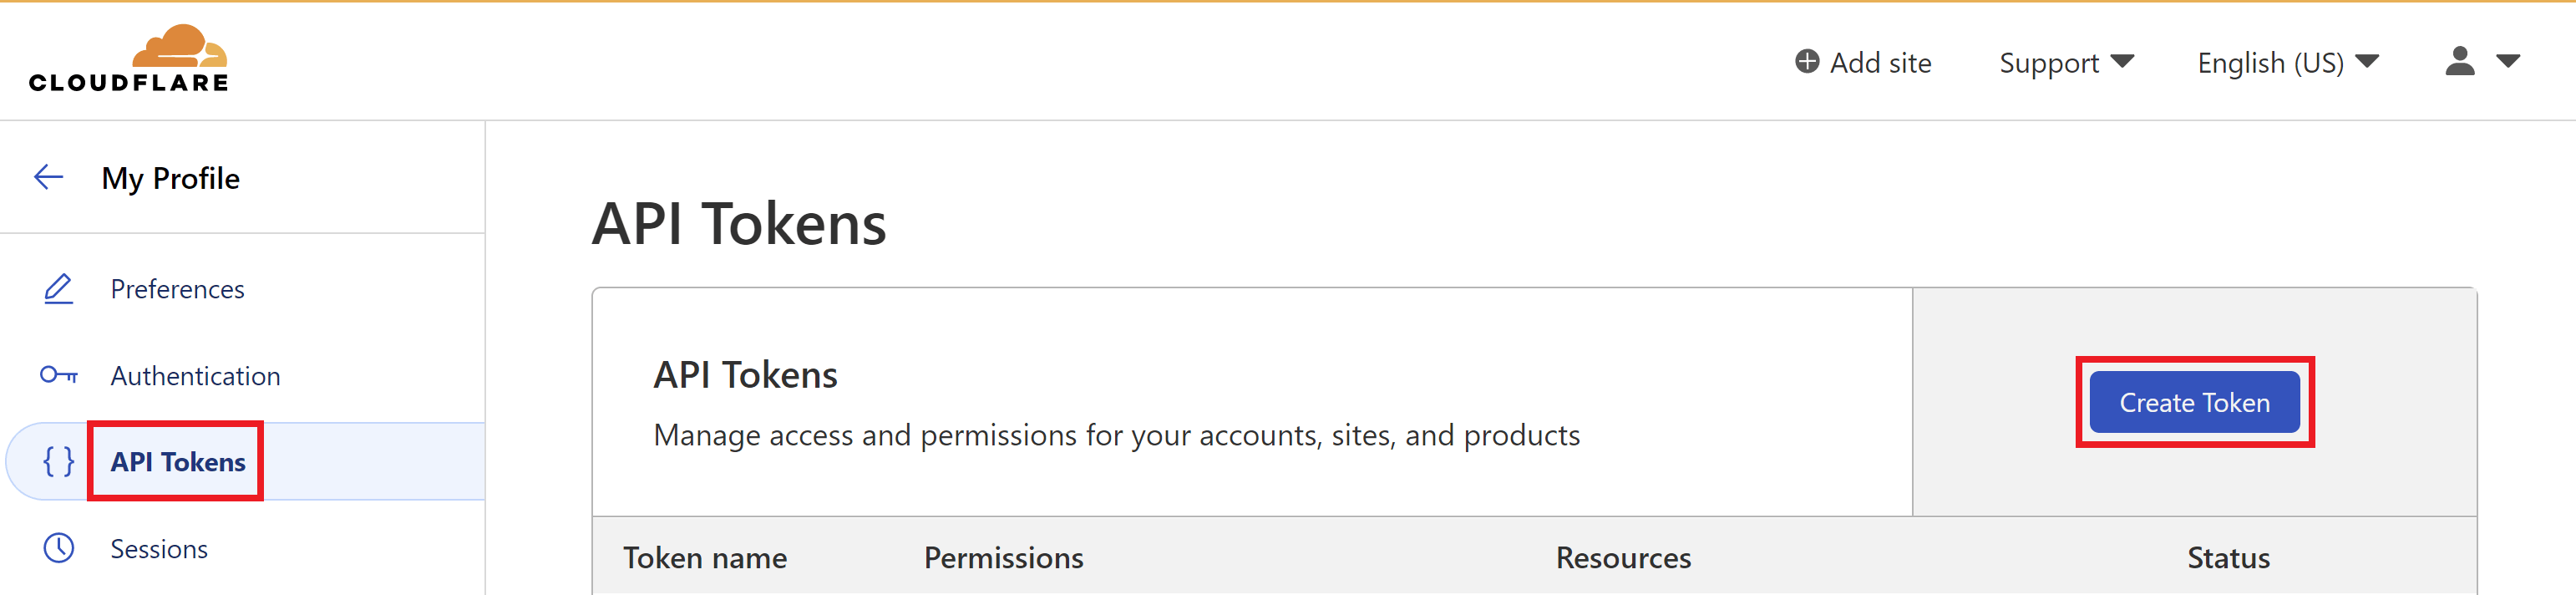
Inside your Cloudflare account, select My Profile from the top of the page.
From here select API Tokens > Create Token:
We’ll be using the default WordPress template created by Cloudflare and referenced in their own docs:
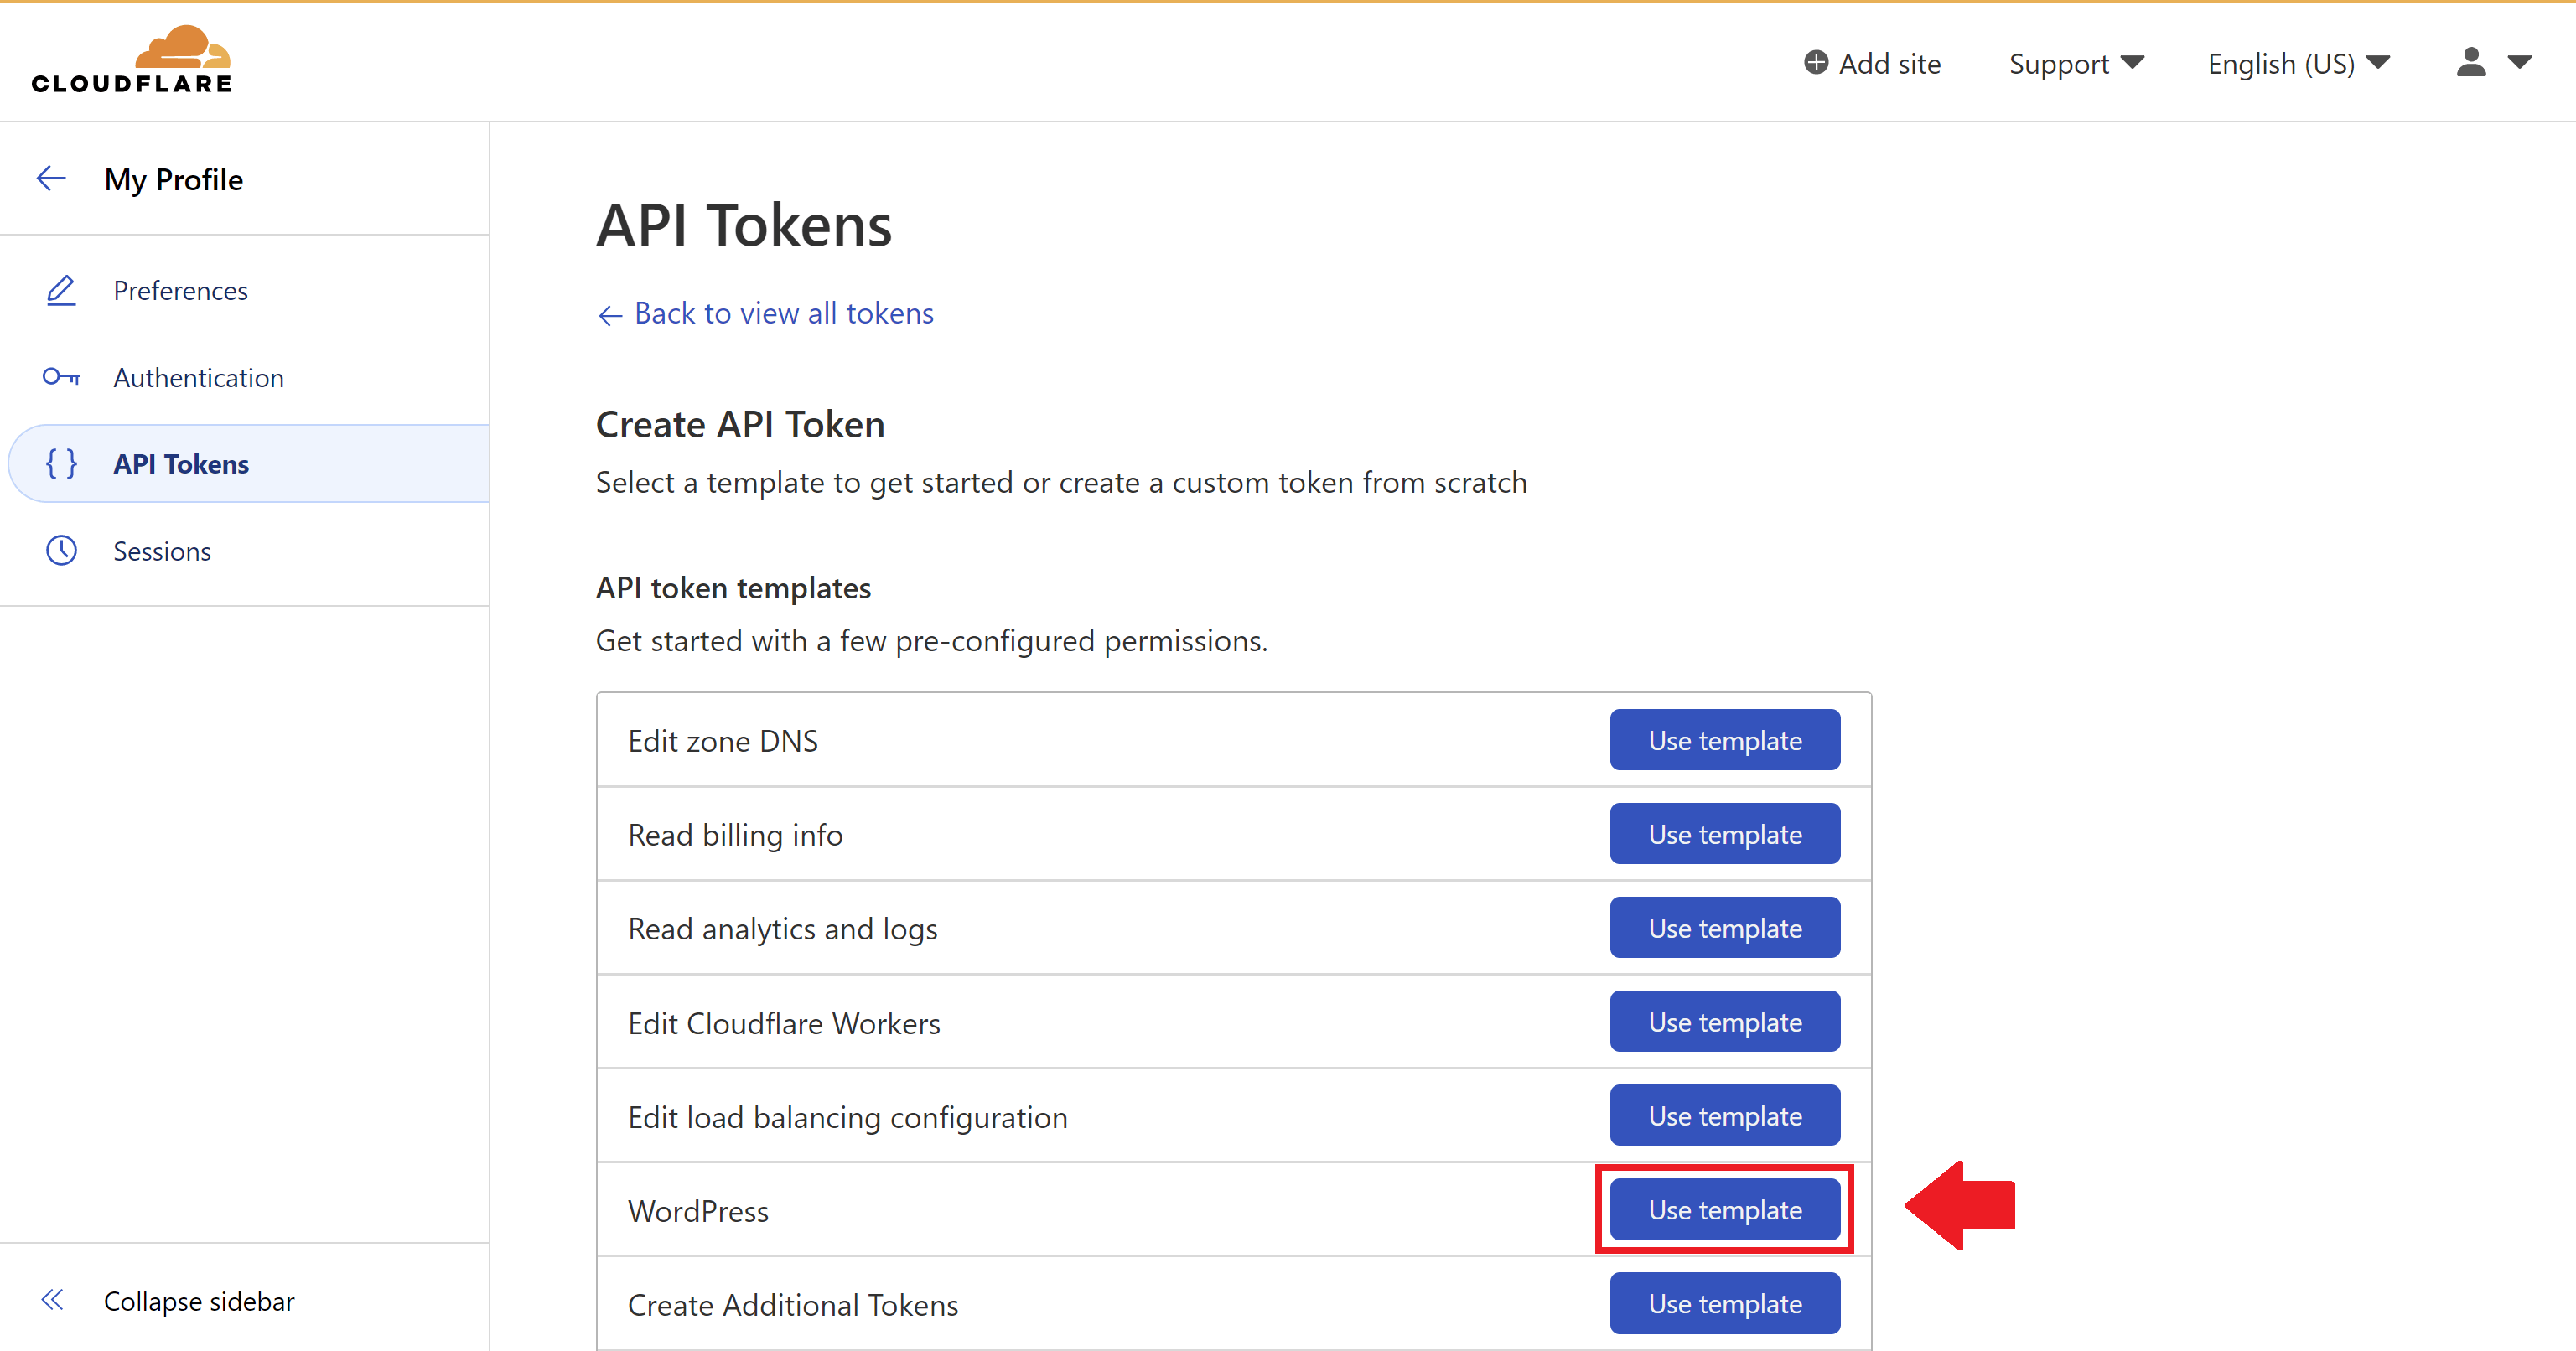
Here Cloudflare has already created the settings you need for your website.
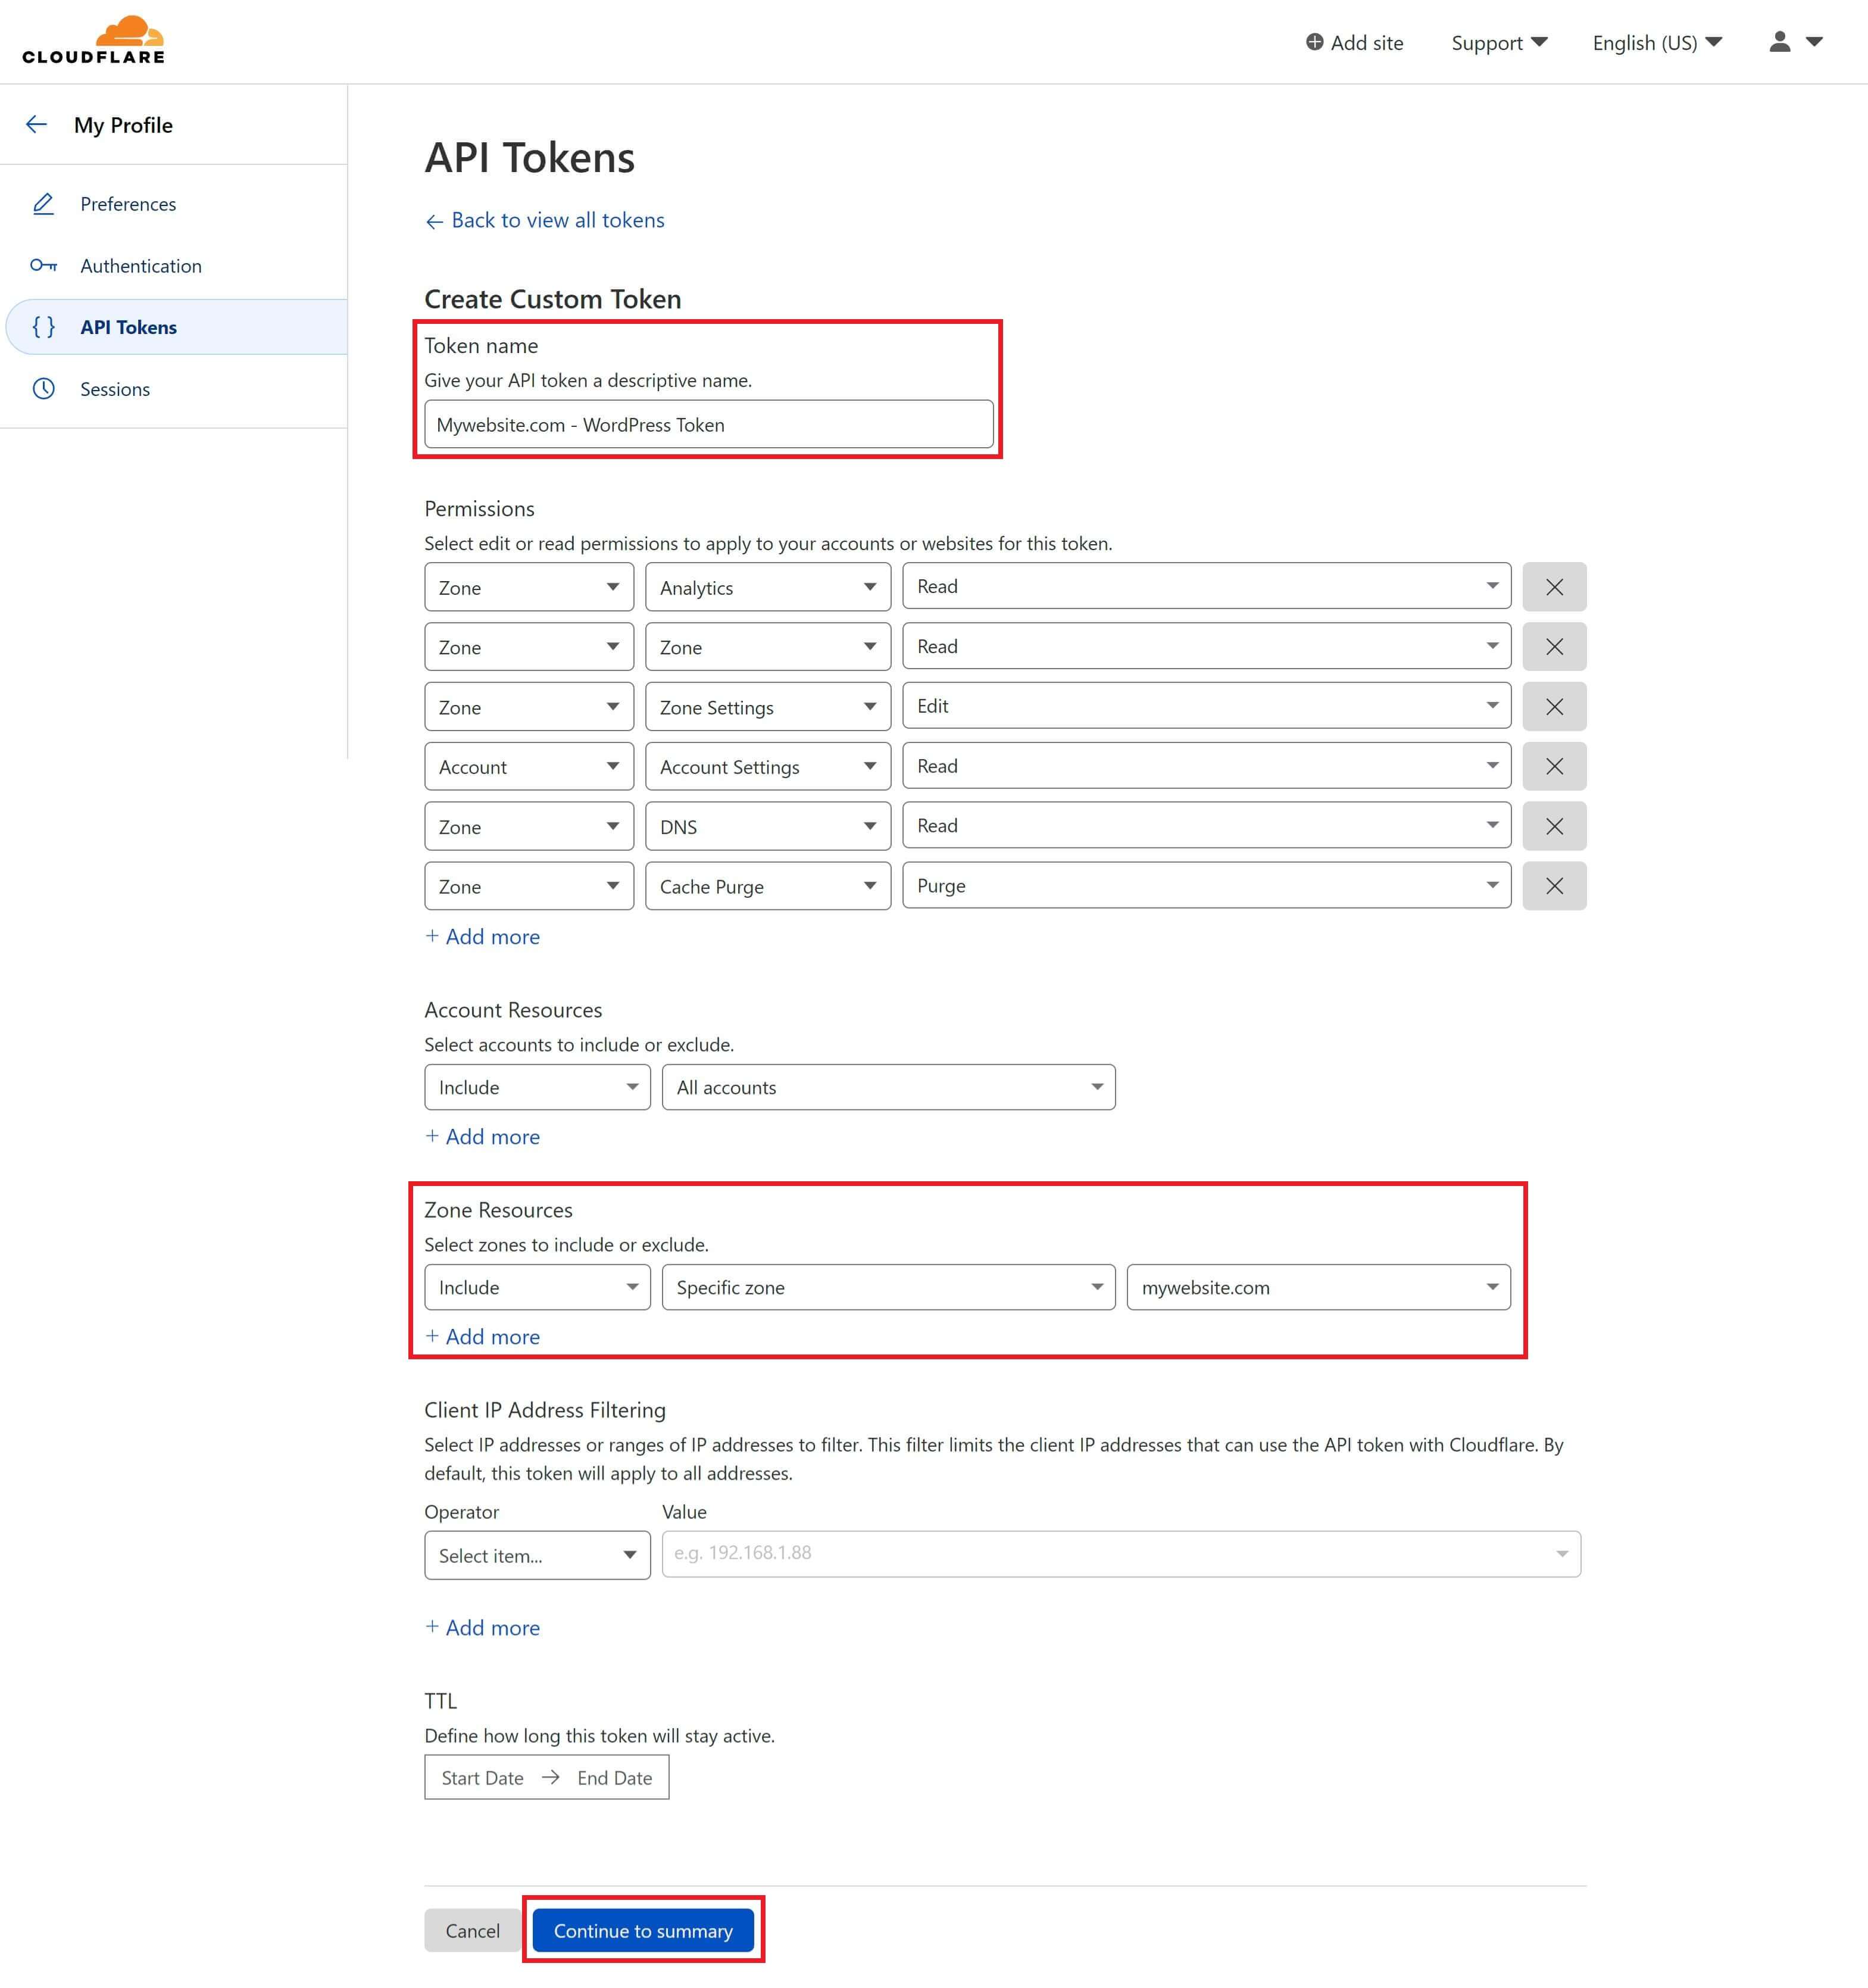
In their documentation, they don’t specify a specific zone, which would mean this API key would apply to all websites in your account.
Optional: You may instead wish to select a specific website under “Zone Resources” and apply it to your individual website, and repeat this process for each individual website in your account. If you do this, be sure to name each token so that you can easily identify it in the future if ever needed.
Next, click the Continue to summary button:
On the WordPress API token summary page, select Create Token. Your API token displays.
Select the Copy button to copy your token. You will need to paste the token in the next section.
Step 3. Install the Cloudflare Plugin Inside of Your WordPress Website
Inside your WordPress website navigate to your Dashboard > Plugins > Add new and search for Cloudflare.
Install and activate the plugin.
As a side note, Cloudflare’s plugin doesn’t have as good a rating as you might expect. However, after reading through the negative reviews, I suspect the issues were less to do with Cloudflare and more to do with the website owner not understanding how to set things up correctly.
Step 4. Add Your API Token
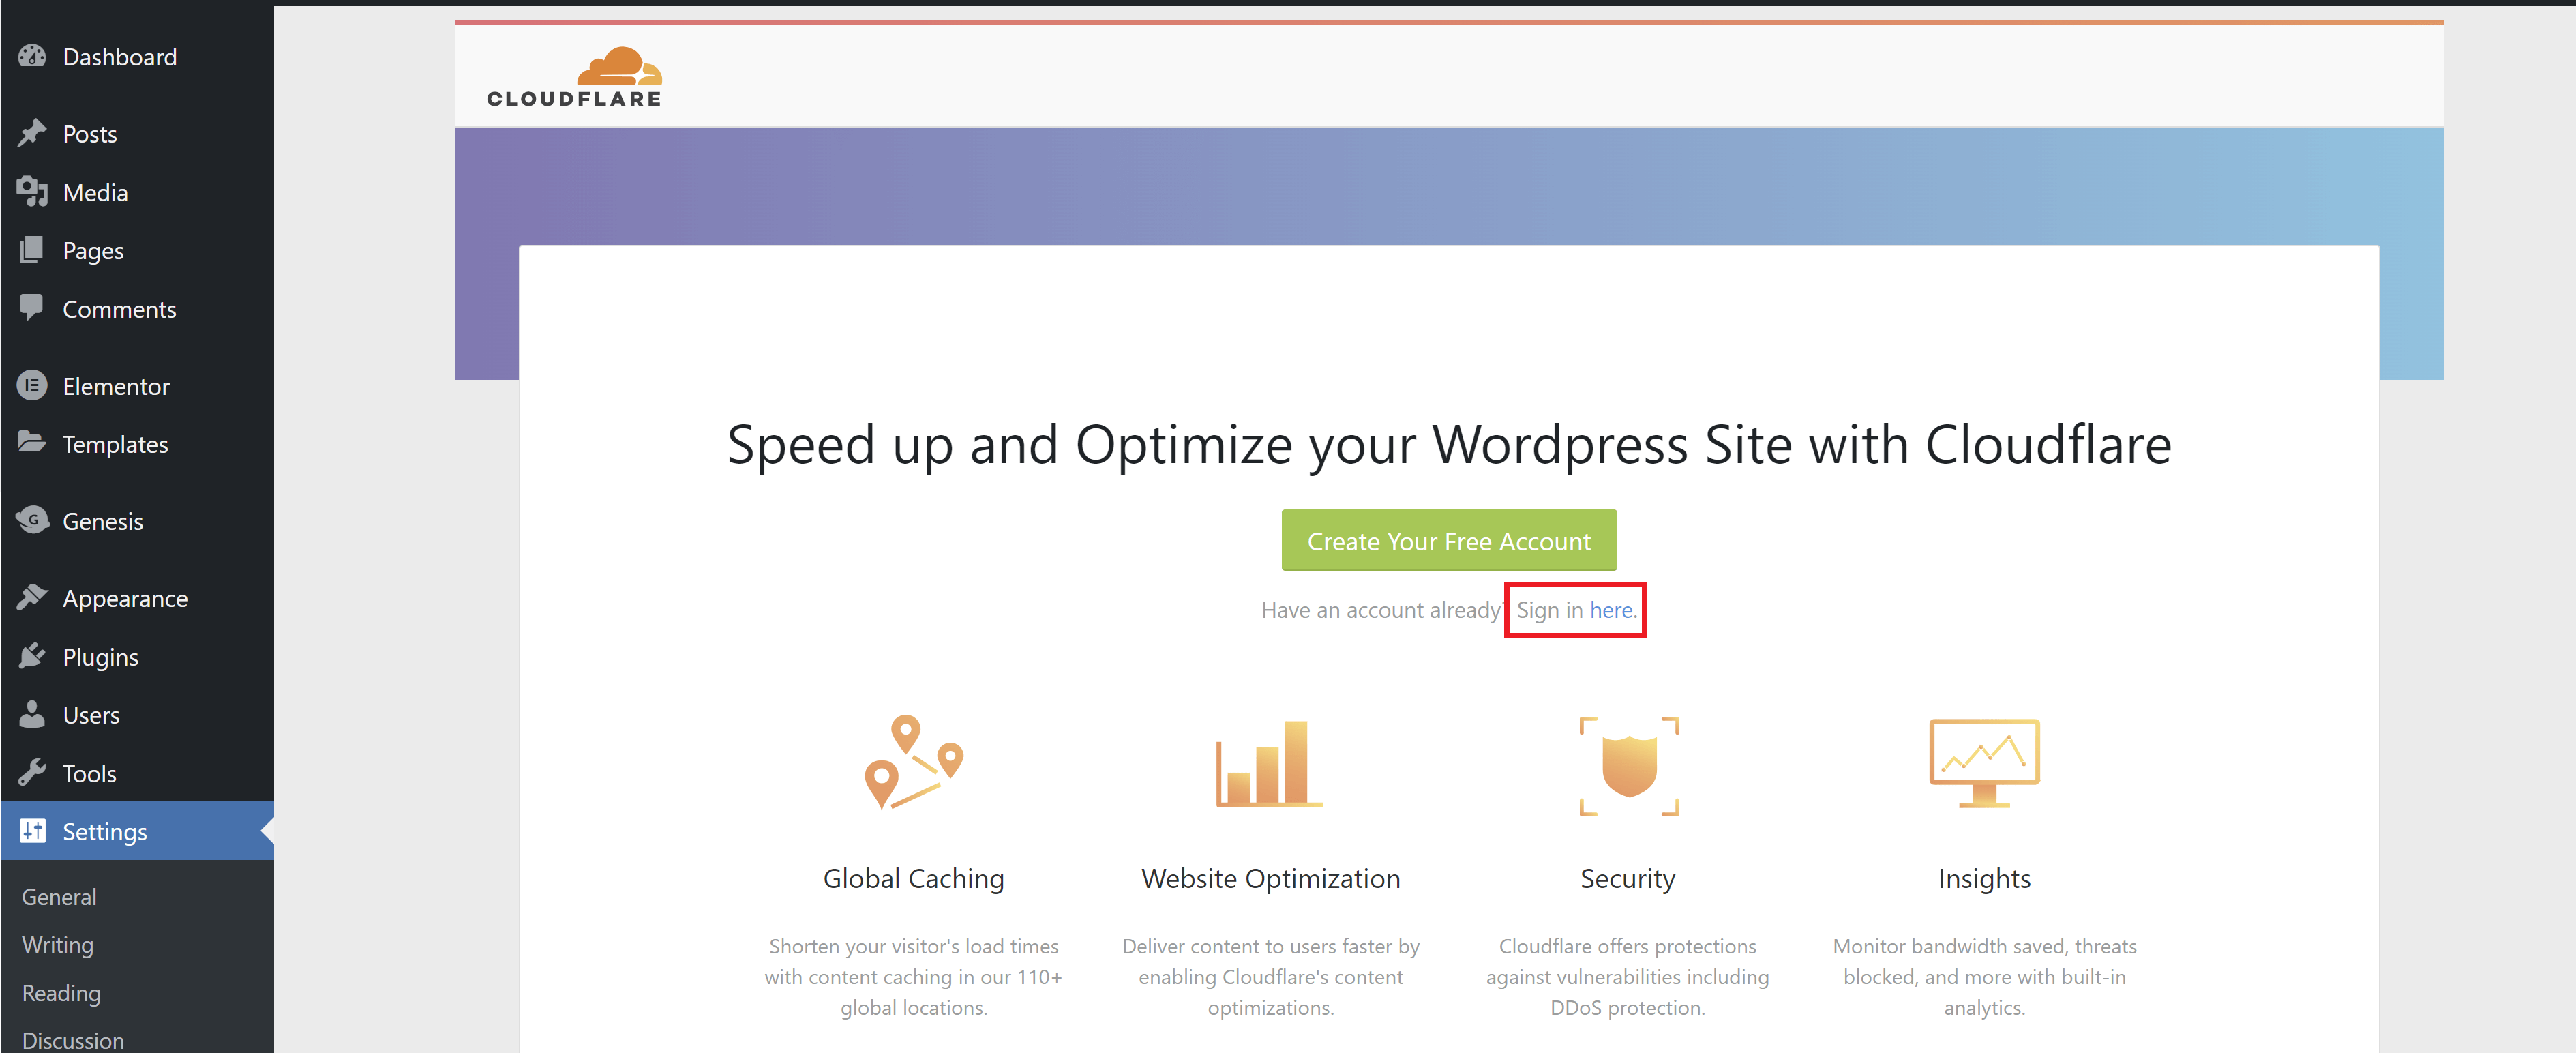
Inside your WordPress Dashboard go to Settings > Cloudflare and click “Sign in here”.
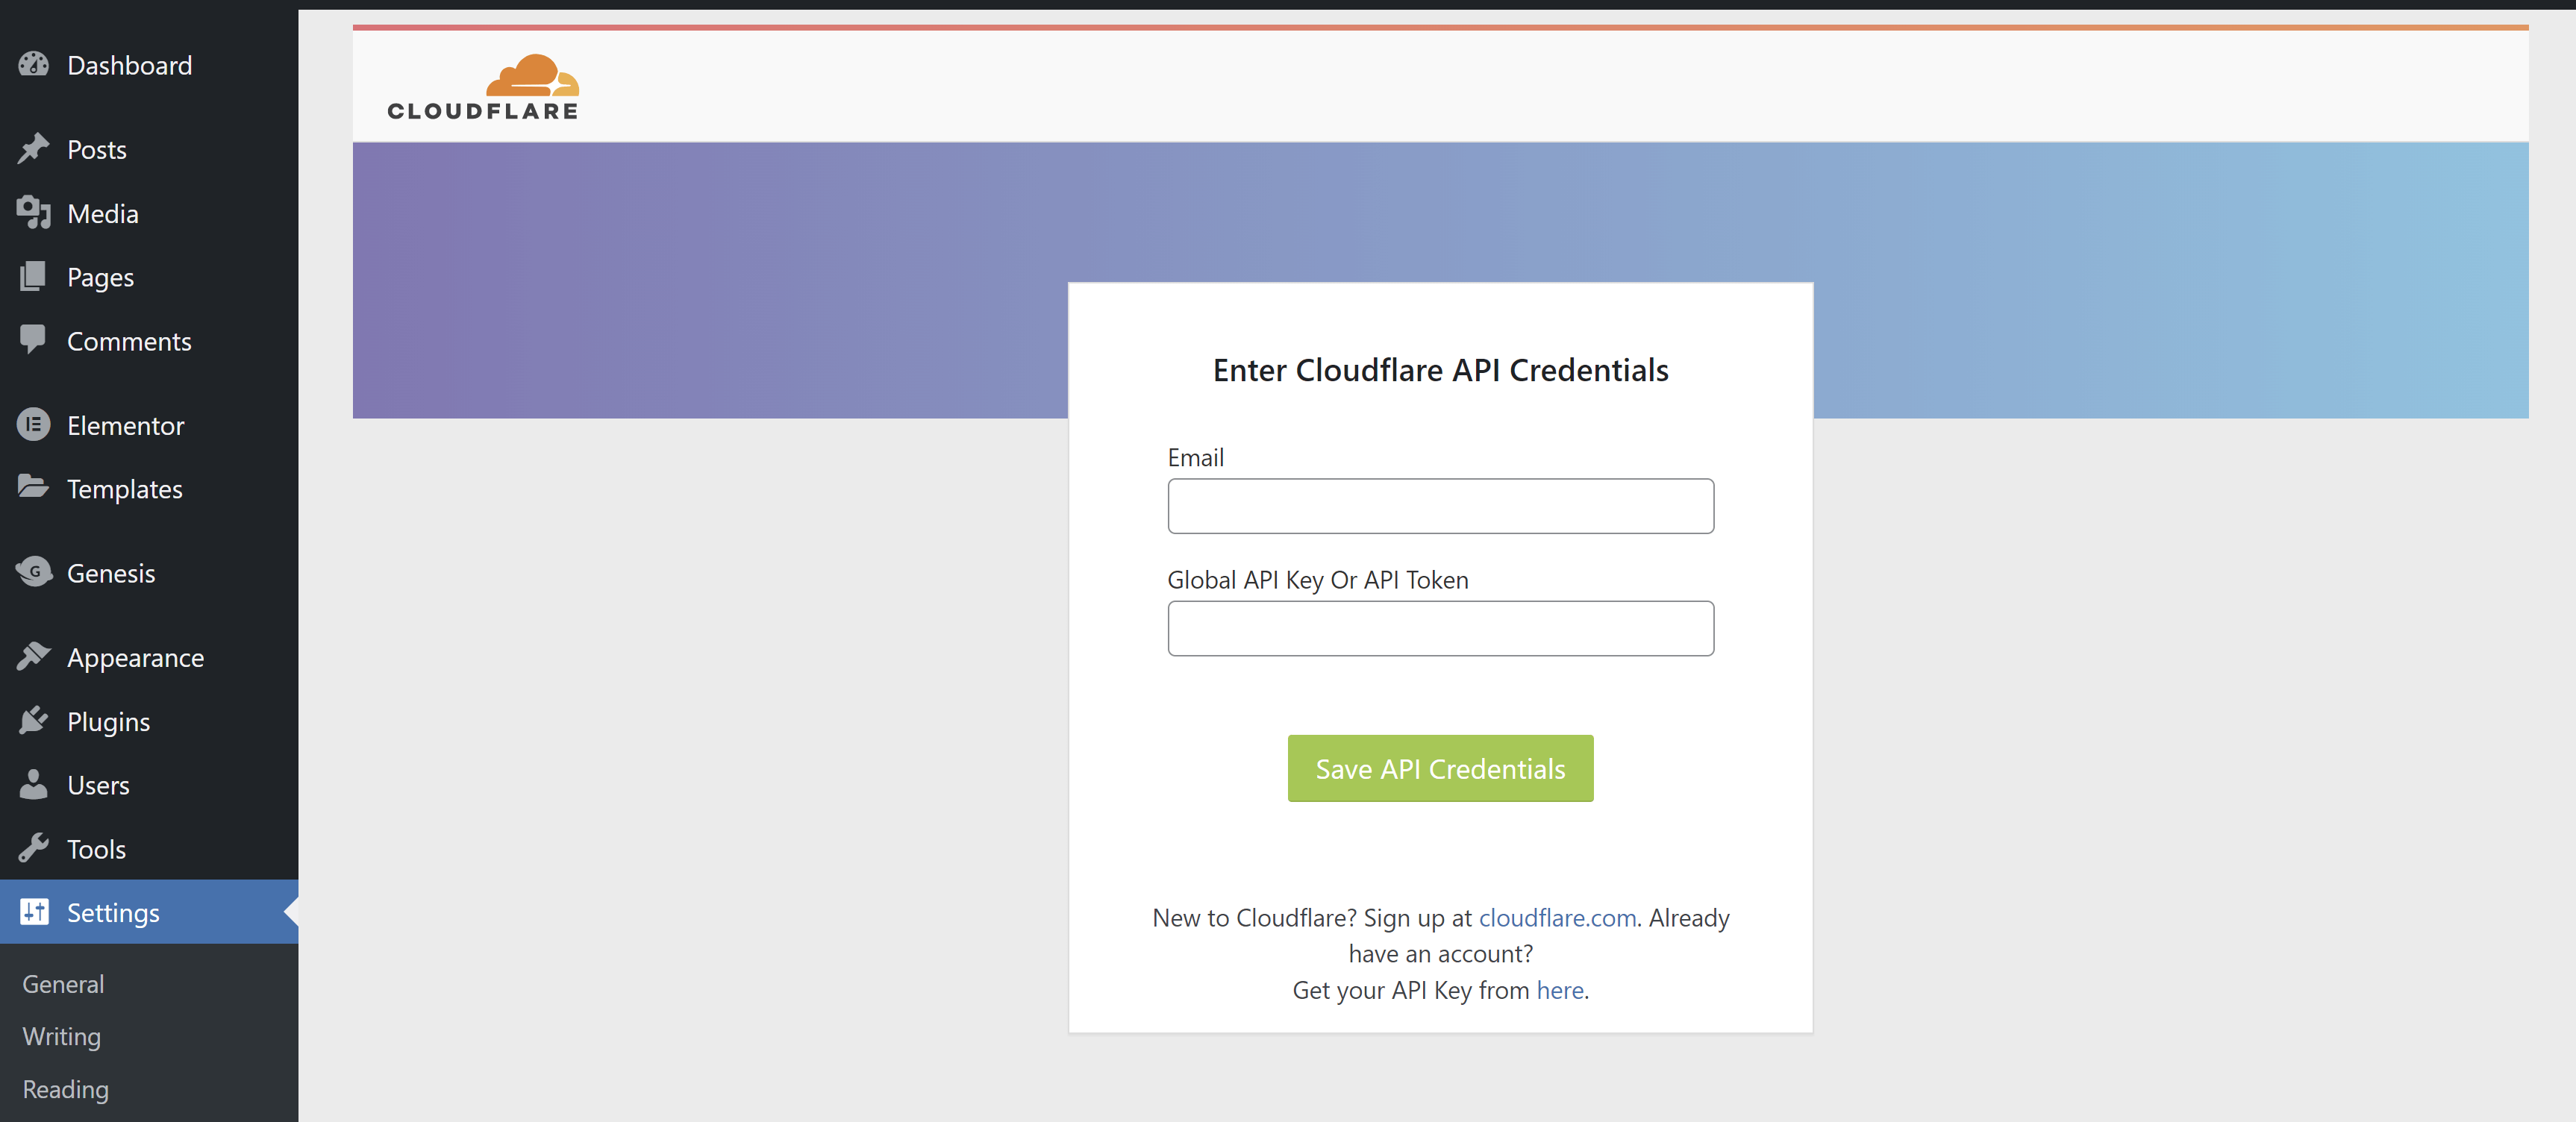
Enter the email address you’re using for your Cloudflare account and add the API key you created in Step 2.
Once connected you’ll see multiple options that you can configure, including toggling on Cloudflare APO:
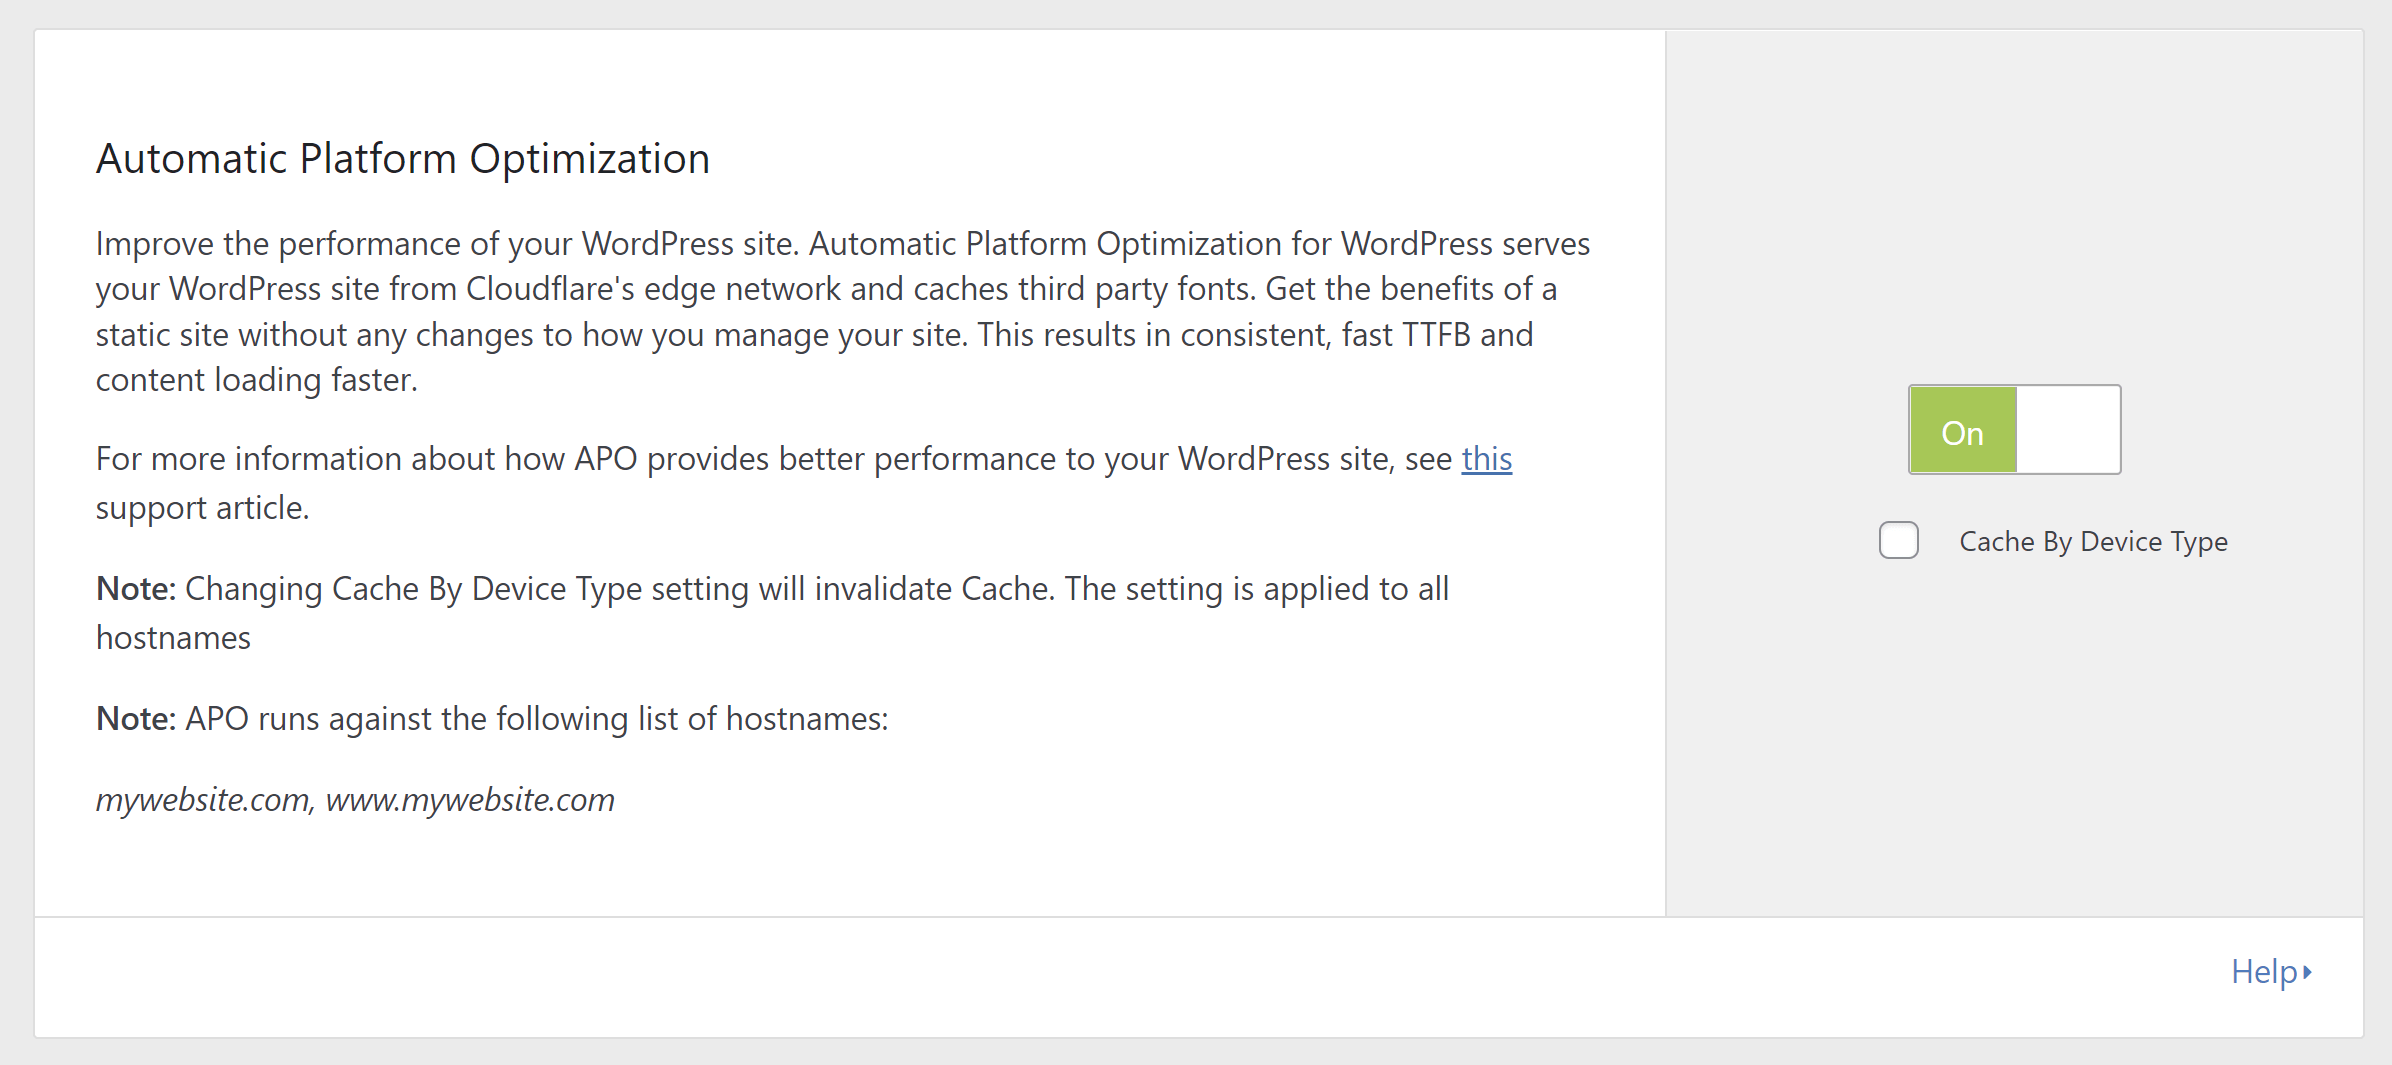
APO is now active on your website.
Step 5. Confirm Cloudflare APO is Working Correctly
To verify that Cloudflare caching is active on your website you can check your website’s HTTP response headers. Specifically, you’ll see the following 3 headers:
cf-apo-viacf-cache-statuscf-edge-cache
To do this, navigate to your website’s homepage and Right-click > Inspect, and click through to the Network tab. Now refresh the page and click on your website name in the left-hand side column:
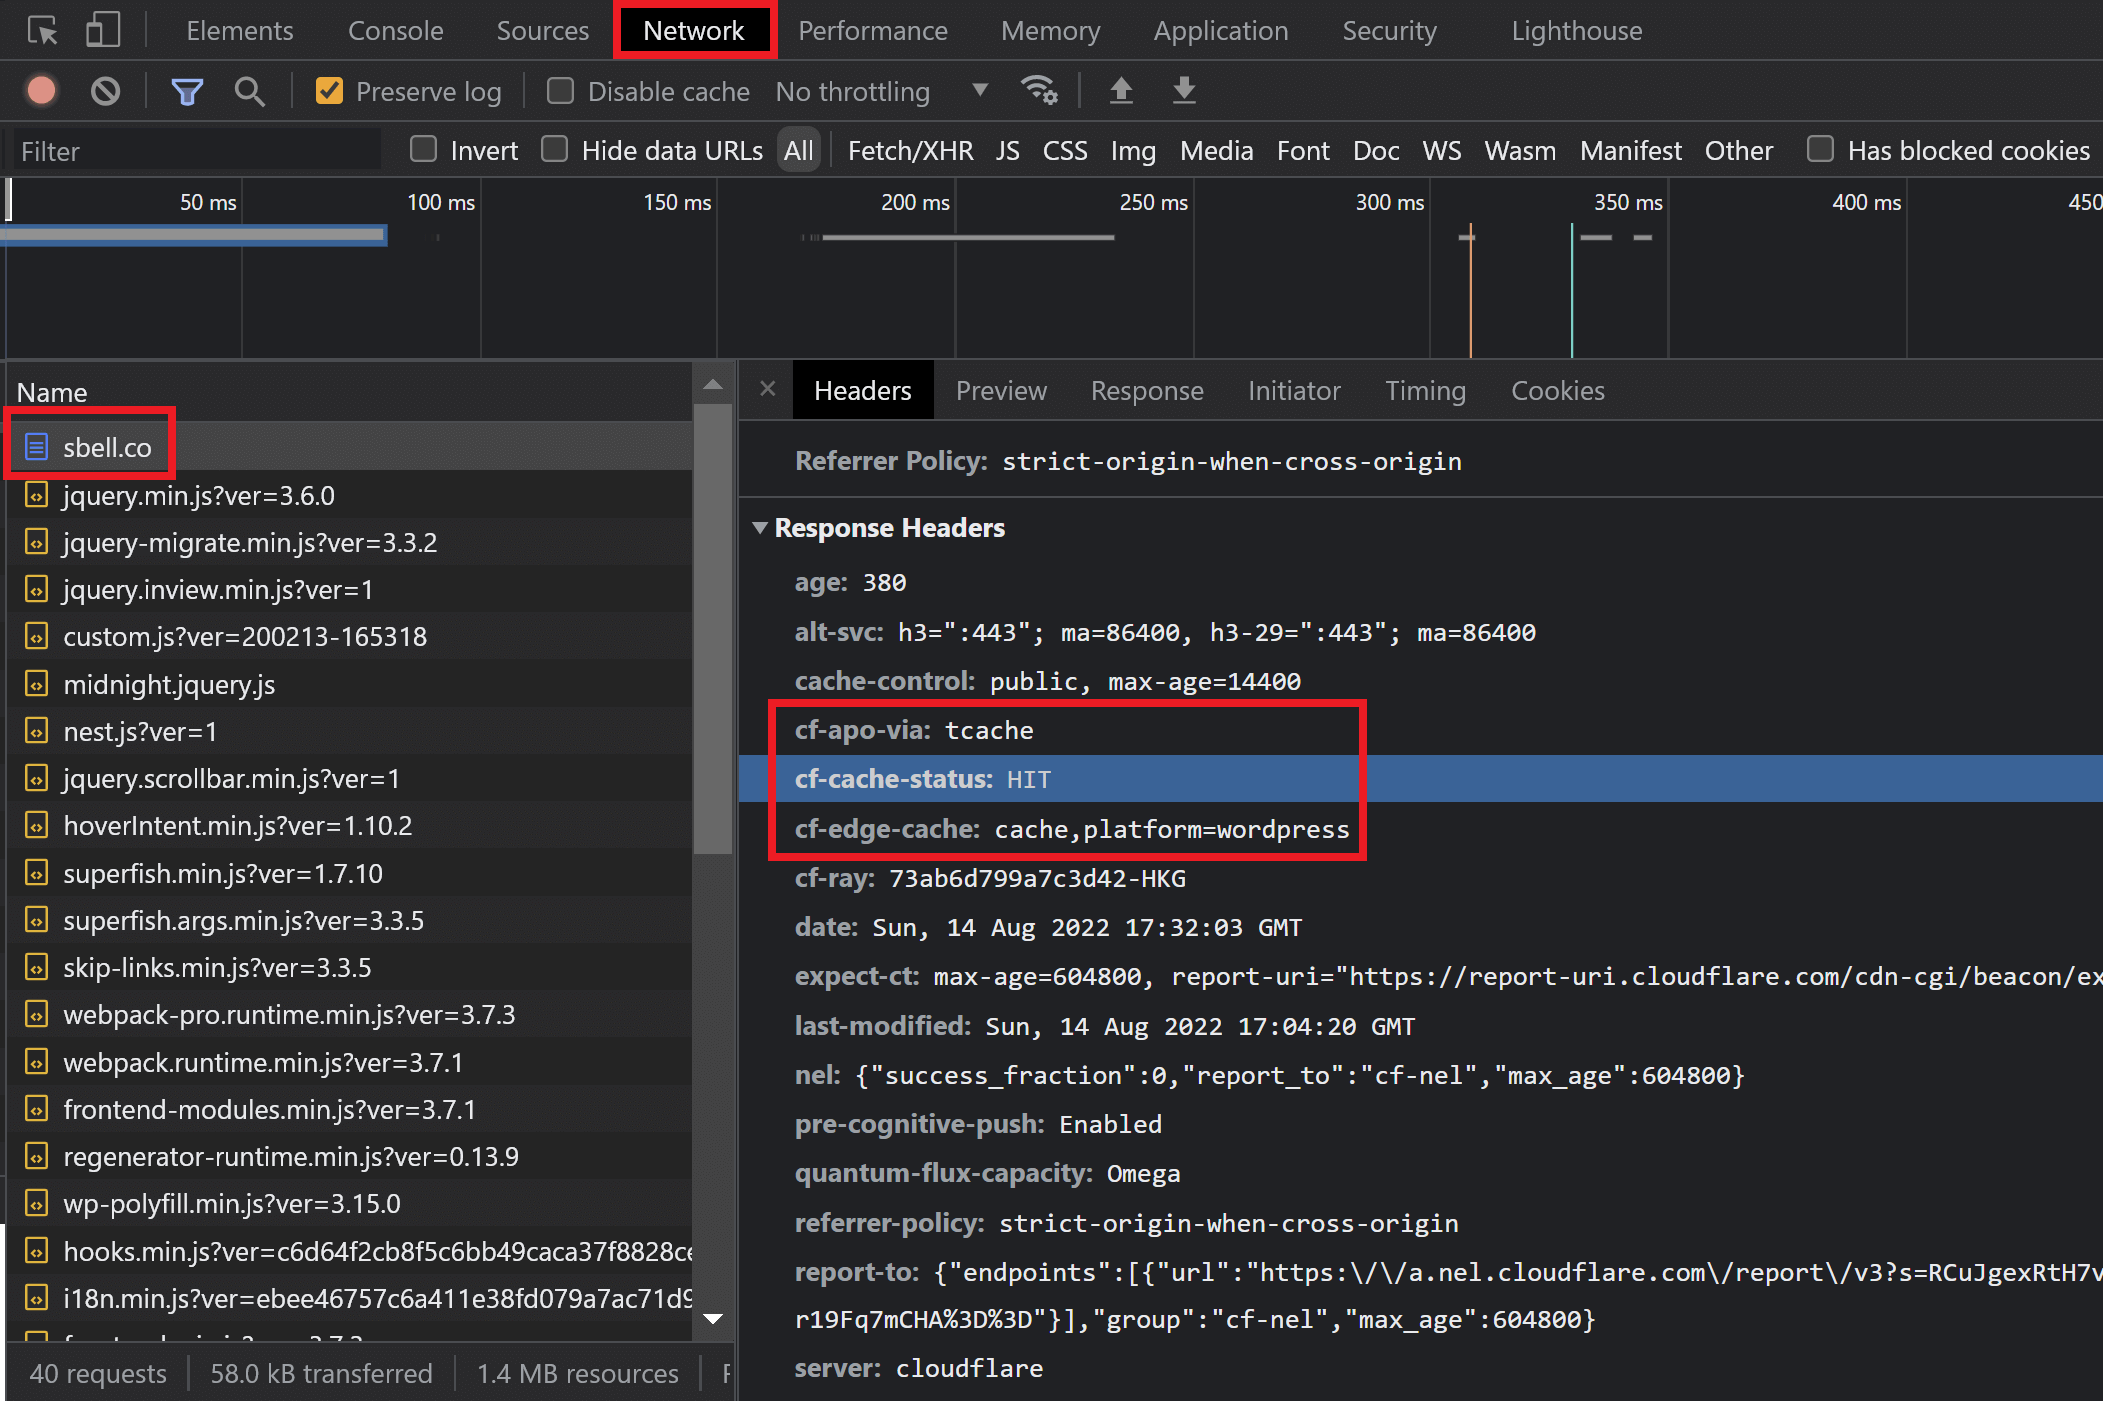
Here you can see a HIT response, which means the page is being served directly via the Cloudflare cache.
A MISS response means that the page isn’t being served from the cache (but if you refresh the page you may find that it’s now a HIT).
A BYPASS response means that cache is being excluded from the cache on purpose.