Introduction
If you’re having trouble with a page that includes a form, sign-up process, optin or whatever it may be due to caching, and excluding it from the cache isn’t an option, then this article is for you.
We see this on pages like the WP Ultimo sign-up page when using a custom URL, and we’ve also had reports of it happening on pages that have forms such as Caldera forms, Convert Pro and Ultimate Addons for Beaver Builder.
We’ll use the same file name outlined in the exclude a page from server caching article, and if you need to exclude pages from the cache, you can add those here as well. Check out this article for more details on excluding pages from the cache:
Exclude a page from server caching
This uses the Redis or FastCGI .conf wildcard includes contained in sites Nginx virtual server:
/var/www/site.url/nginx/*-skip-redis-cache.conf
/var/www/site.url/nginx/*-skip-fcgi-cache-context.conf
Step 1. Log into your server as root
Use your favorite SSH client and connect to your server IP as root. If you’re not sure how to do this, please see the following articles to get started:
Step 1. Generate your SSH Key
Step 2. Add your SSH Key to GridPane (also see Add default SSH Keys)
Step 3. Connect to your server by SSH as Root user (we like and use Termius)
Step 2. Add the cache expiry time for your specific page
If you’re using Redis page caching the default expiry time is 30 days. Run the following command (switching out “site.url” for your websites domain) to create your custom config:
nano /var/www/site.url/nginx/custom-skip-redis-cache-context.conf
Example:
nano /var/www/gridpane.com/nginx/custom-skip-redis-cache-context.conf
If you’re using FastCGI page caching, you shouldn’t experience this problem as the cache refreshes every 1s. However, if you’ve changed the default refresh time you can add your rule with the following (switching out “site.url” for your website’s domain):
nano /var/www/site.url/nginx/custom-skip-fcgi-cache-context.conf
Then copy the information below and paste it inside your SSH client. On some machines, this will be a right-click with your mouse, not a CTRL + V.
if ($request_uri ~ ^/your-page/) {
 set $cache_ttl 60;
}
The top line should contain your sign-up URL. For example, if your page was domain.com/your-page, the above would work correctly. You need to switch this out for the page you want to exclude. For multiple pages, it would look like this:
if ($request_uri ~* "(/your-page/|/page-two/|/page-three/ )") {
 set $cache_ttl 60;
}
The “60” means 60 seconds. You need to change this to whatever makes sense for you.
Here’s a handy time converter you can use to convert minutes/hours into seconds:
https://www.calculatorsoup.com/calculators/conversions/time.php
Example 1 – Regular Page
If we wanted the cache on gridpane.com/apollo to expire after 1 hour, we would add the following to our config:
if ($request_uri ~ ^/apollo/) {
 set $cache_ttl 3600;
}
This would target /apollo and also all subpages, for example /apollo/extra-page.
Example 2 – Target the Home Page
Targeting the homepage isn’t intuitive at first glance. Here is how to do so and set an expiry time of 30 minutes:
if ($request_uri ~ ^/$) {
  set $cache_ttl 1800;
}
The dollar sign is important here as signals the end of the string and ensures that your pages and subpages don’t match the rule.

Step 3. Check & reload Nginx
Check your Nginx syntax
You’ll want to run an “nginx -t” on the command line.
nginx -t
This will test your configs, and if all is well, it will show the below message. If it shows any failures, or any message other than what is below, do NOT proceed to step 4:
root@servername:~# nginx -t
nginx: the configuration file /etc/nginx/nginx.conf syntax is ok
nginx: configuration file /etc/nginx/nginx.conf test is successful
root@servername:~#

Reload Nginx
Remember, if you didn’t have a successful test above, do not proceed. Finally, reload your nginx config by running:
gp ngx reload
You’re now all set 🙂
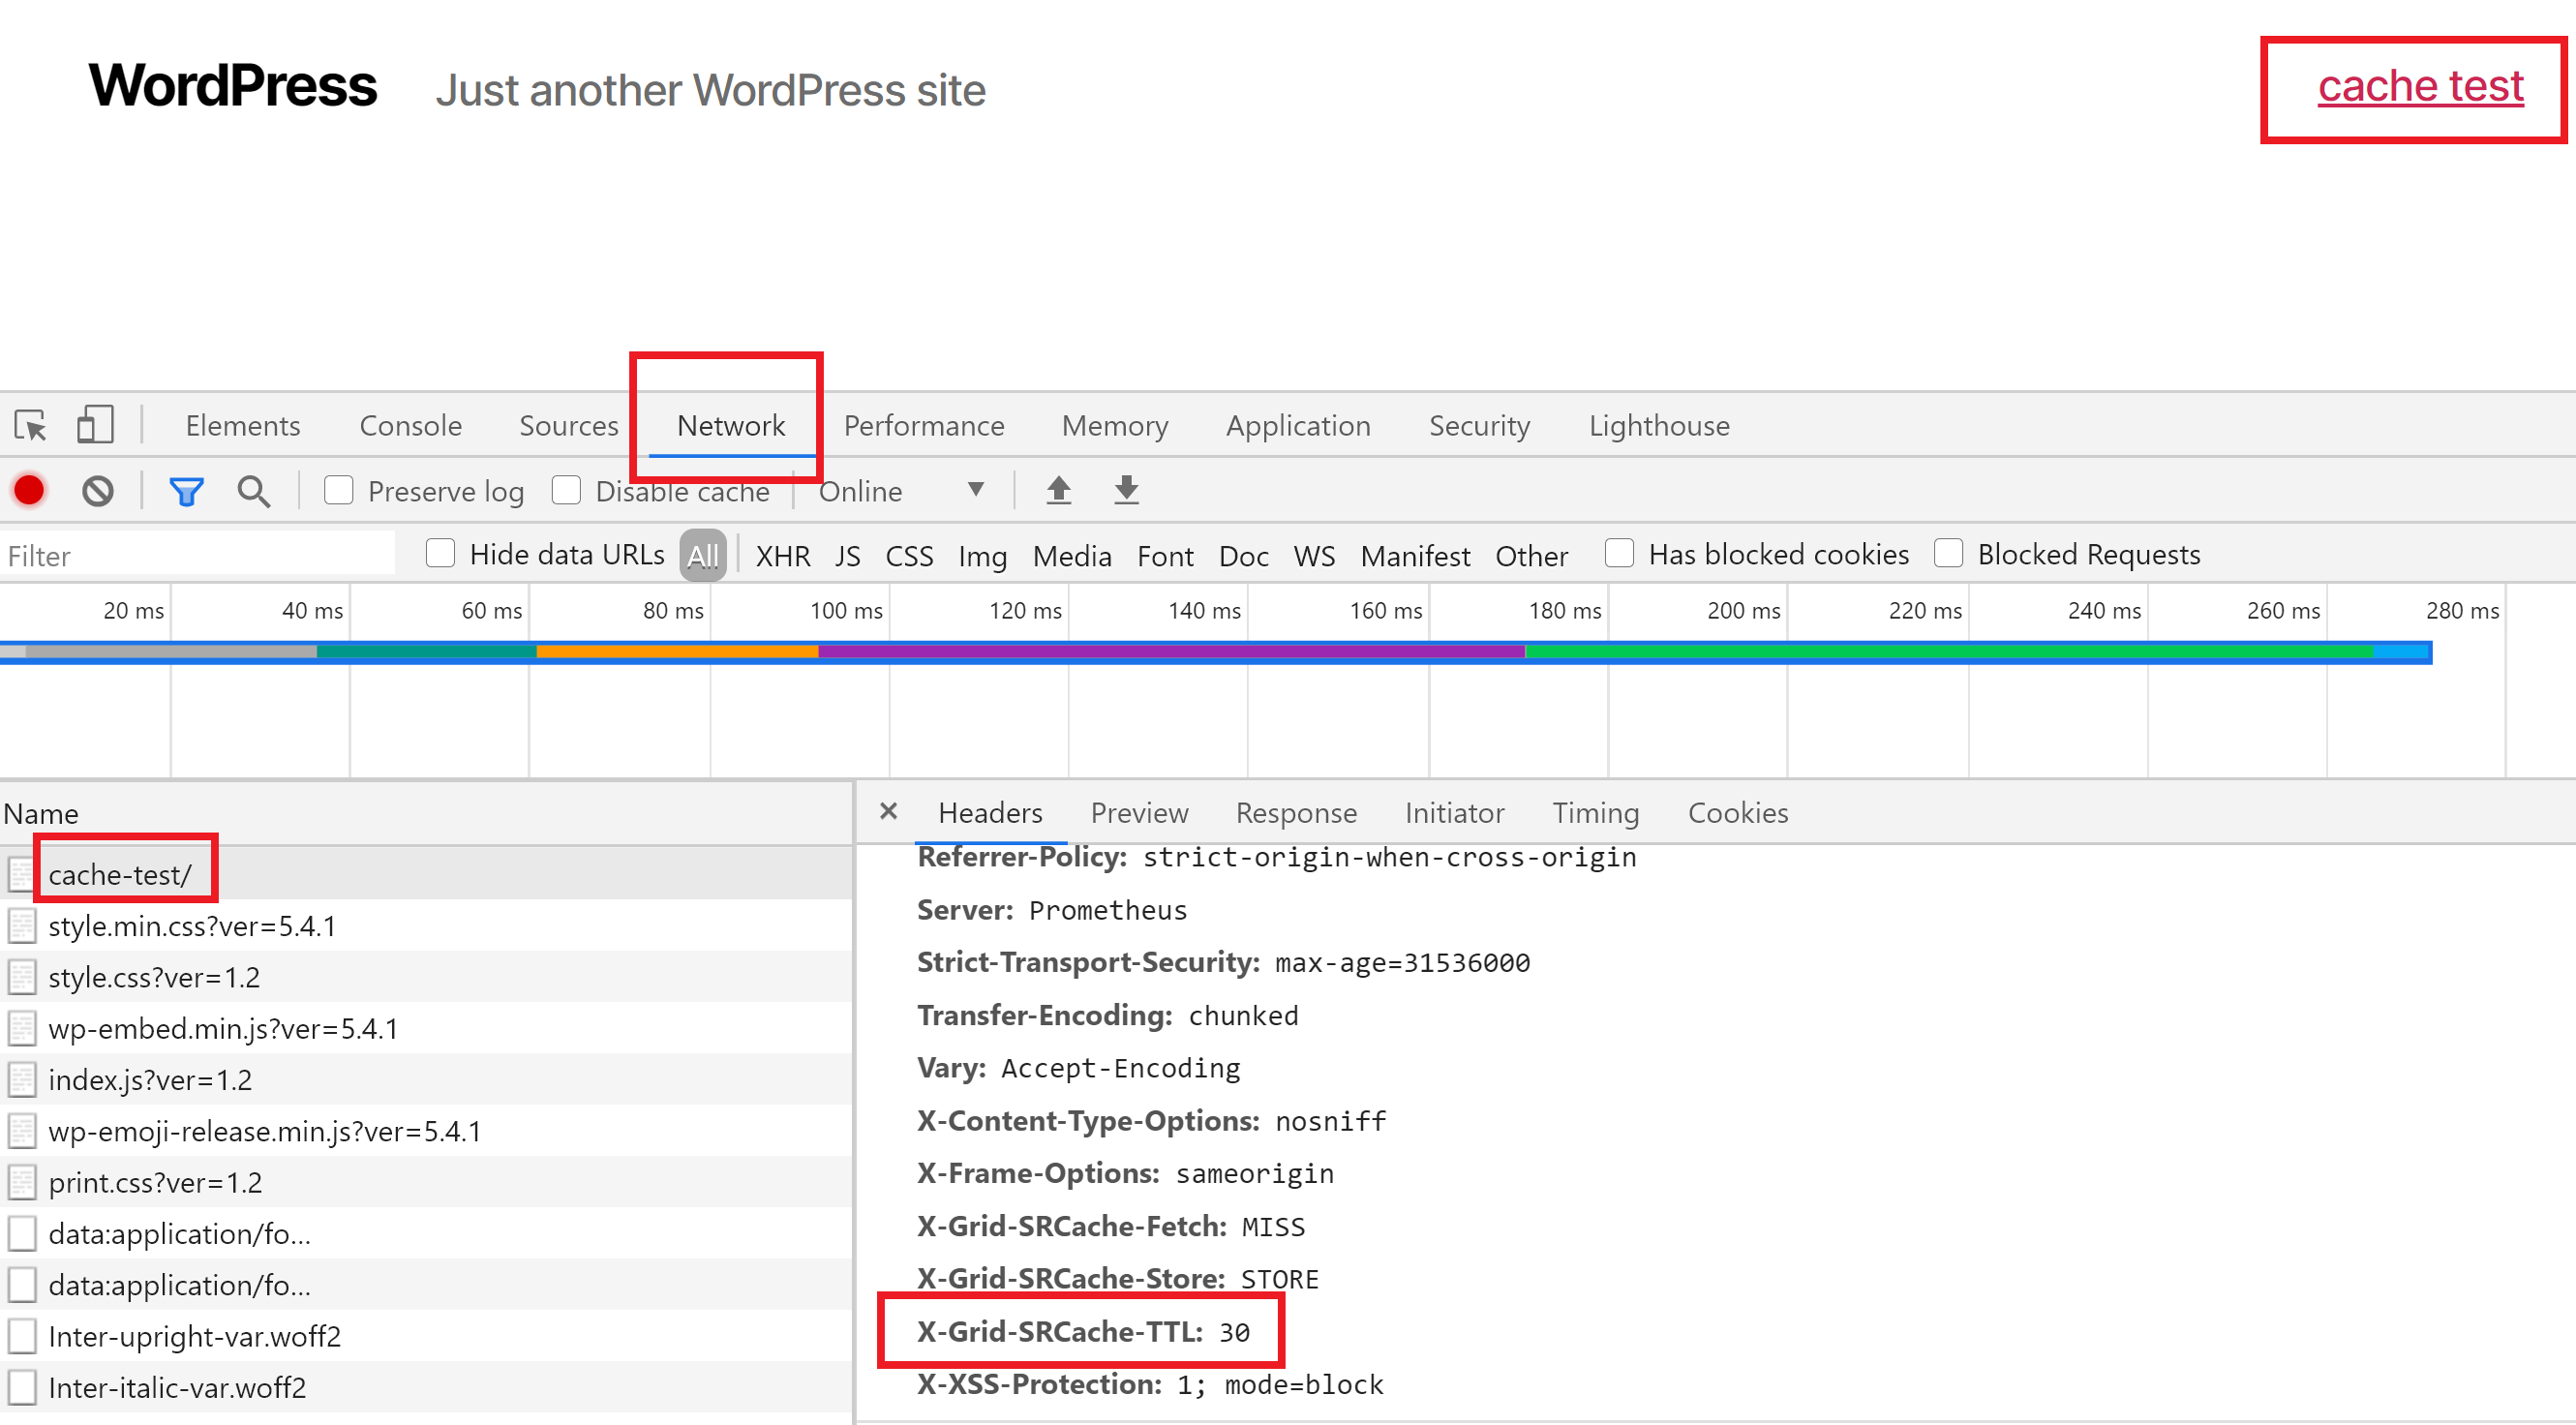
The image below shows a custom expiry time of 30 seconds:

