What Settings Clone Across
Cloning a duplicate site with a new URL on the same server will replicate a near-identical state for the site. The duplicate site will belong to the same owner, and it will match all the main control panel settings, including:
- WordPress Core
- WordPress Database structure
- SSL
- System User (this will be created if it doesn’t already exist)
- PHP version and settings
- All General customizer settings, including caching
- All Security customizer settings
- SMTP
- Routing (www or none/root)
- HTTP Authentication
We will also duplicate your site-specific PHP in settings and PHP process manager settings that GP-CLI manages, alongside the GP-CLI adjusted site-specific Nginx settings and any includes in your site-level Nginx or OpenLiteSpeed (OLS) directory.
One setting that does not transfer over when cloning is: AutoSSL. This setting is generally only relevant for multisite networks where you want to provision SSL certificates for new Alias domains automatically.
Cloning to Ubuntu 22.04 Servers
The default system user settings will be applied when you clone websites to Ubuntu 22.04 servers from 18.04 and/or 20.04 servers. This means the system user will have both SFTP and SSH access enabled.
Getting Started
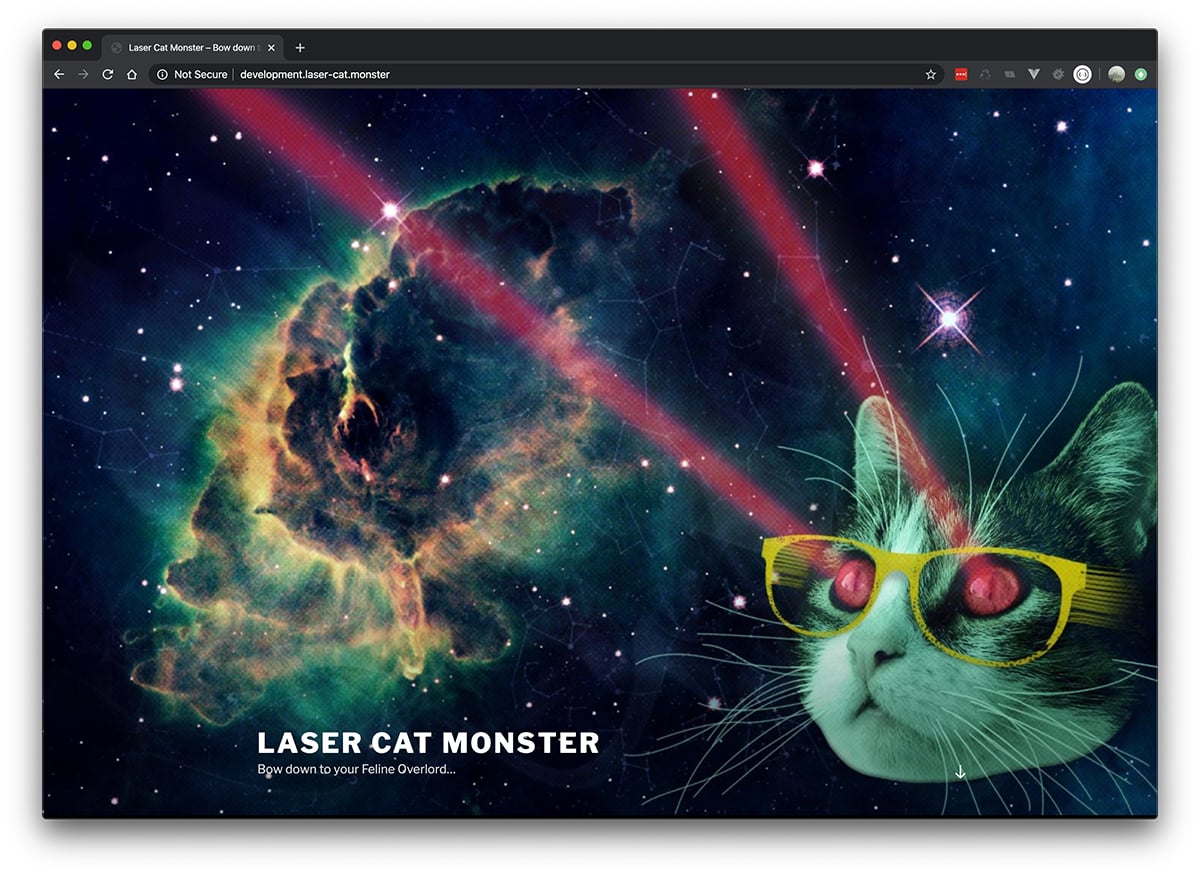
In this article, we will be using an example development site development.laser-cats.monster to illustrate the steps to migrate this site to a new URL of laser-cats.monster on the same server.
Step 2. Open the Website Customizer
Click through to your Sites page in the GridPane main menu in your account to go to the Sites management page.

Click on the URL of the site you want to clone a duplicate of in the active site’s panel.

This will open the site customizer.
Step 3. Configure Your URL and Destination Server
Click through to the Clone tab in the site customizer. Here you will find the Migrate/Clone tools.
Here we’ll make use of the second option.
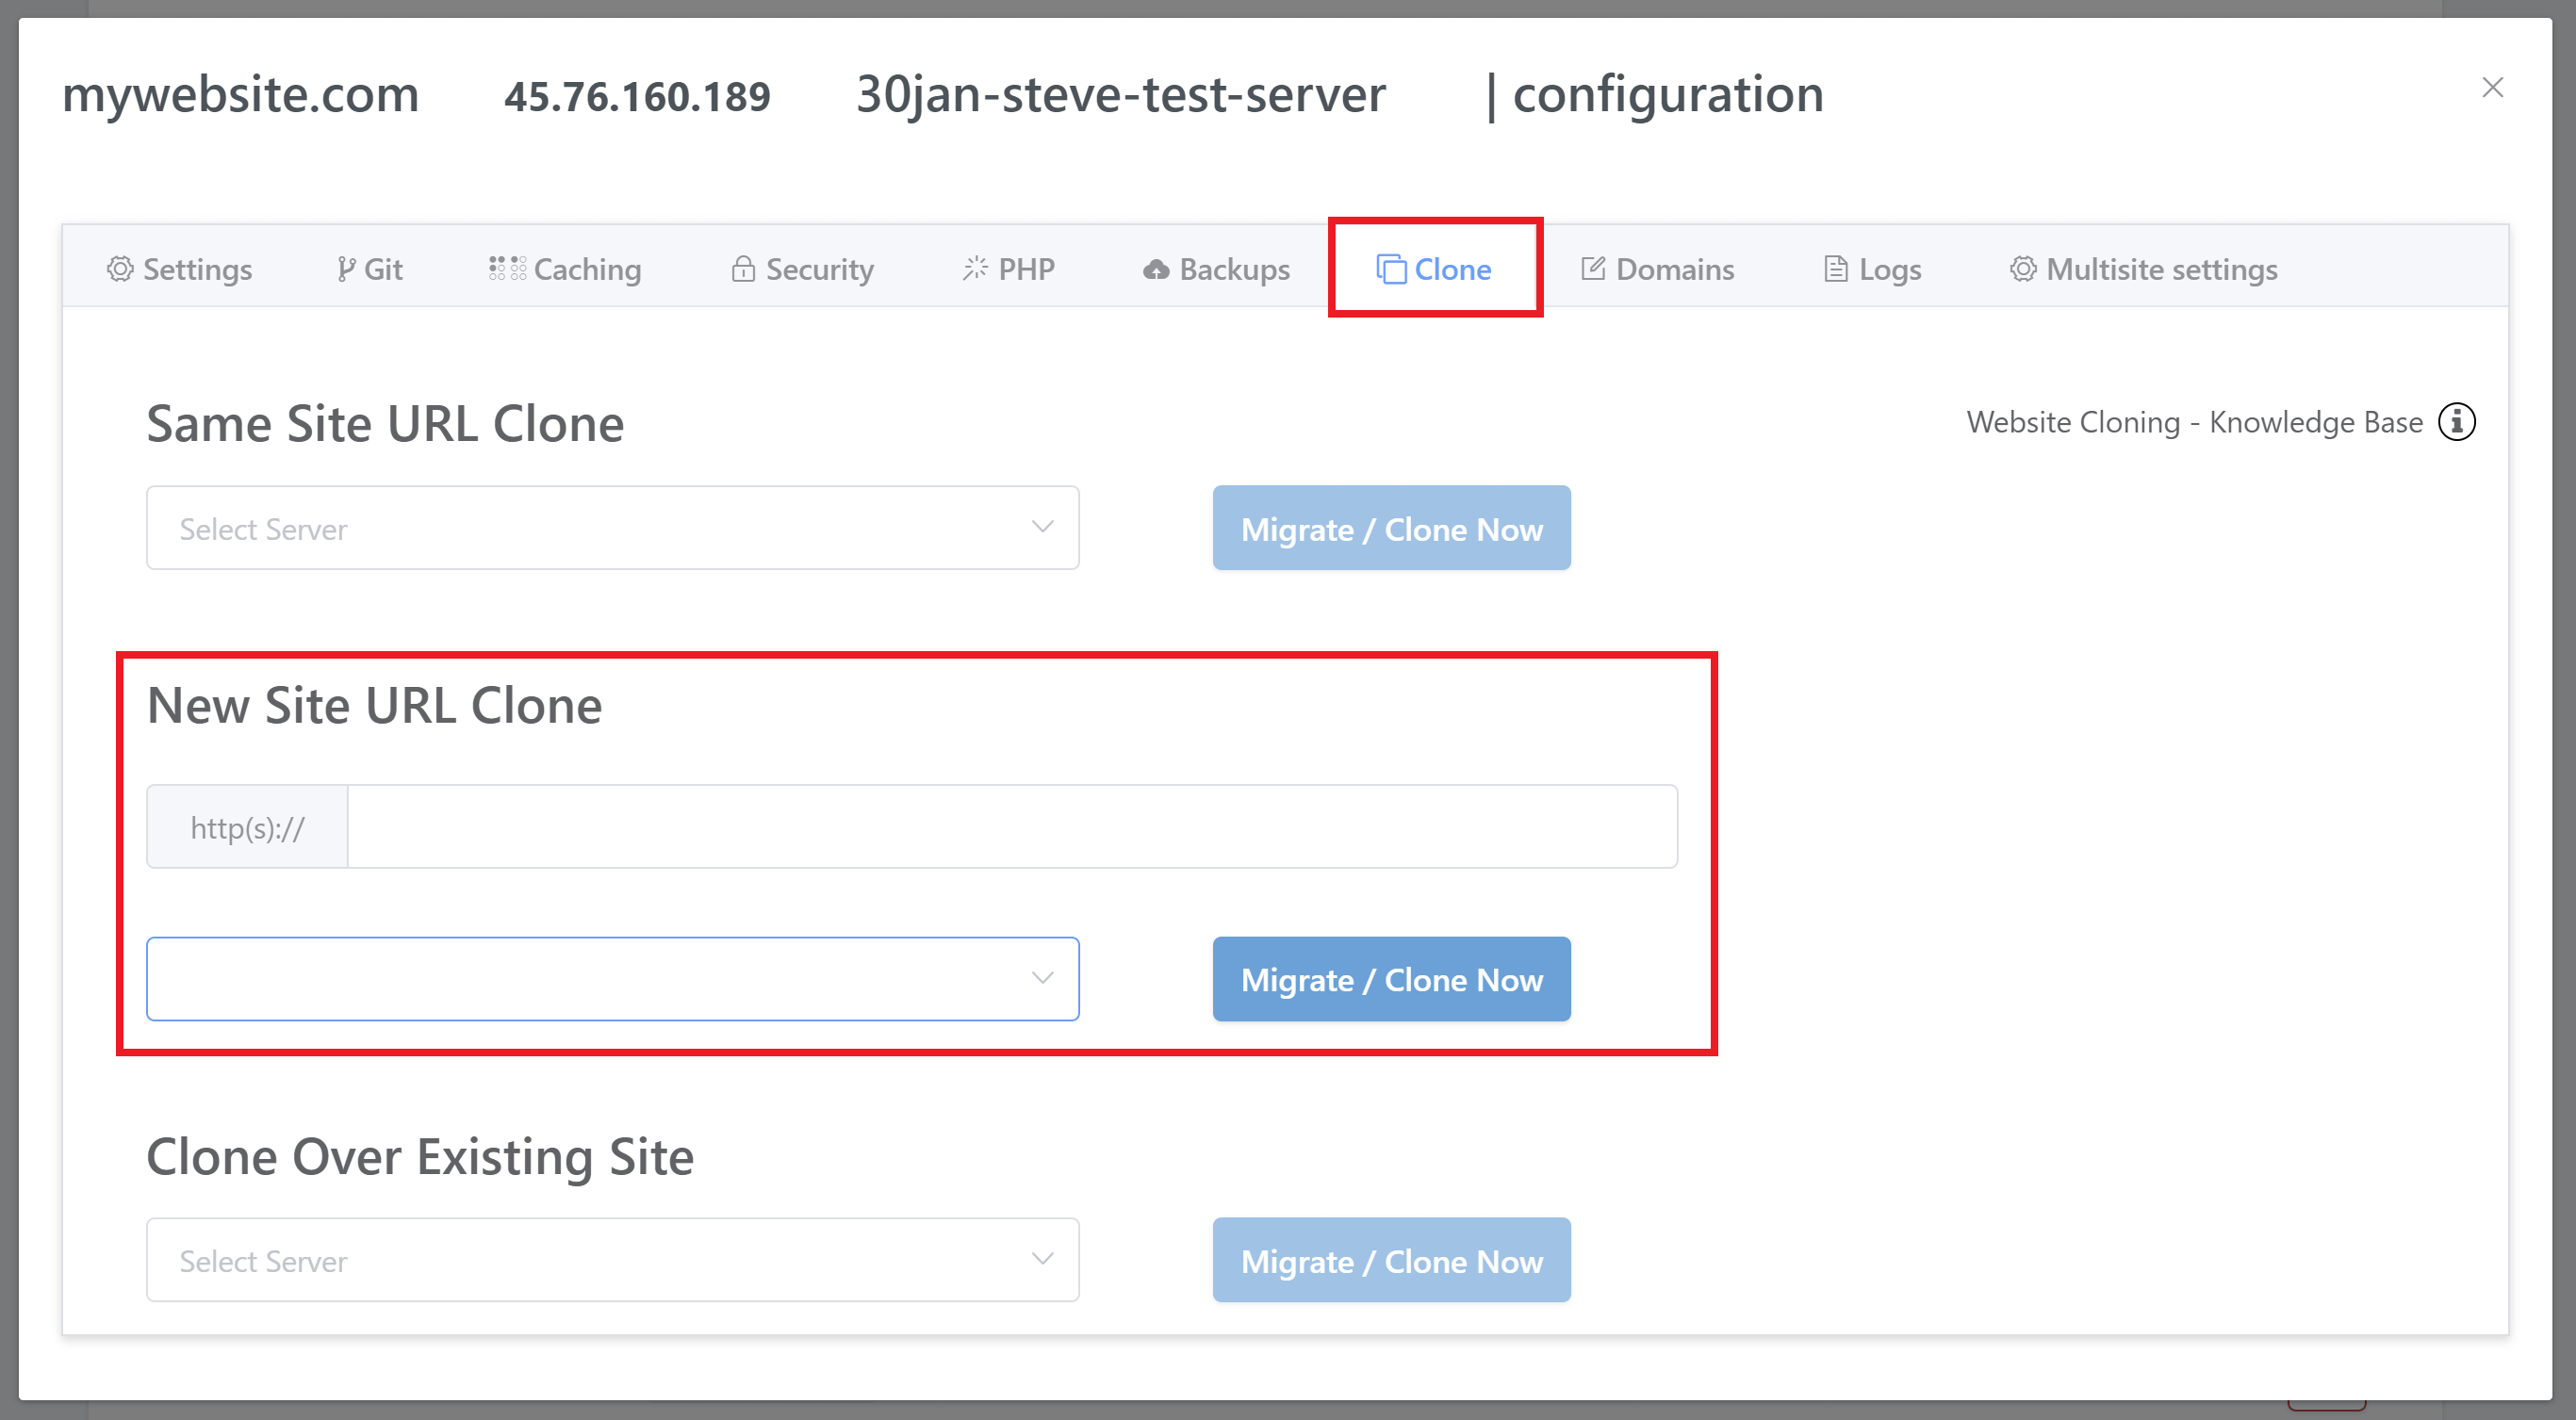
Enter the new URL you’d like to clone your website to, and then select the new server from the dropdown list.
Please remember do not enter the URL with the www host included.
Step 3.1 Clone Information and Staging Site
Click the Migrate/Clone button to open the additional options modal:
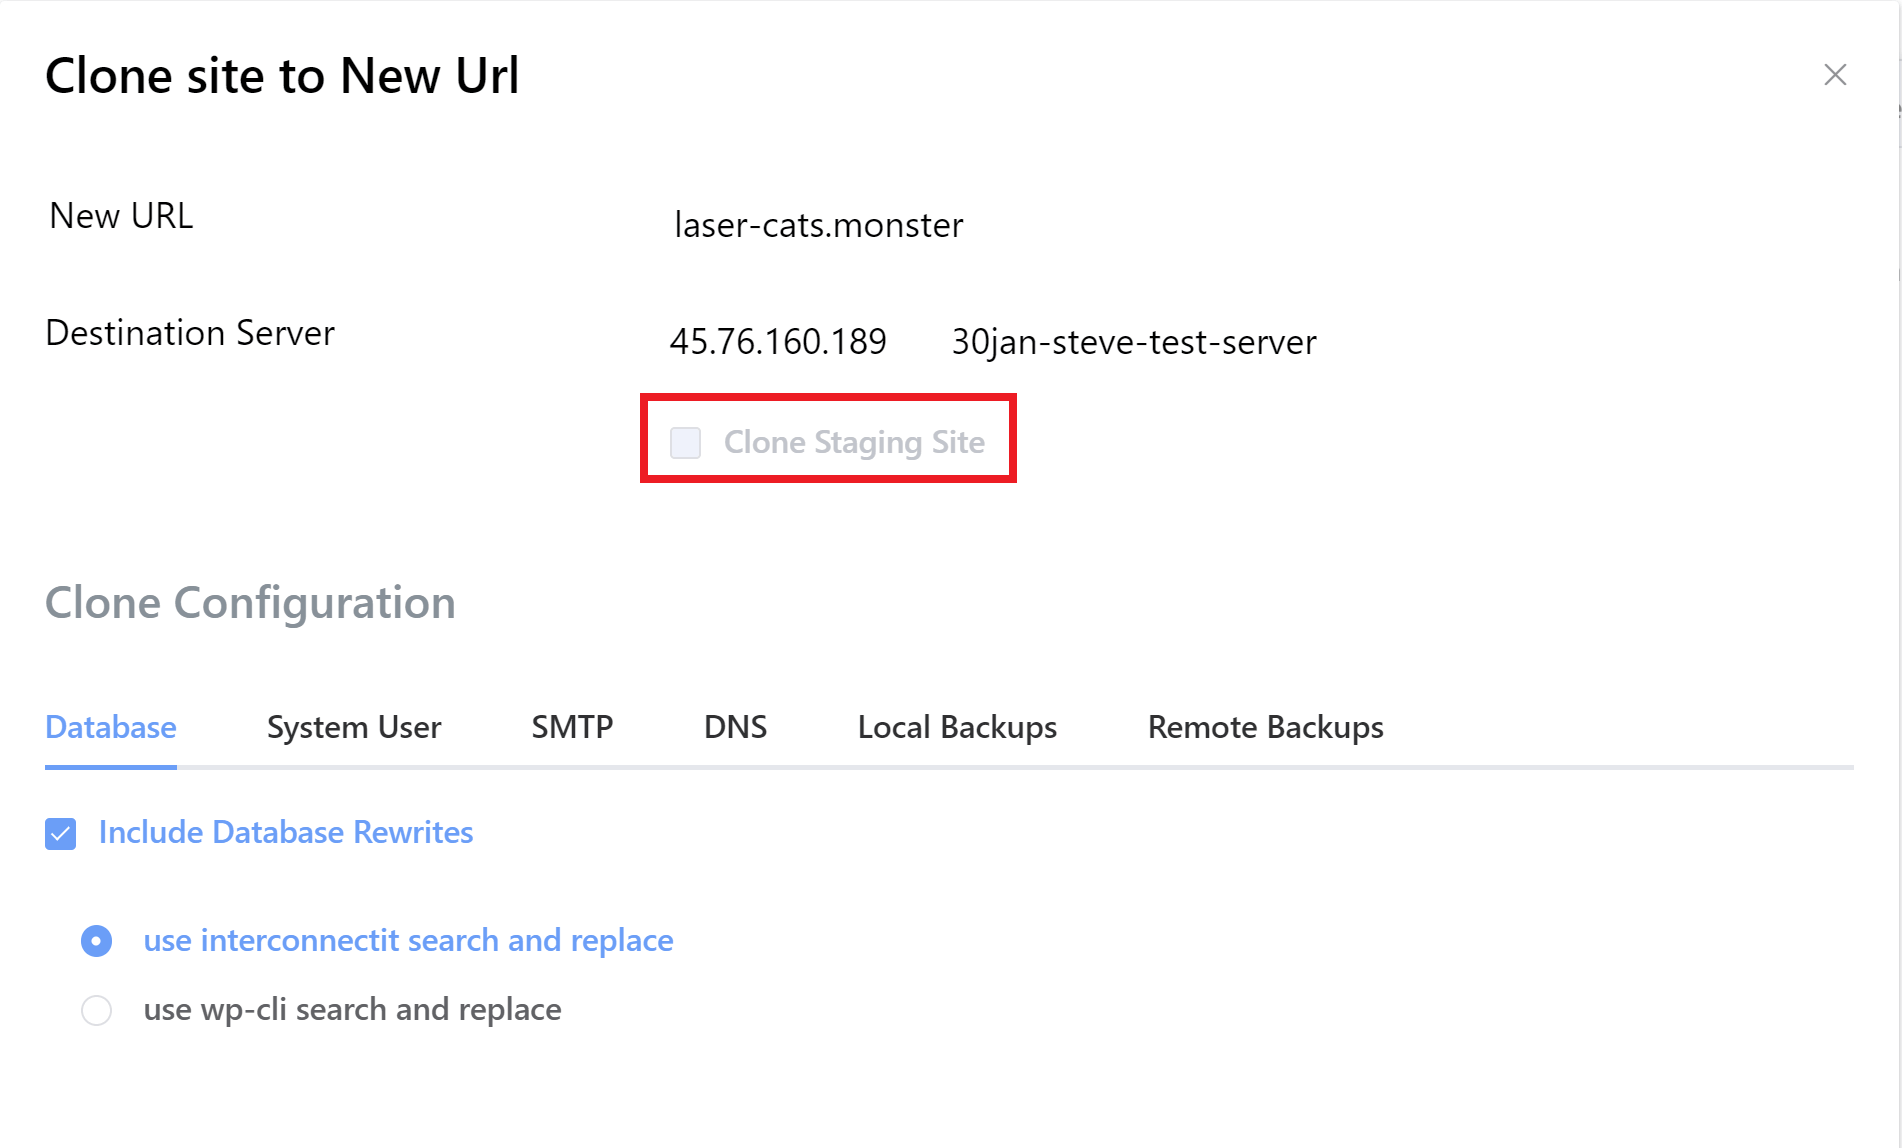
At the top you’ll see the URL and destination server information, as well as a checkbox for whether to include the staging site. Here, a staging site doesn’t exist so the option is greyed out. However, if you do have a staging site you can clone this as well – check the box if you’d like to do so.
Step 3.2 Database Rewrite Options
Below the information you’ll be presented with tabs to configure your new website, the first being whether to “Include Database Rewrites“.
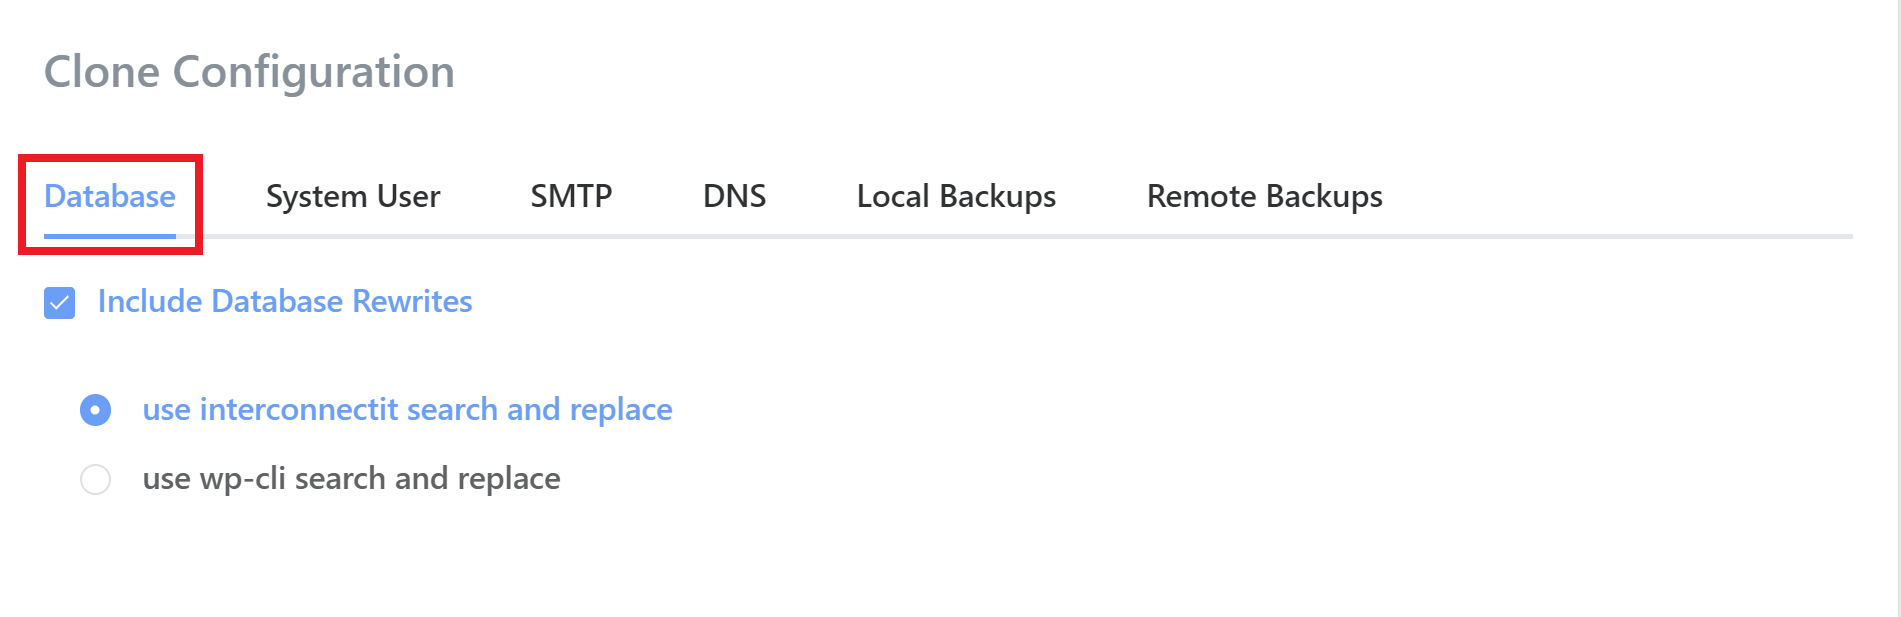
Generally, you’re going to want to run database rewrites. This will run a search and replace and ensure that all of your URLs are set correctly. Two options are available to you:
- InterconnectIT
- WP-CLI
InterconnectIT is usually the best option as it’s more comprehensive. WP-CLI might be a little quicker, but it also has a higher chance of missing some rewrites.
Step 3.3 Set Your System User
In the next tab you can choose whether to use the same system user or create a new one. All the regular options are available:
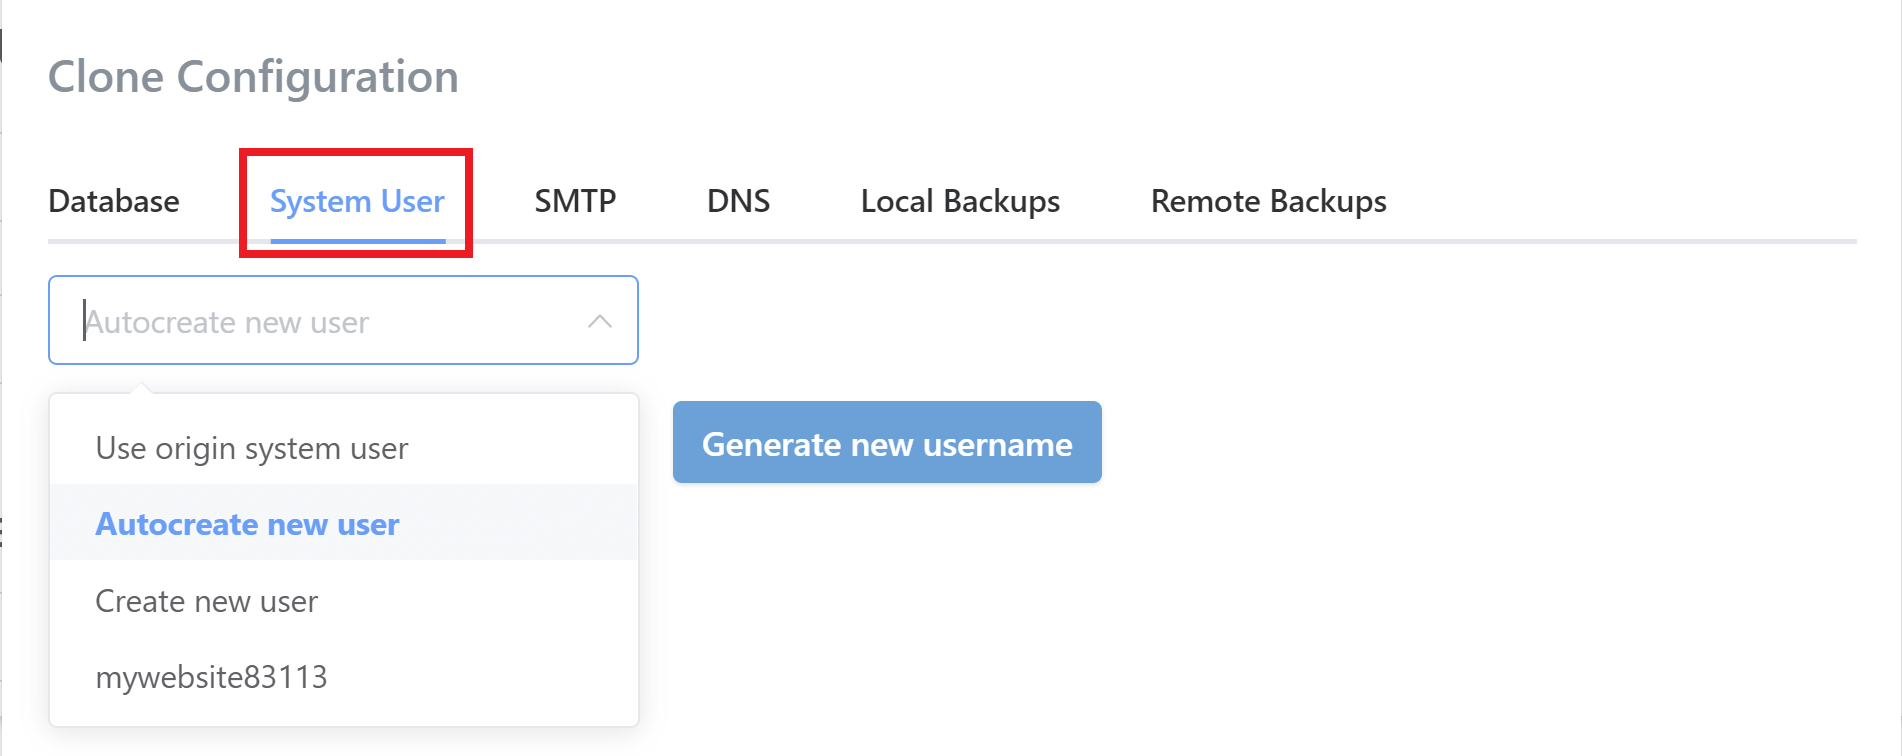
We always recommend that every site have their own individual system user.
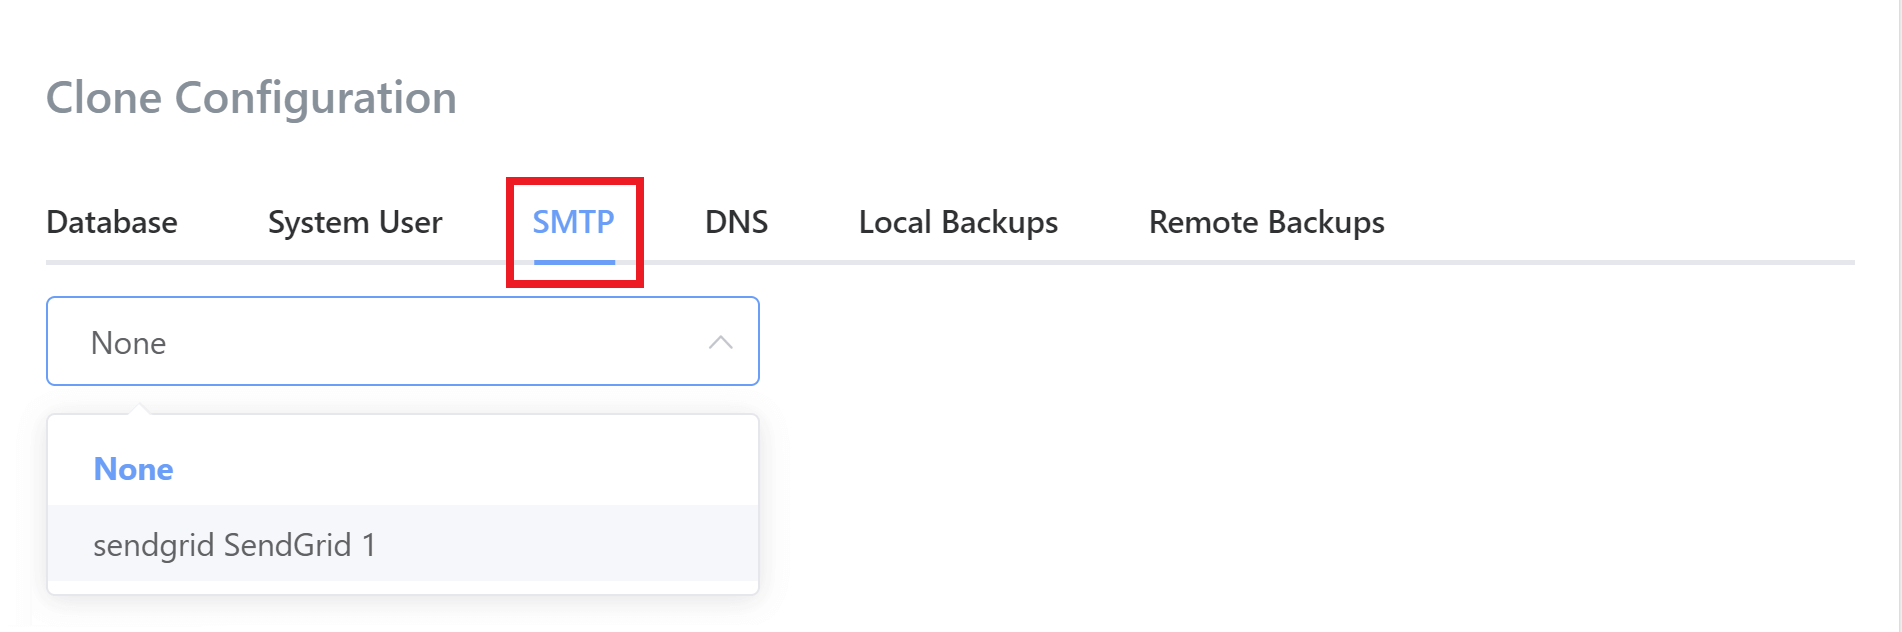
Step 3.4 Set SMTP
If you would like to set your SMTP API key you can choose this here:
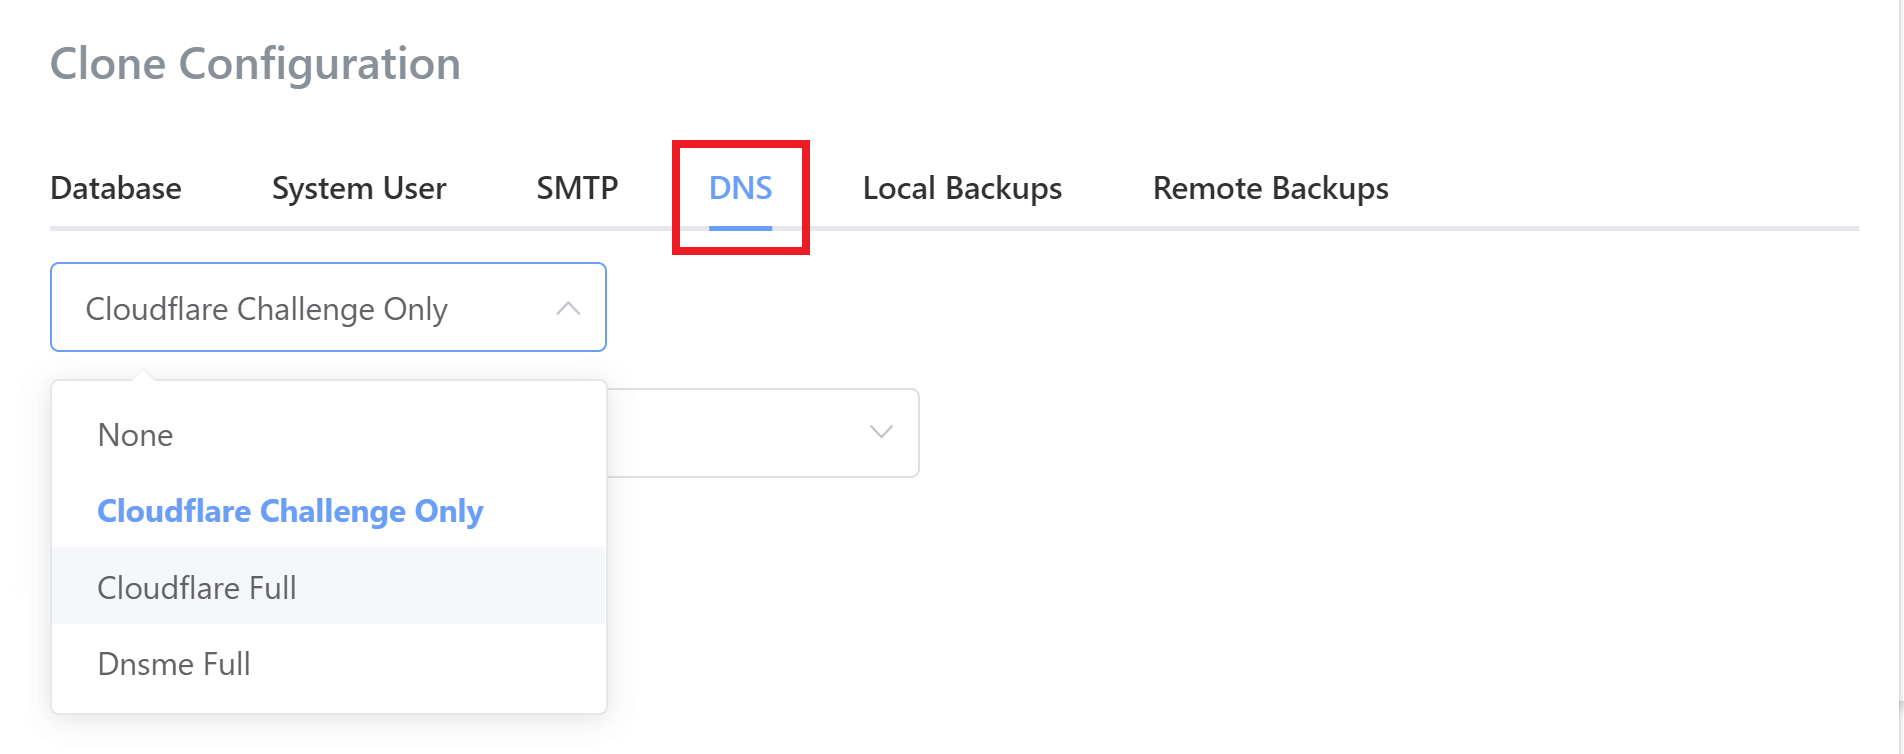
Step 3.5 DNS Settings
If you would like to configure a DNS API provider for the site you can choose from your available keys:
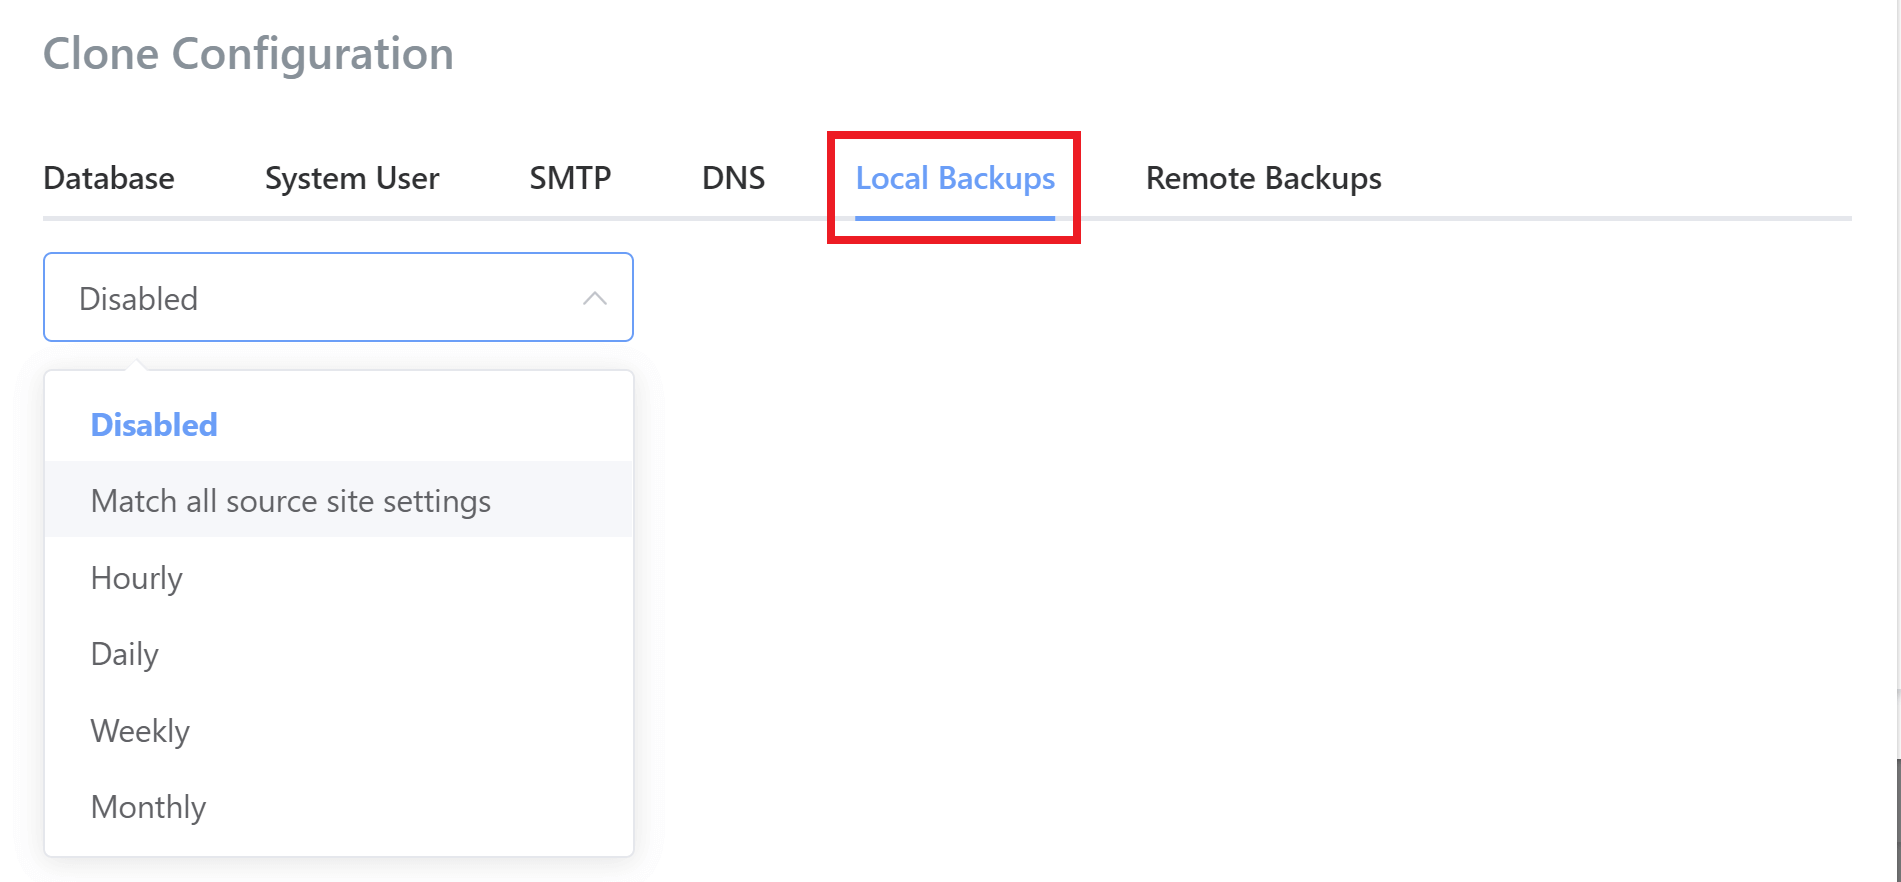
Step 3.6 Set Your Local Backups
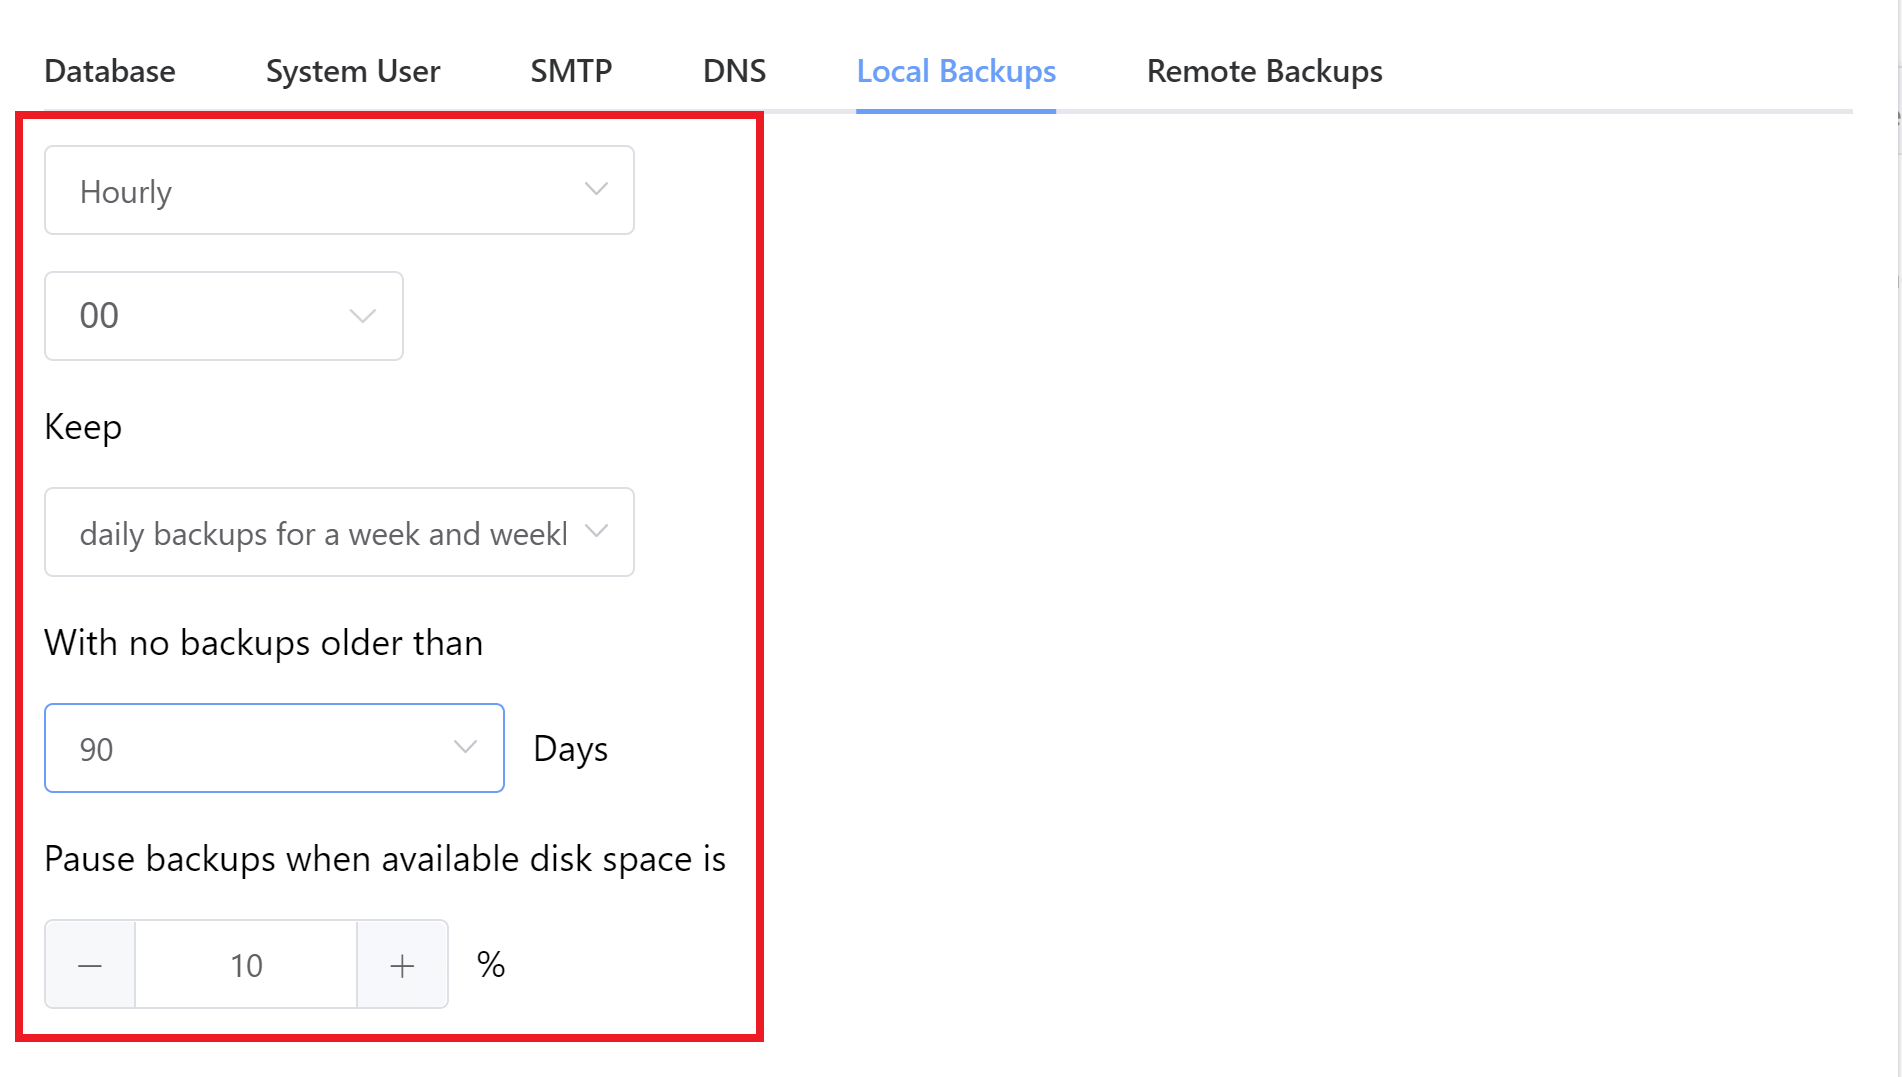
You can configure your local backups on the new site to match the current site settings, leave them turned off, or set an entirely custom schedule:
If setting different settings you have full granular controls just like in the backups tab:
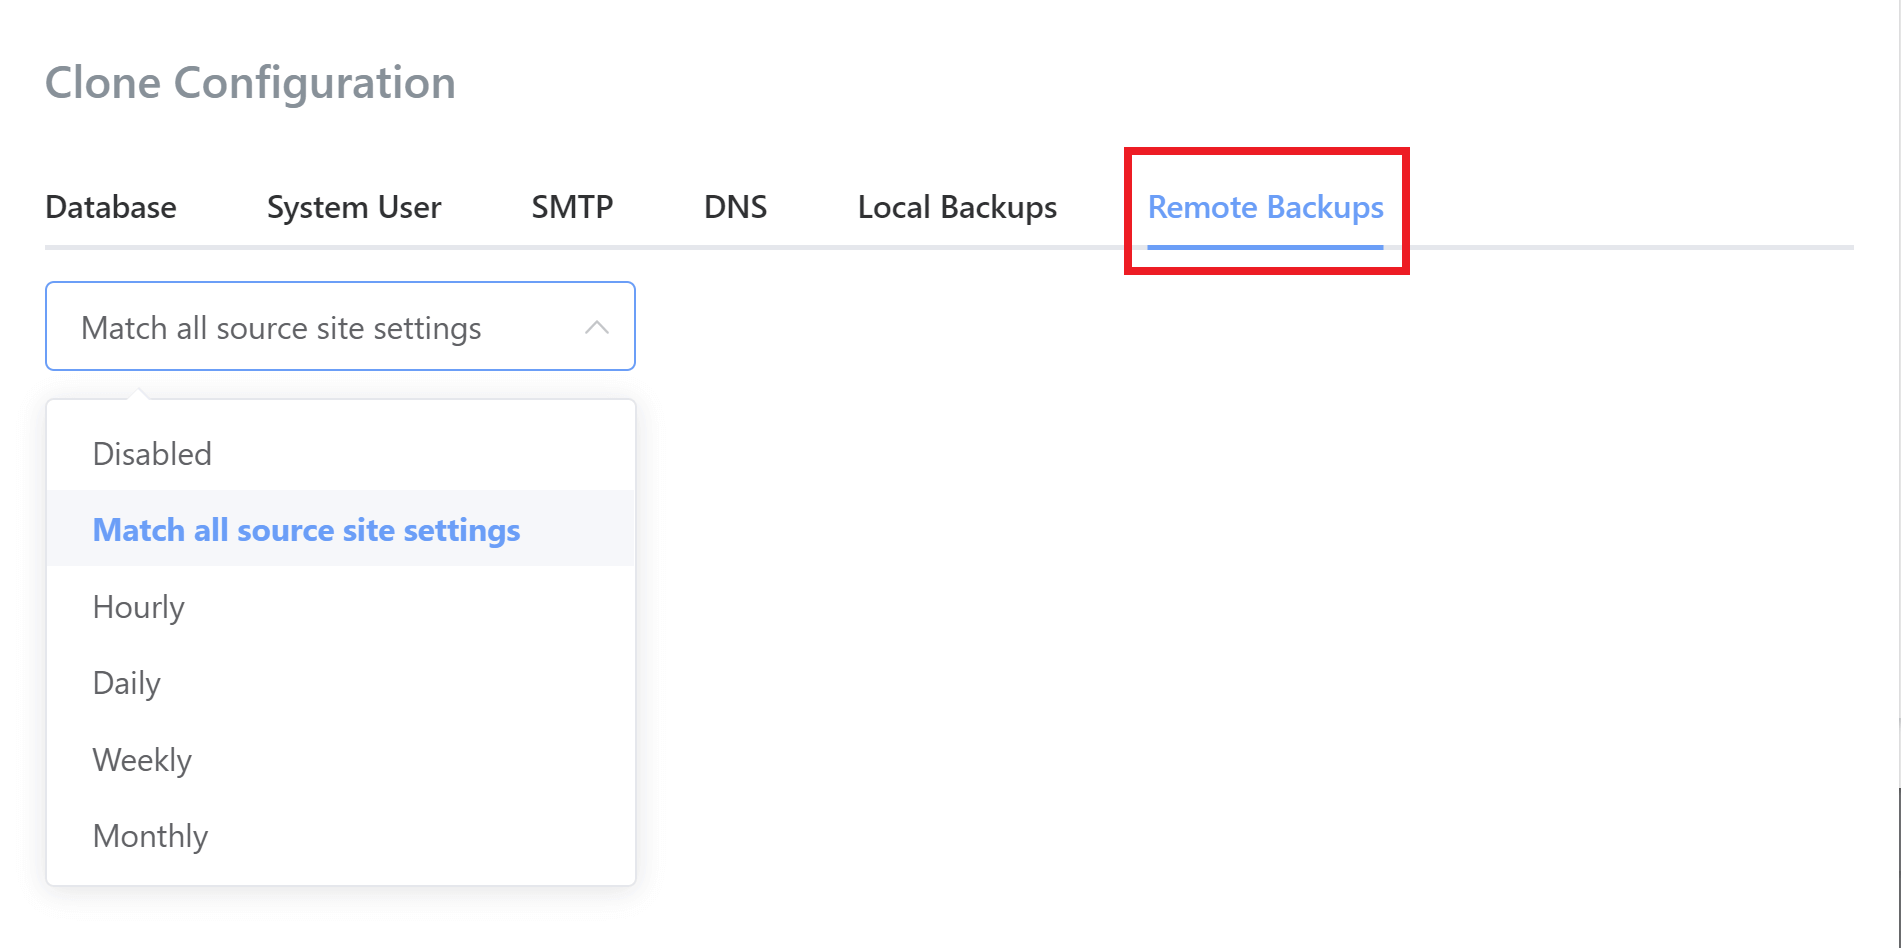
Step 3.7 Set Your Remote Backups and Start Your Clone/Migration
Like local backups, you can choose to match the sites current settings, leave remote backups turned off, or set a new custom schedule:
Full configuration options are available for one chosen provider:
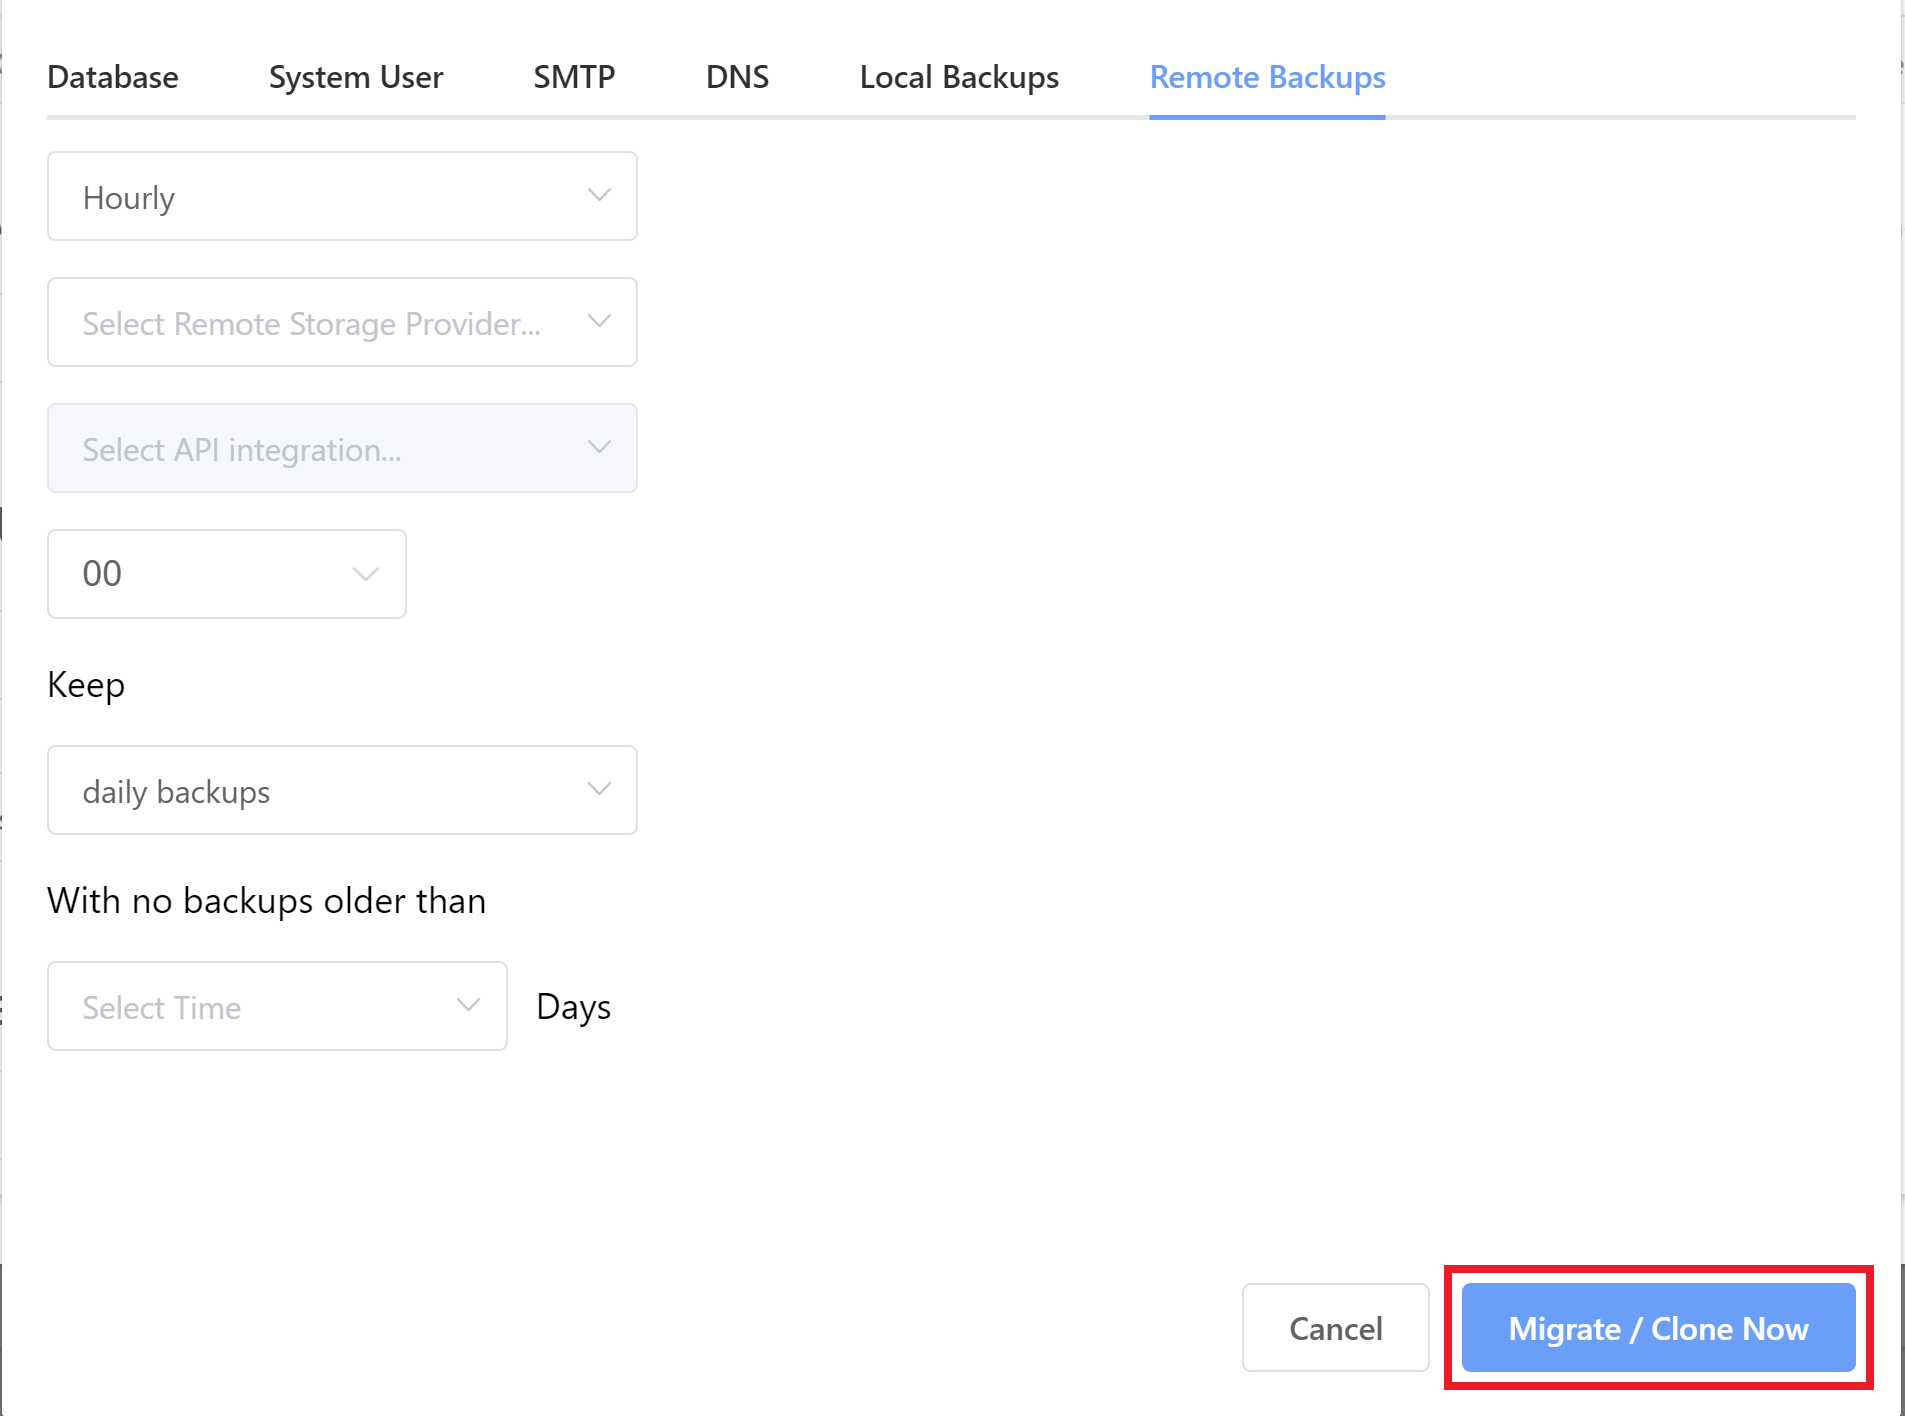
Once set you’re now ready to begin your migration.
Step 3.8 Clone Your Website
Once configured, click the Migrate / Clone Now button.
Please be patient while the duplicate cloning process is ongoing, and refrain from making any changes to your site and server.
You will receive a string of notifications to keep you informed about how the migration/clone is proceeding throughout the process. Please pay attention to these.
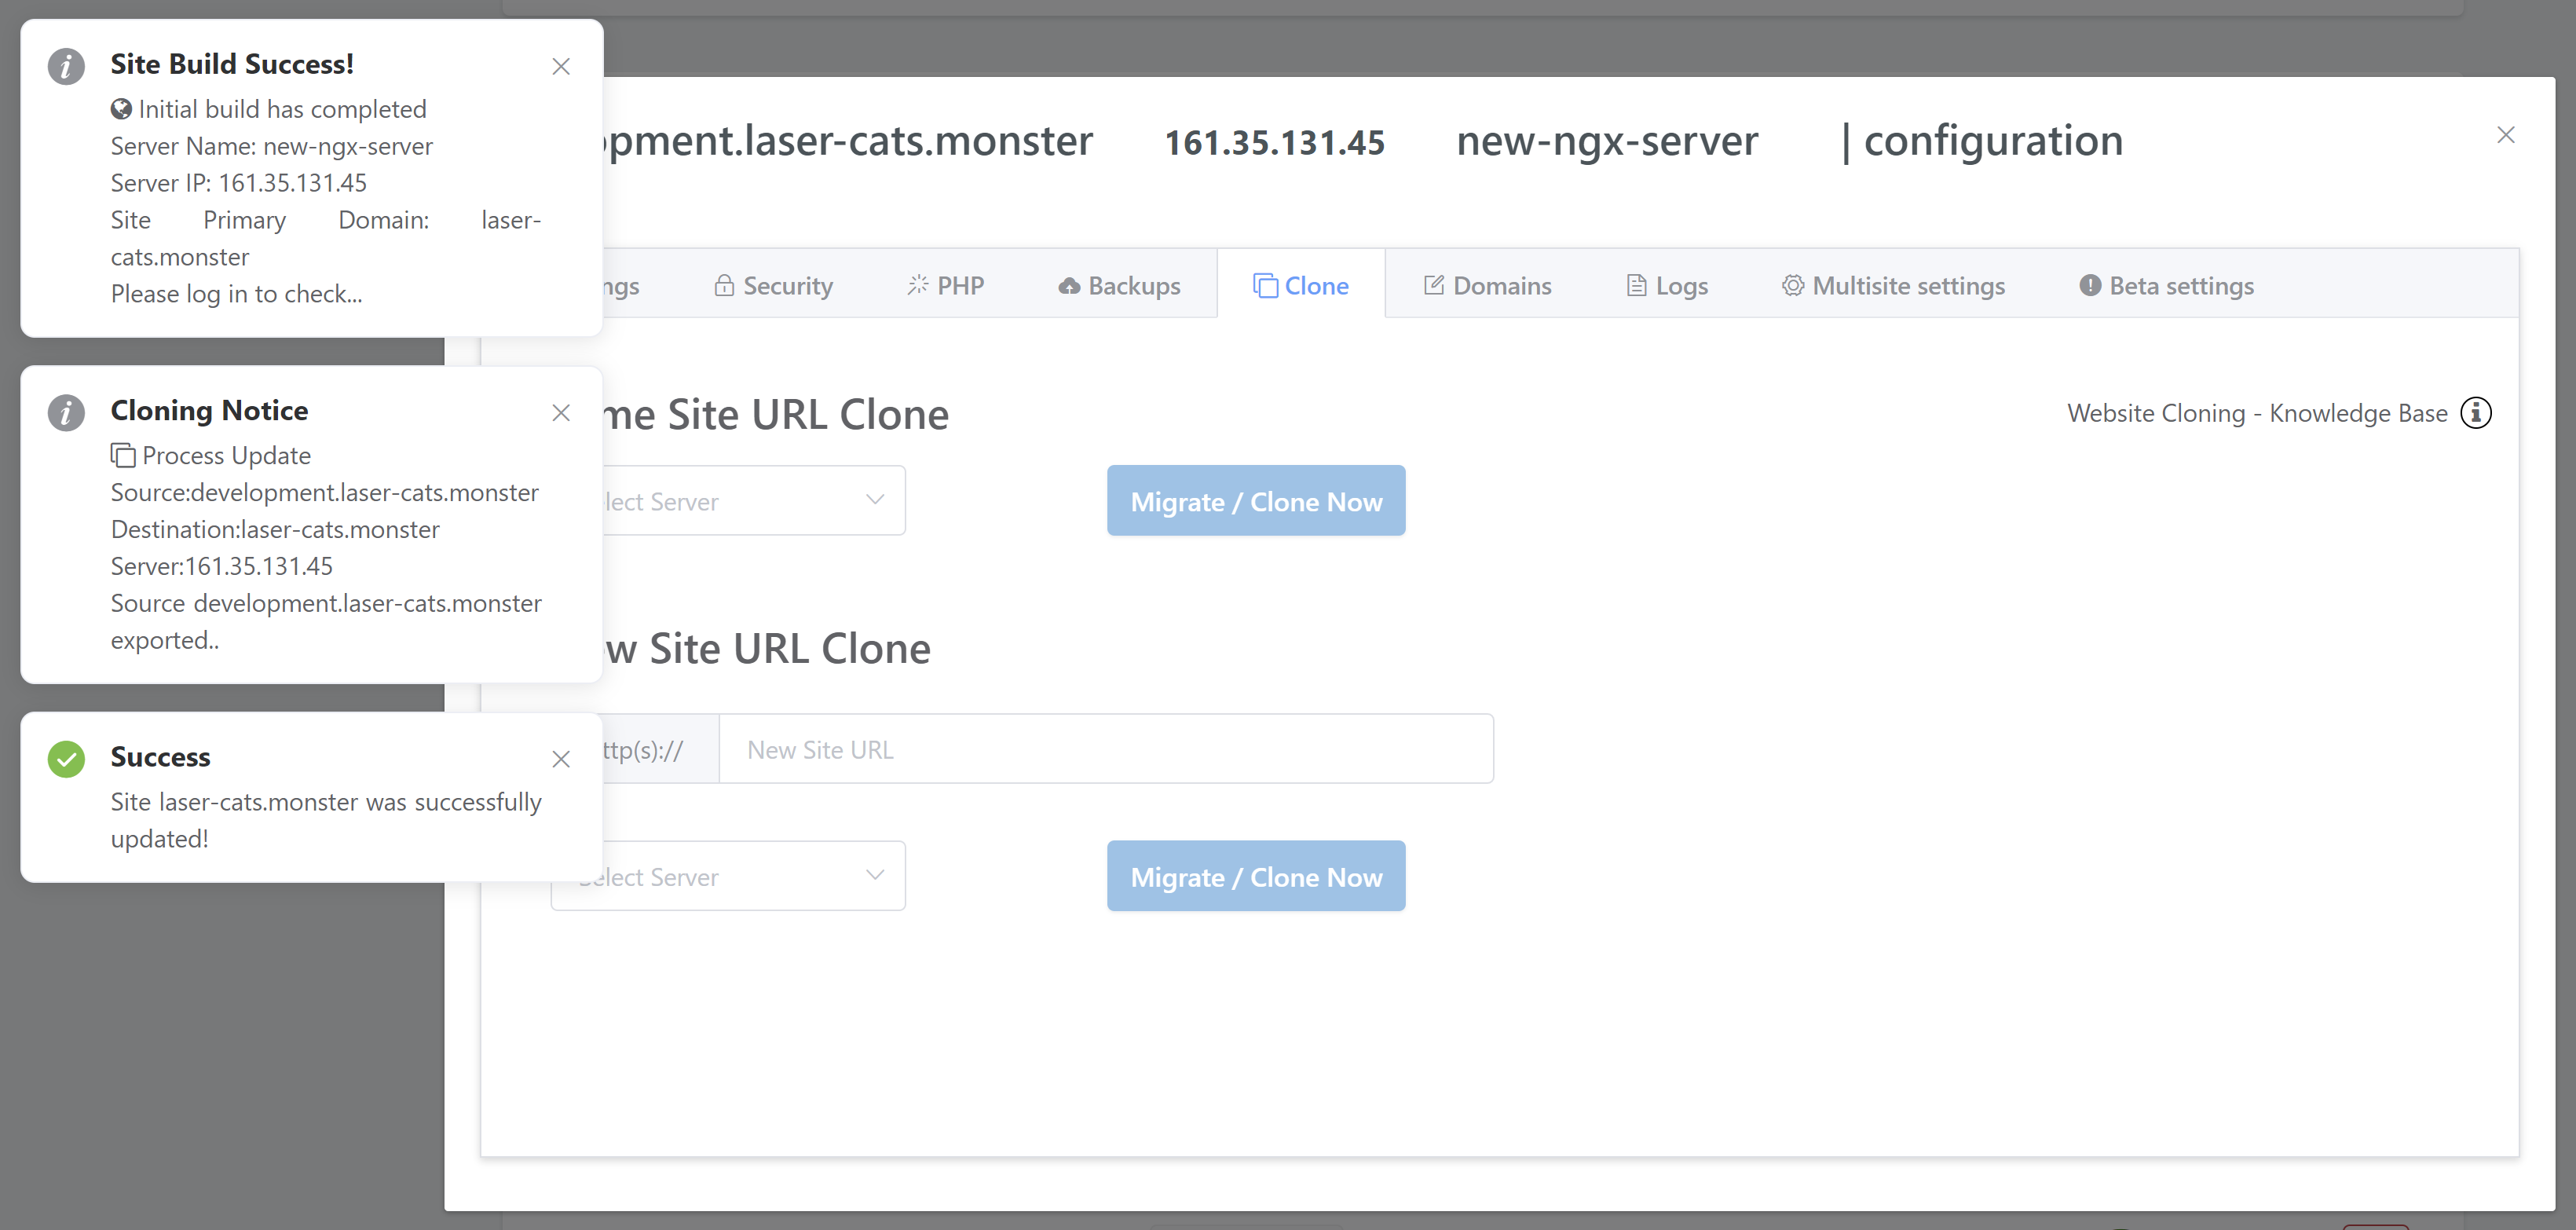
When the process is complete, your new site will appear in the active sites list.
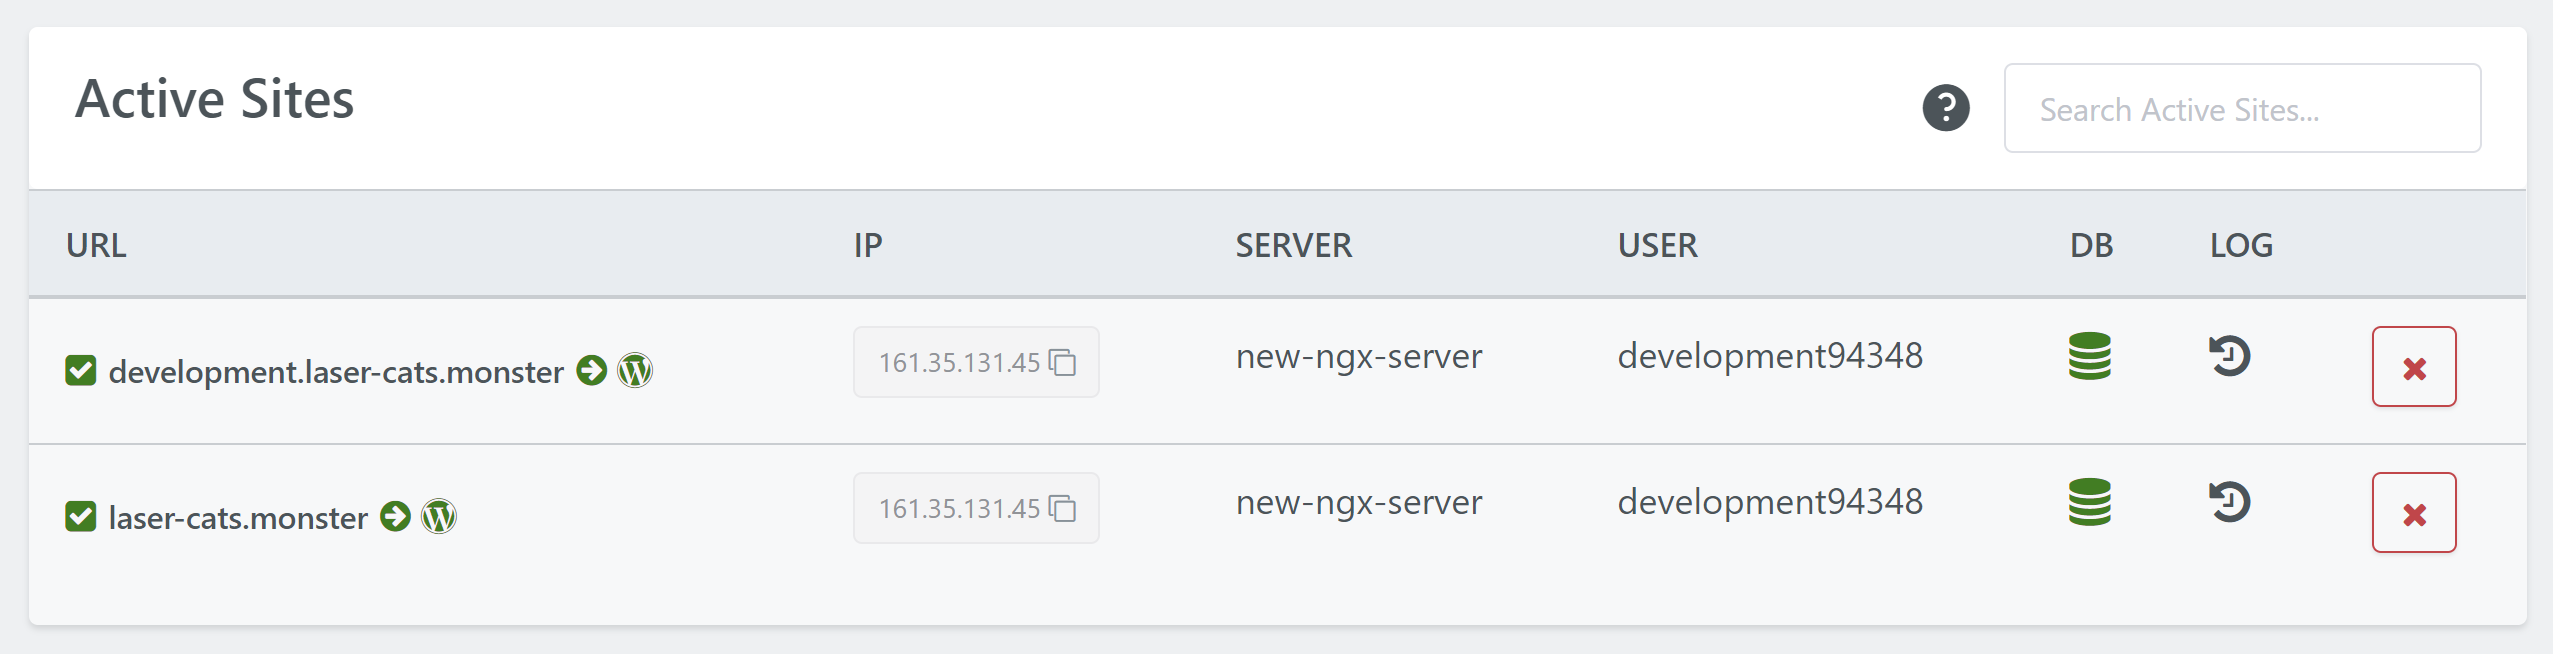
Your settings on your newly cloned website will match up with your origin site.
Step 4. Check Your Cloned Website
You should check your duplicate site to make sure everything is as expected. The content and database will have been cloned across, and the URLs and file paths will have been updated to the new URL.
We will have matched most states for the GridPane features, including all PHP ini settings, PHP process manager settings, and Nginx configuration settings that have been adjusted by GP-CLI. We will also have migrated across cloned files from your Nginx includes directory.
Please ensure that everything has cloned correctly before deleting your previous site, and consider keeping the original for 1-2 weeks while backups on the new site have time to take place.