Step 1. Create an OVH account
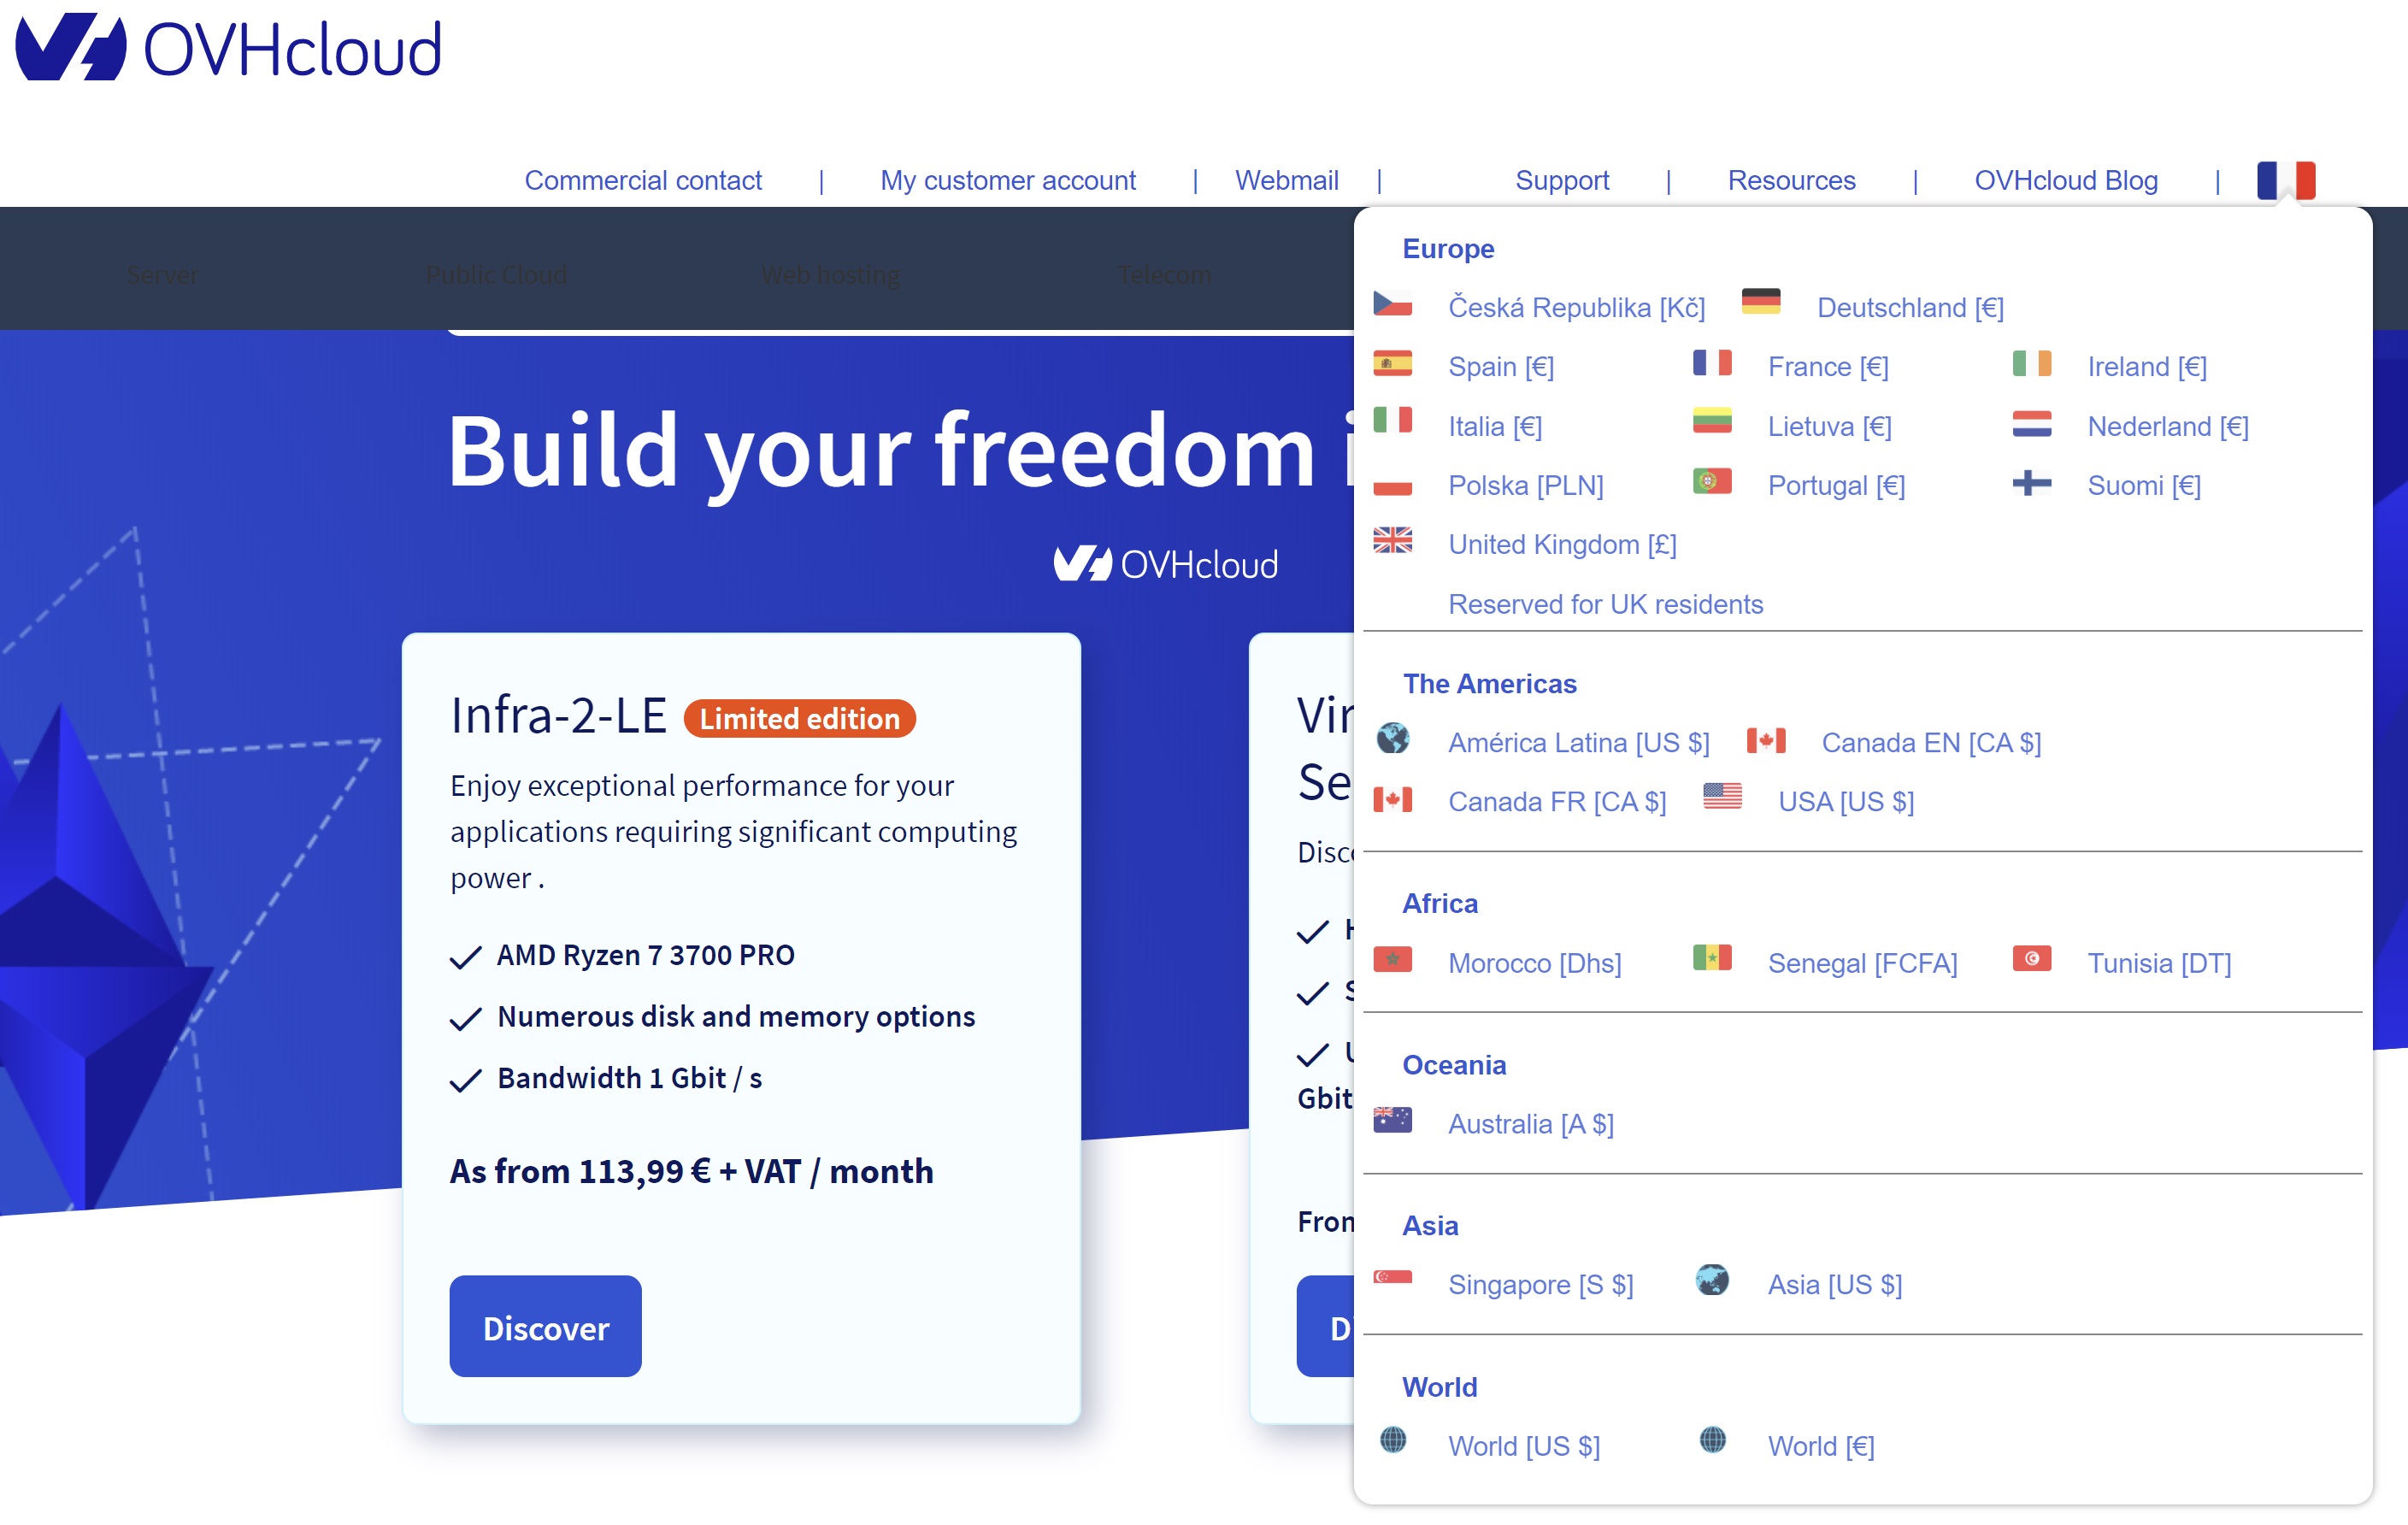
OVH has different options for different countries. You can choose the country that makes sense for you, but often, this will likely be your country of residence if that’s available.
This article will be showing the US-based site (us.ovhcloud.com), but the steps below should be the same for all countries.
Billing
Just a note on billing here in step 1 as OVH has some requirements before they’ll allow your first order to go through. It’s a hassle that some may not wish to bother with.
These are as follows: –
“Please provide full-color photos of the following using the Plik app (see instructions below):
- A government-issued photo ID
- A picture of the credit card used in the transaction including:
1. The name matching the listed name in the Manager account, AND
2. The last 4 digits of the card number
– A photo of yourself holding the government-issued Photo ID provided above.
Please note that this order will expire if the requested documentation is not received within 24 hours of this request.”
Step 3. Configure Your Server
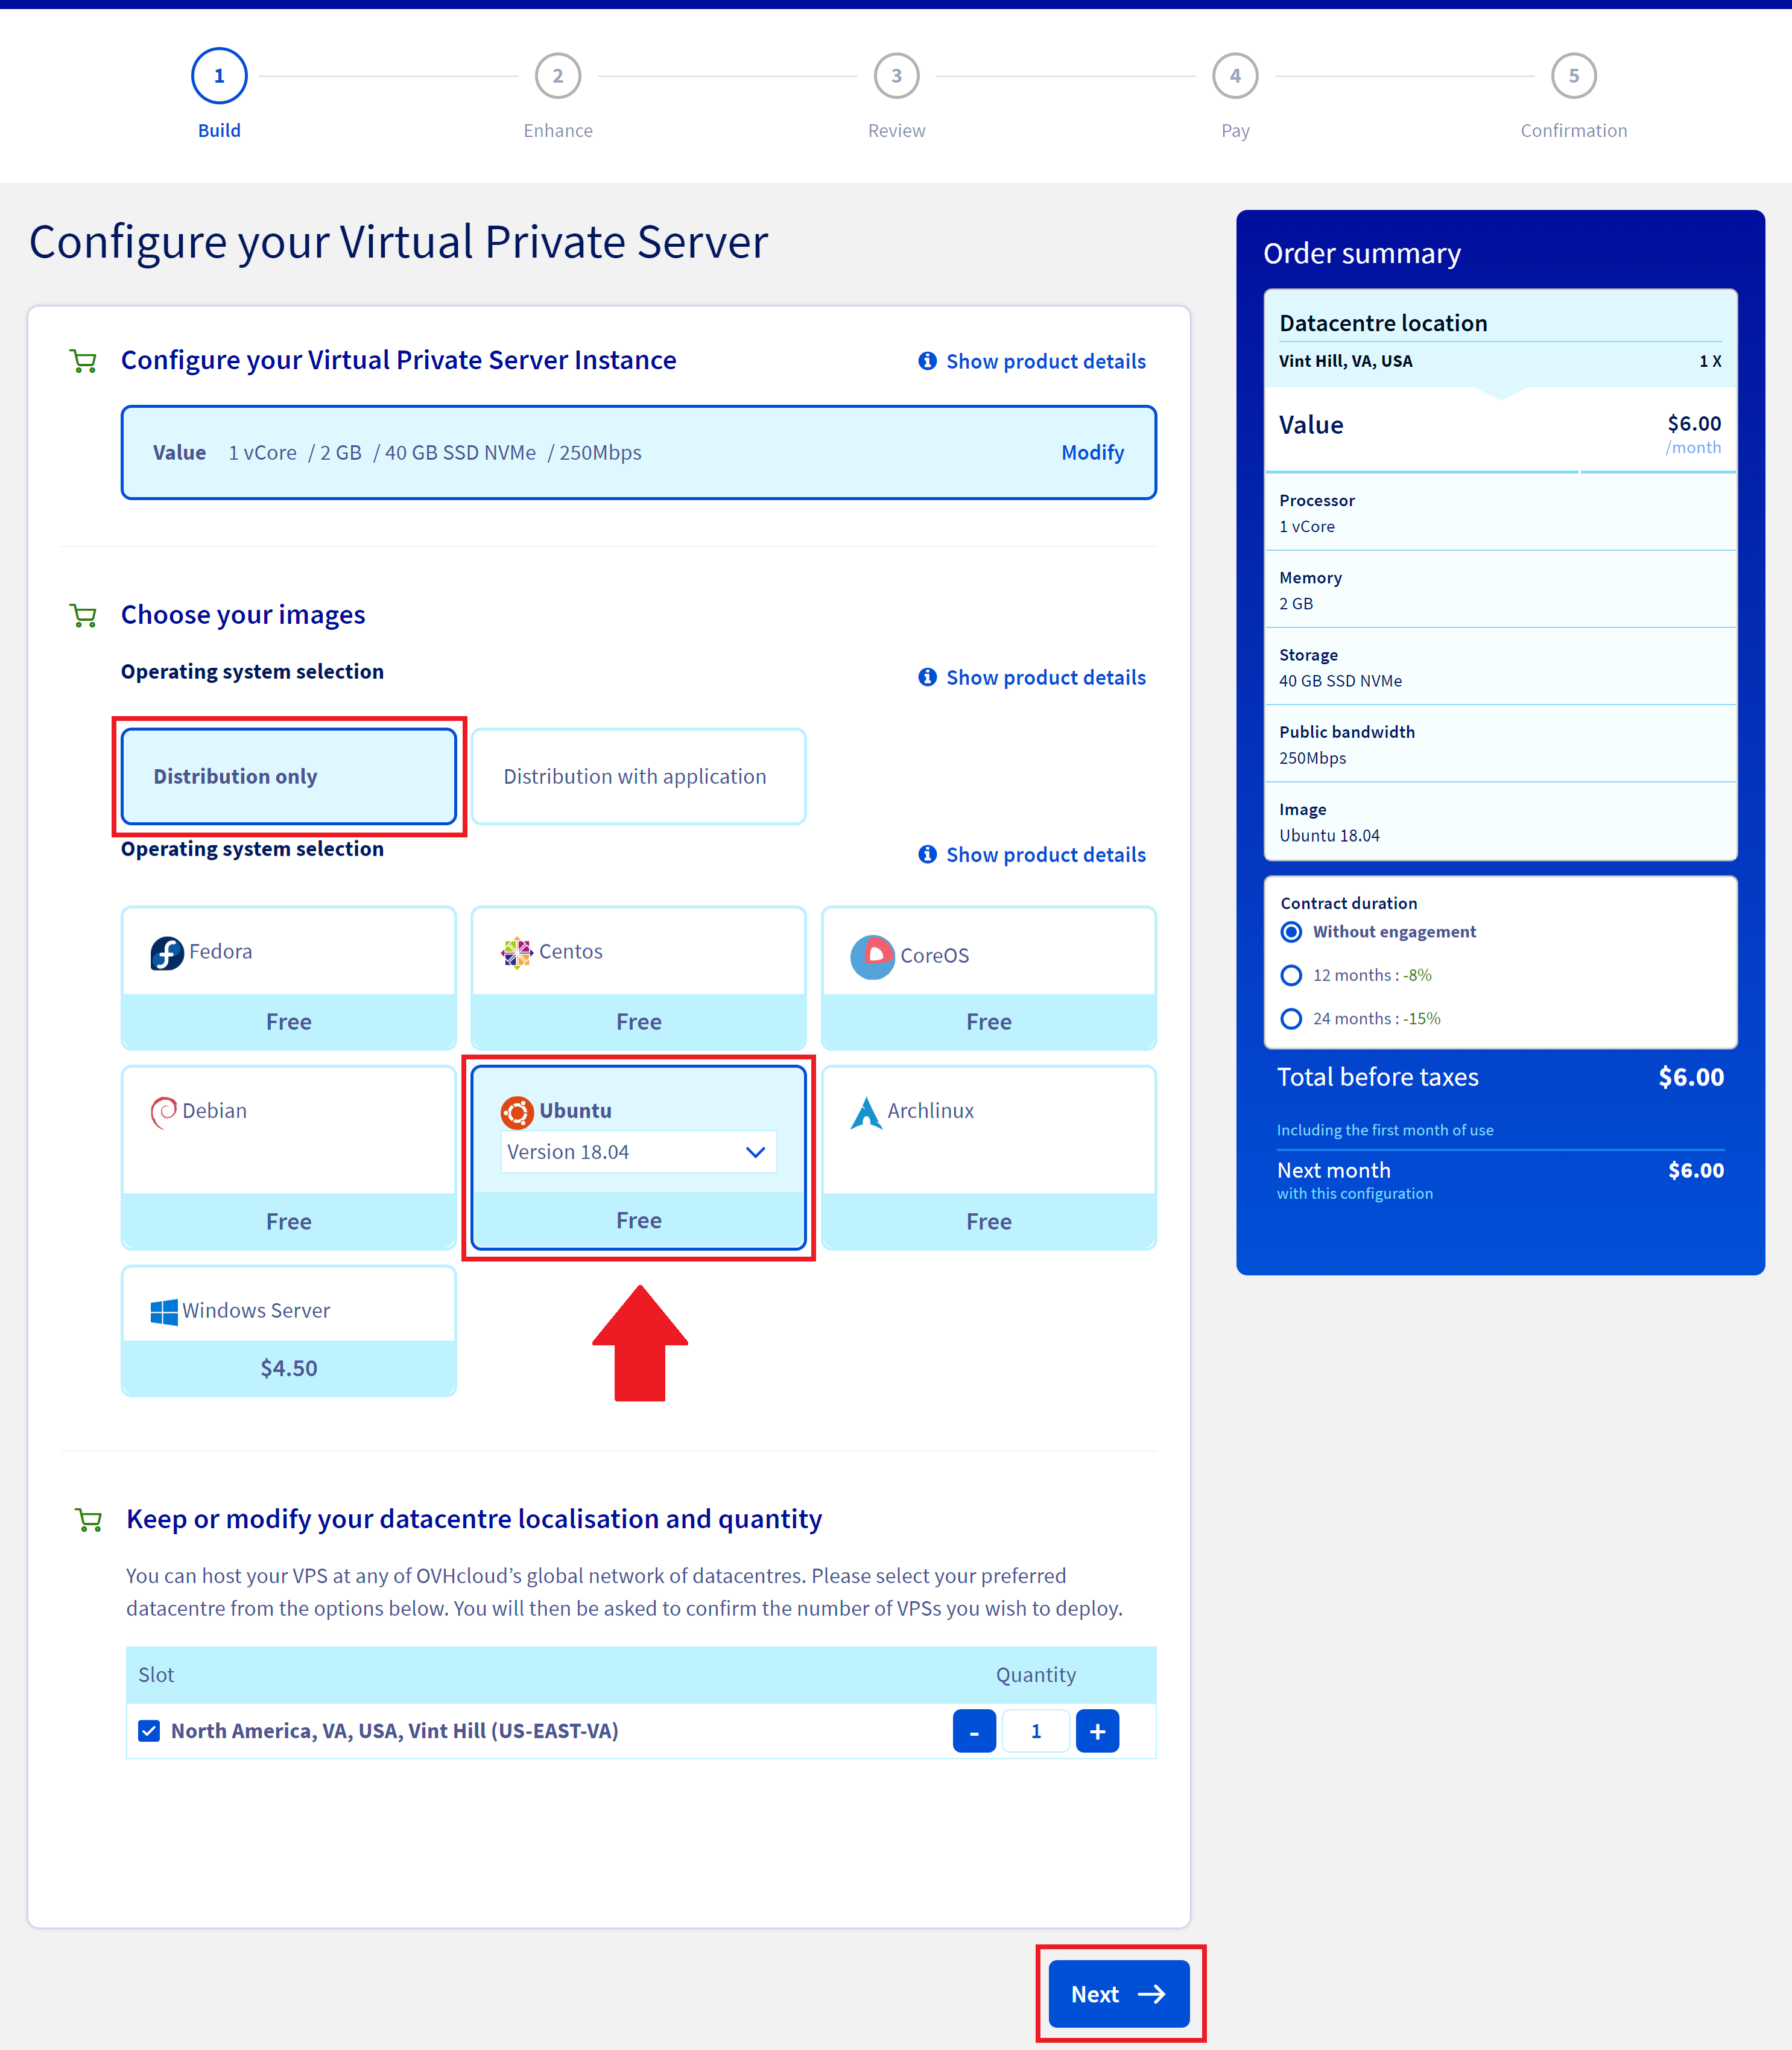
1. Build
Here, you can configure your server. The options OVH offers are fairly straightforward; we just need to select “Distribution“, and then 22.04 (recommended) or 20.04 from the Ubuntu dropdown. GridPane will not work with any other Linux distribution, so this point is important.
If available, you can also choose a specific server location.
Once you’ve completed your selection, hit the Next button at the bottom of the page.
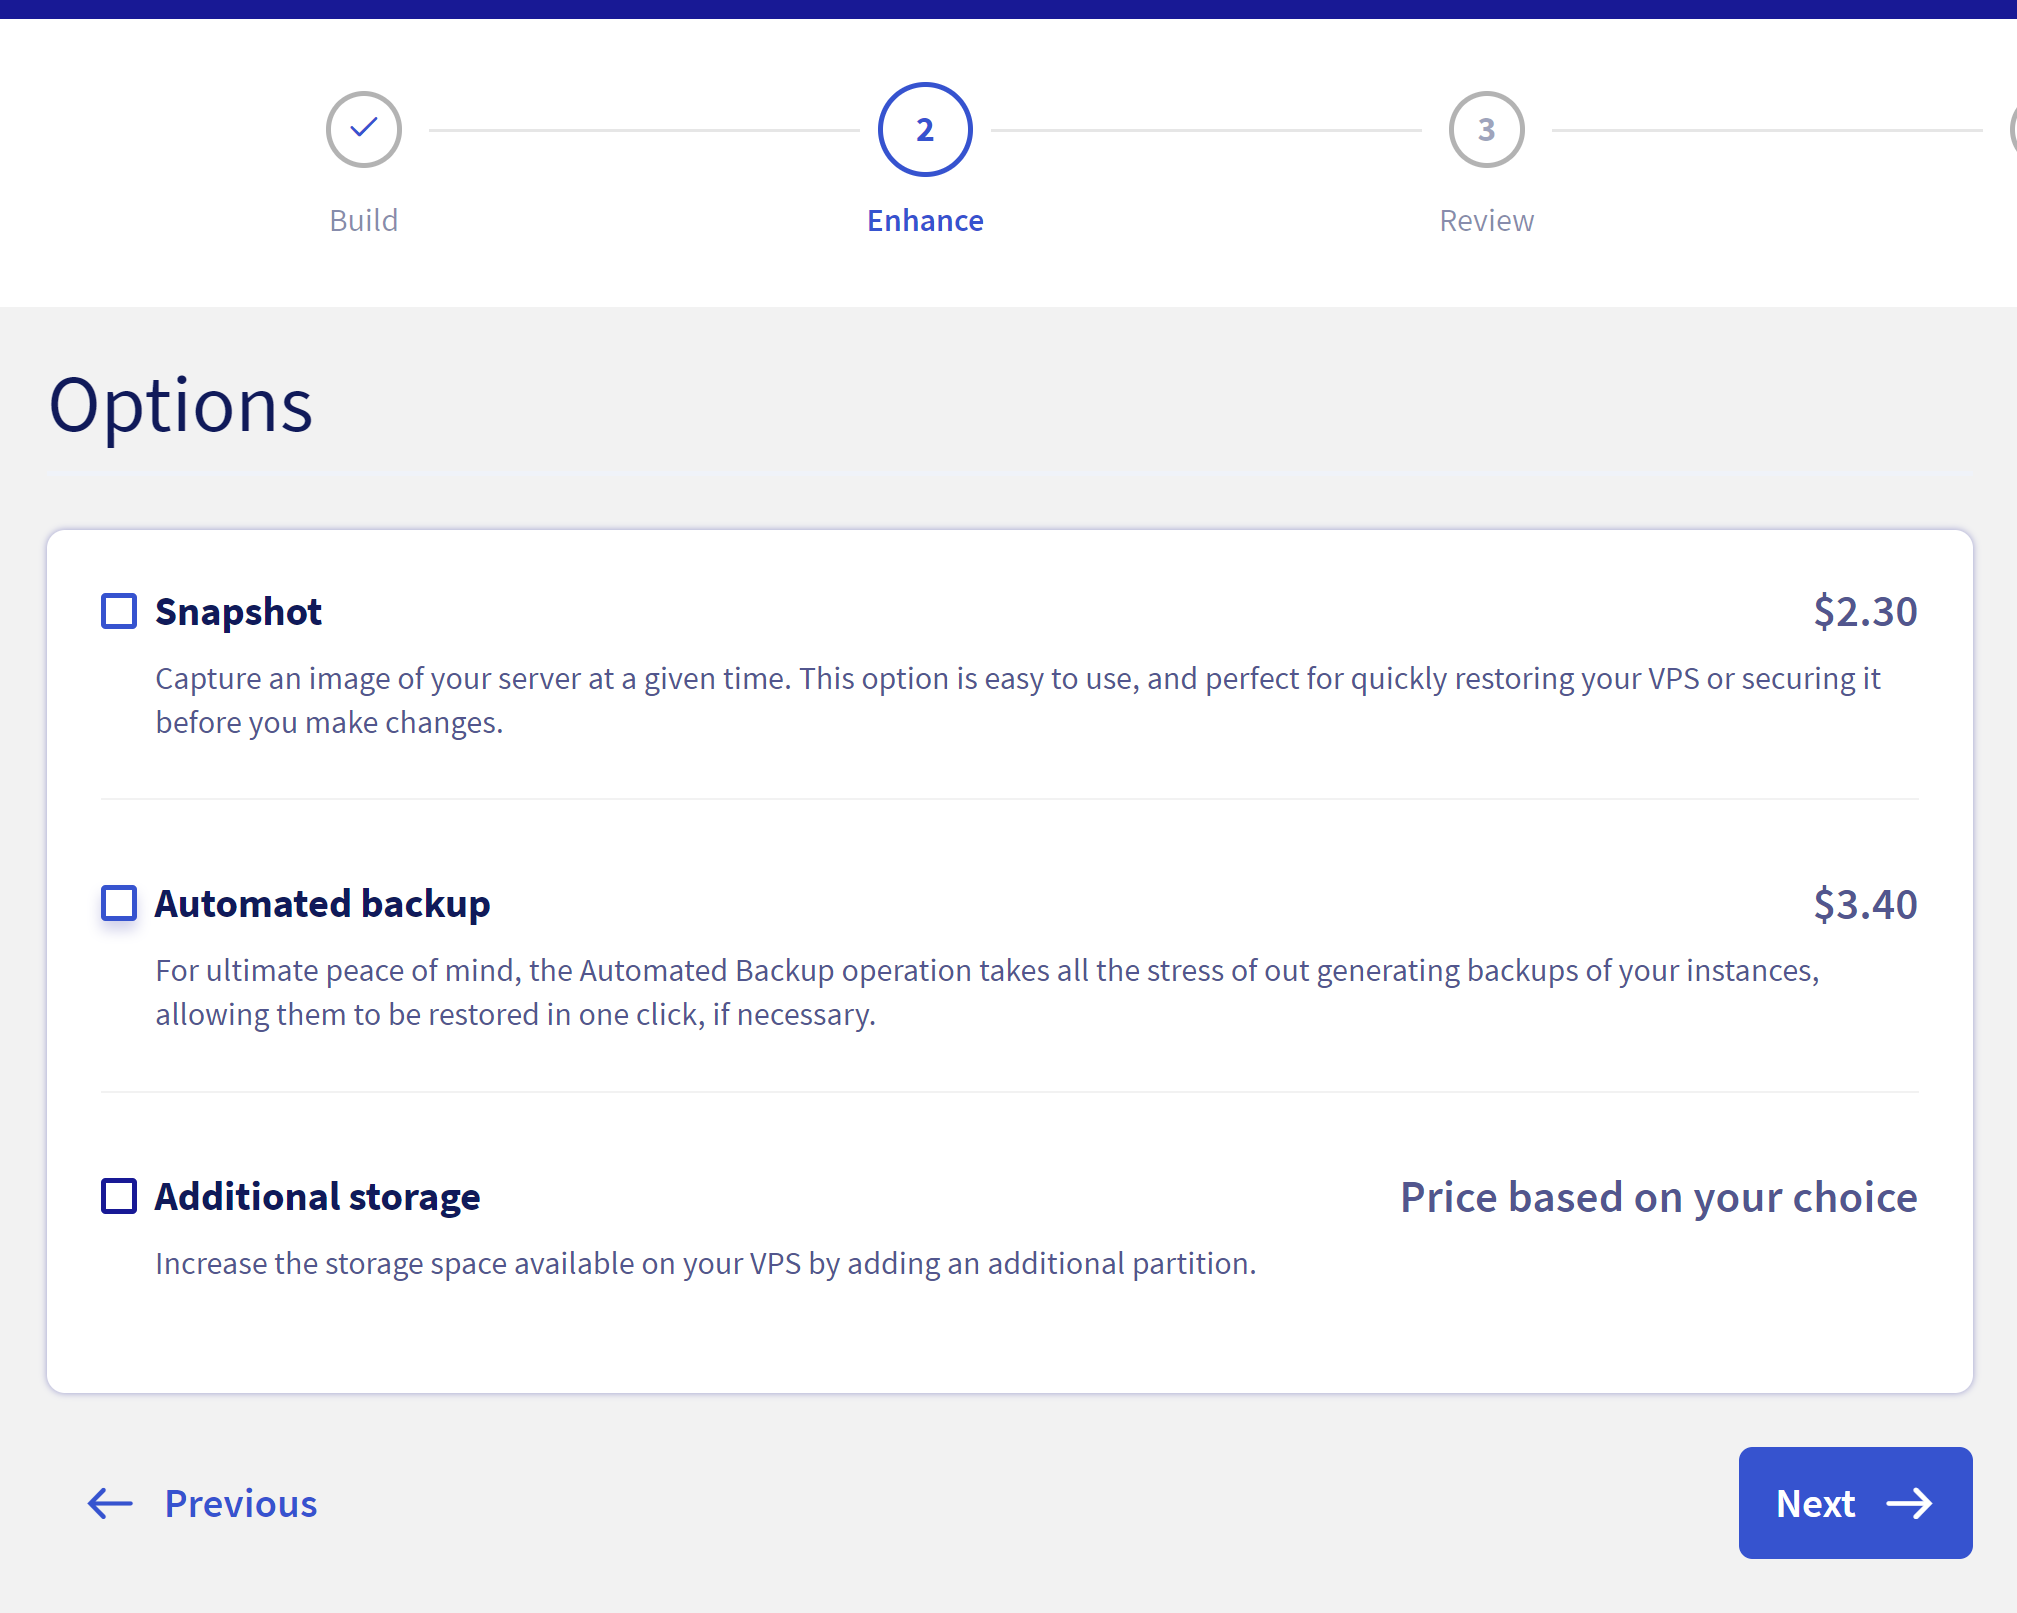
2. Enhance
Next, you’ll have the option to add snapshots, automated backups, and more storage if you need it.
We strongly recommend at least one kind of server backup, and automated are by far the easiest, but you’re free to configure your server however you wish.
Select your options and hit Next.
3. Review
Make sure everything you’ve selected is correct, and choose the type of subscription you wish to use. If you’re absolutely certain you’re going to stick with OVH for the long term, then you can save a little extra by committing to a 12 or 24-month plan. However, it may be worth paying that little bit extra and having the freedom to move elsewhere if you ever need to.
I’ll be choosing Monthly.
4 and 5. Pay and Confirm
Finally, pages 4 and 5 are for payment and confirmation. Proceed with your order, and the next step is to provision your server 🙂
NOTE: Unlike many other providers, OVH charges by the month and not by the hour – so you can’t take a server for a spin for 1-2 hours to kick the tires for 10 cents and then destroy it. You’ll be billed upfront.
Once your server has been created, OVH will email you your server details, and these include your user (ubuntu in our case) and password.
Step 4. Provision Your Server
Now, bought and paid for, it’s time to provision your server with GridPane’s stack.
Back in your GridPane dashboard, head to the Servers page and click on the Custom VPS option:
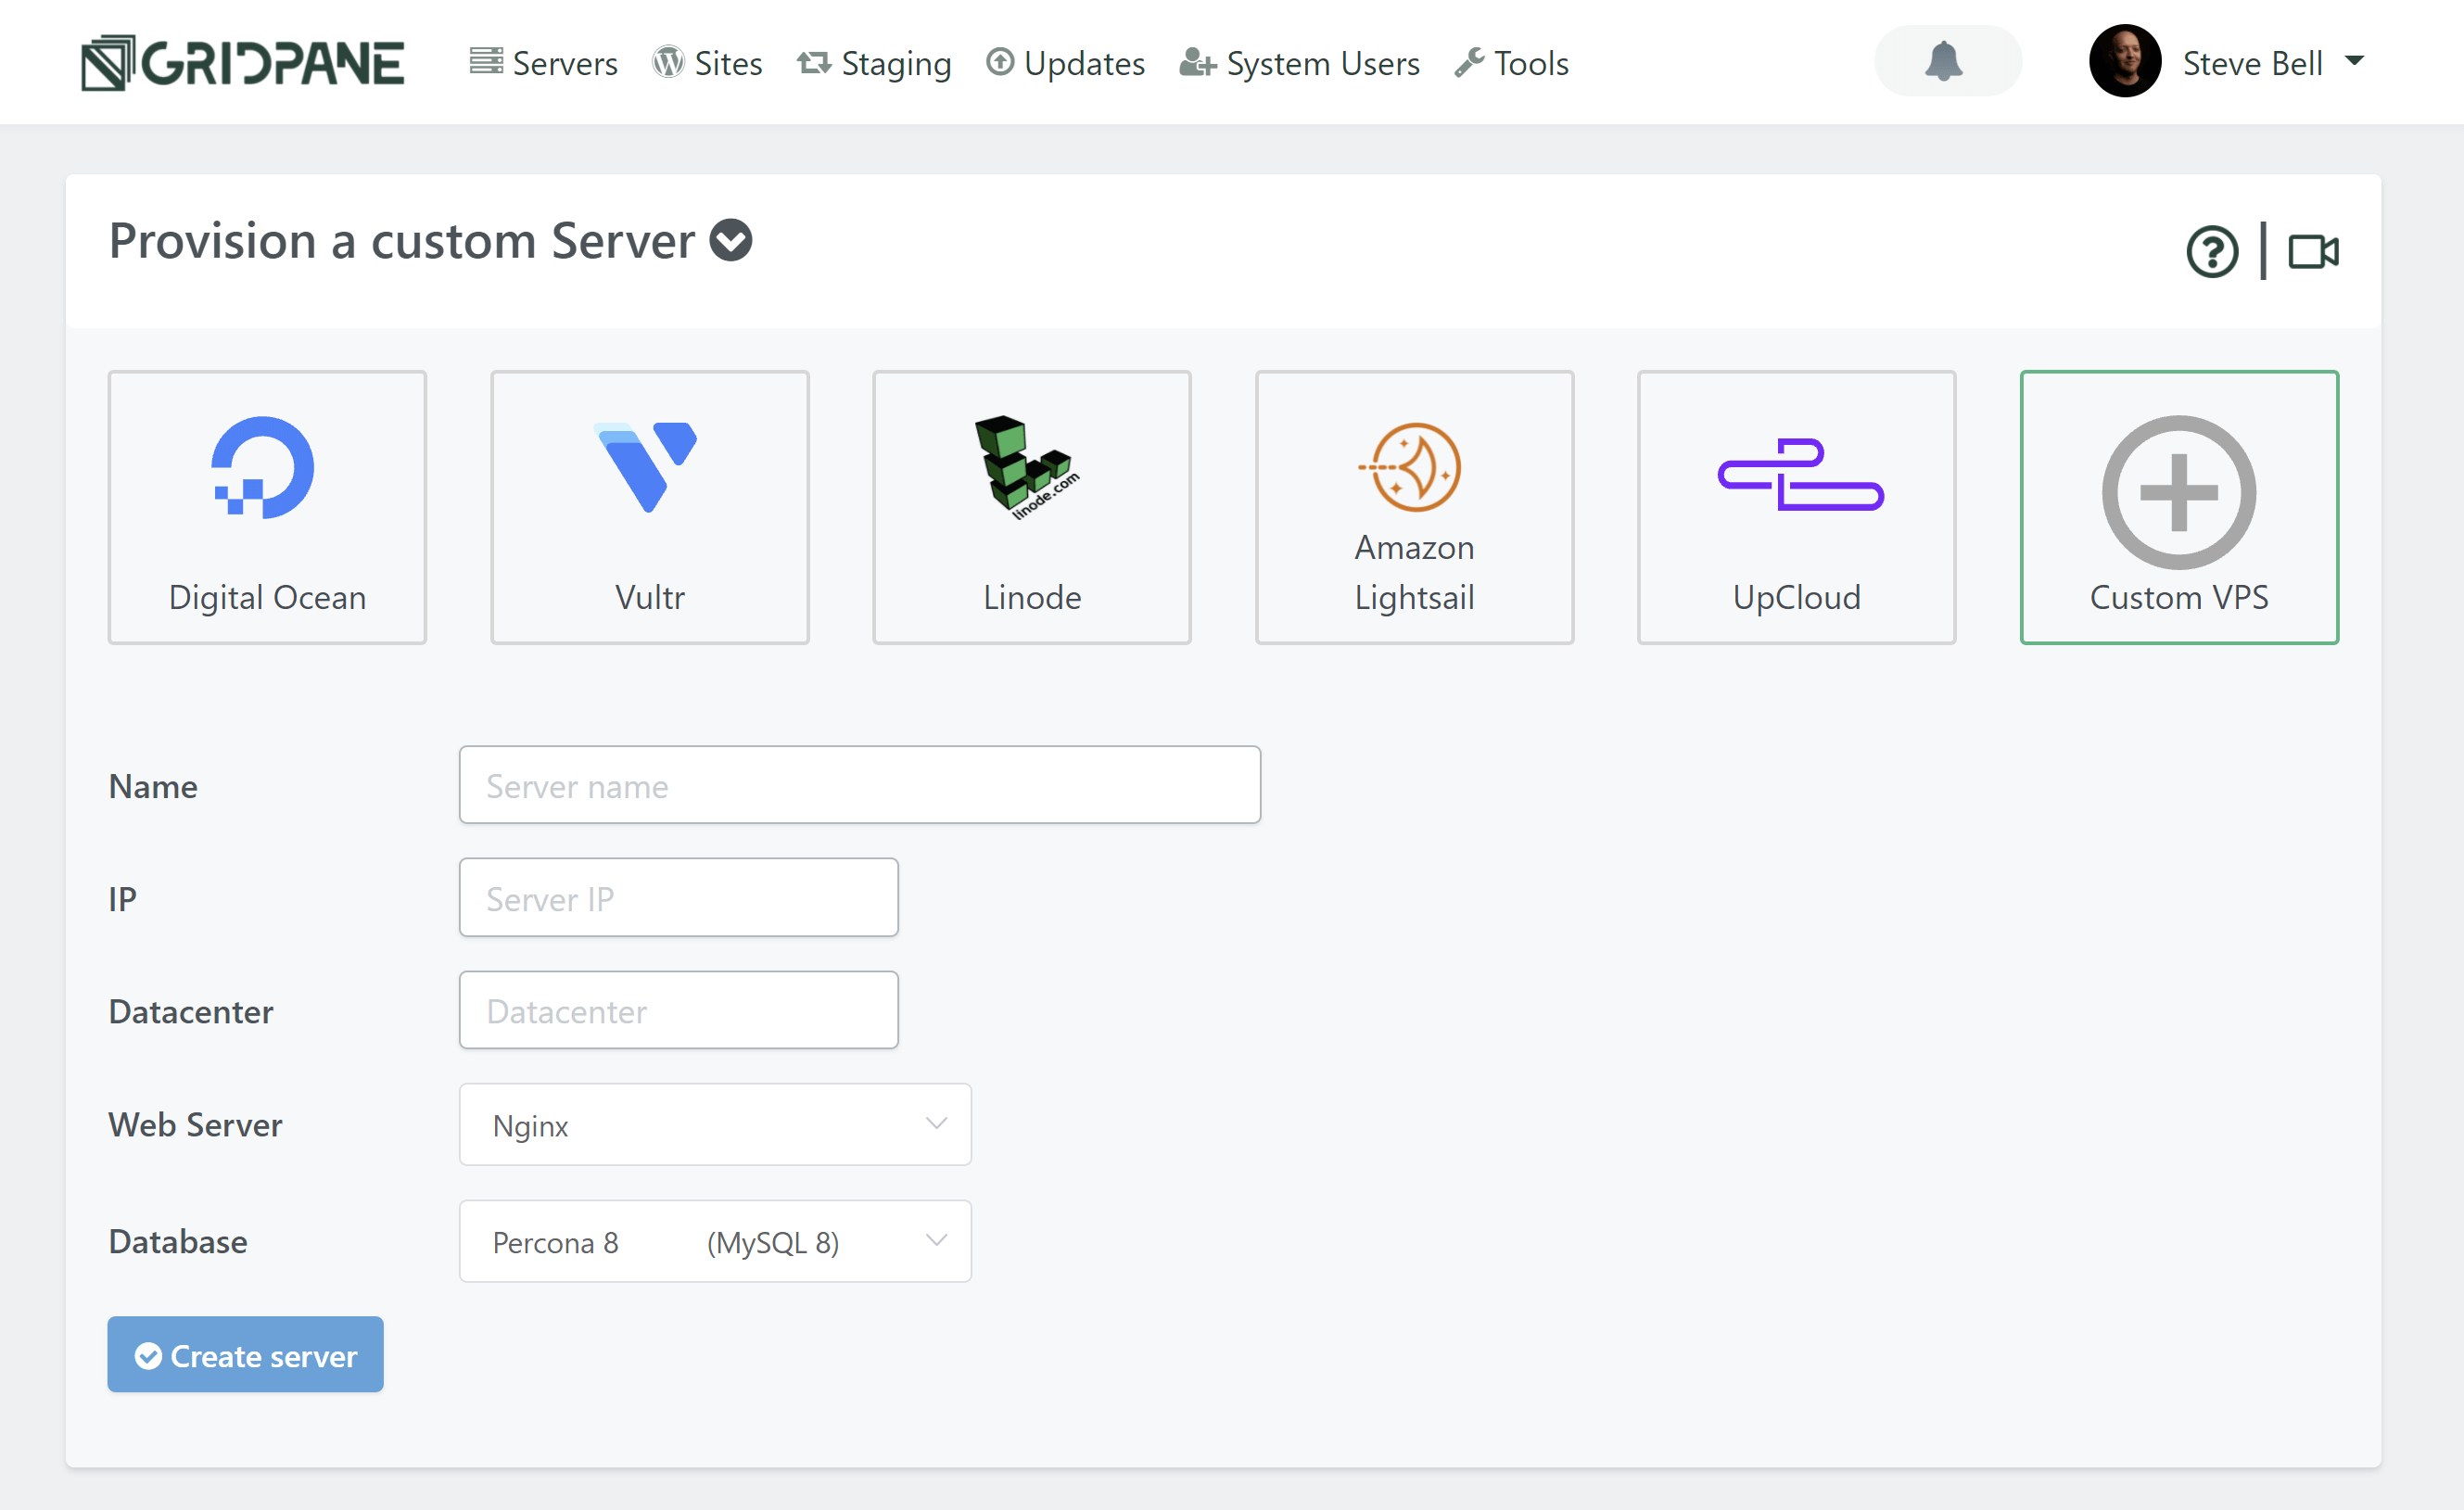
Configure Your Server
Enter a name, your server’s IP address, and the Datacenter name you wish to use.
Note: The Datacenter name is for your reference only, so feel free to give it a name that makes the most sense for you.
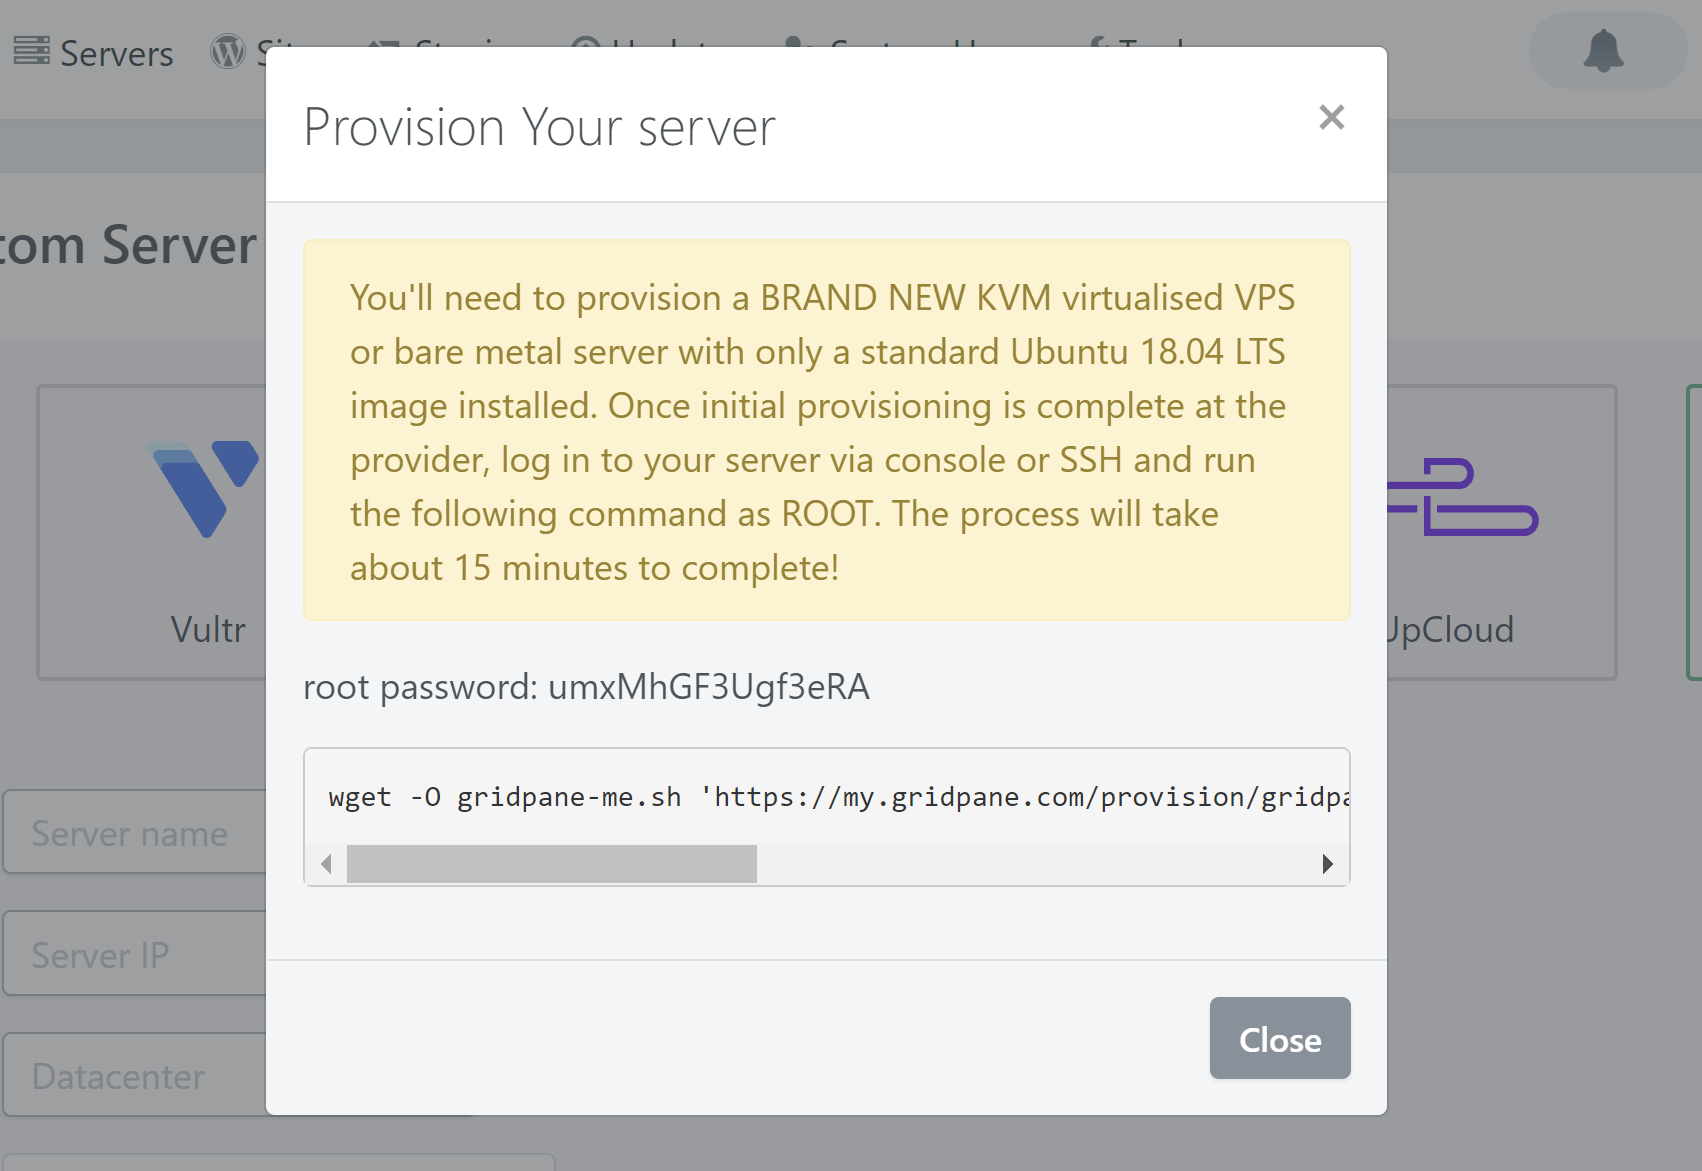
Once you click Create Server, a popup modal will contain your root password and a command-line string. Copy that string and paste it into a text document – you’ll need it in a moment.
Step 5. Connect to your OVH server
OVH does not include a console that allows you to connect to your server. Instead, we can use any of the various tools such as Windows Powershell, Putty, Cmder, Termius, etc.
I’ll demonstrate using Windows Powershell as it’s built right into Windows 10, and it looks similar to the native terminals in Linux and macOS.
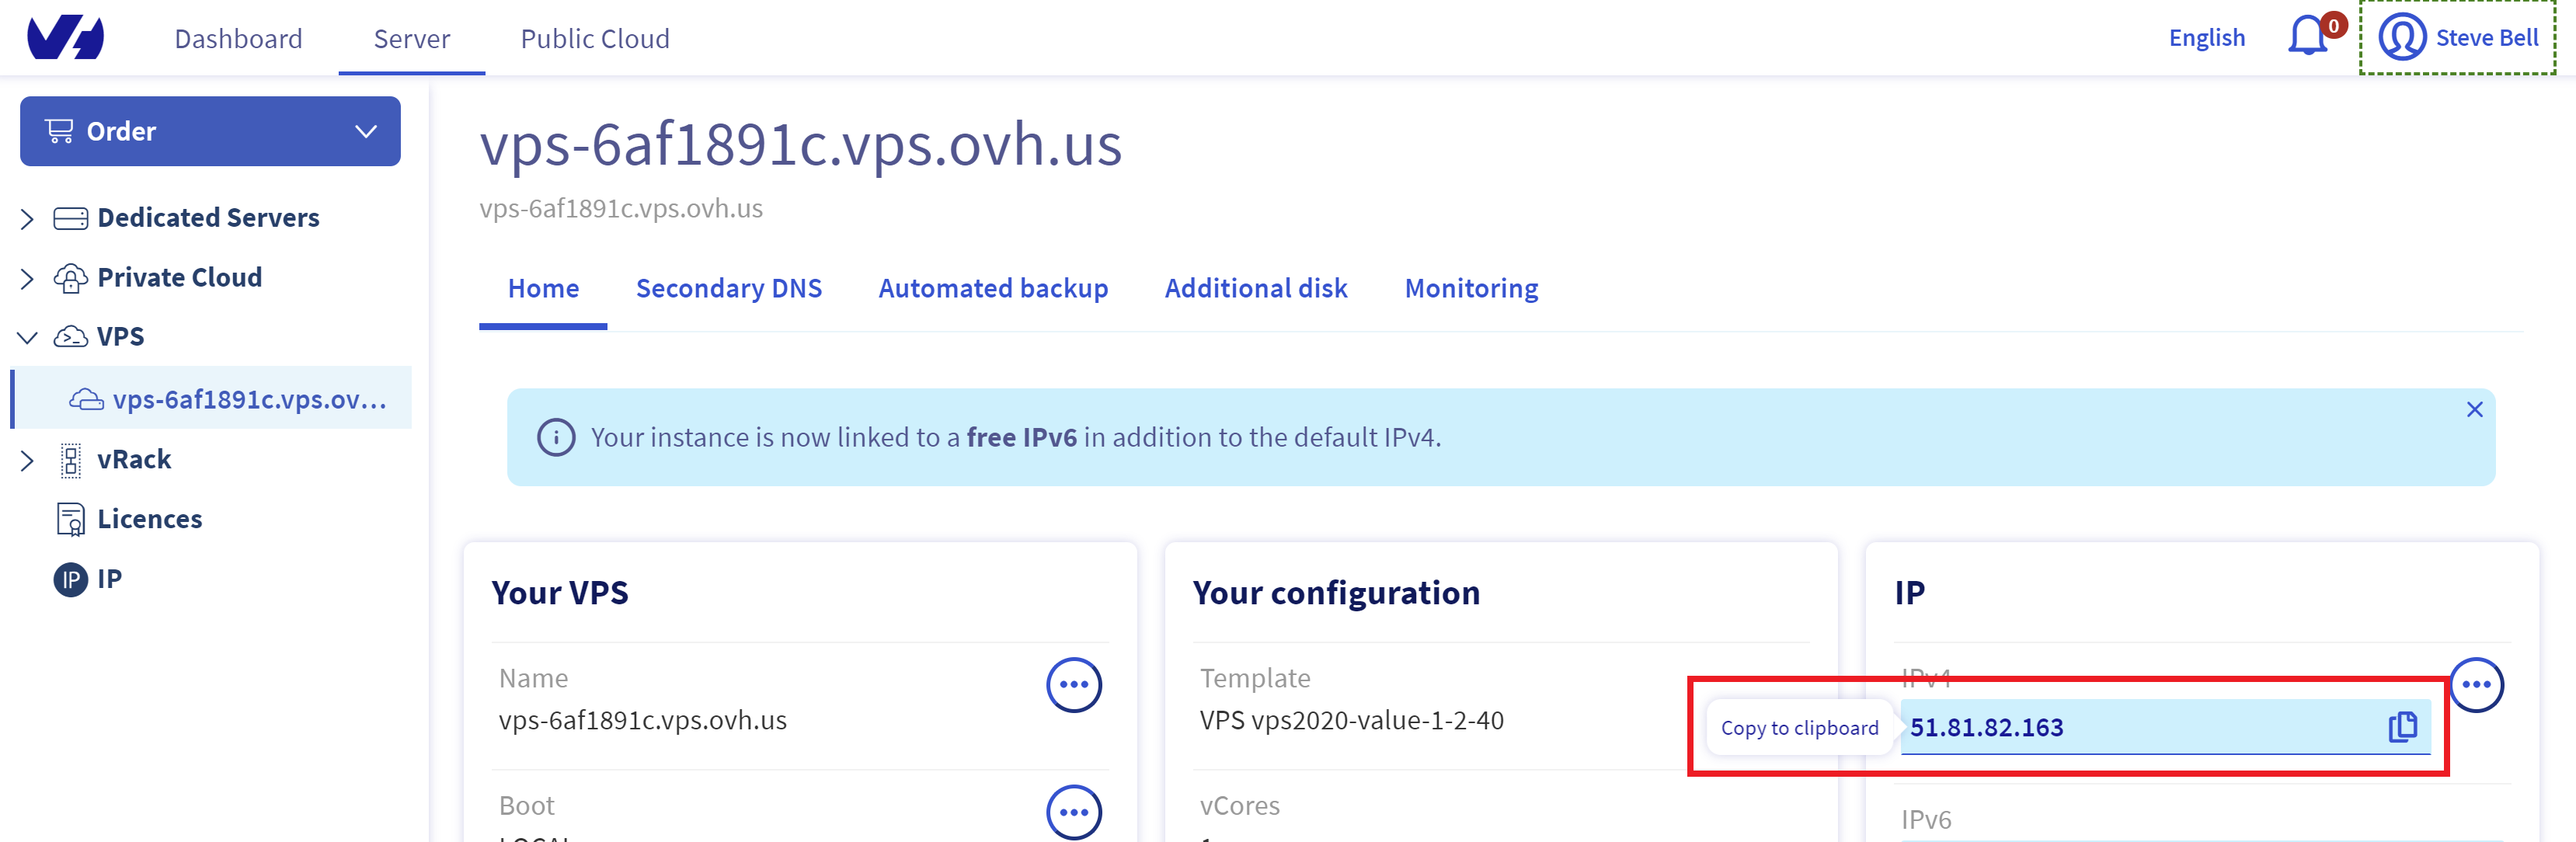
1. Locate your server IP address
Inside OVH, you’ll see your server inside your dashboard on the servers page, under either “VPS” or “Dedicated” depending on your server type. Here, you can copy your IPv4 address:
2. Open your terminal and connect to your server
Open your preferred terminal (you can search for it inside your OS to find it if you are using “Terminal” or “Powershell” etc).
To connect, enter the following (replacing “ip_address” with your server IP address):
ssh ubuntu@ip_address
3. Login
You’ll first be asked about the server fingerprint, as it’s the first time you’ve connected to this server. Type Yes and hit Enter.
Next, enter your password and hit Enter. Note that you will not get any feedback on the screen while typing/pasting your password.

4. Switch to the root user
This is important. The GridPane provisioning code needs to be run as the root user for it to work correctly. Running as the ubuntu user will result in the process failing.
To switch to the root user type the following command:
sudo -s

5. Paste your provisioning code
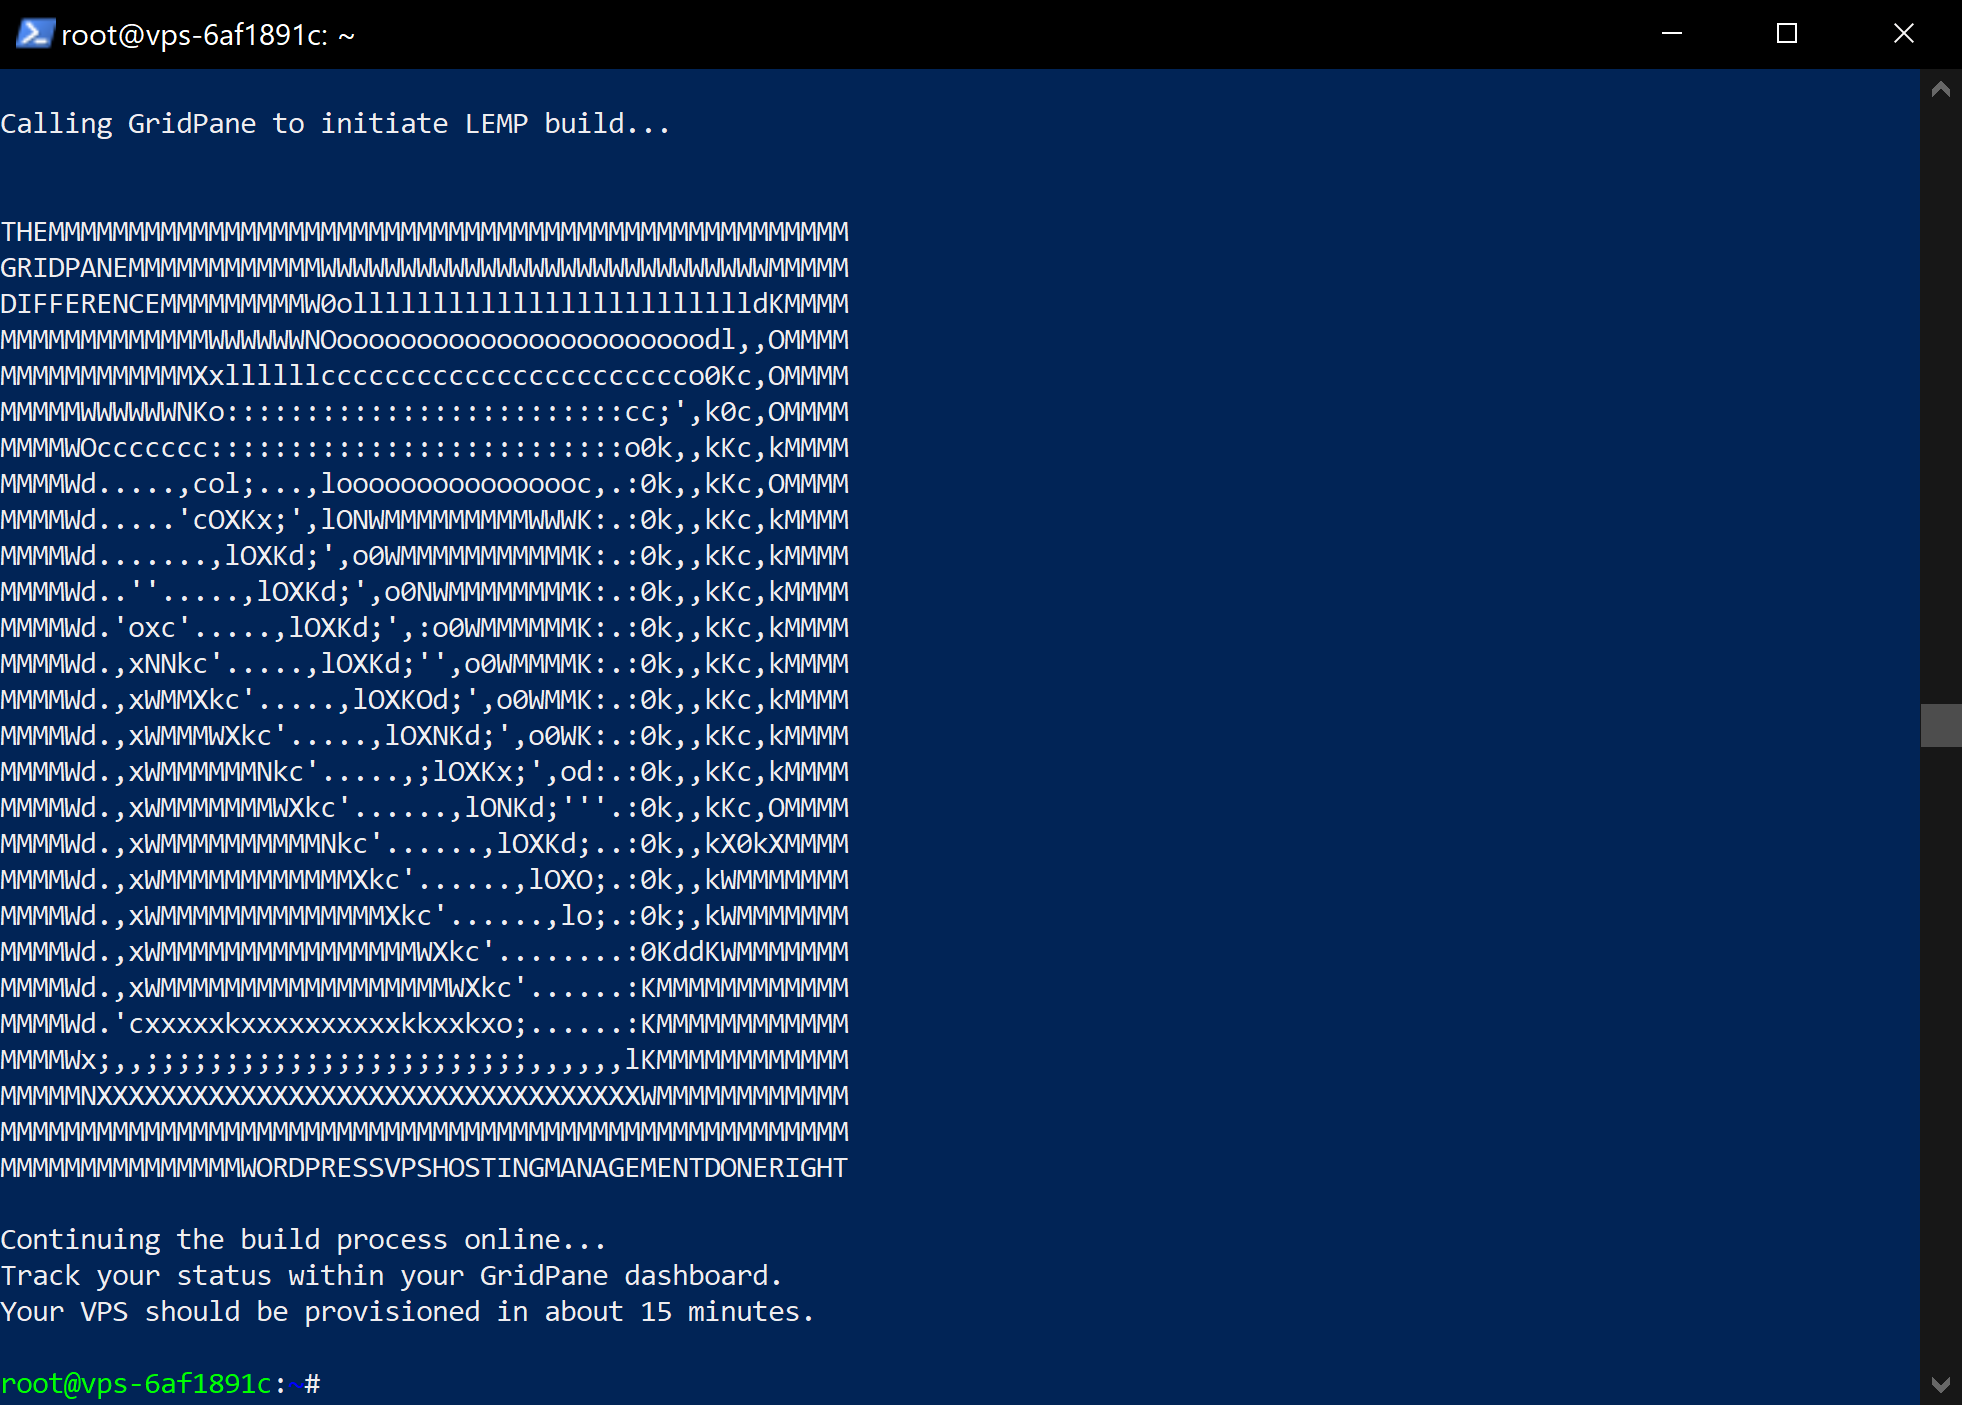
We’re now running as the root user, and it’s time to paste in your provisioning code that you copied in step 4.
Right-click > Paste and then press Enter. The code will do the rest. A few minutes later, you’ll see the following message, and you can then close the terminal by typing:
exit
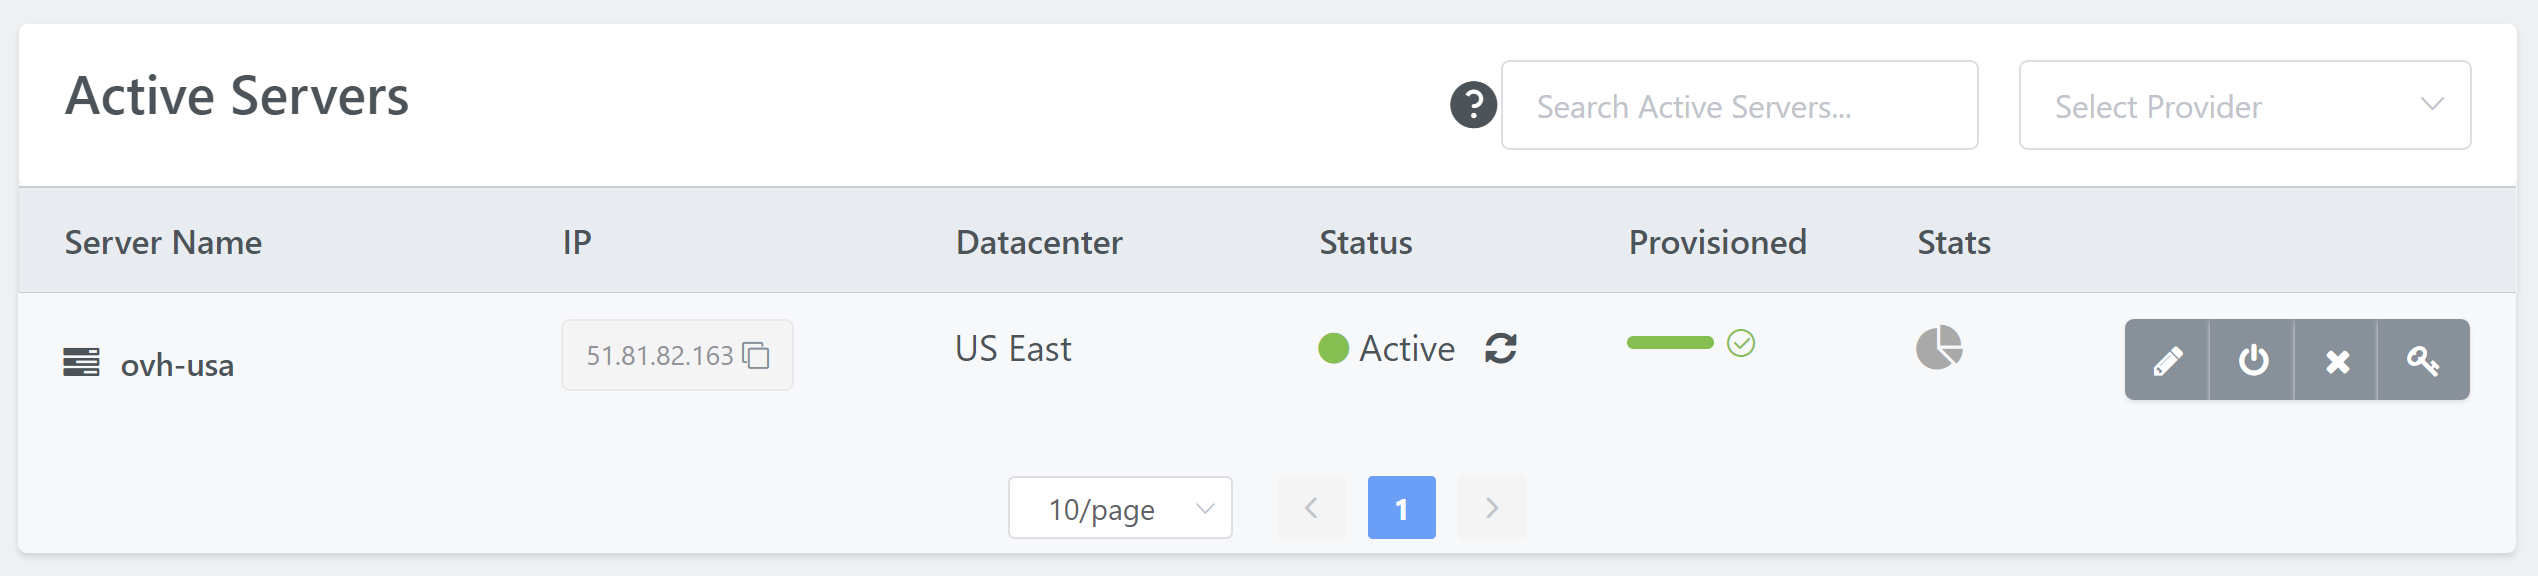
Step 6. Wait for Approx 10 Minutes
You can monitor the rest of your server’s provisioning progress inside the Servers page of your account. Approximately 10 minutes later, it will be ready to use inside your GridPane account.
Congratulations! Next Steps
Now that your server is live, you’re ready to start creating and configuring new WordPress websites.
To deploy a site, click on the Sites link in the GridPane main menu to begin the process. We have a separate article that details the steps in detail for you.
