Step 2. Create a Server
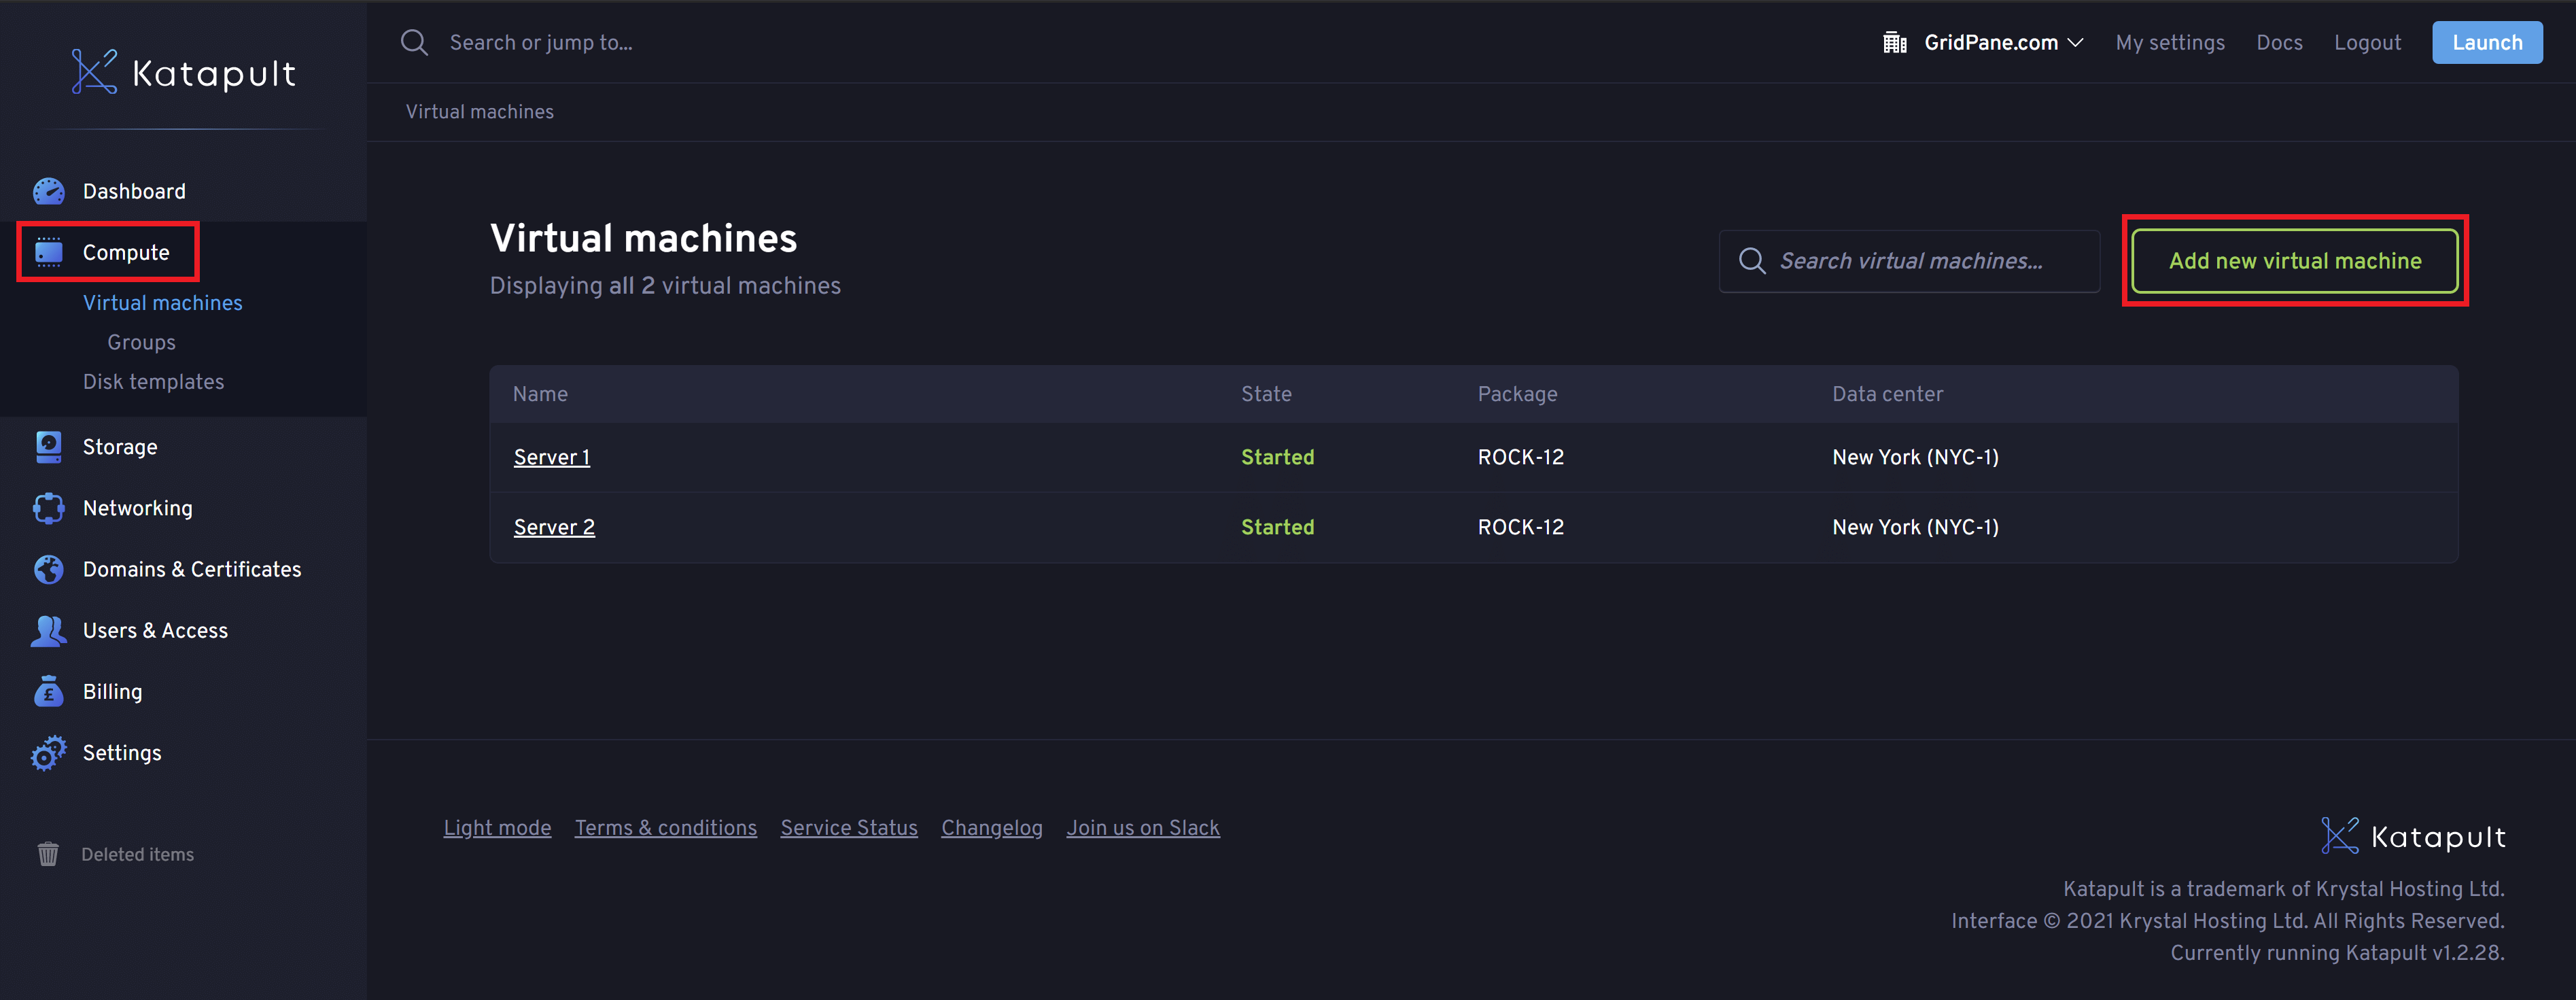
Inside your Katapult dashboard, click through to Compute in the left-hand menu. Here you’ll see a green button labeled “Add a new virtual machine“. Click this to begin:
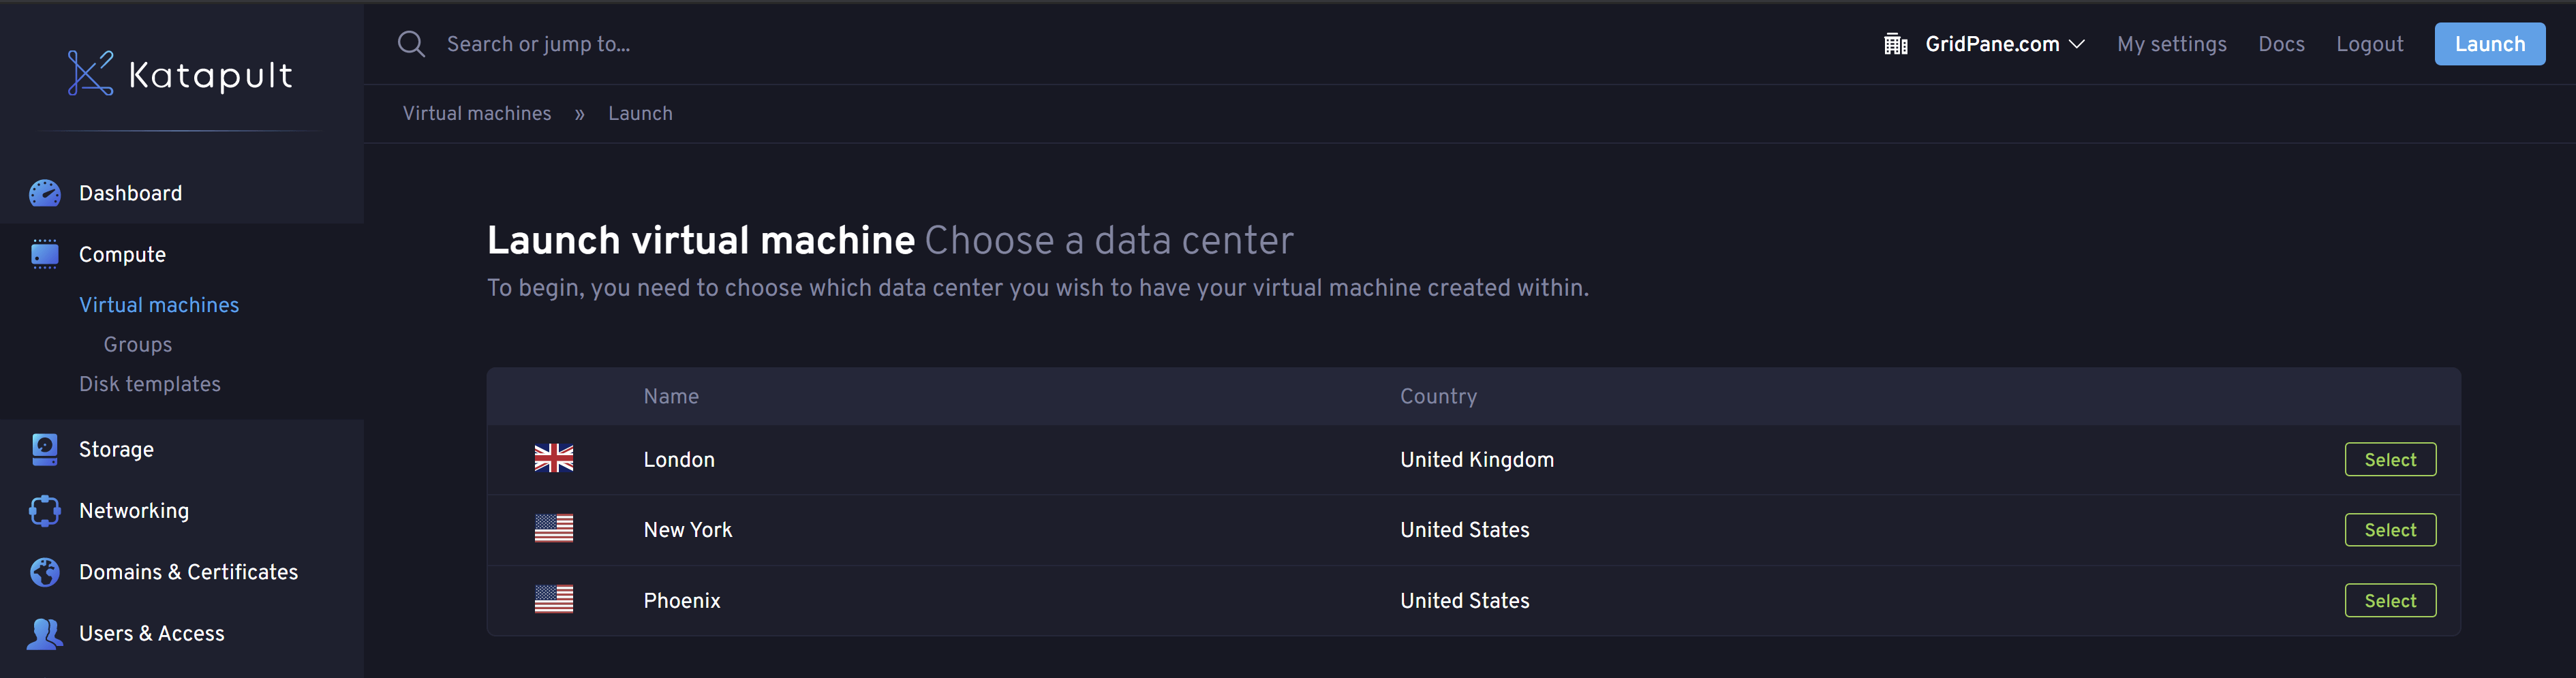
1. Location
Next, choose your preferred data center location:
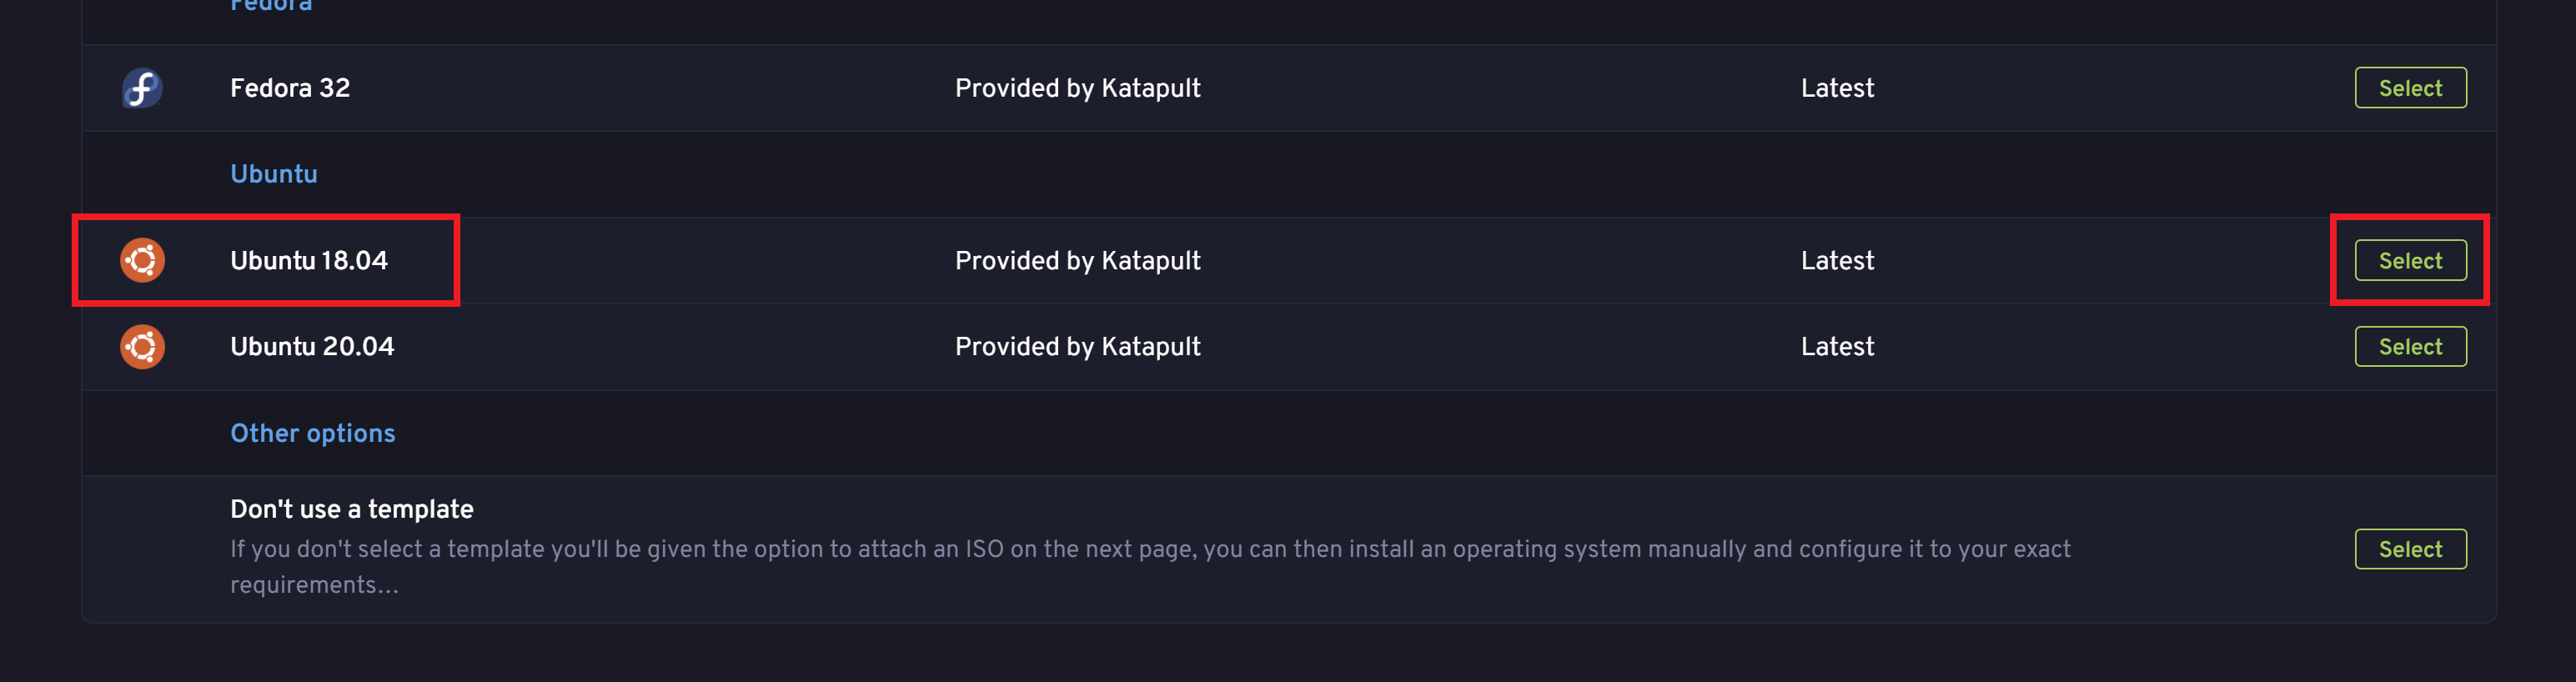
2. Operating System
Next, you’ll see a list of operating systems. Choose Ubuntu 22.04 (recommended) or Ubuntu 20.04:
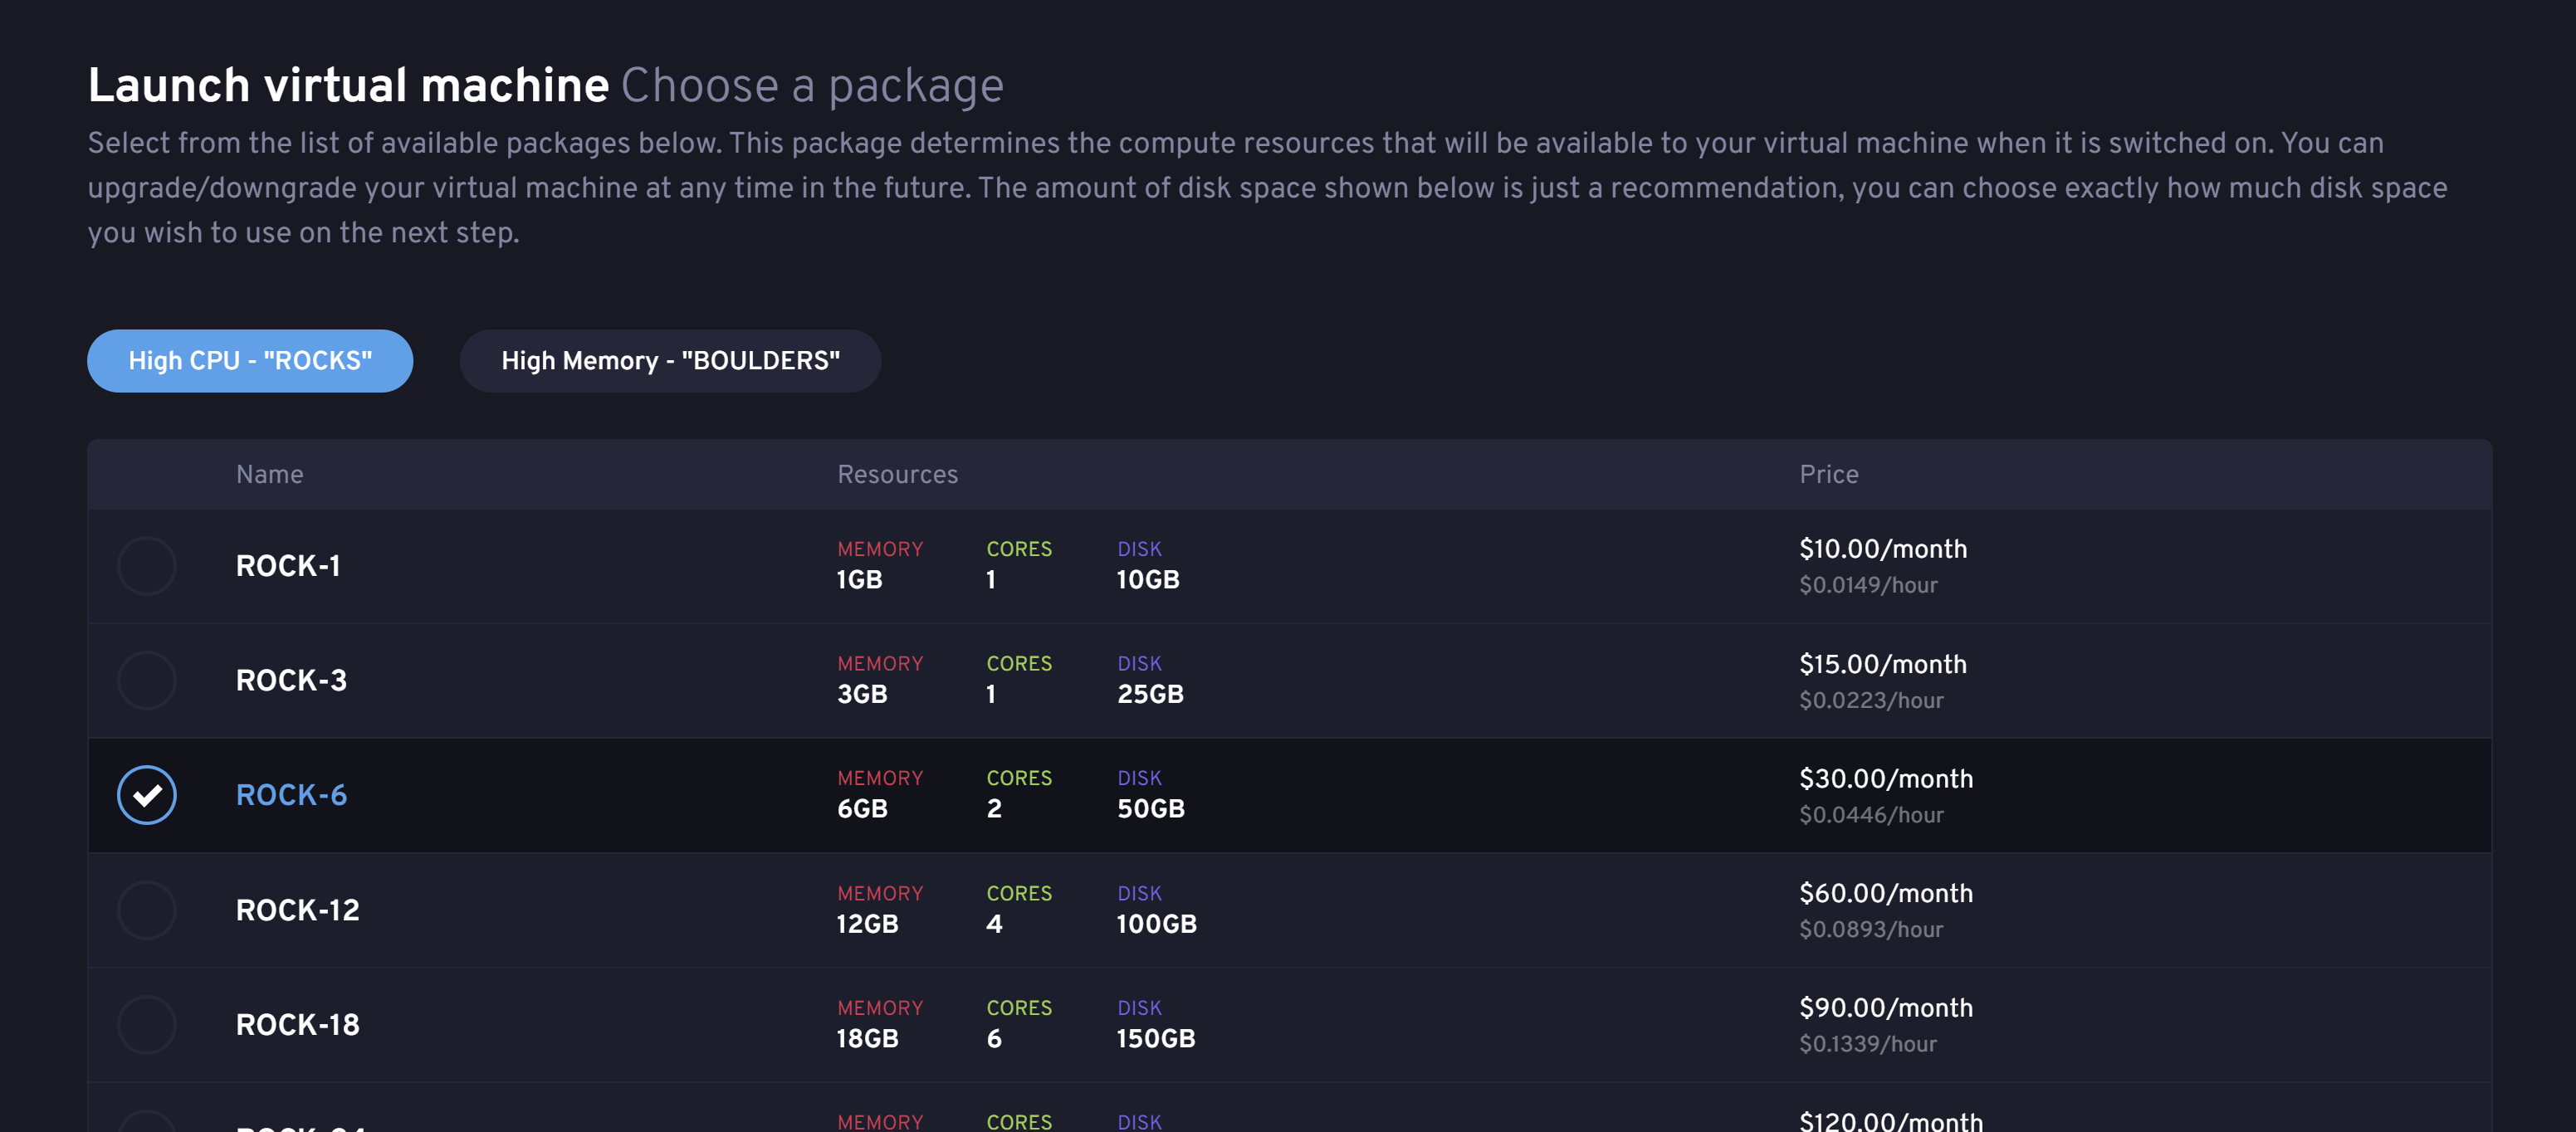
3. Choose Your Server Type
Now, you can choose the server specs that you want to use. You’ll likely want to go with the “High CPU – Rocks” option for most projects:
Scroll down to the bottom and click the “Continue” button to confirm your choice:

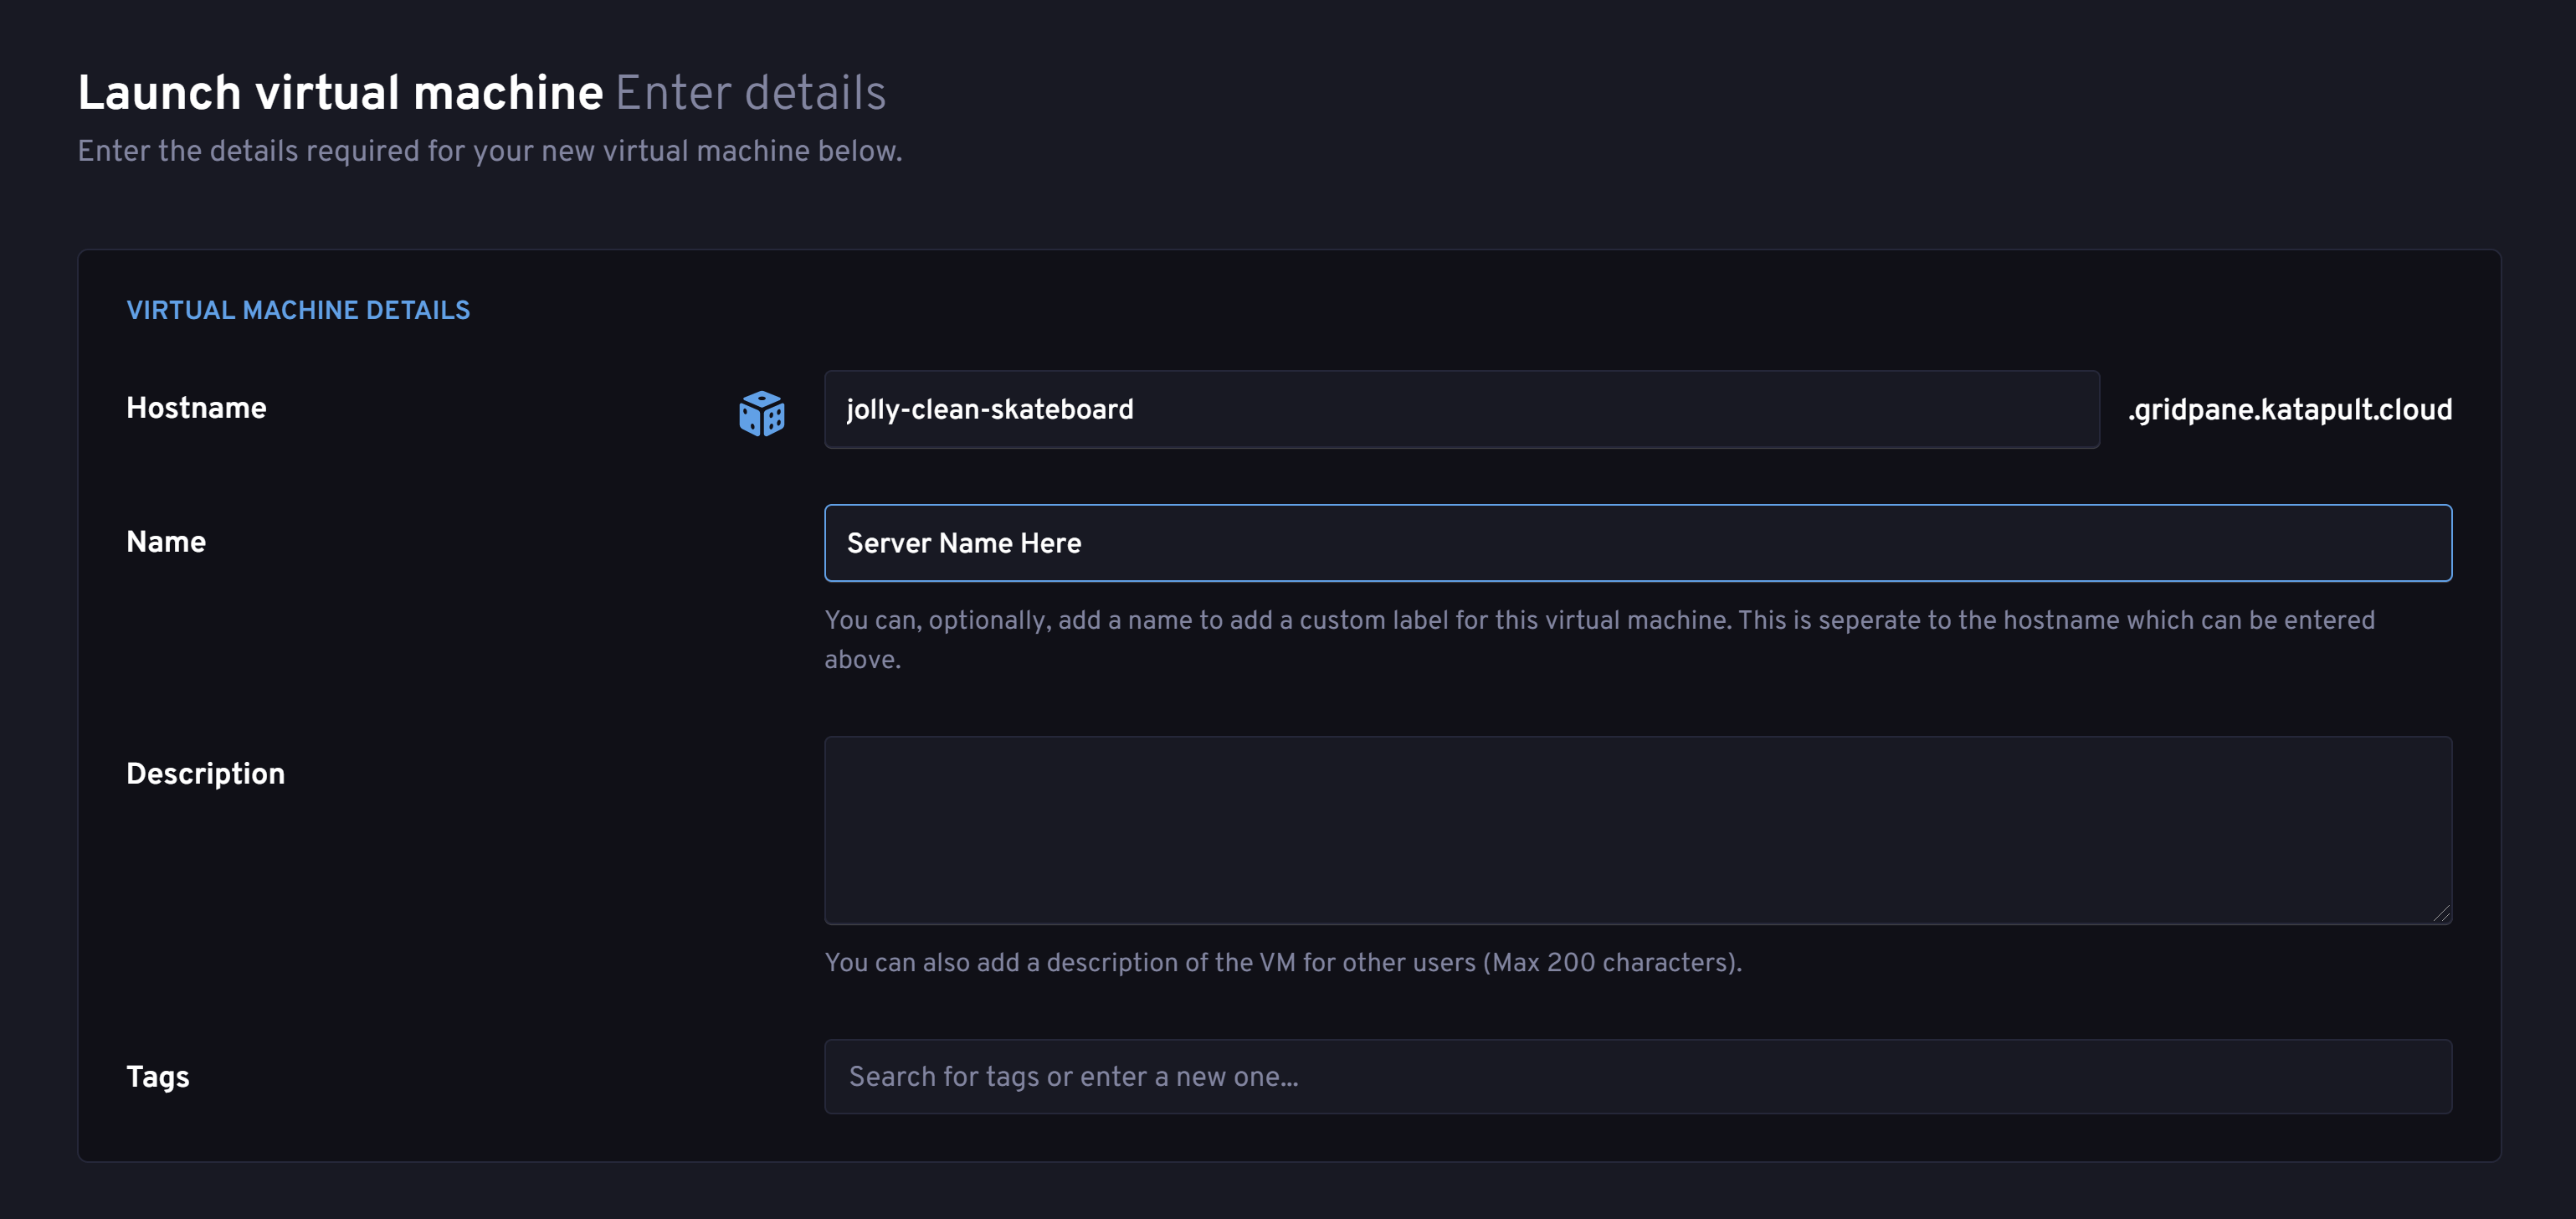
4. Give it a Name
Next, give your server an easy-to-identify name and hostname. You can also add a description and tags if it makes sense to do so:
5. Disk Space
Below the naming options, there are 3 additional tabs. The first is disk space, and if you’d like to add additional disk space to the server configuration you’ve chosen, you can do so here:

6. Password and Keyboard Layout
The next tab is called Advanced Options, and here you can set the root password (or leave it blank and have Katapult auto-generate it) and choose your keyboard layout.
Neither of these particularly matter, and nor does the SSH Key tab below, as all we need to do is connect to the server and run the GridPane provisioning script, and our scripts will then lock the server down and, if set in your account, add your SSH keys to the server for you.
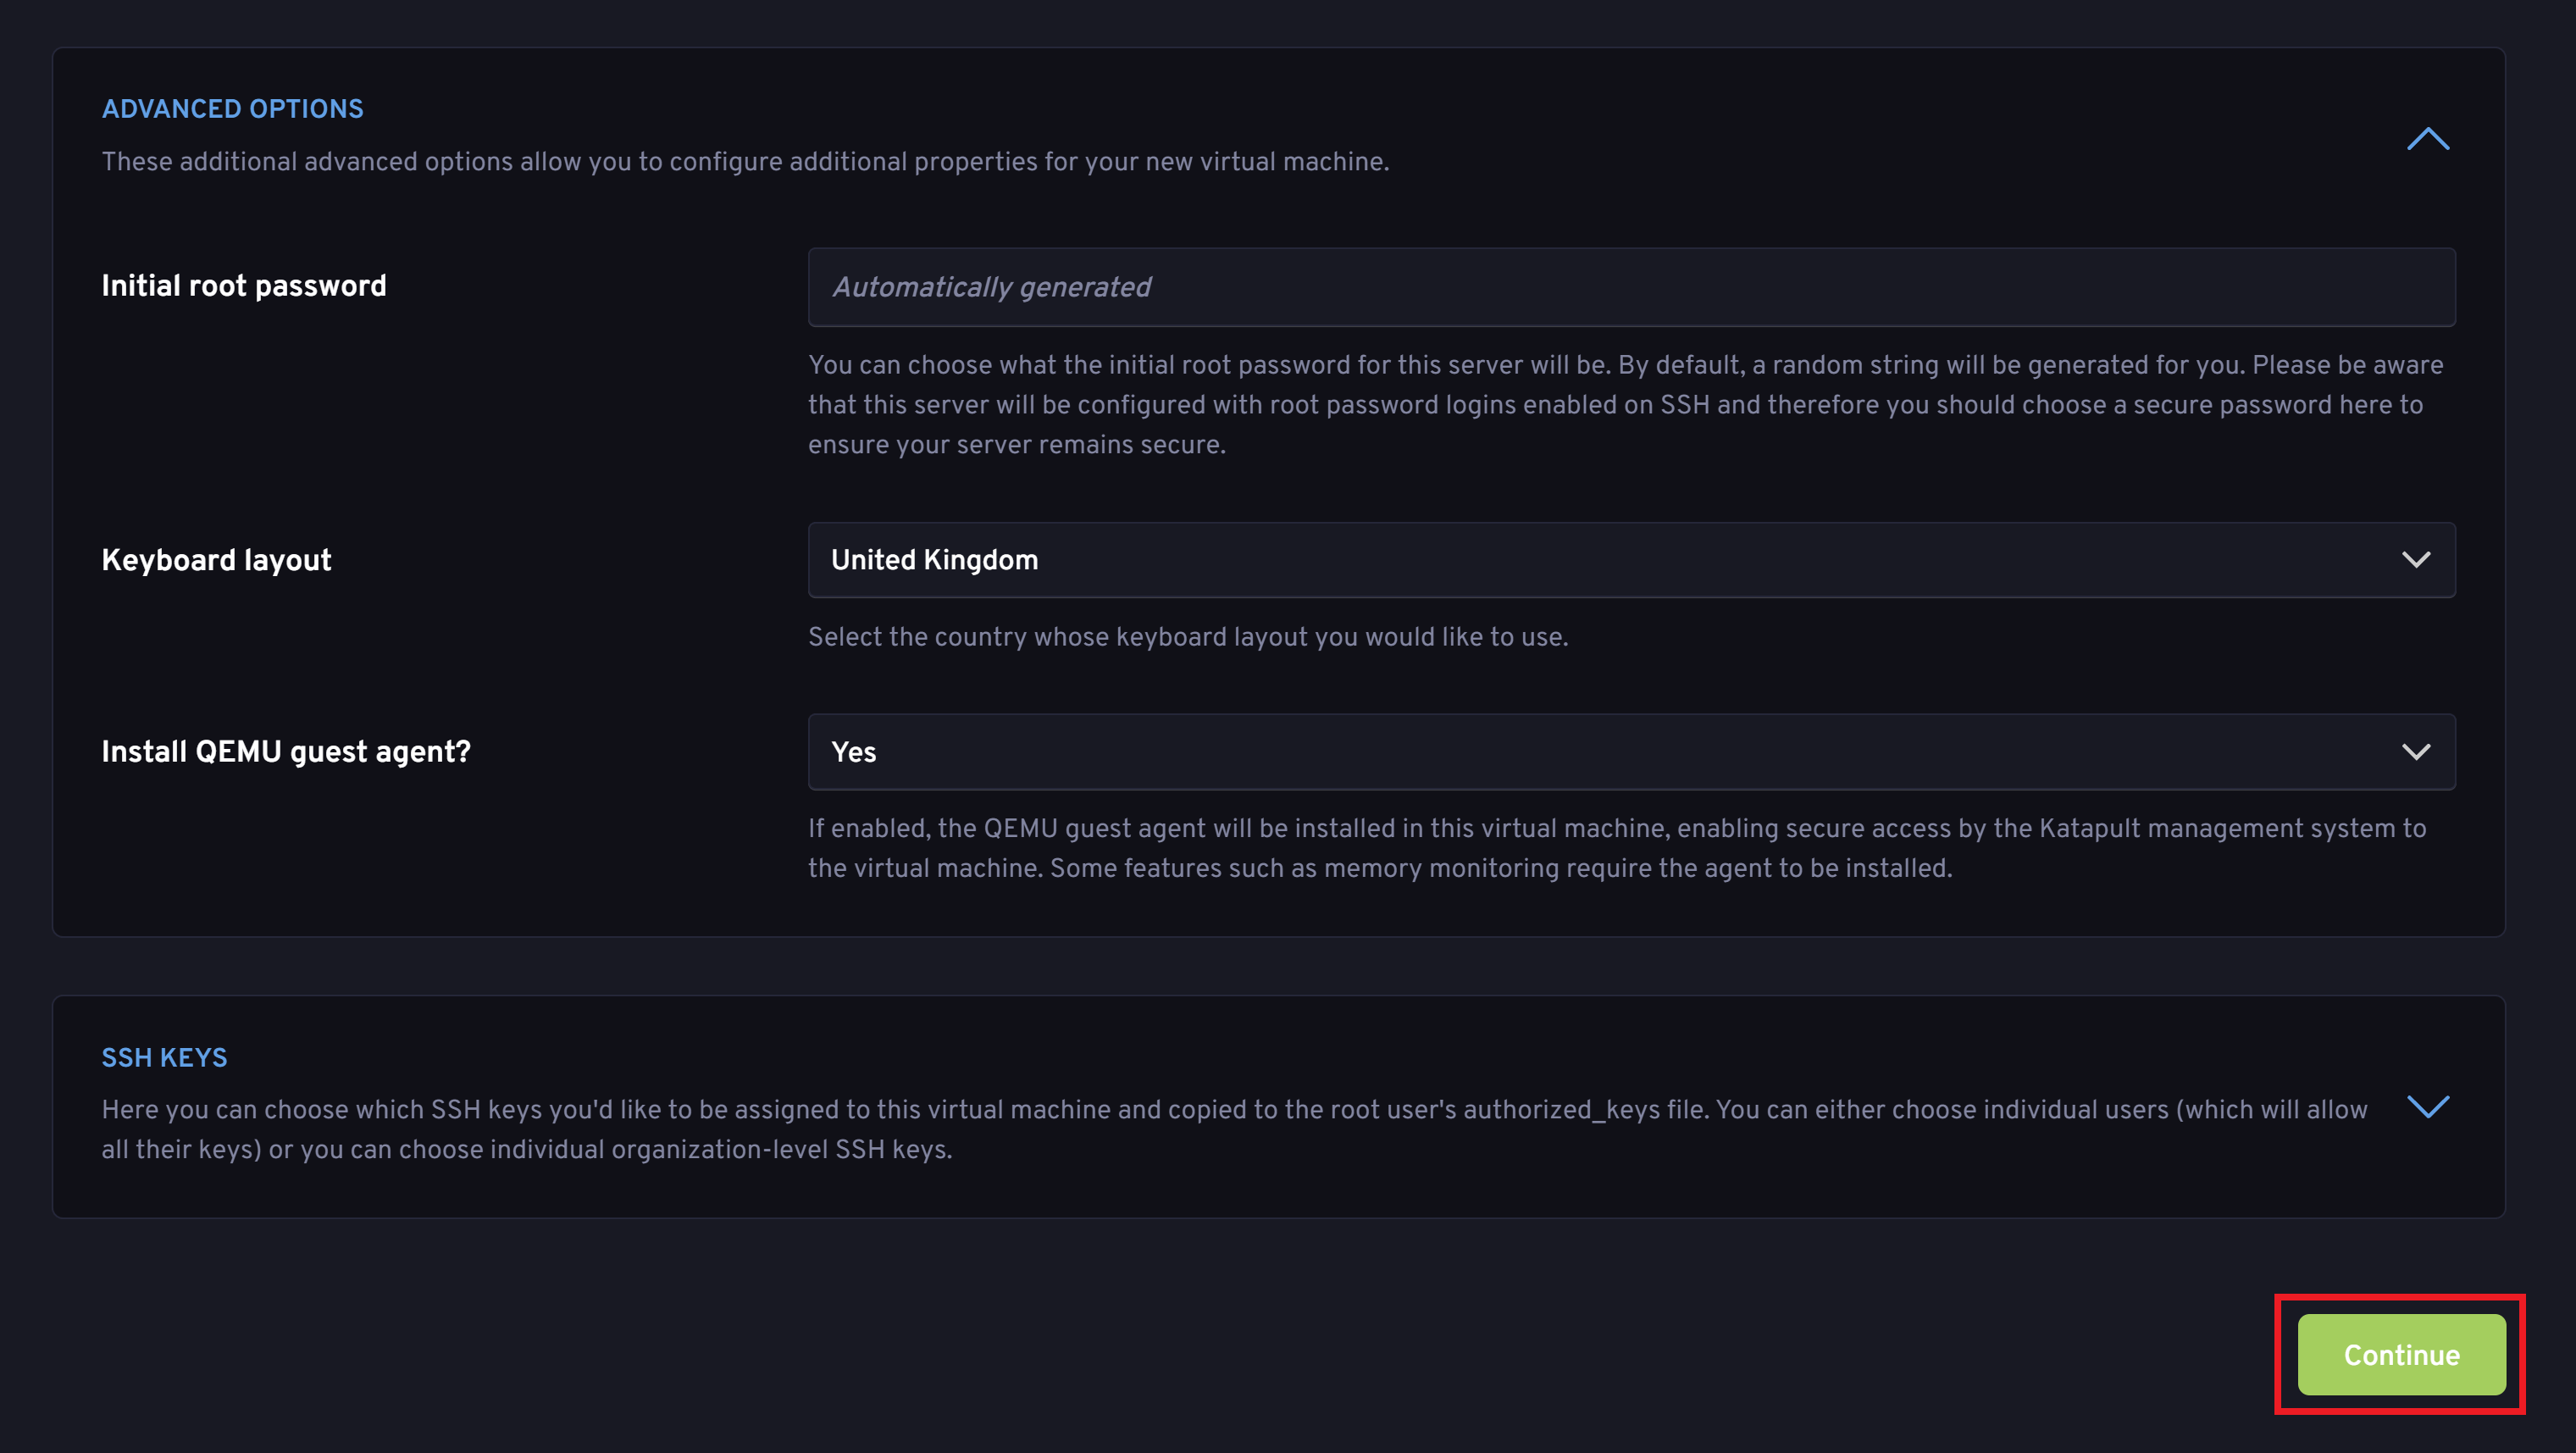
Now click the “Continue” button at the bottom to create the server.
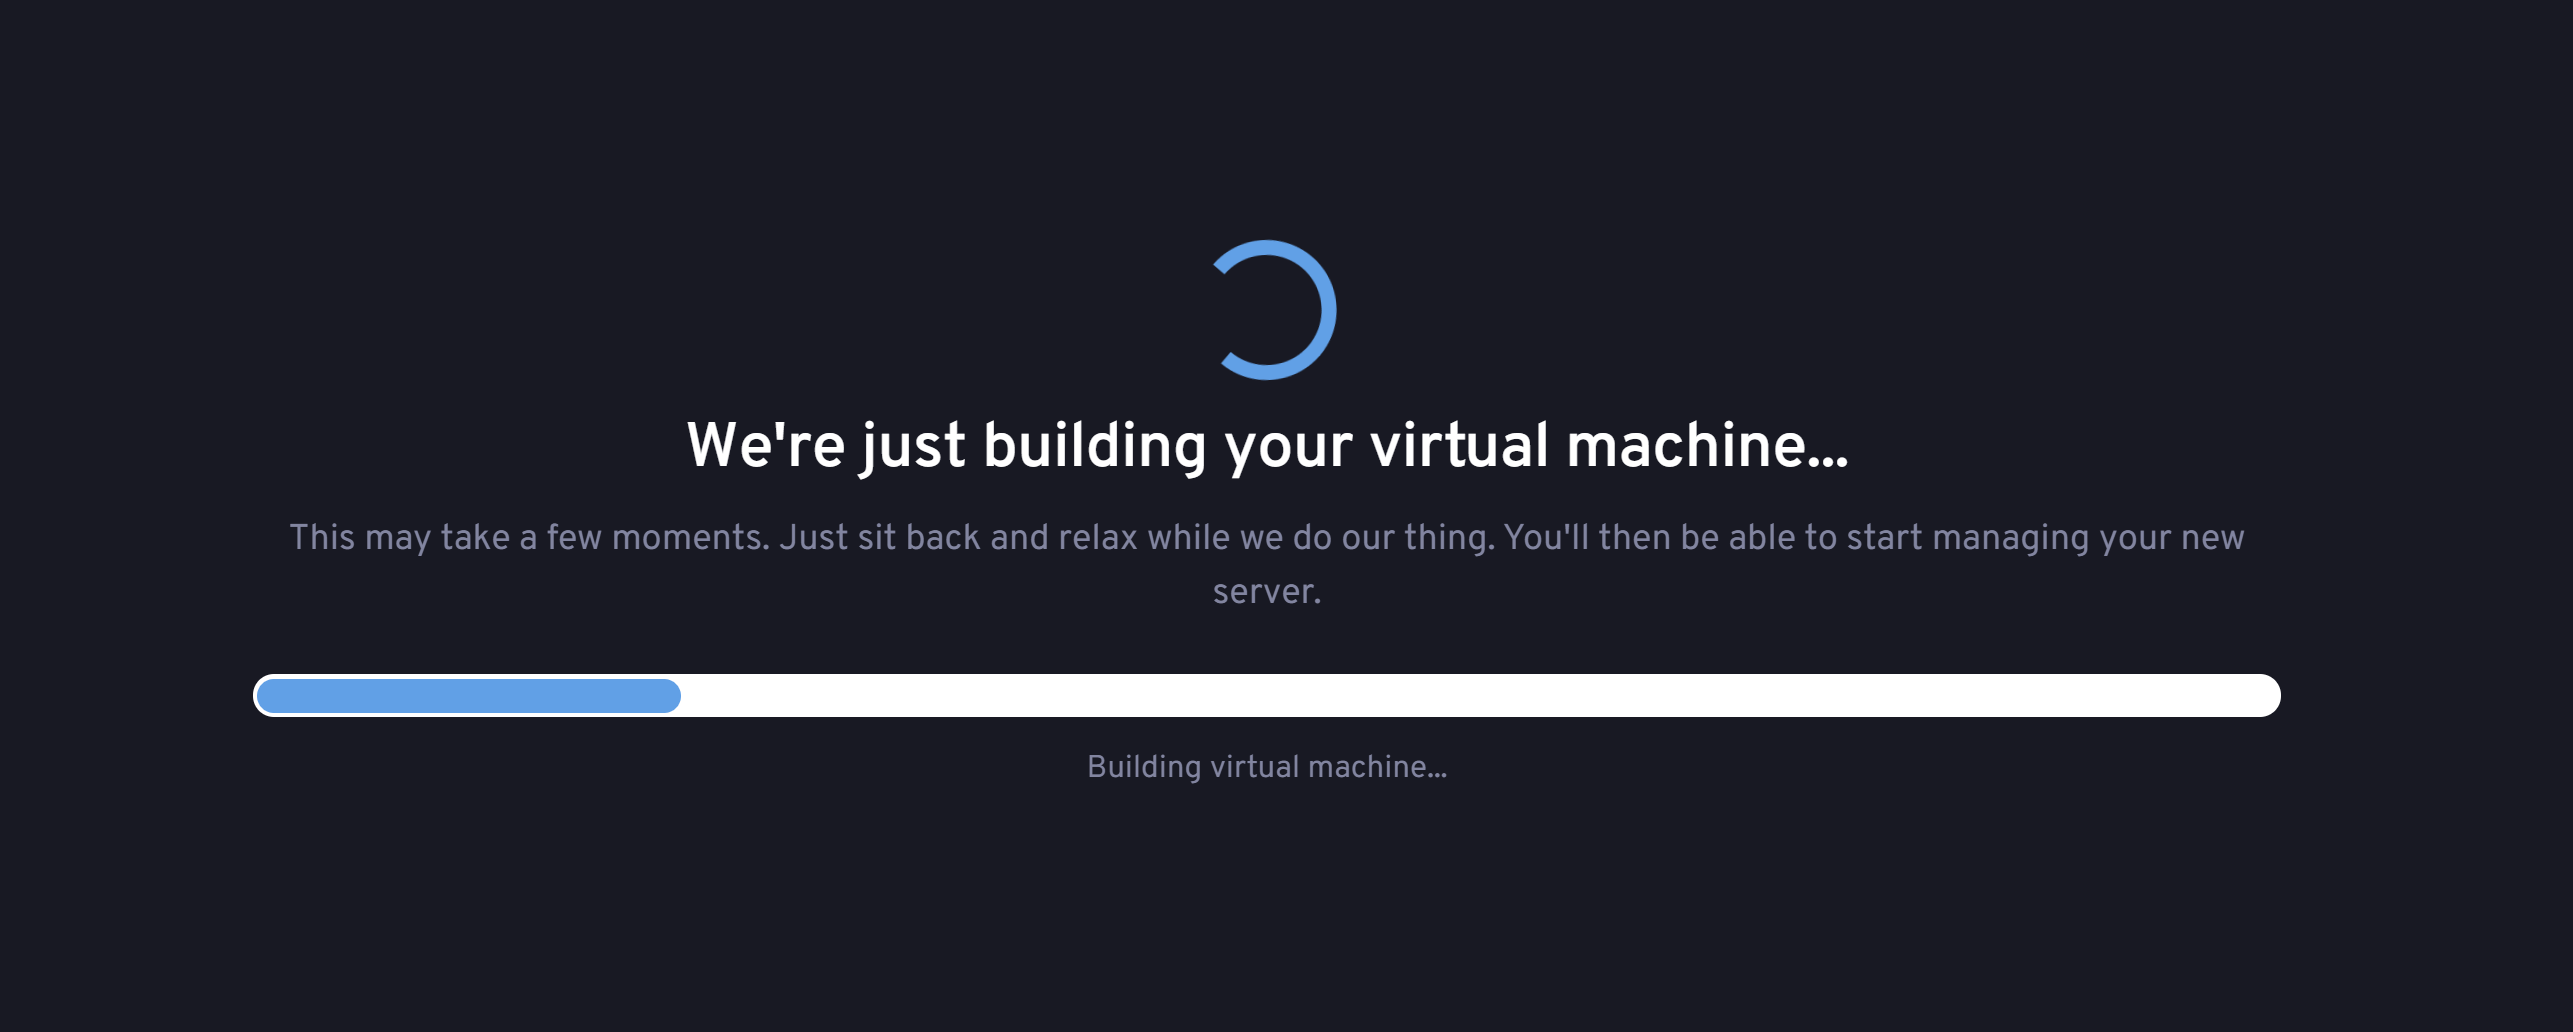
Your Server Will Now be Created
Once you click Continue, the server will immediately begin to build:
And it’s pretty speedy!
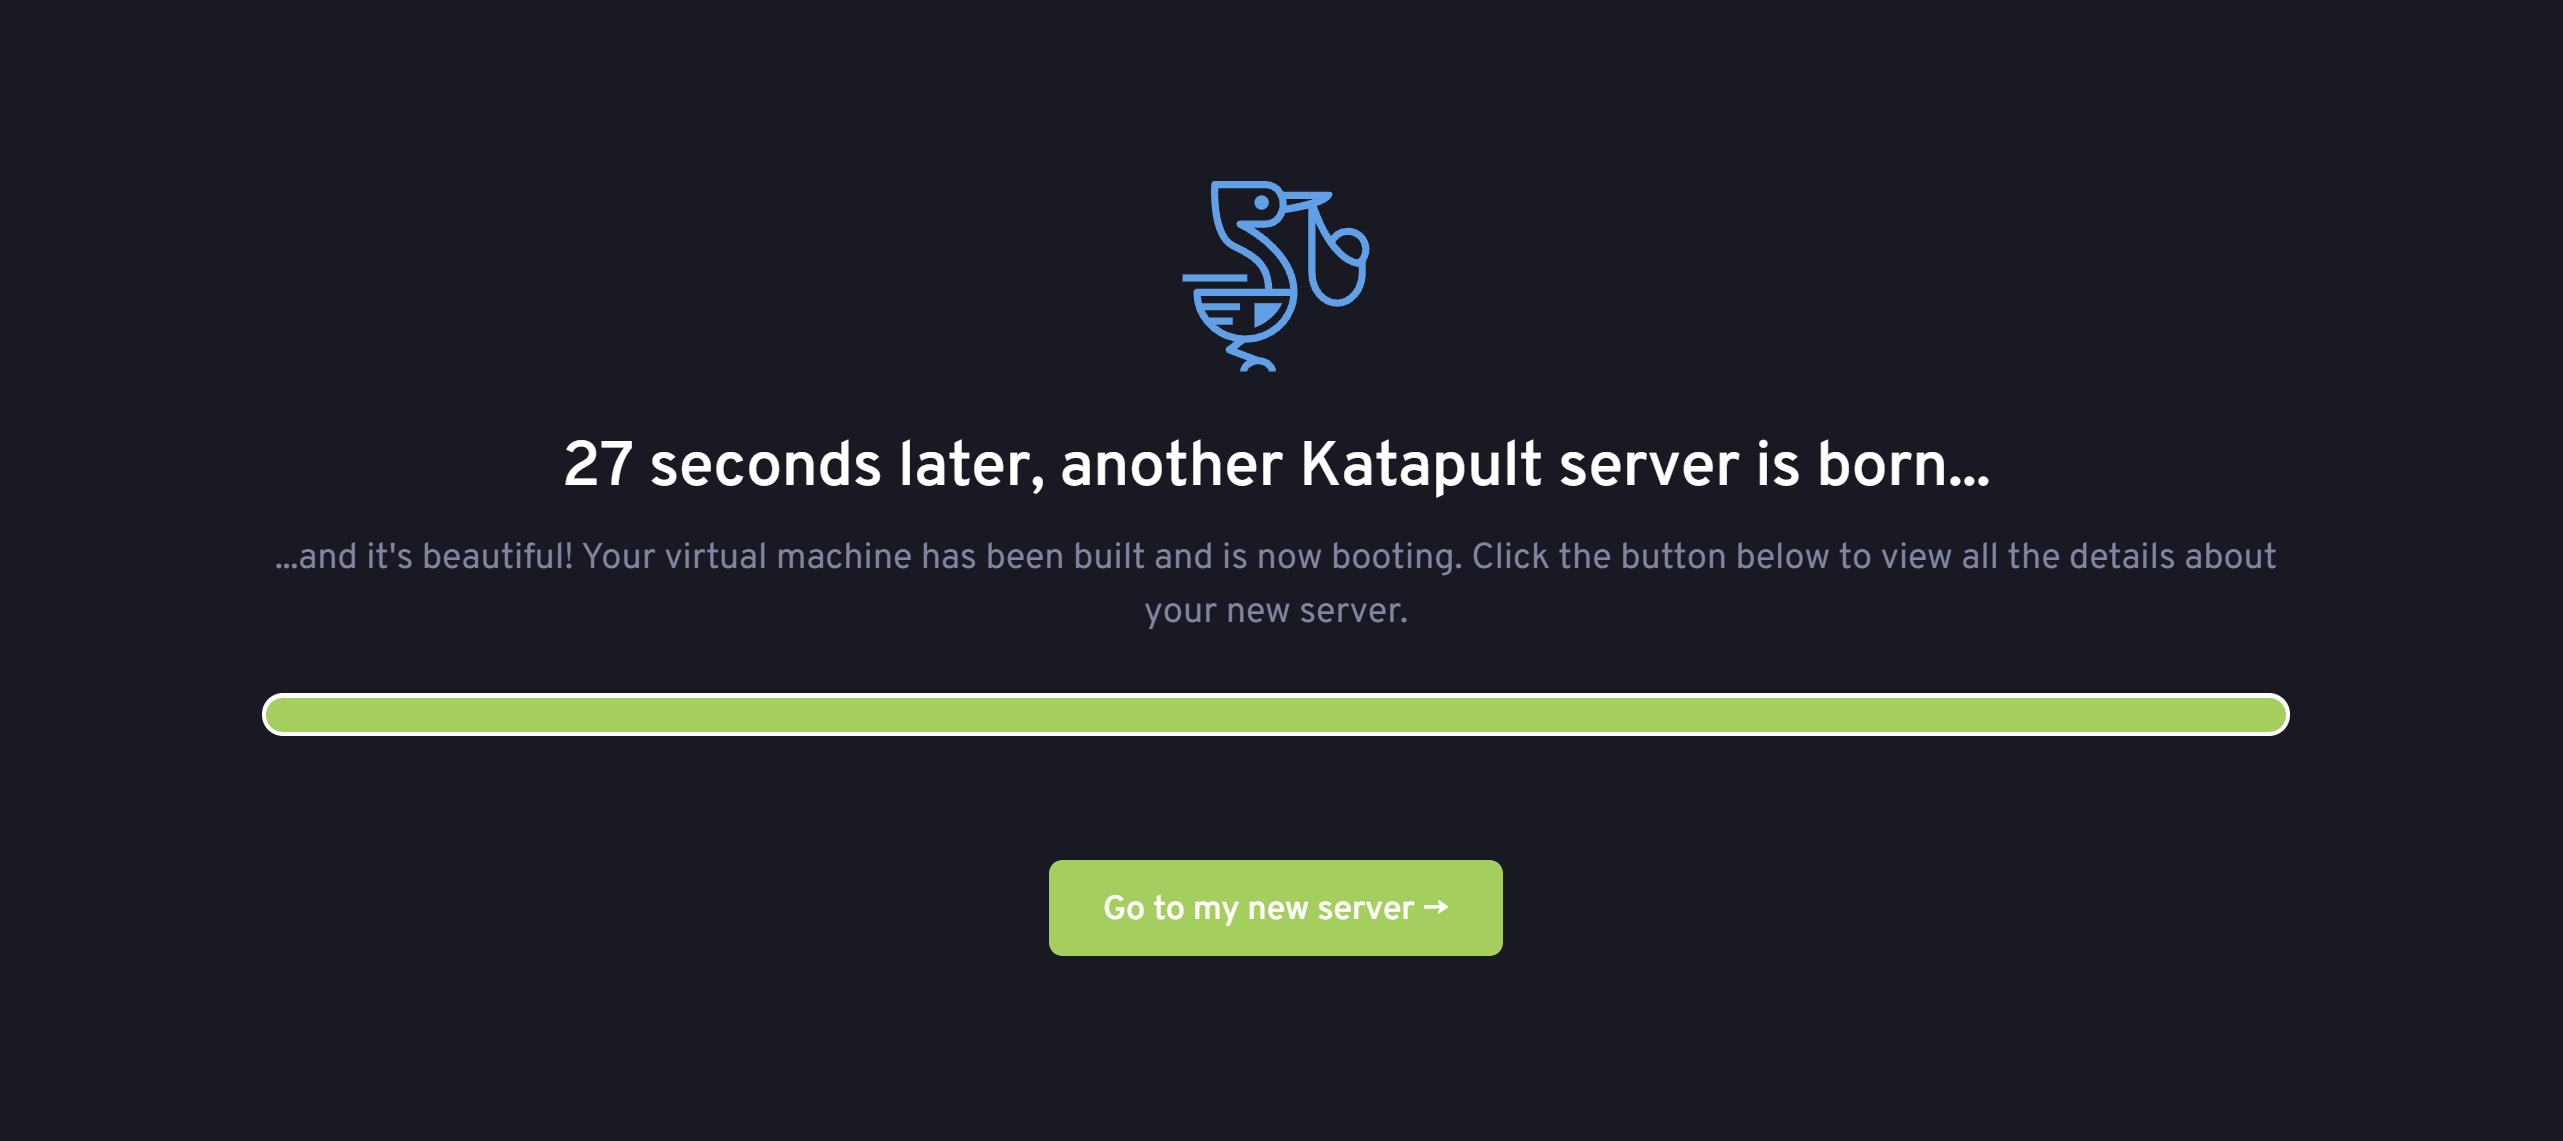
Click the “Go to my new server →” button to go to your server configuration page.
Step 3. Copy Your Server IP Address
Inside the server’s configuration page, you’ll see your server’s IP address. Click the copy button as we need it for the next step.
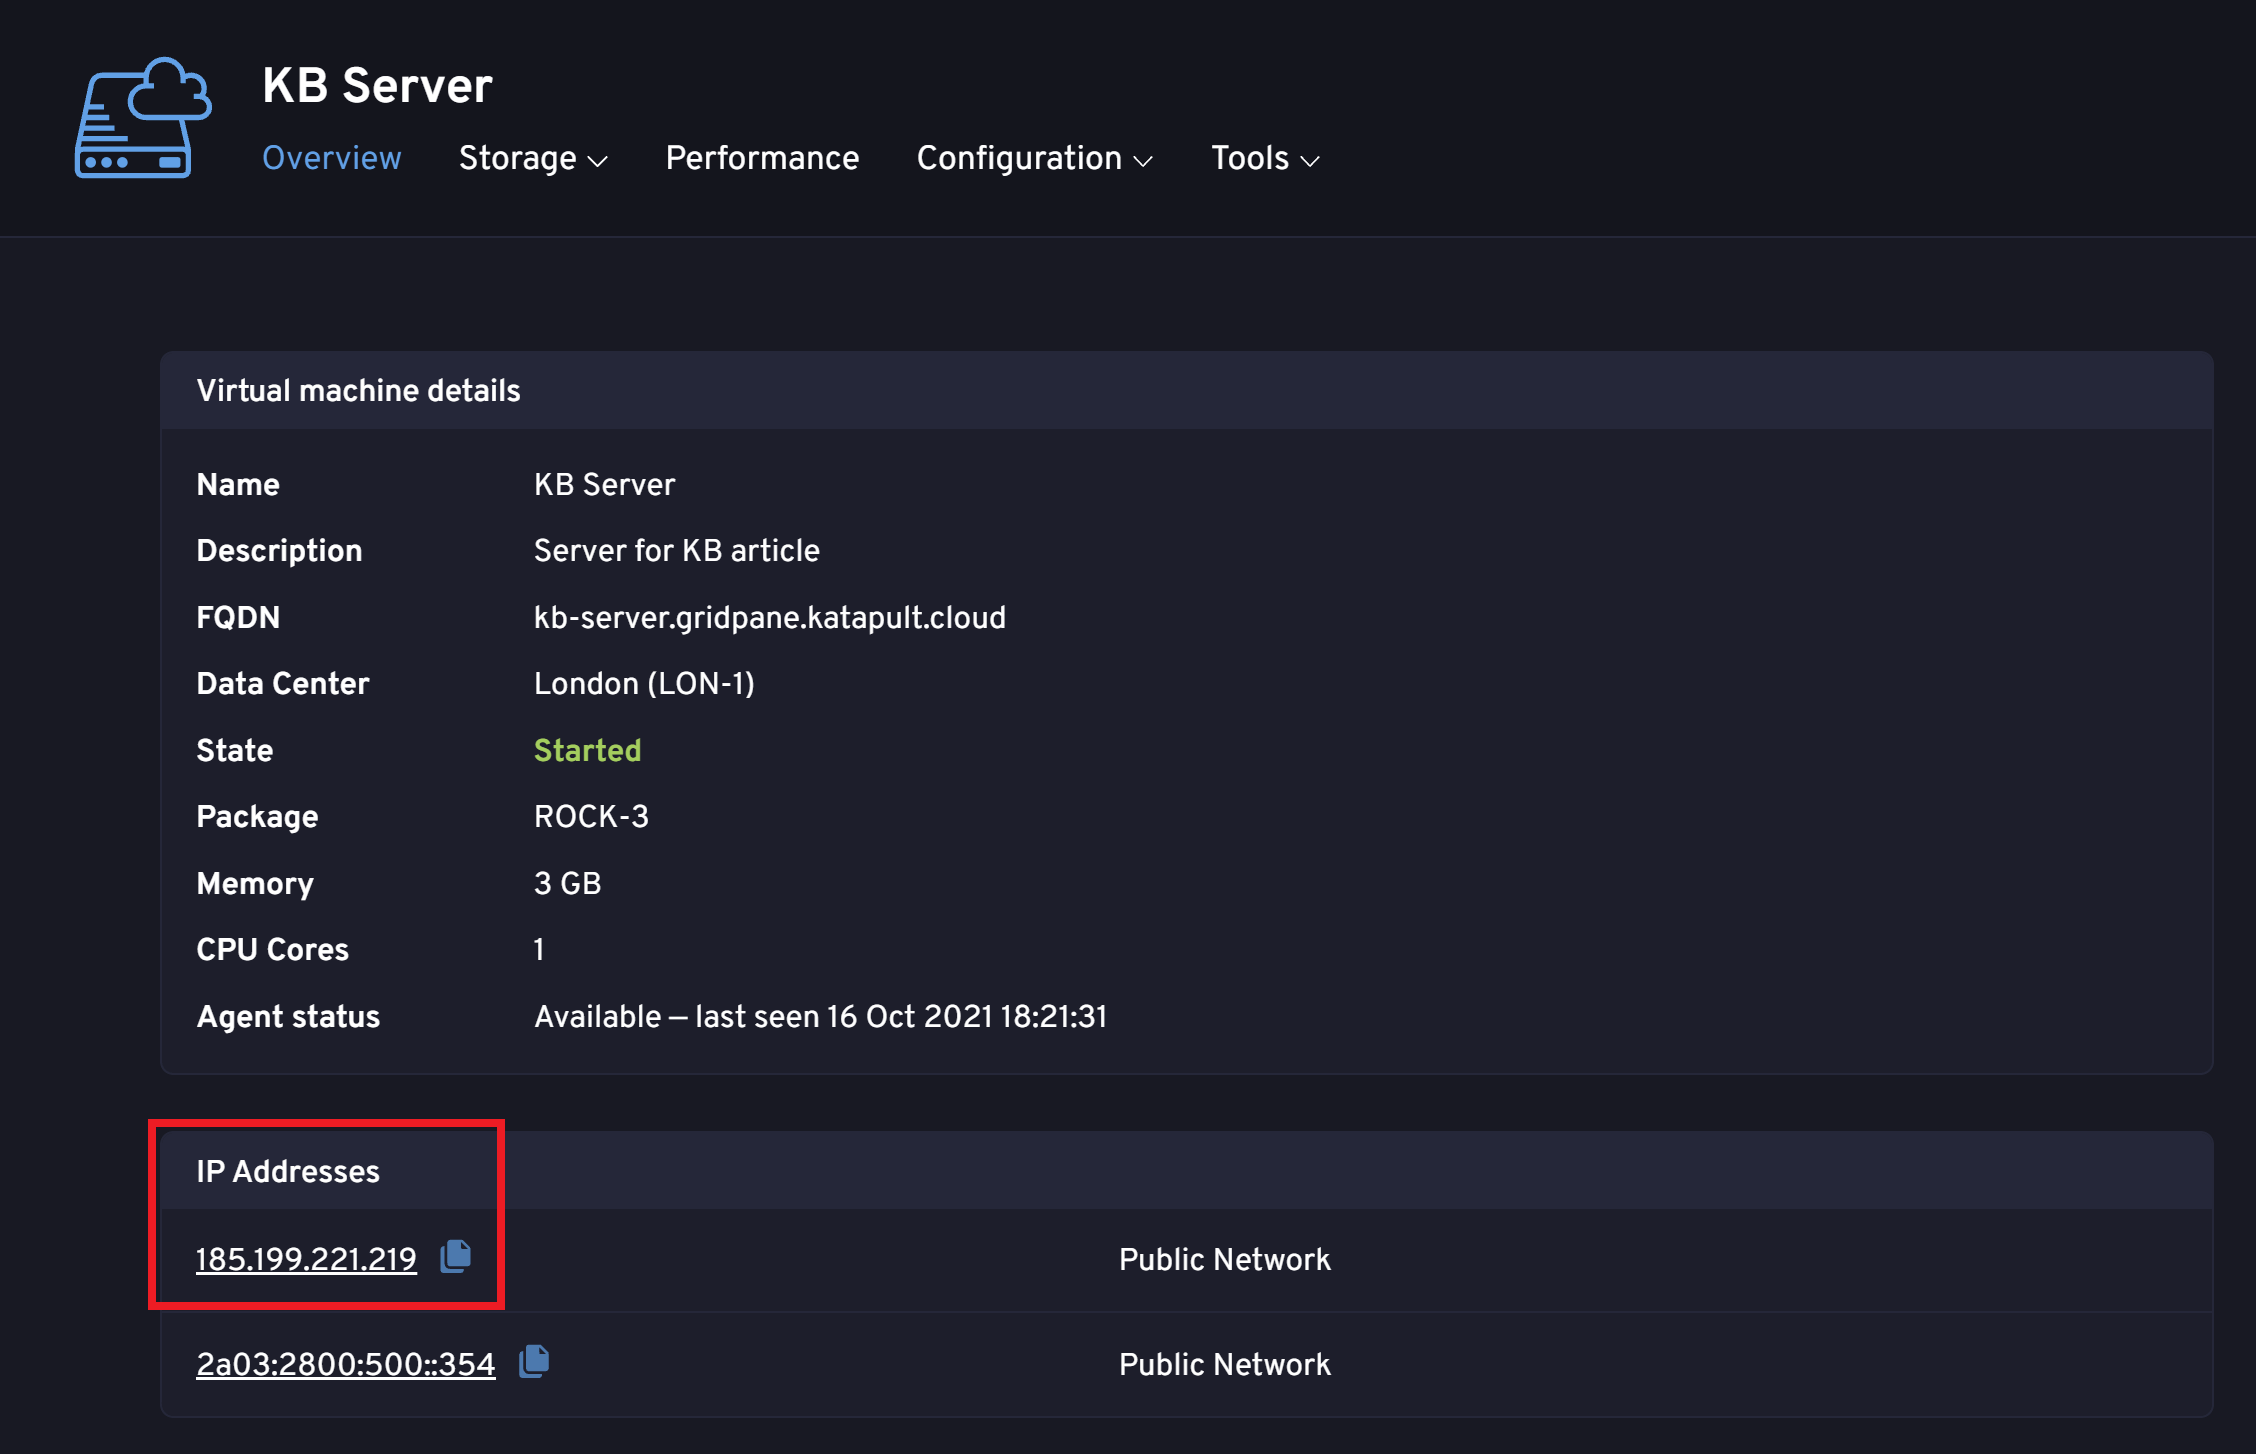
We’ll come back to this page shortly.
Step 4. Create Your Server Provisioning Code
Back in your GridPane dashboard, navigate to your Servers page and click on Custom VPS:
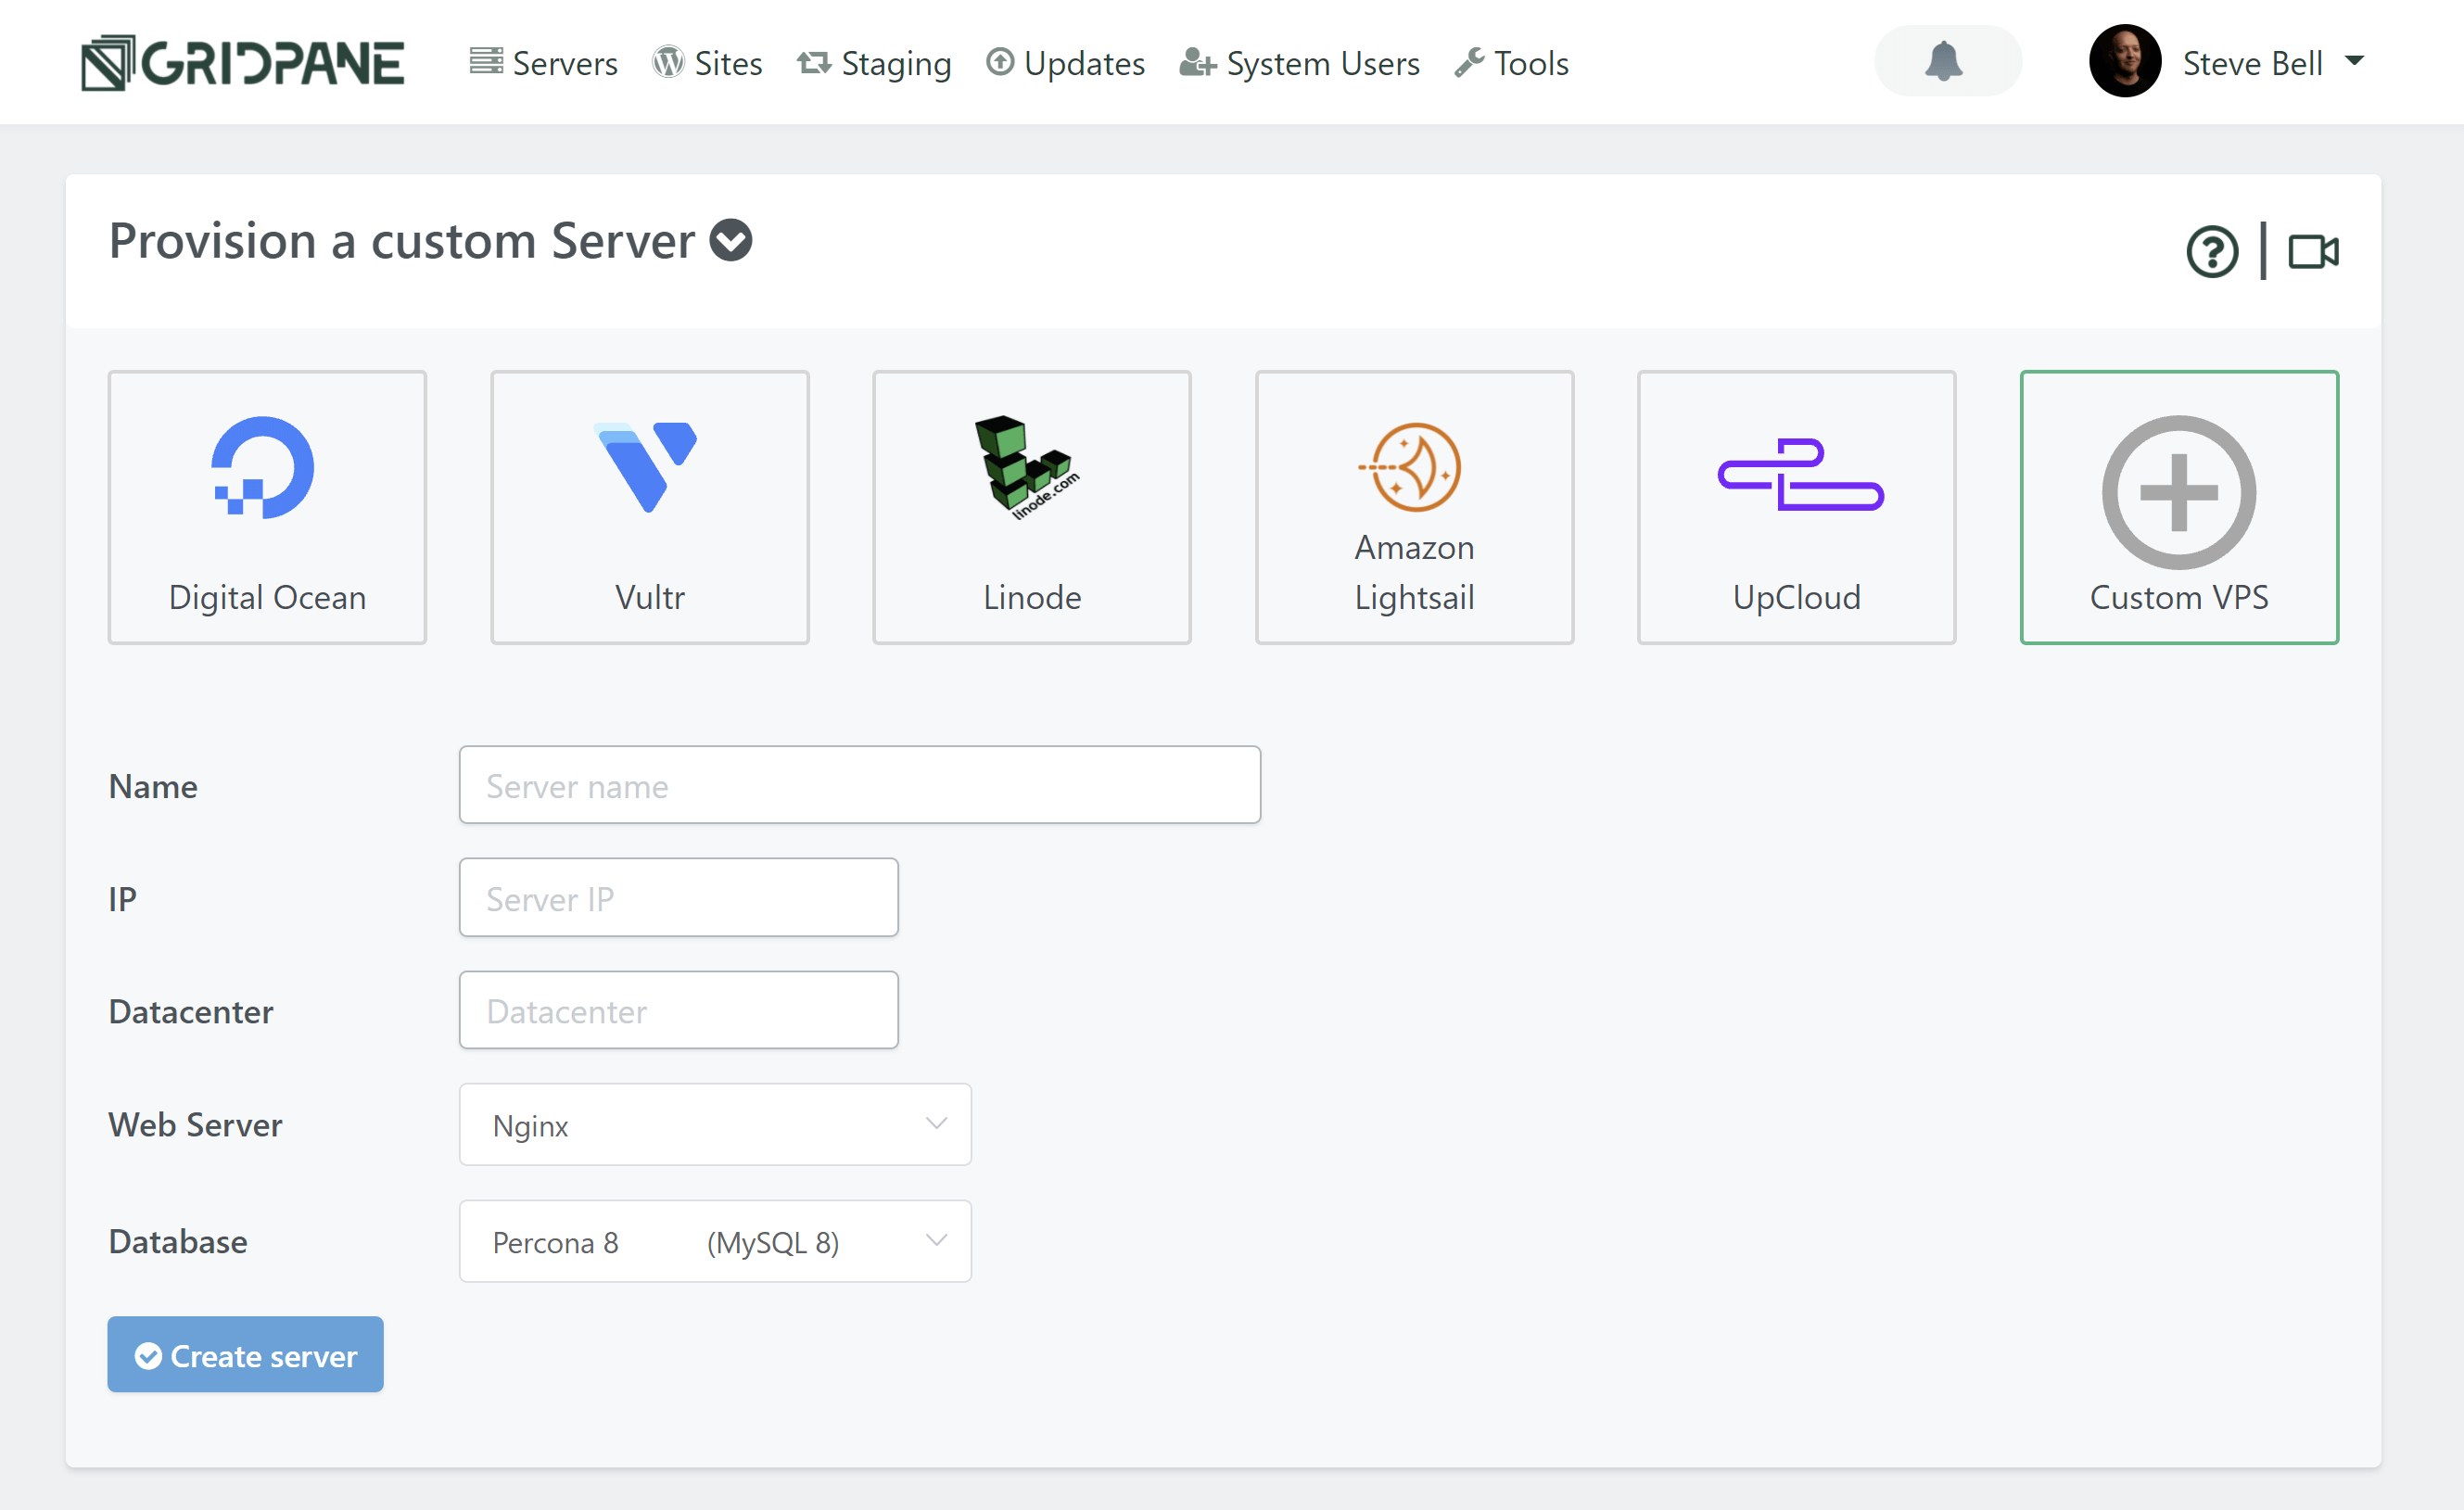
Configure Your Server
Enter the name, server IP address, and the data center name you wish to use.
Note: The data center name is for your reference only, so feel free to give it a name that makes the most sense for you. As this example’s server is in London, we’ll go ahead and enter this.
Once you click Create Server, a popup modal will contain your root password and a command-line string. Copy that string and paste it into a text document – you’ll need it in a moment.
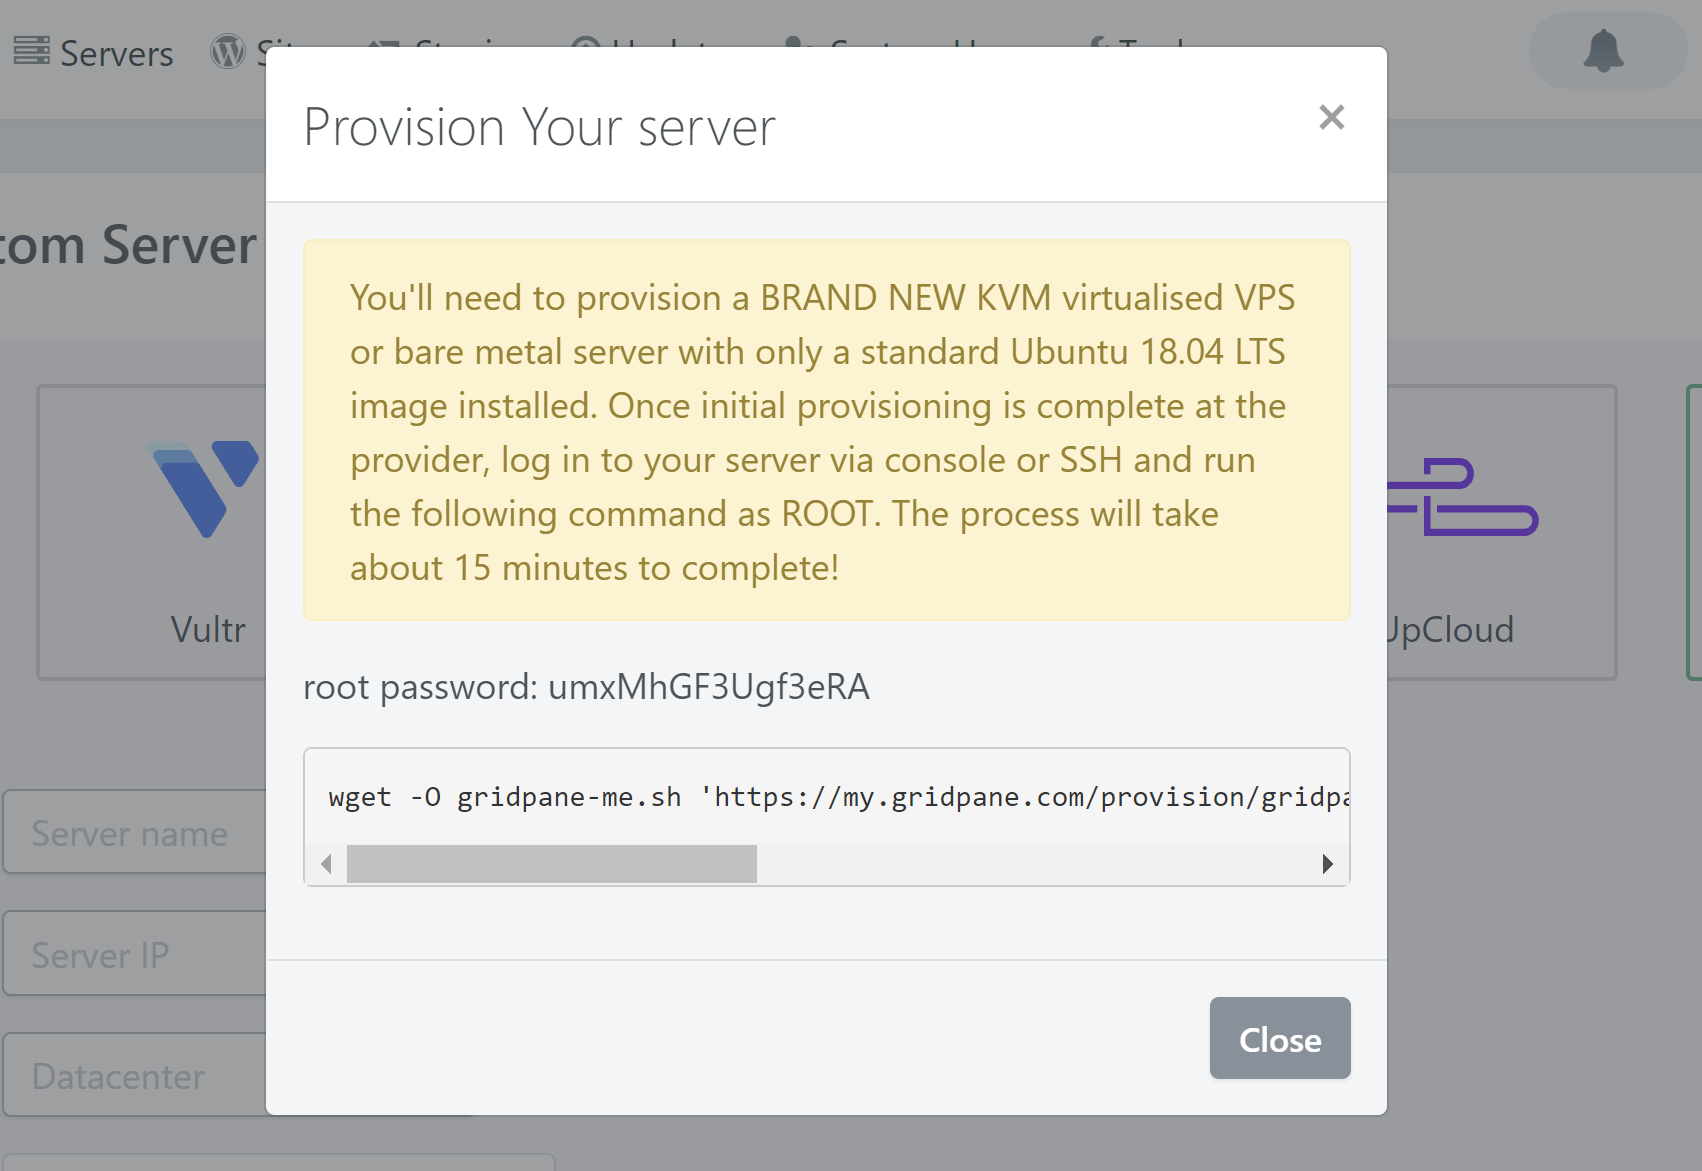
Step 5. Run Your Provisioning Code
Head back to your server configuration page inside your Katapult account.
If you haven’t already, paste the string from the last step into a text document.
Open Up the Server Console
Now, copy your root password, and then under Actions on the right-hand side, click “Access Console” to open up your server’s console:
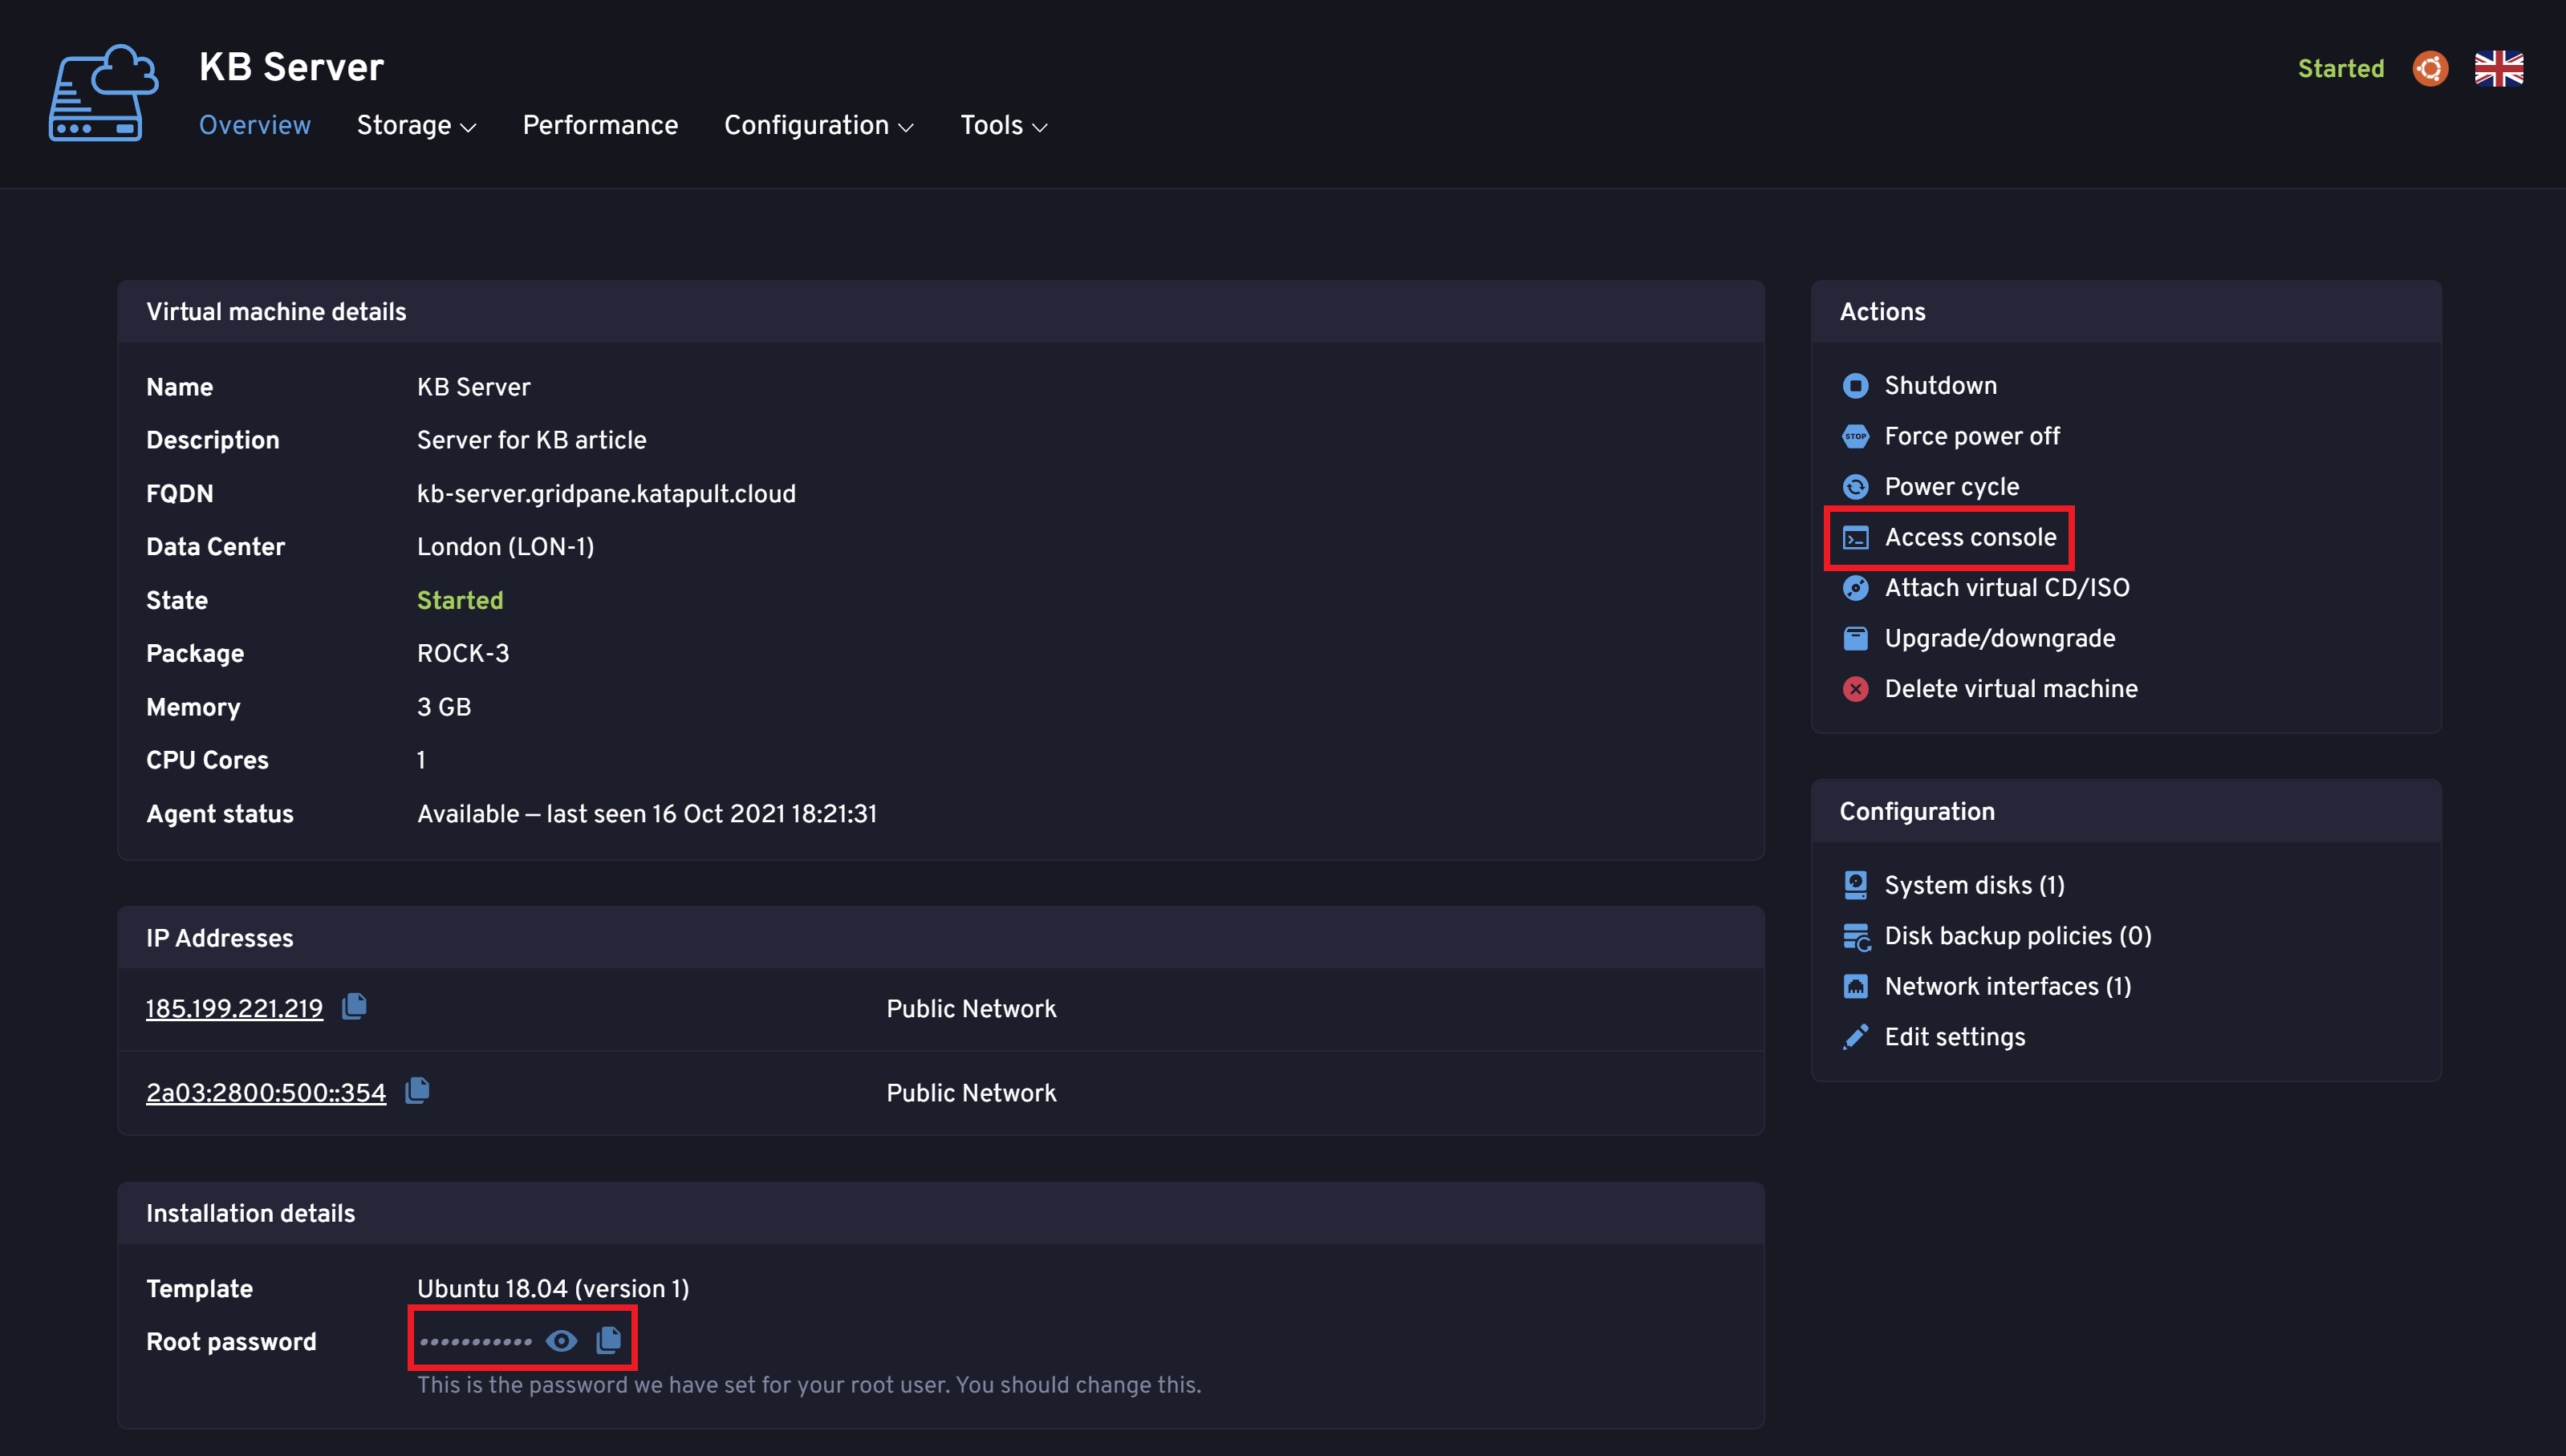
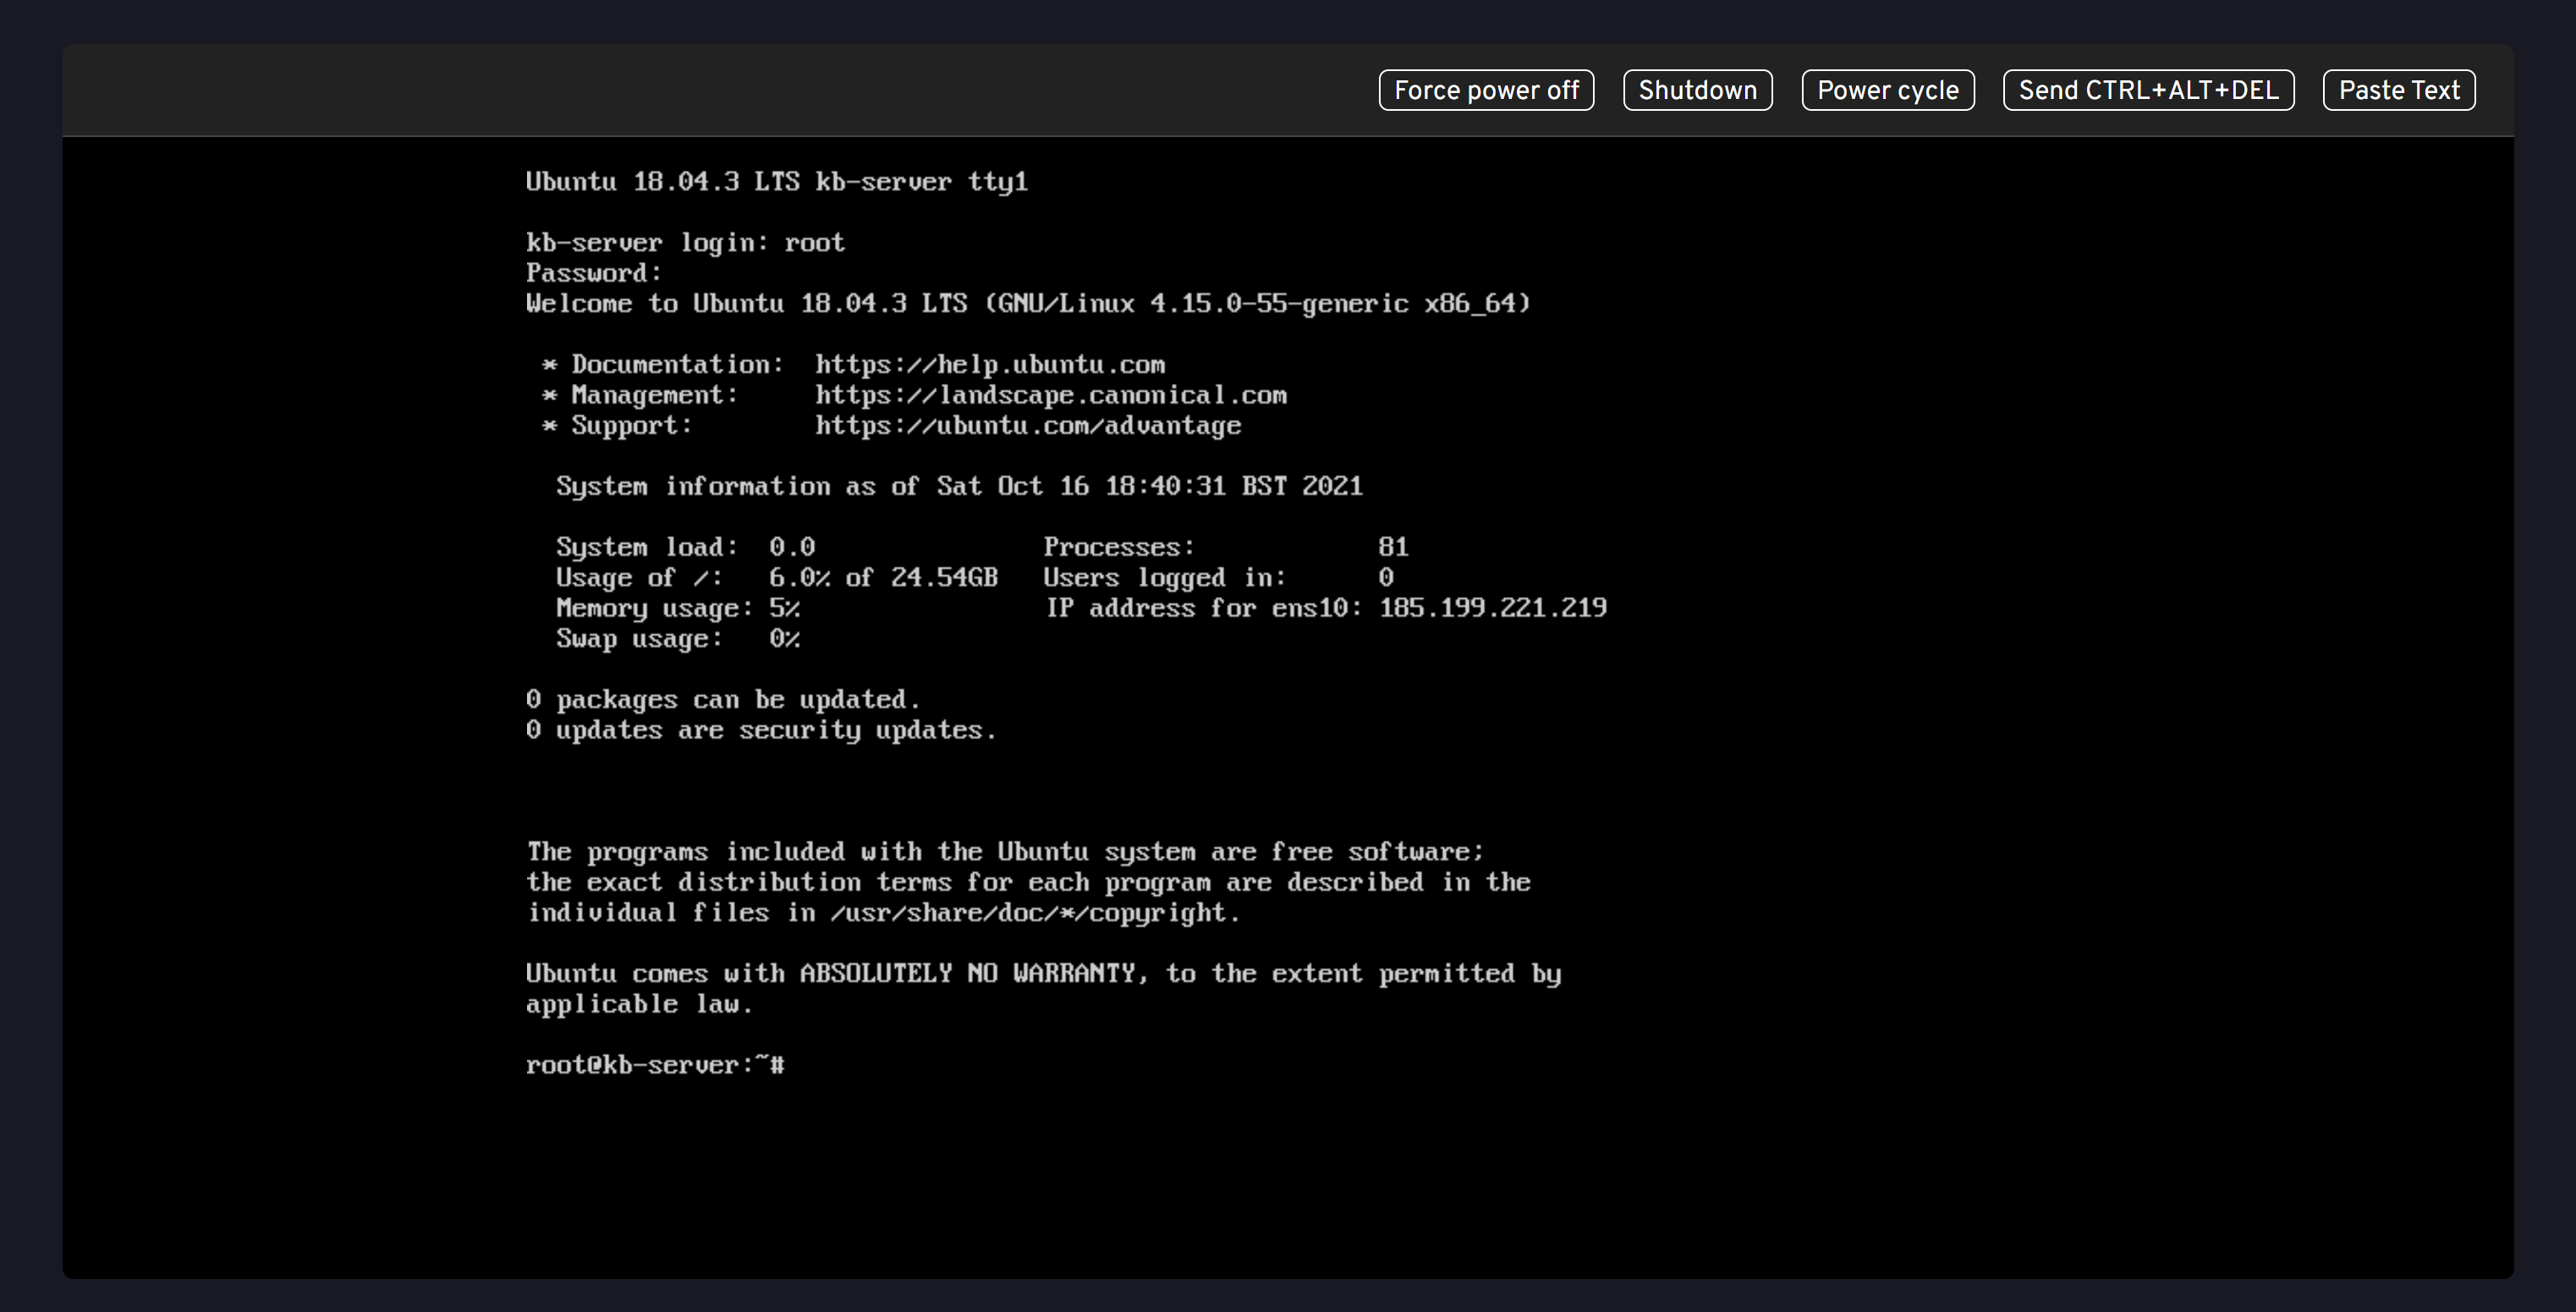
Log in as Root
Log in as the root user using the password you have just copied:
Paste Your Provisioning Code
Now, inside your server, paste your provisioning code and hit Enter. Our script will then begin to run and provision your server.
The script will run for a few minutes and then end with the following:
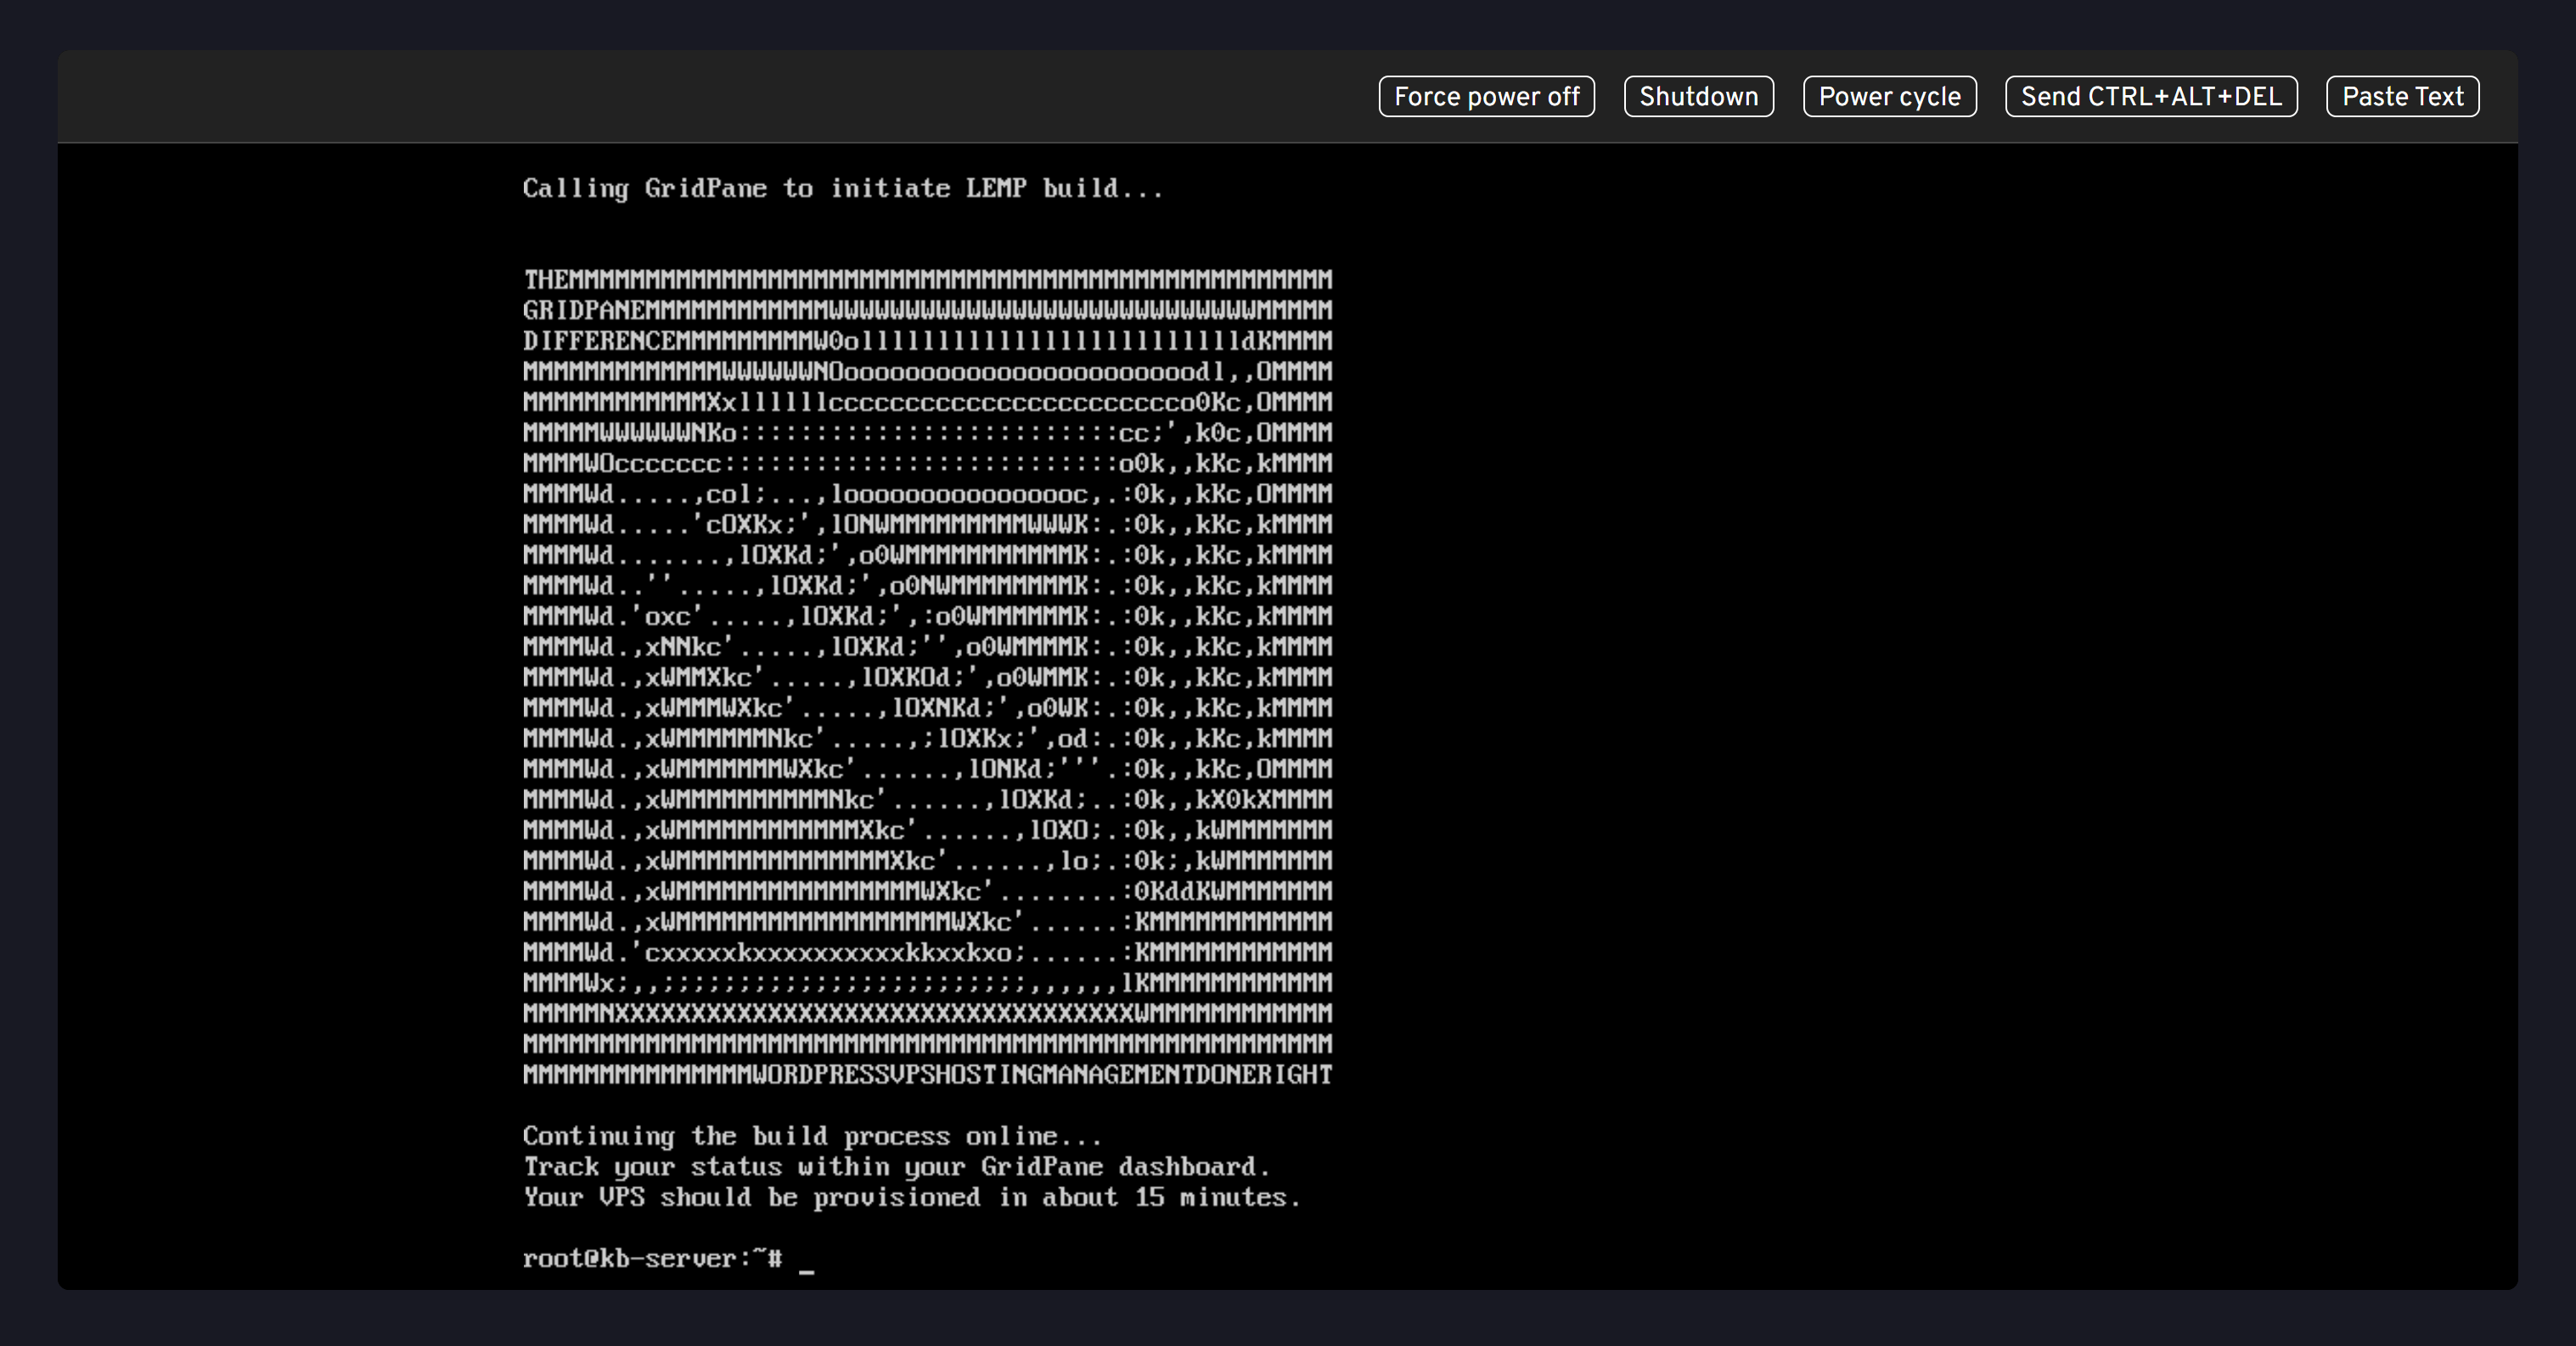
At this point, you can close the console, and the rest of the process will take around 10 minutes. You can track this inside your GridPane account.
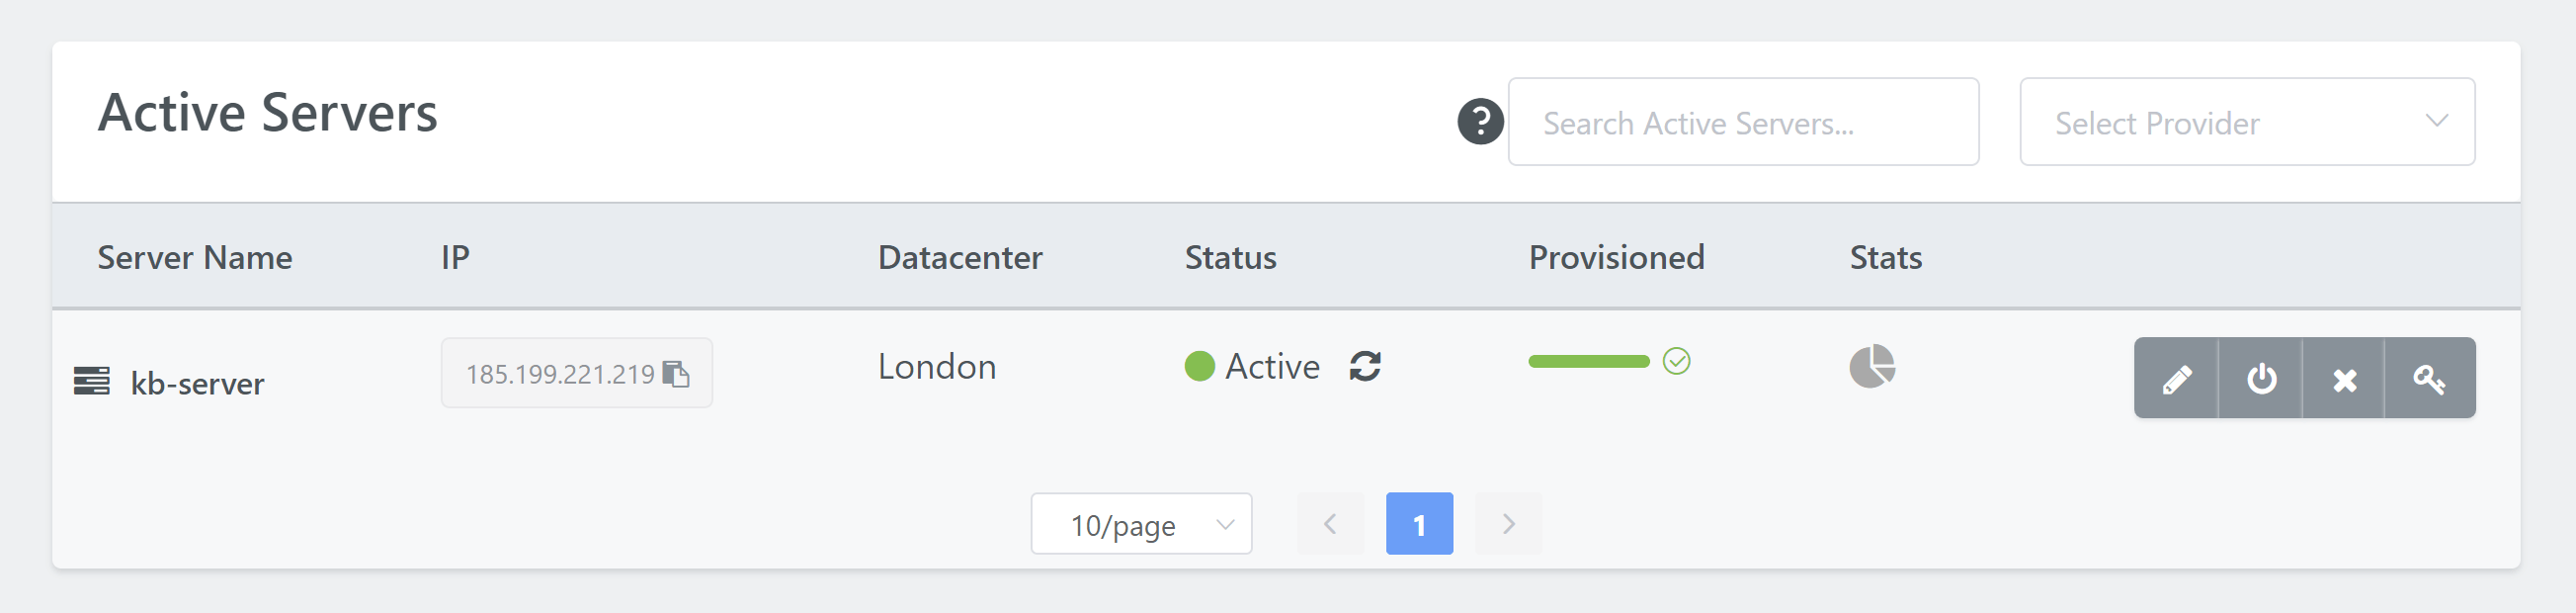
Step 6. Wait for Approx 10 Minutes
You can monitor the rest of your server’s provisioning progress inside the Servers page of your account. Approximately 10 minutes later, it will be ready to use inside your GridPane account.
Congratulations! Next Steps
Now that your server is live, you’re ready to start creating and configuring new WordPress websites.
To deploy a site, click on the Sites link in the GridPane main menu to begin the process. We have a separate article that details the steps in detail for you.
