Enabling WordPress Multisite on GridPane is a quick and painless process. There’s no need to open and edit your wp-config.php file, all you need to do is click a toggle.
This article will walk you through how to find it and give you a little information on which multisite option (subdomain or sub-directory) may be the right one for your website.
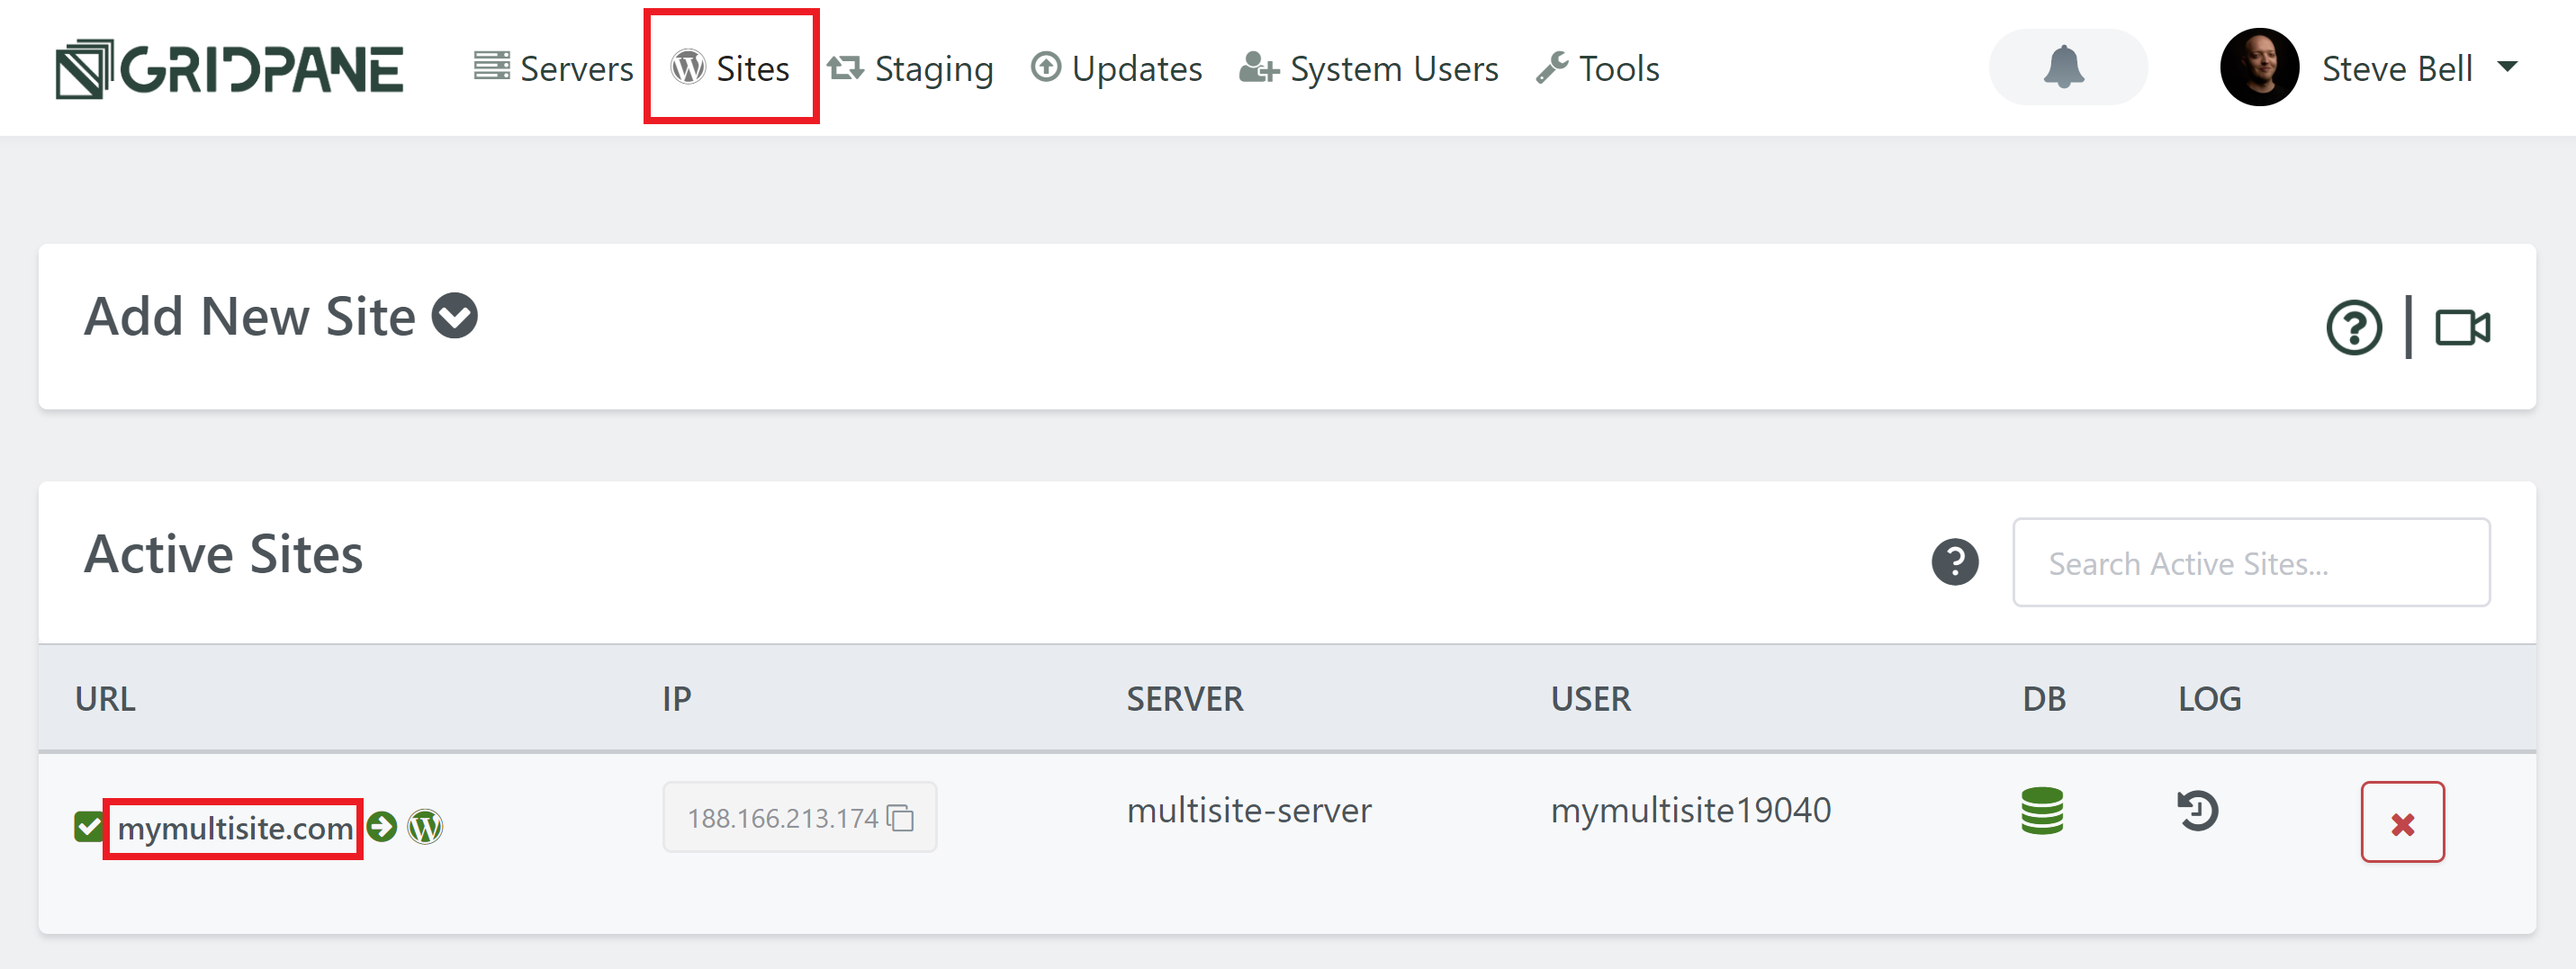
Step 1. Open your website’s configuration modal
Head over to the Sites page inside your GridPane account and click on the domain name you wish to turn into a multisite network:
This will open your website’s configuration modal, and here click on the “Multisite Settings” tab.
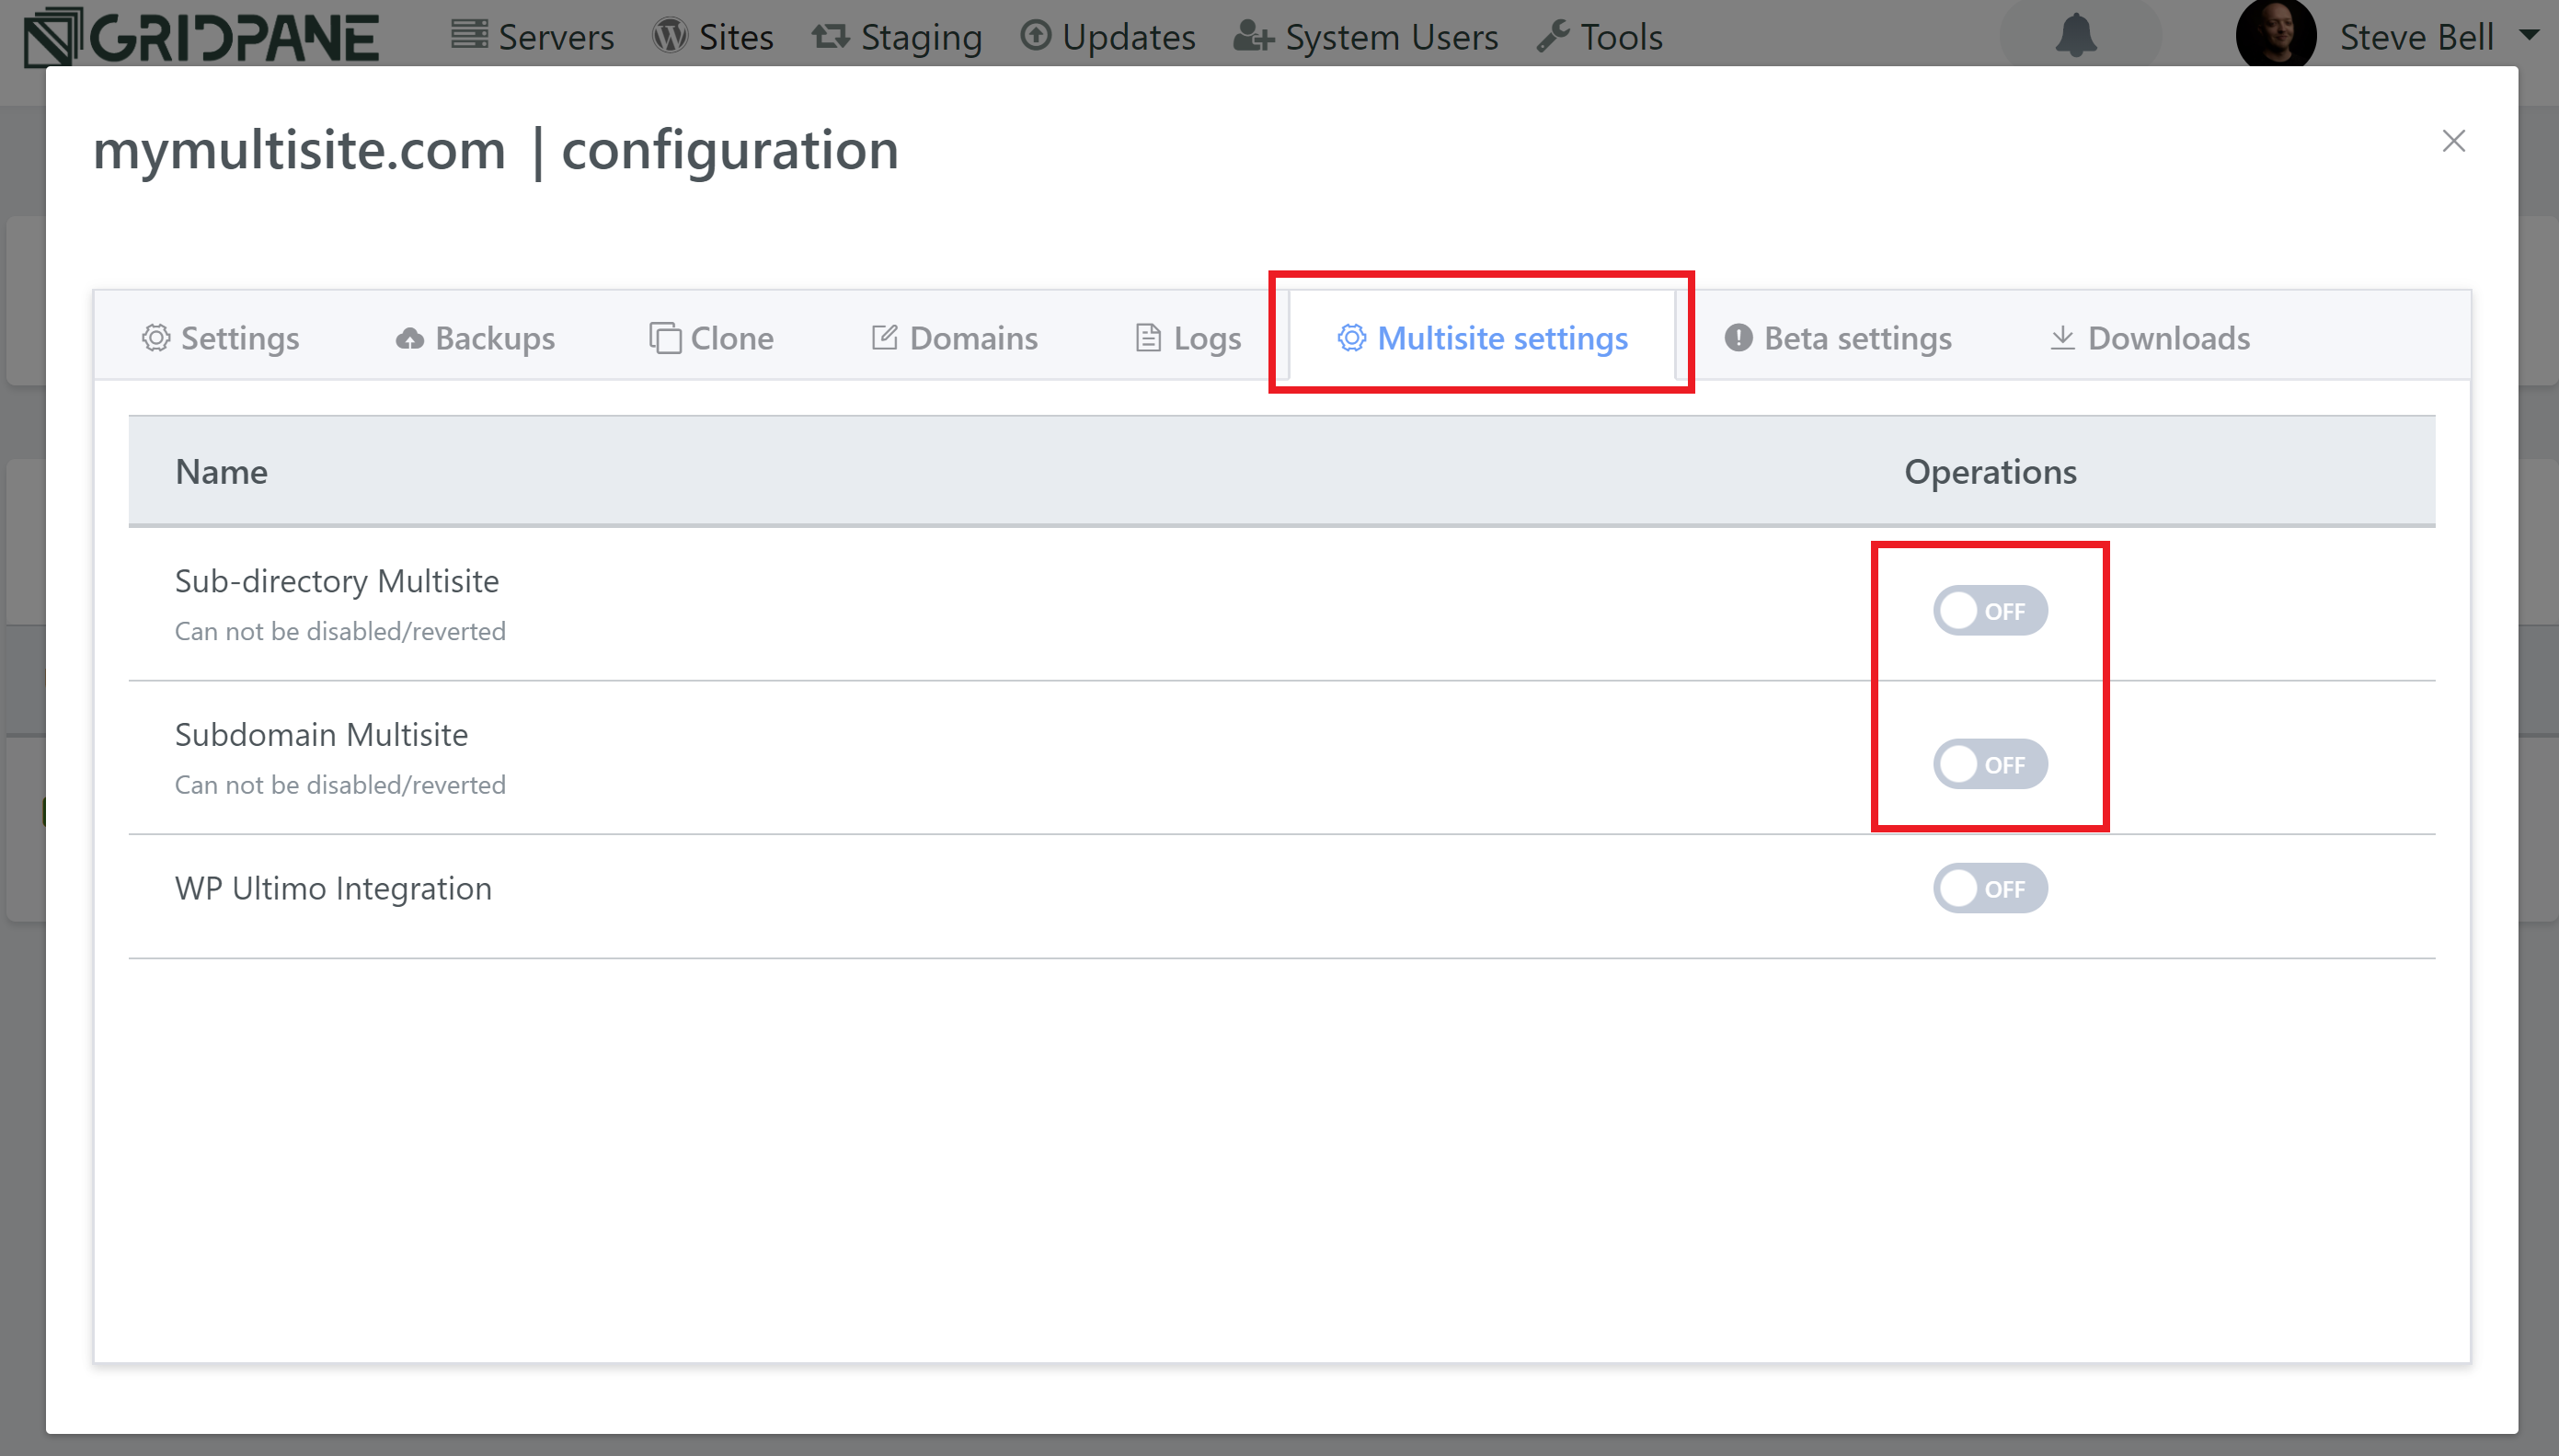
Step 2. Toggle your preferred multisite option ON
Here we have two options:
- Sub-directory Multisite
- Subdomain Multisite
It’s important to choose the correct one right off the bat as this cannot be undone. If your building a WaaS network, the WP Ultimo plugin will work with both options – learn more about WP Ultimo and GridPane here.
The difference between the two is how the URL structure is setup. Below is an example for each: –
- Sub-directory: yourdomain.com/subsite
- Subdomain: subsite.yourdomain.com
If you’re converting an existing regular/non-multisite WordPress website (that already has published content) into a multisite, then the subdomain is the better choice.
As GridPane doesn’t put any restrictions on subdomains, you’re free to choose whichever option you prefer.
Click the toggle of your choice once you’re sure:
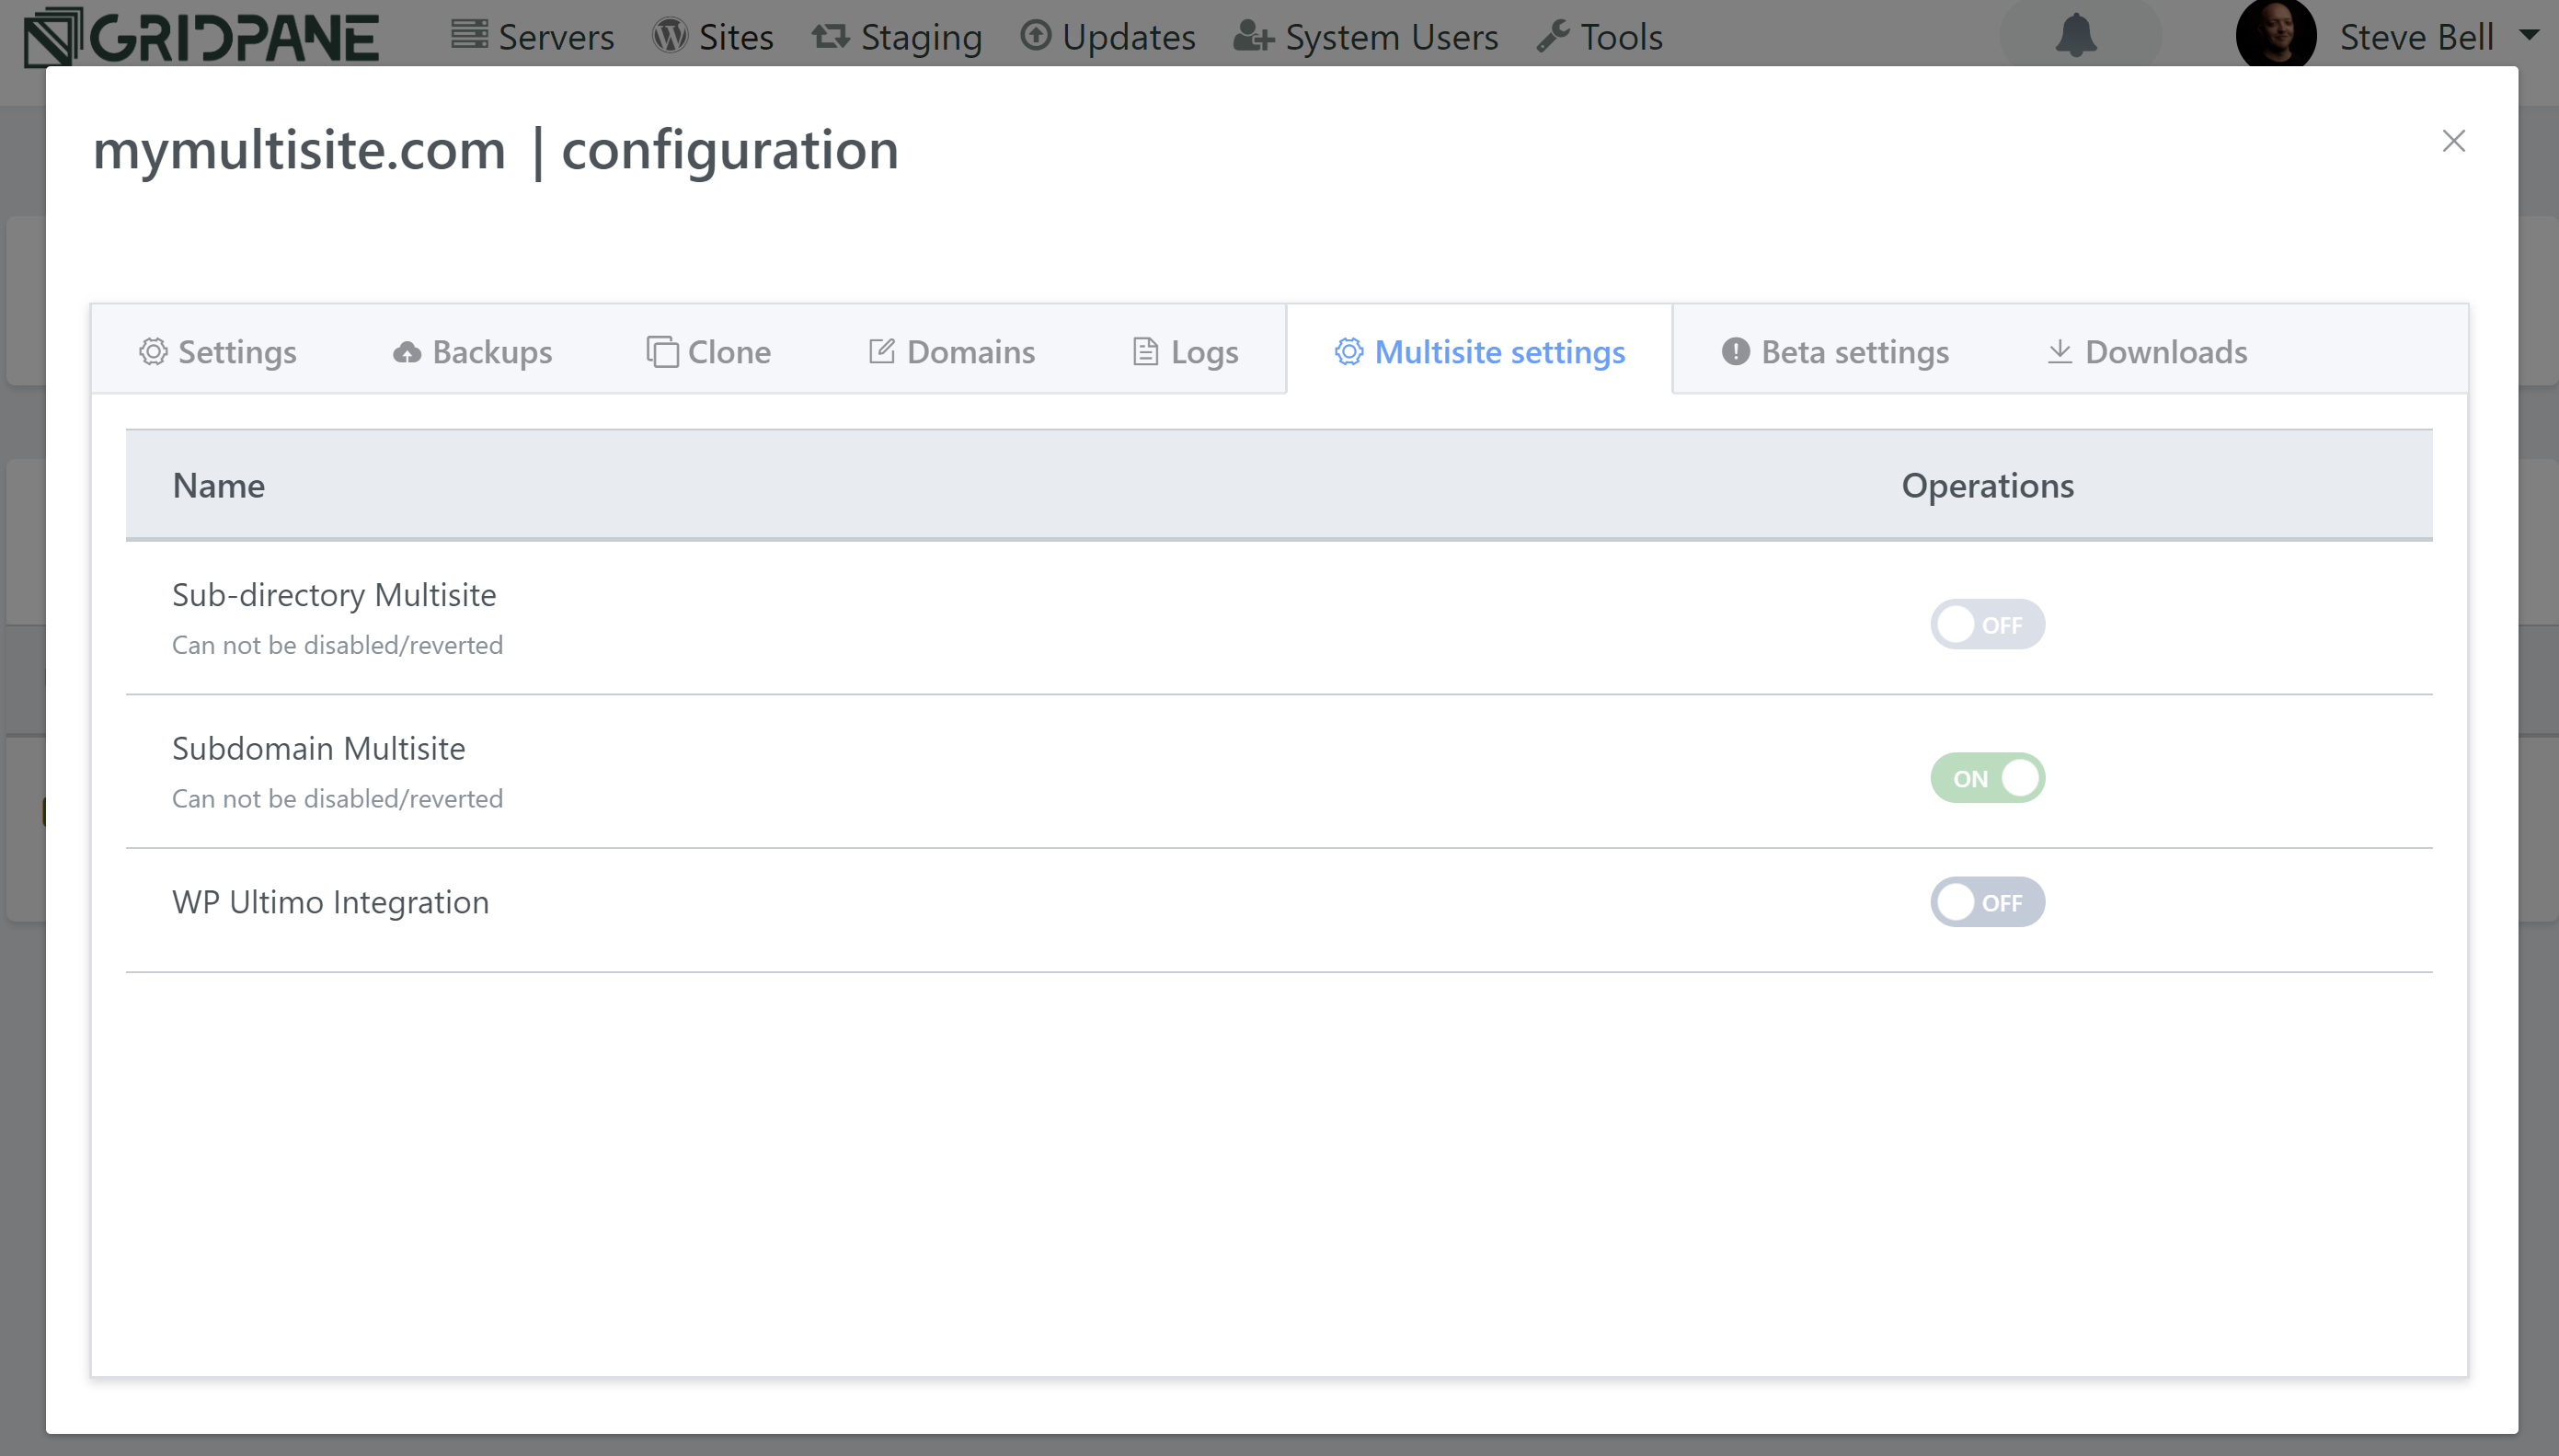
That’s all there is to it! Your WordPress multisite network is now ready to go.