Step 1. Create the New System User
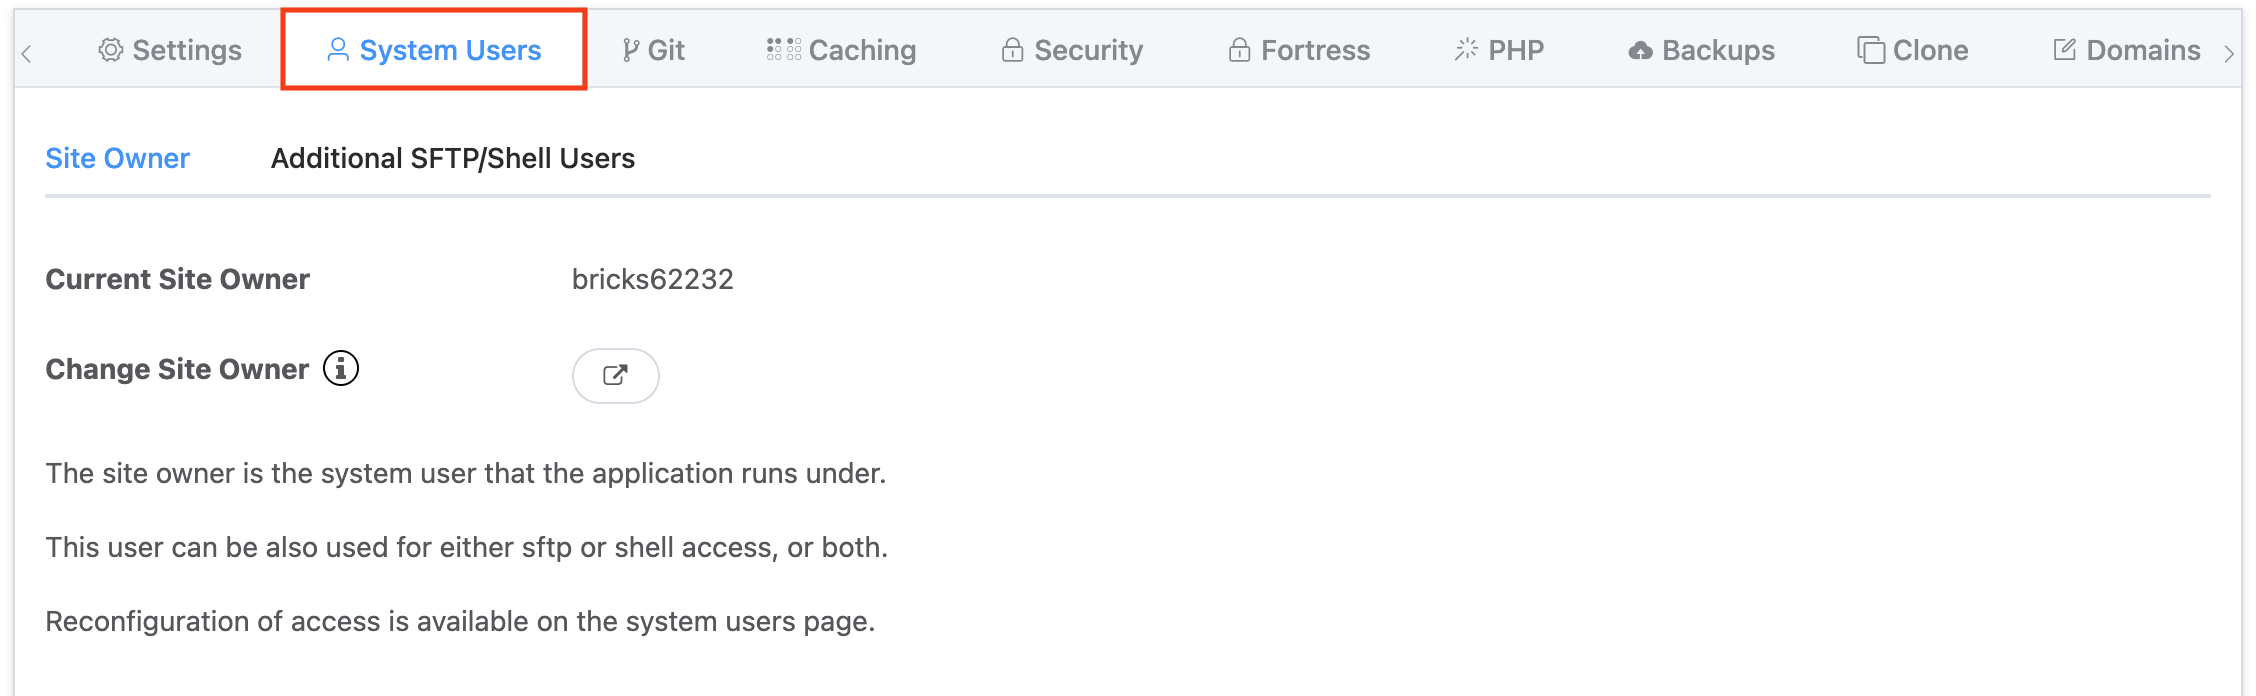
Head over to the Sites page within your GridPane account and click on the website that you want to create an additional system user. This will to open up the website customizer, and from there you can select the System Users tab:
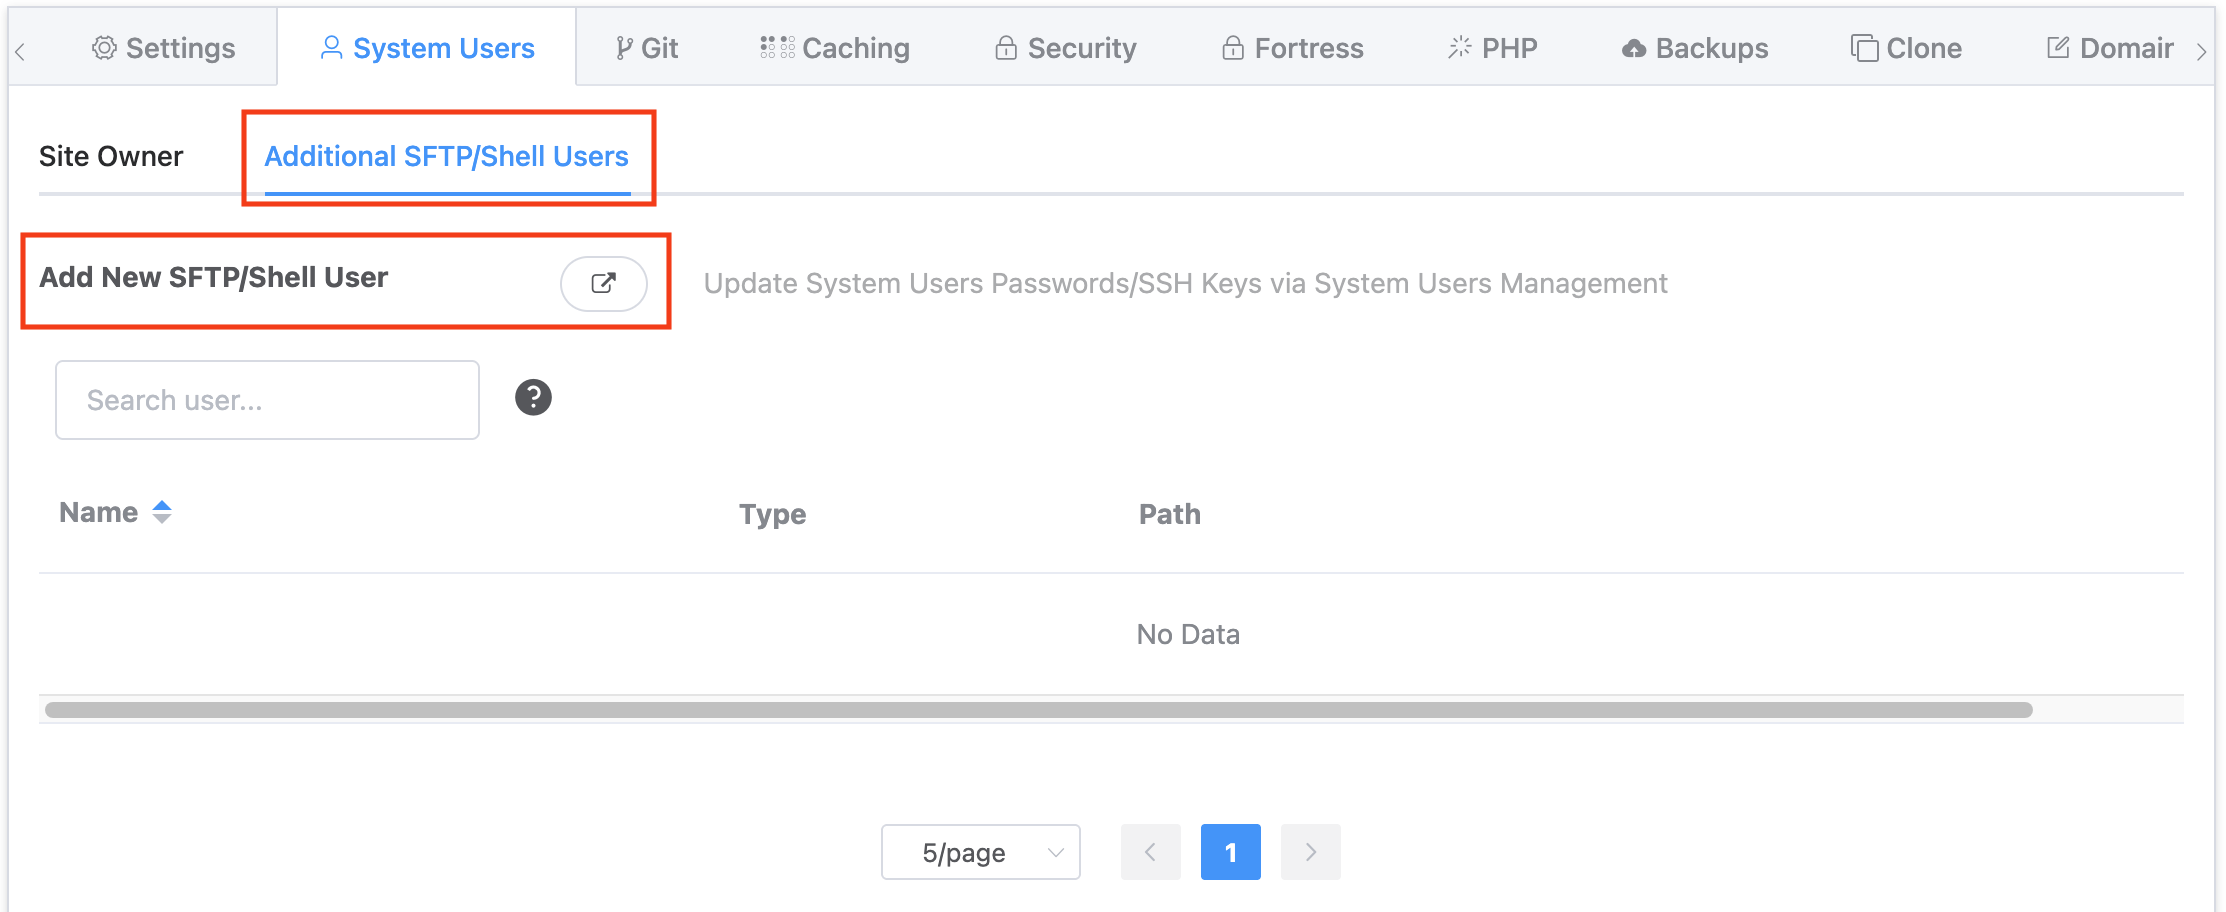
Then click through to the Additional SFTP/Shell Users tab and click on the Add New SFTP/Shell User button:
Step 2. Configure the System User
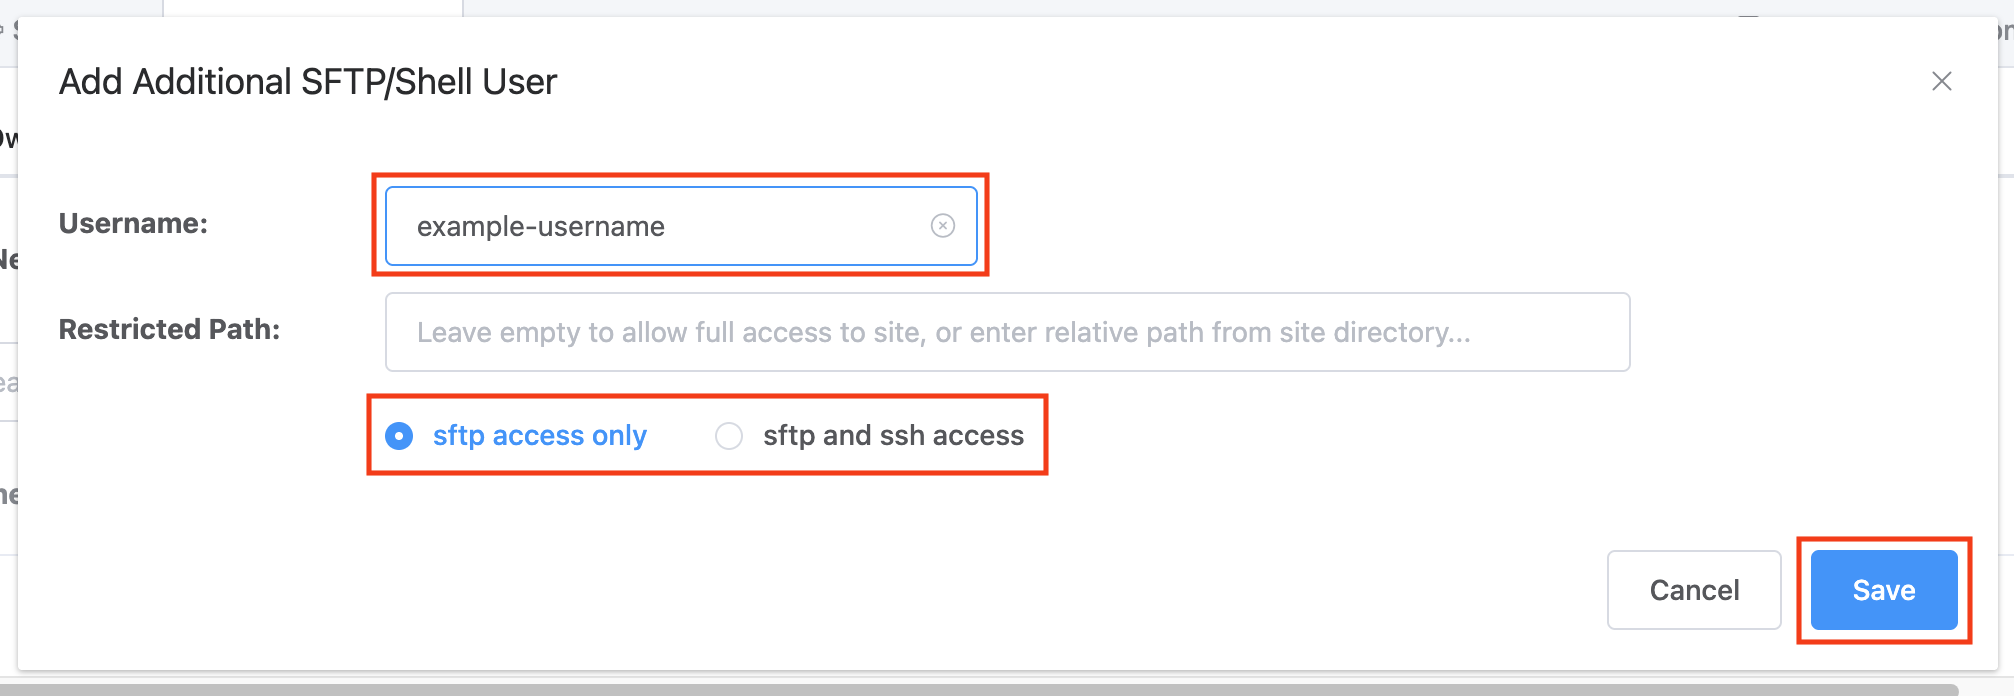
You have 2 options for your new restricted alias user:
- You can give the user full site access.
- You can restrict the user to a specific path, giving partial access to the websites files instead of full access.
Option 1. Full Access
This option will allow full access your chosen site. Simply enter your system user name, and then choose the SFTP / SFTP+SSH option, and hit the save button:
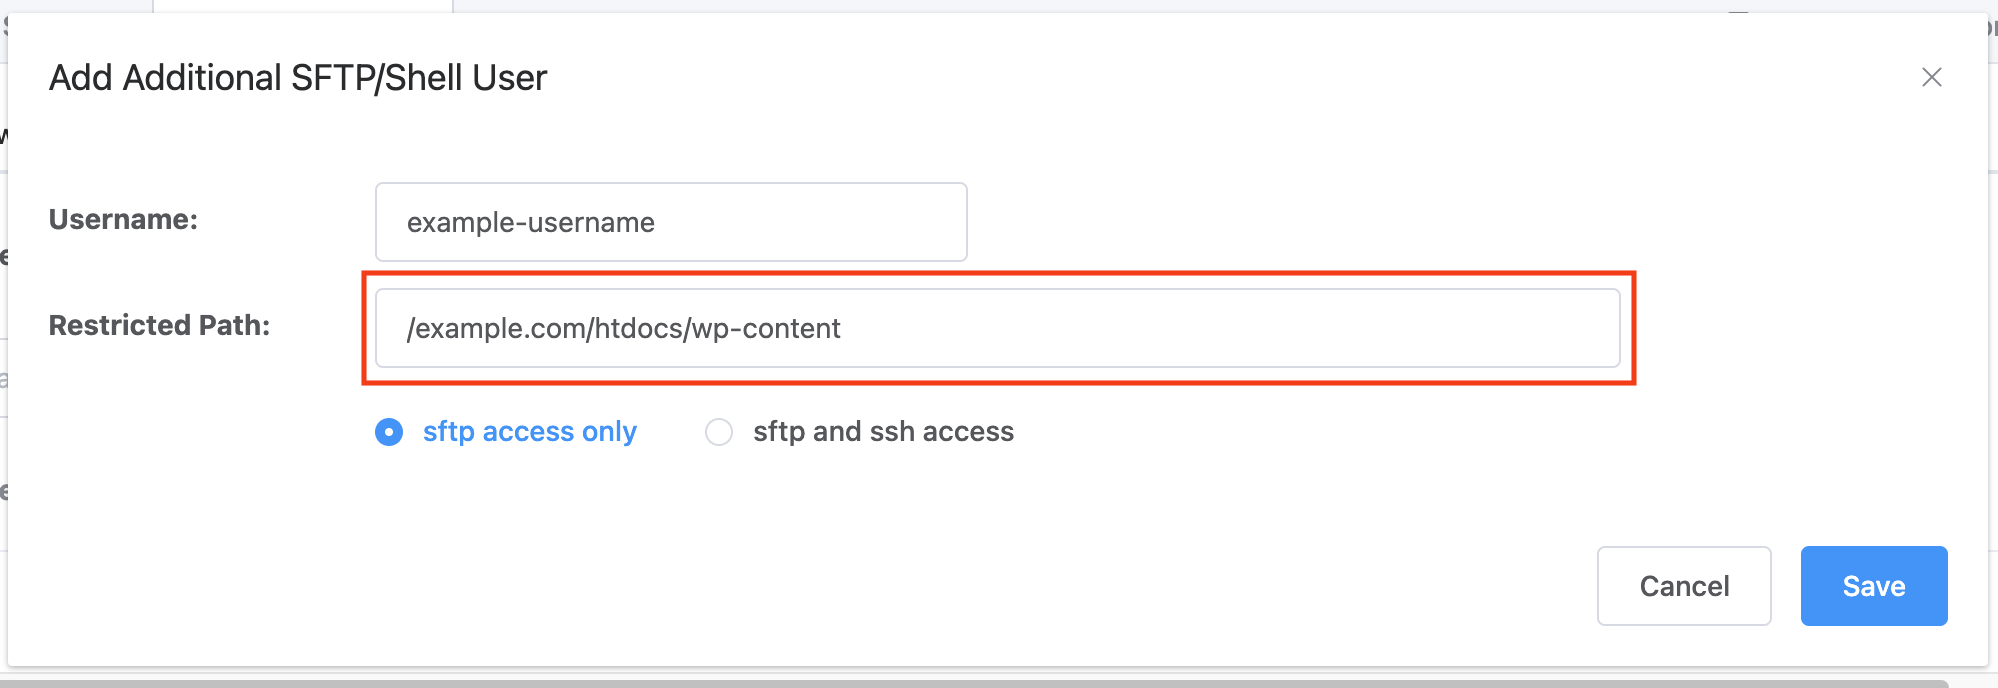
Option 2: Restricted Access
In many scenarios, granting full access will not be needed or desired. Here are a few examples of how you could restrict access to specific paths:
/example.com/htdocs
/example.com/htdocs/wp-content
/example.com/htdocs/wp-content/plugins
In the above paths, you can restrict a user to the WordPress installation (minus the wp-config.php file), only the files within the /wp-content directory, or only the websites /plugin directory.
As a rule of thumb, you should only grant access to the files your team or client need to access.
Here’s an example of how this looks when creating a restricted alias system user with a restricted path within the UI:
Once you’ve set your name, path, and access type, click the Save button, and you’re new system user is all set.