Step 1. Add Your Payment Information
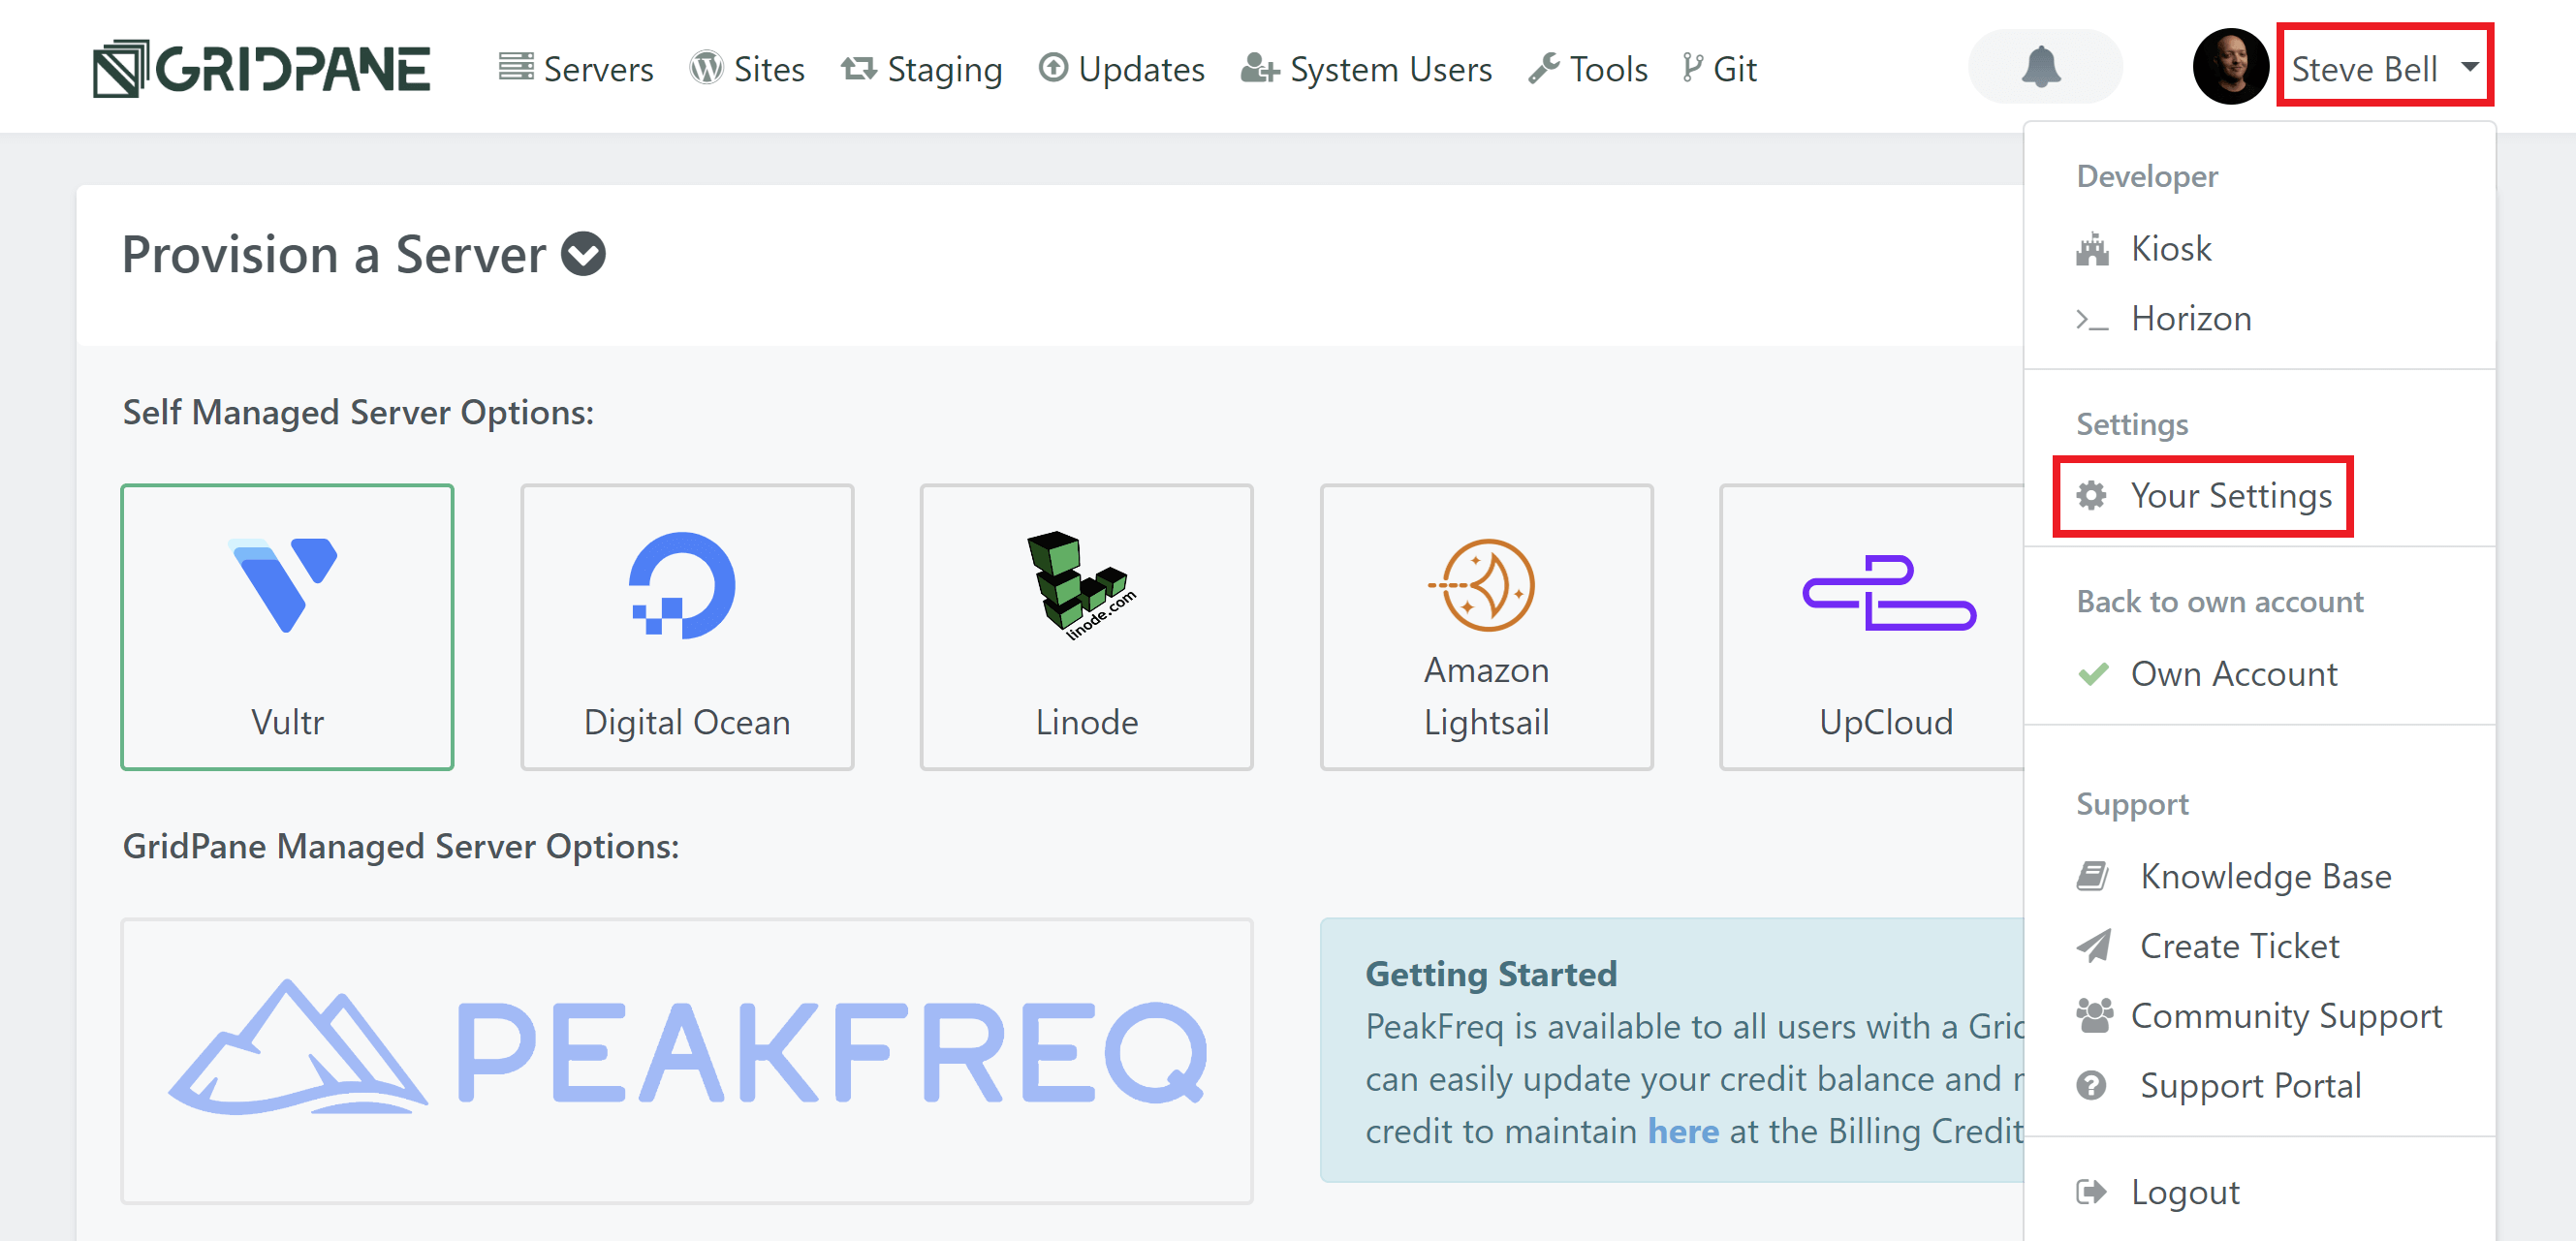
Inside your GridPane account, click through to your account settings page:
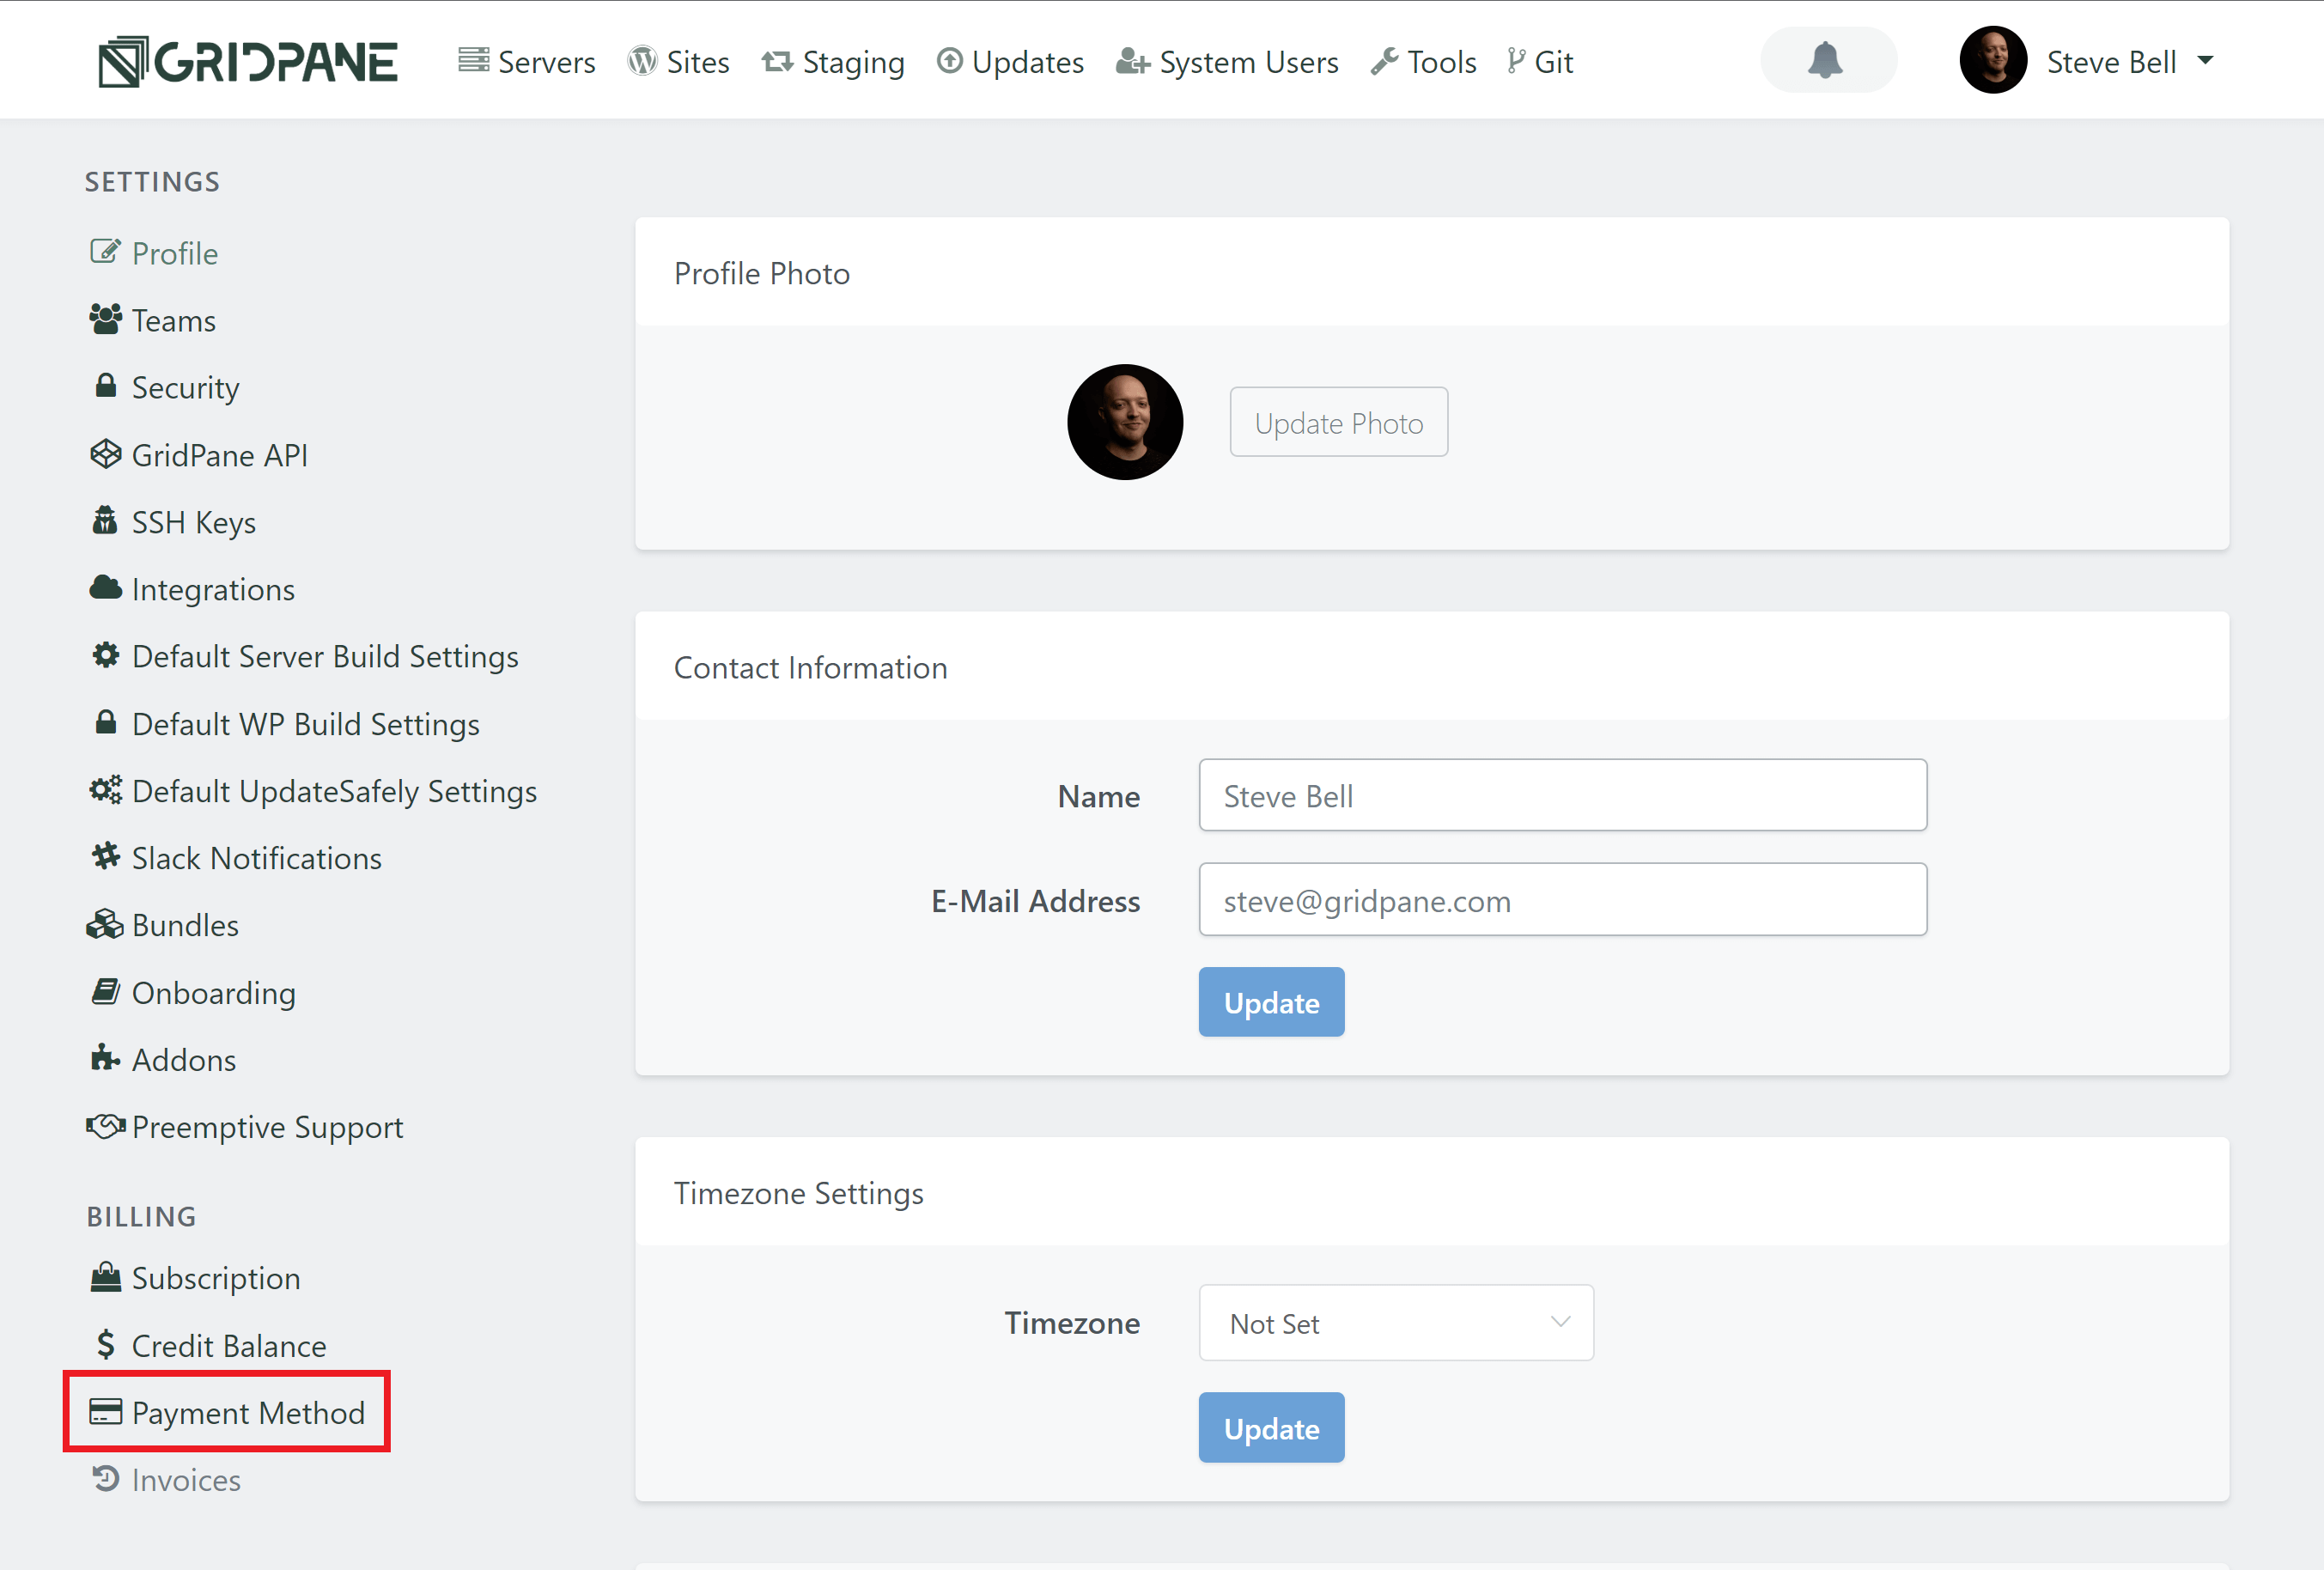
Next, click through to Billing in the left-hand menu:
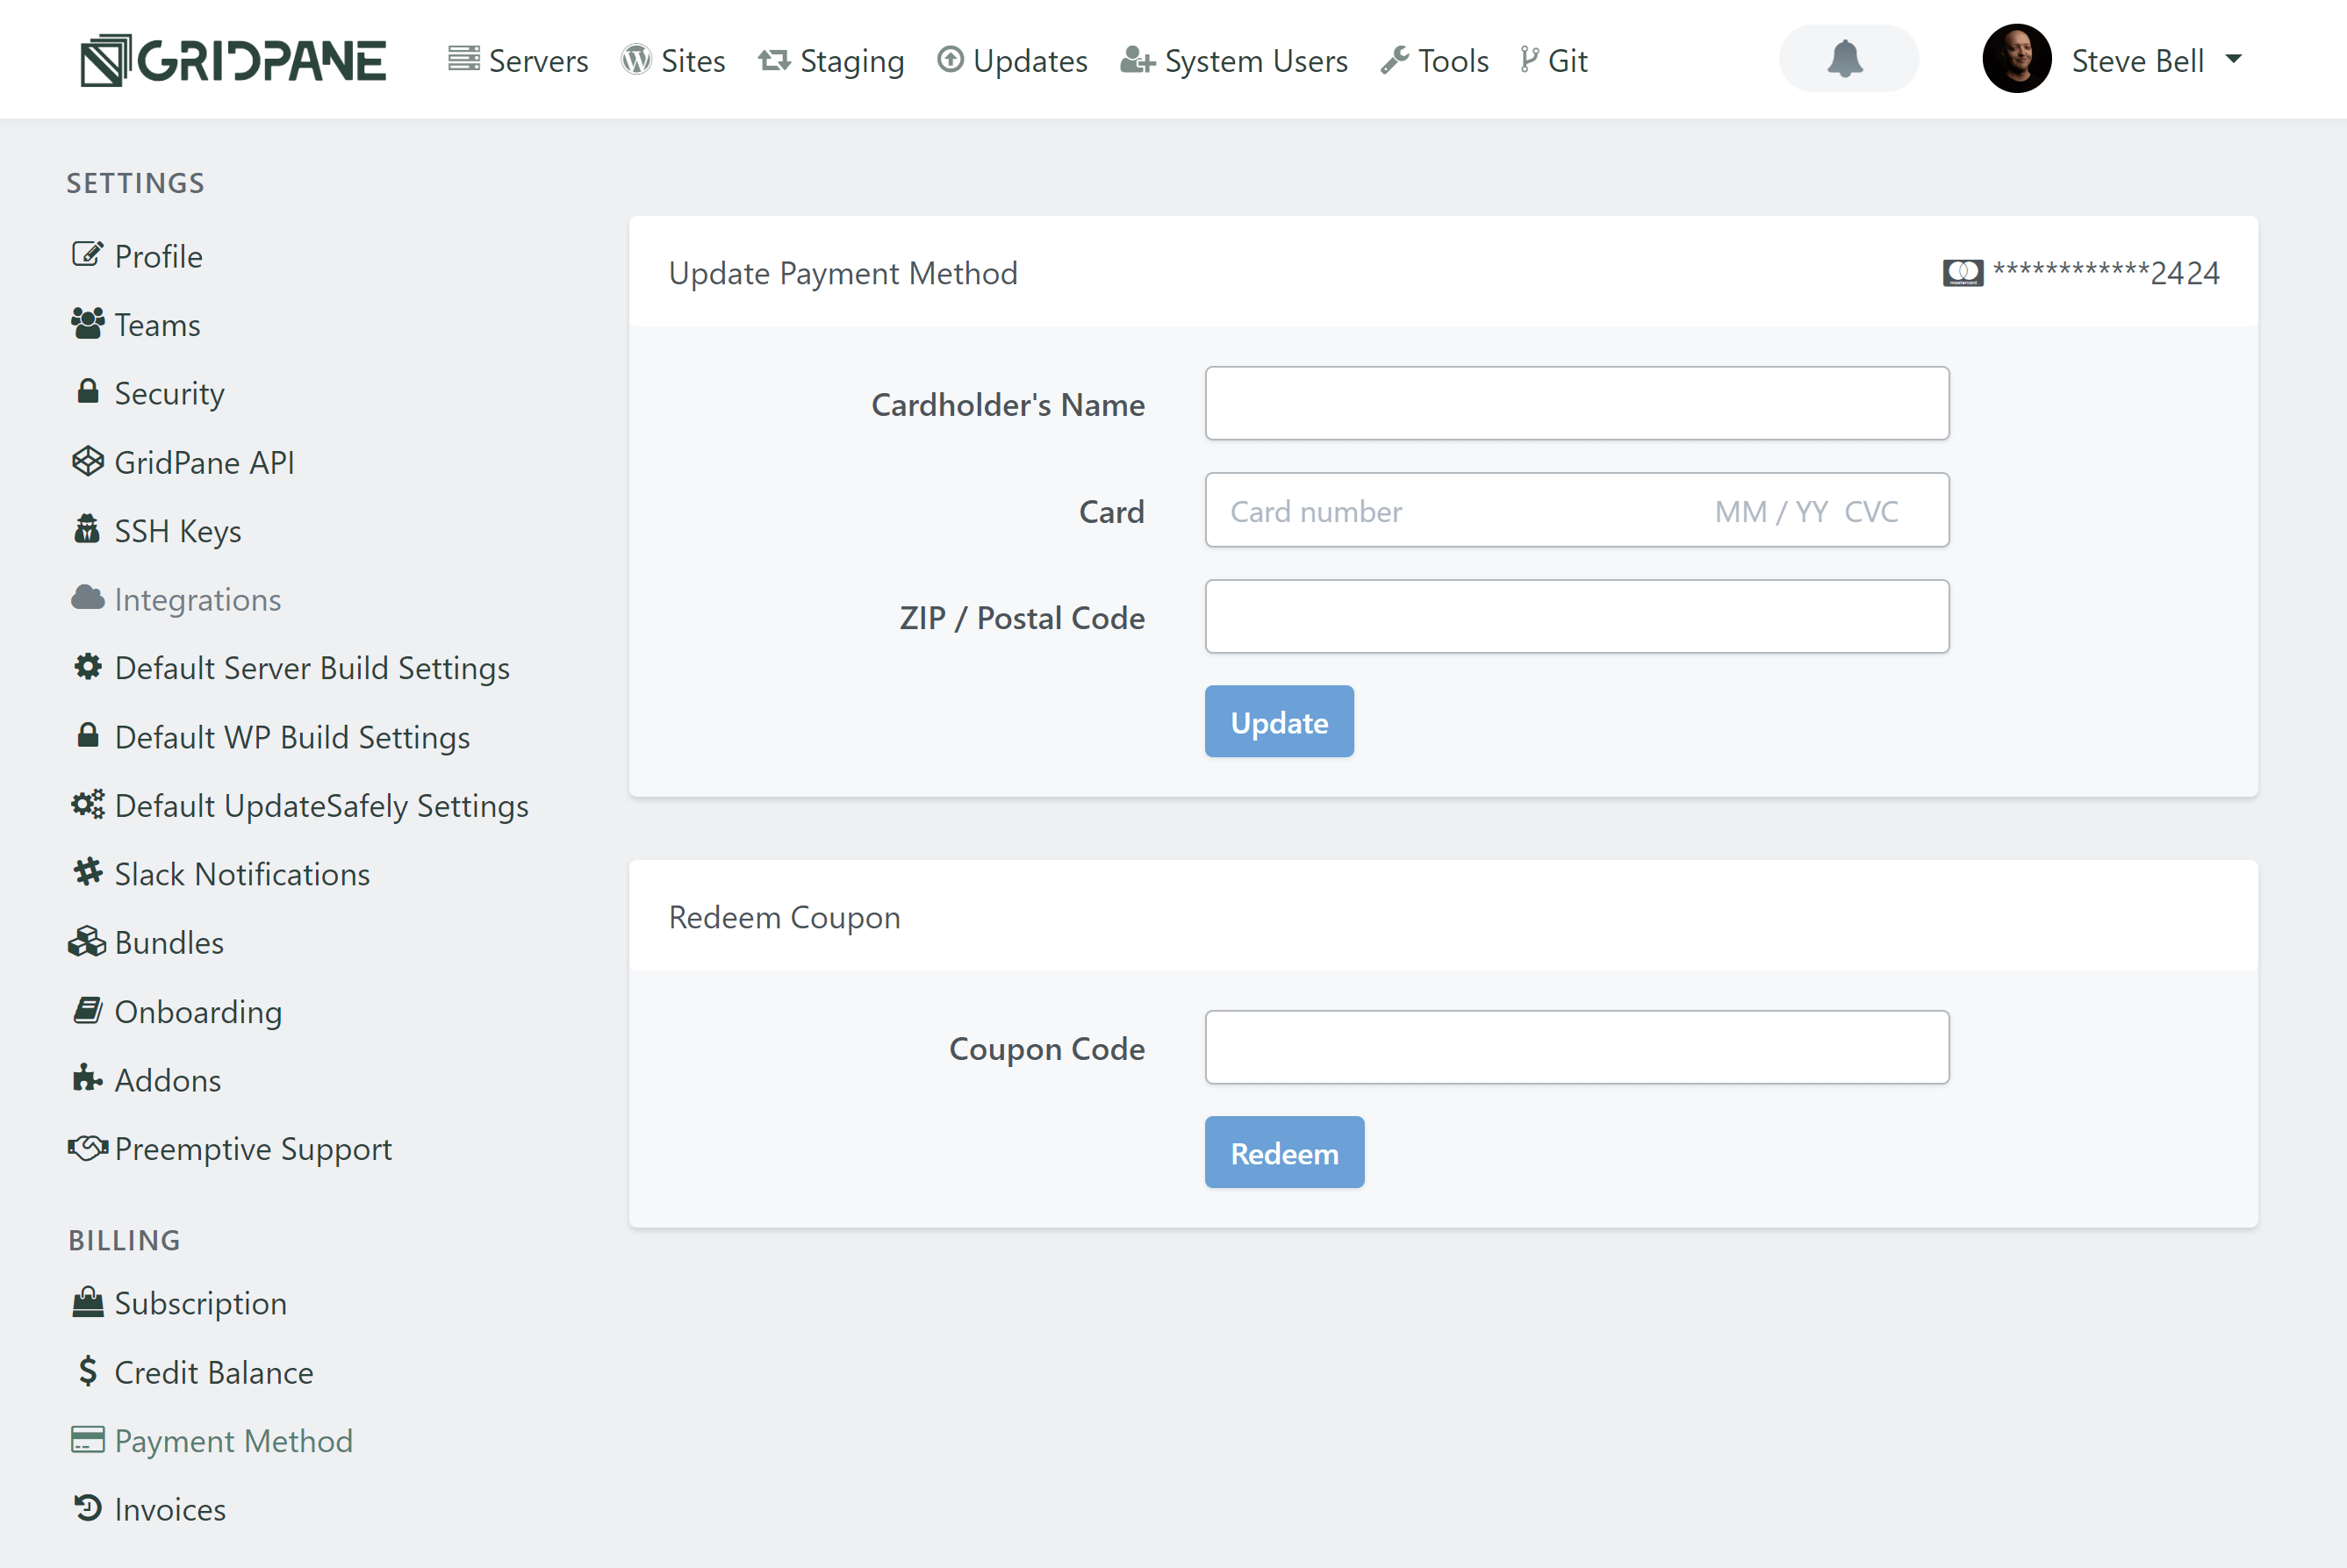
Here, you can add your payment information to fund your PeakFreq servers:
Step 2. Add Credit to Your Account
PeakFreq, like many other services, requires a positive account balance in order to create servers. You can add credit to your account and set up automatic payments inside your Settings page > Credit Balance:
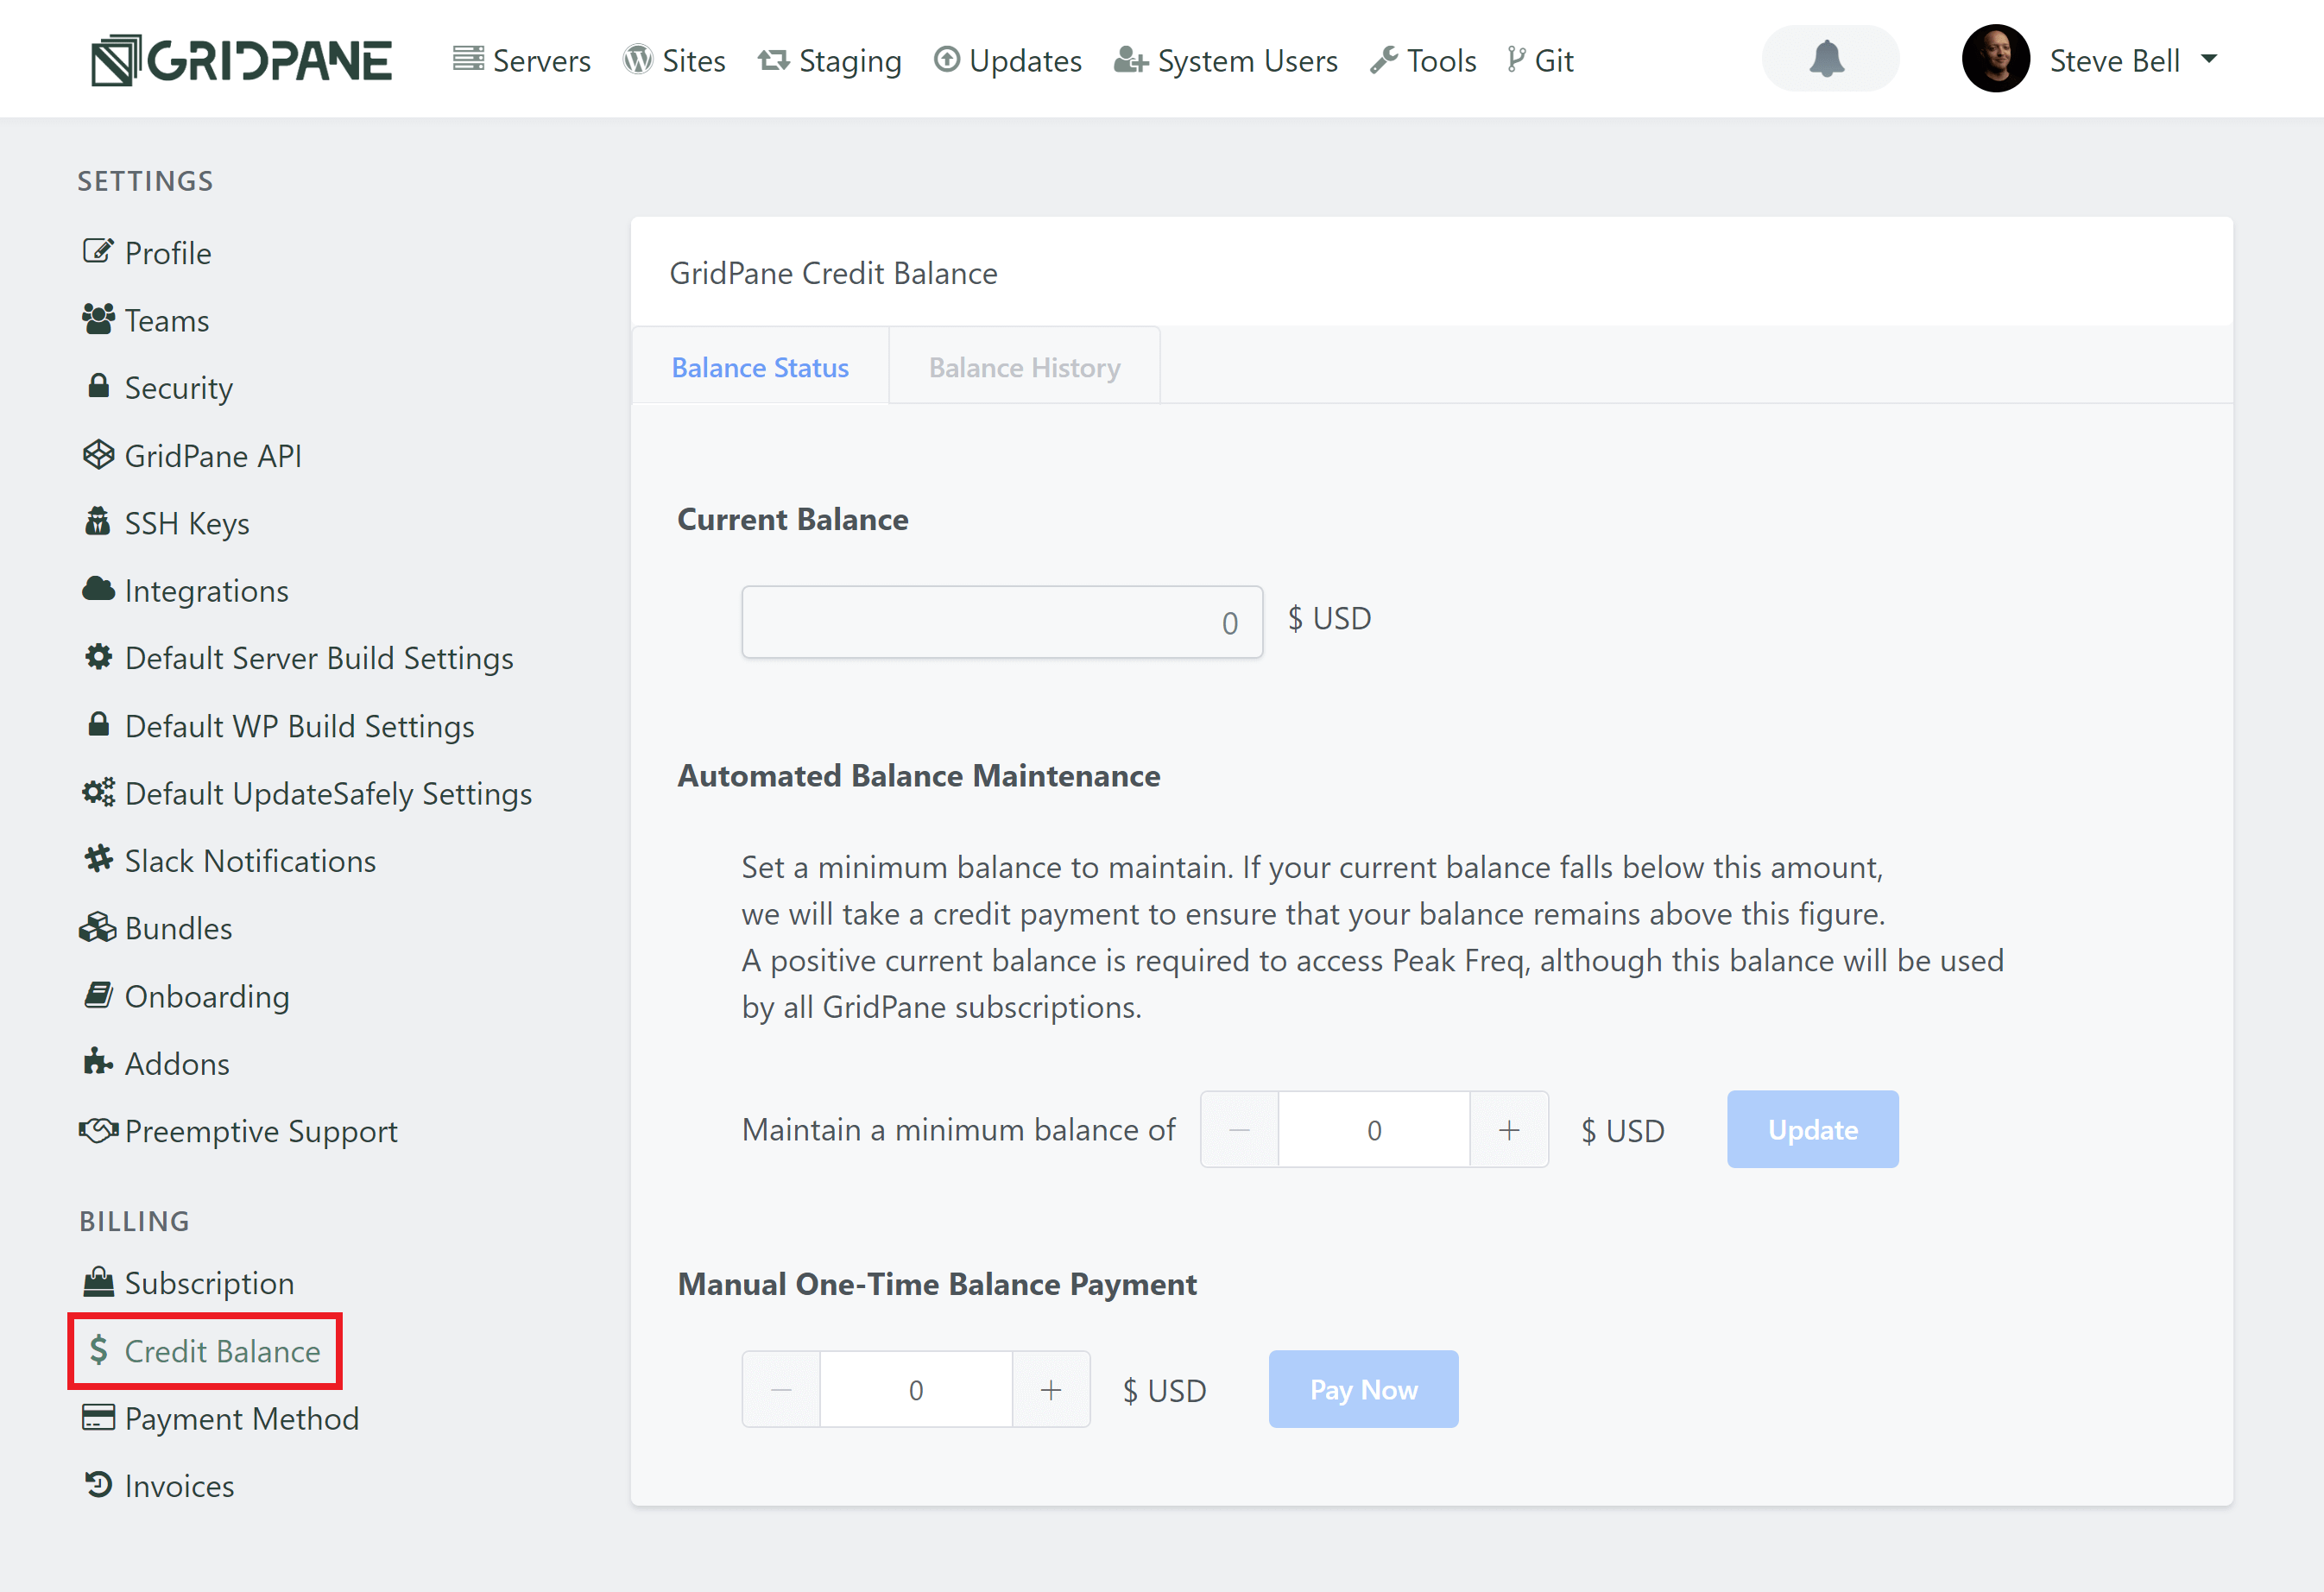
Here, you make your initial deposit, and then you’re ready to begin creating your first server/s.
Step 3. Create Your PeakFreq Server/s
To begin creating servers, head over to the Servers page inside your account. The PeakFreq option will now be available to you.
Click the large PeakFreq button to begin:
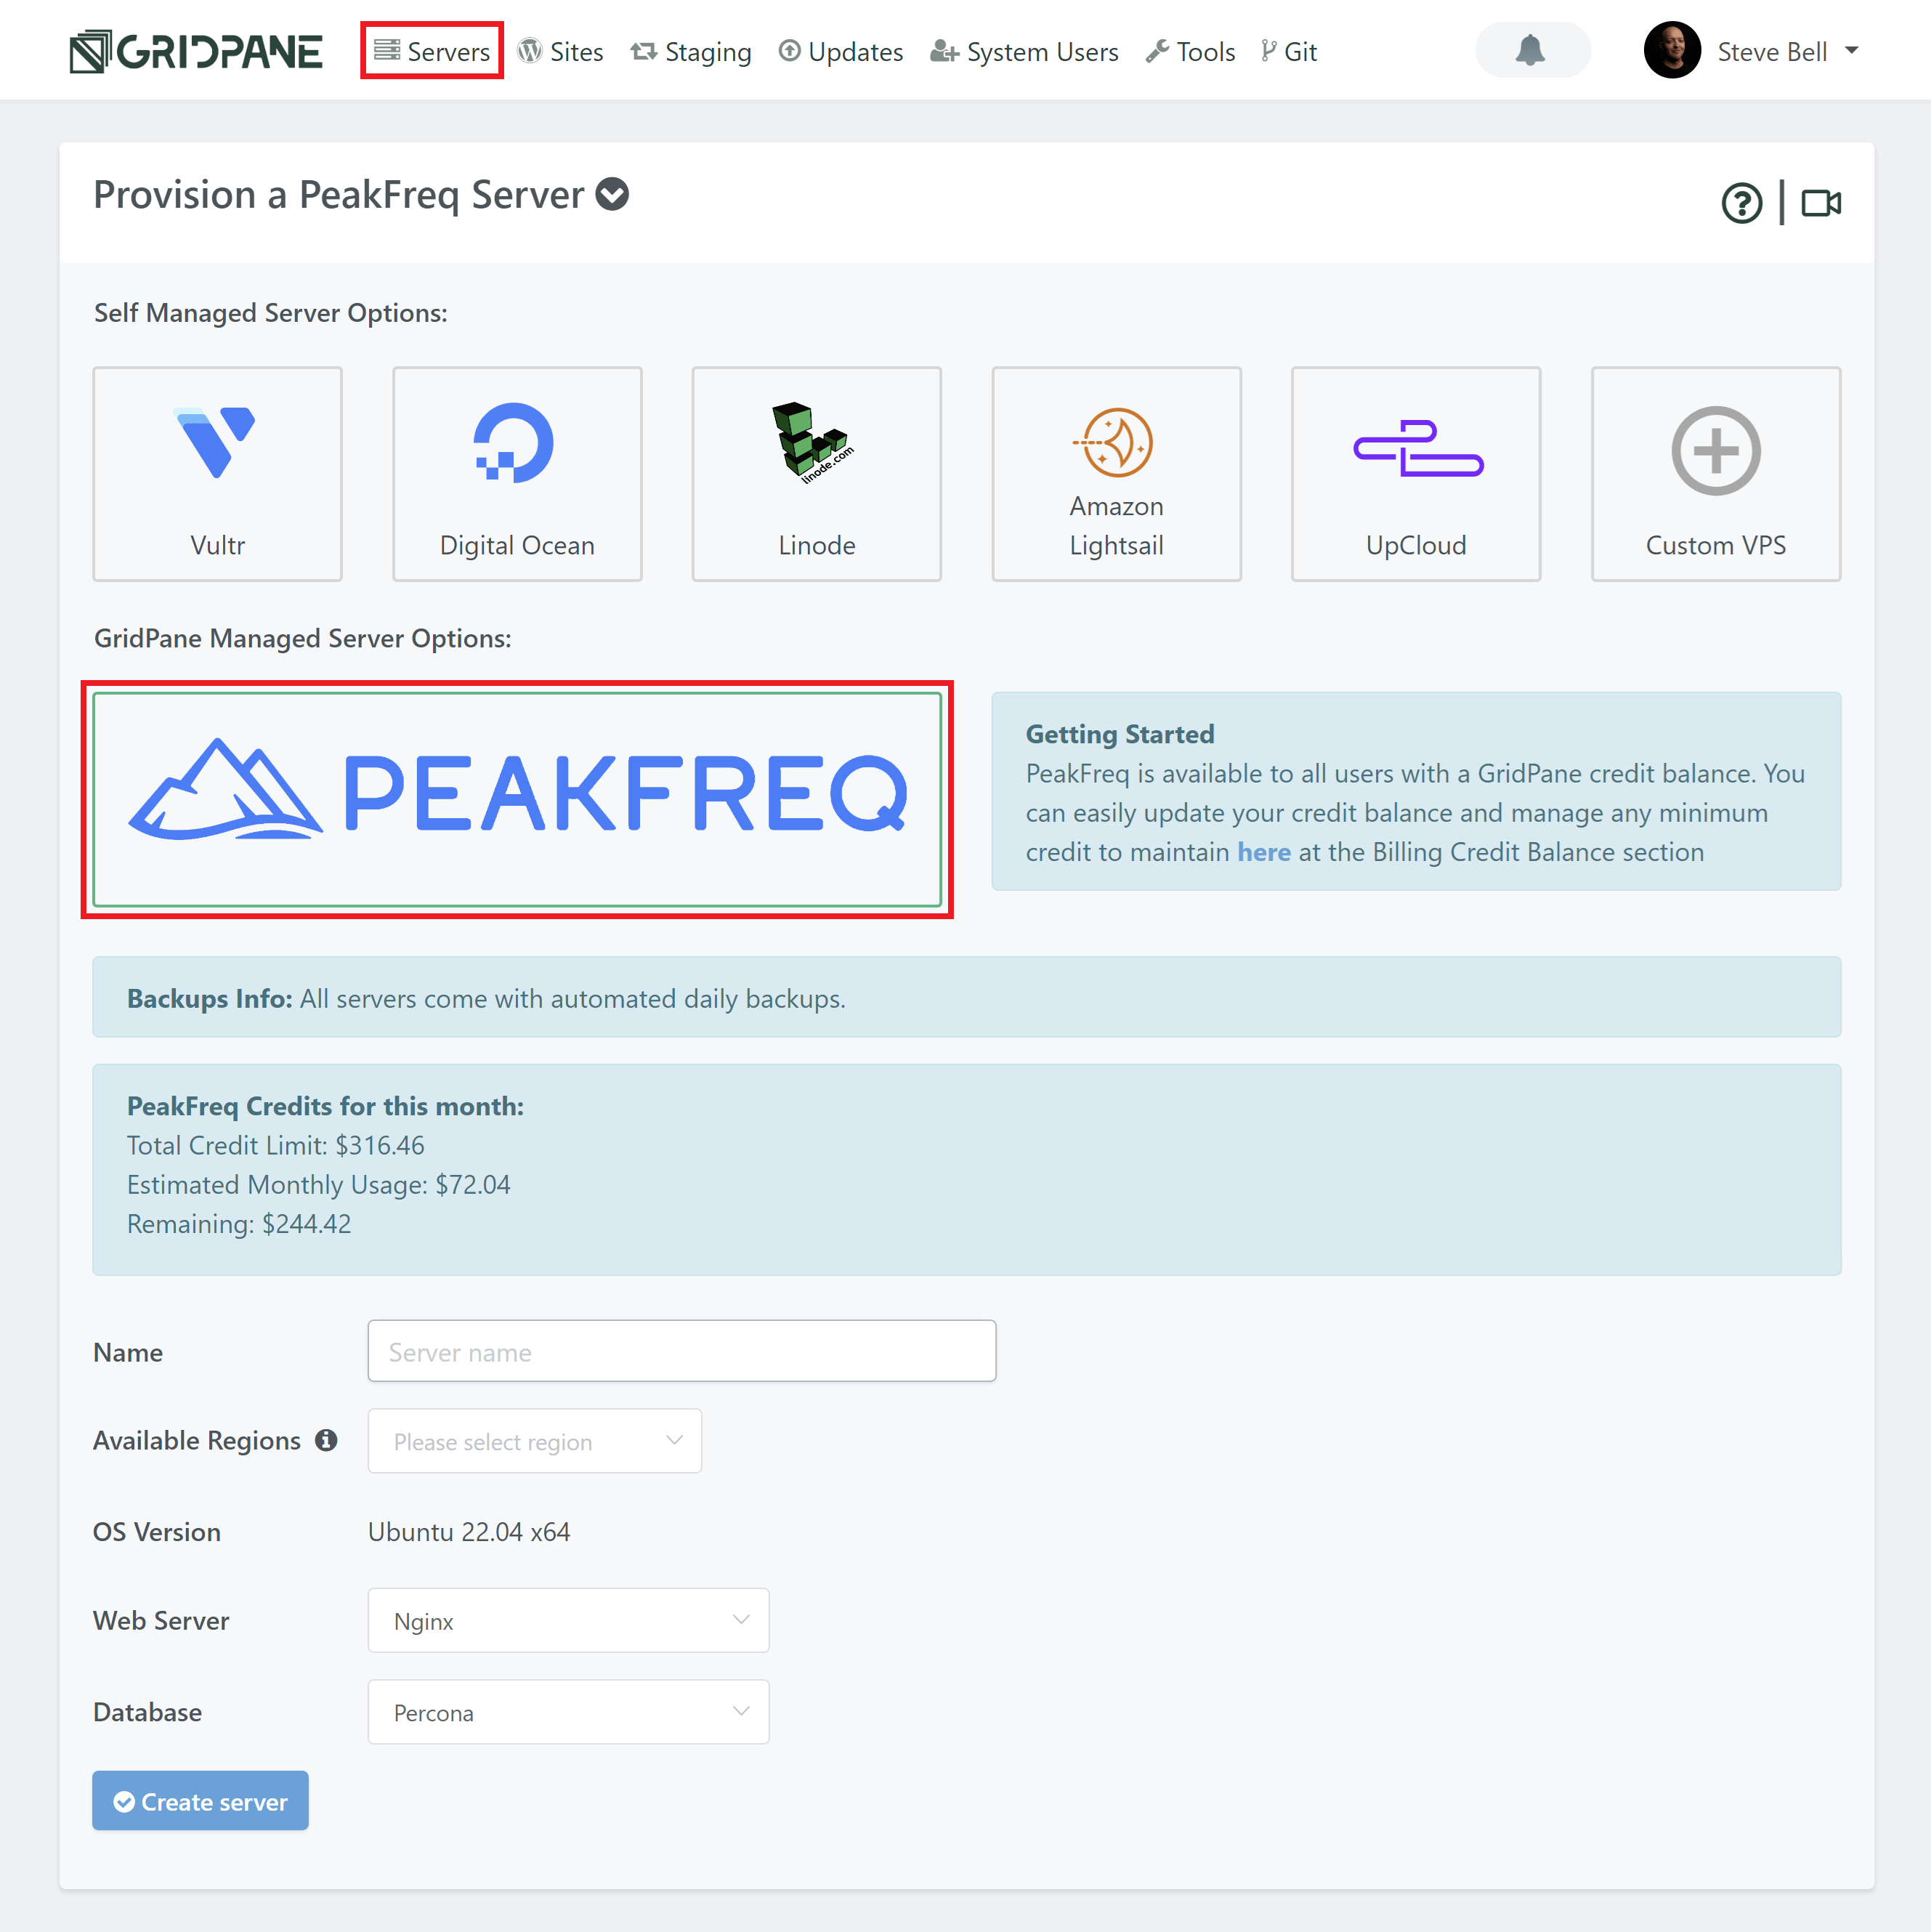
Here, you’ll see your total credits, estimated monthly usage, and remaining balance. Below this, you can begin creating your server/s.
OS Version
All PeakFreq servers run on our Ubuntu 22.04 LTS stack by default.
Choose Your Web Server
If you’re on one of our paid GridPane plans (Panel and above), you have the option to choose between Nginx and OpenLiteSpeed. This is largely personal preference. If you’re unsure which one to choose, start with Nginx.
Choose your database
If you’re on the Developer Plus plan, you’ll have the option to choose between Percona and MariaDB for your database.
Percona is a drop-in replacement for MySQL and includes security, availability, and availability features that are only available in enterprise MySQL. It has removed query caching, and it has more advanced aspects for things like storing and managing JSON as a storage format.
MariaDB could mean fewer issues importing old WordPress websites from low-quality hosting environments. It will likely use less RAM than Percona and may offer performance benefits for some websites.
Both are excellent options.
Provider backups
All PeakFreq servers include automated server backups at Vultr.
Create your server
Click the Create Server button when you are happy with your configuration choices.
Step 4. Wait 10-15 Minutes
GridPane will begin provisioning your instance. You will immediately see your server in the Active Servers list. In 10-15 minutes, you’ll see the server is complete with a green status bar and check mark under “Provisioned”.
