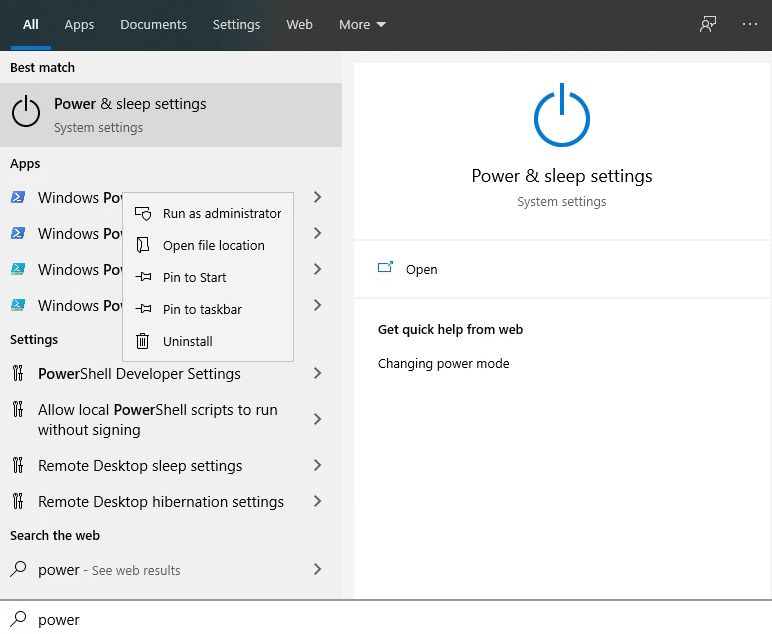
Step 1: Prepare Windows by enabling Windows Subsystem for Linux
Go to your start menu and type in “power” to find Windows PowerShell. Right-click on it and select “Run as administrator”.
When Windows PowerShell launches, paste in the following command:
Enable-WindowsOptionalFeature -Online -FeatureName Microsoft-Windows-Subsystem-Linux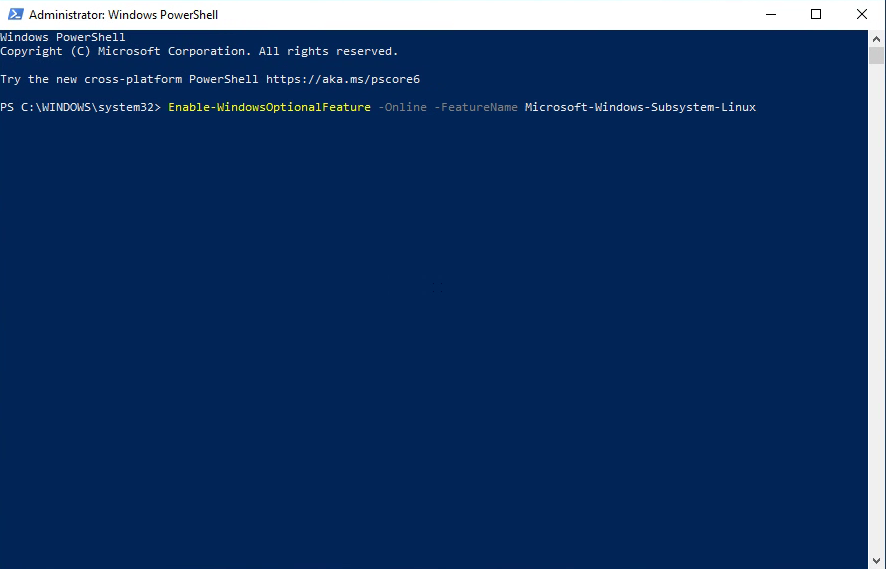
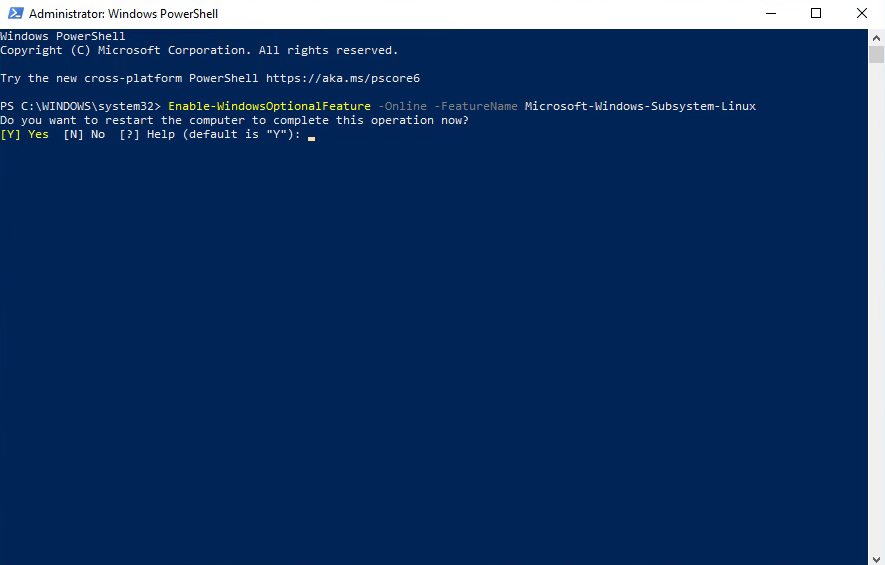
It may take a moment for the installer to start, but a series of commands will flash on your screen before you’re asked if you want to restart your computer. Type Y and press enter.
Option 2: After taking all these great screenshots, I discovered another way to do this as well.
- Open Control Panel
- Click Programs
- Click Turn Windows Features On or Off
- Check Windows Subsystem for Linux
- Restart
Step 2: Install Ubuntu
Head to this link to get Ubuntu free from the Microsoft Store:
https://www.microsoft.com/en-us/p/ubuntu/9nblggh4msv6
Alternatively, you can search “Ubuntu” from the Microsoft Store after launching it from the start menu. Choosing Ubuntu (without a version number) will always install the latest stable release.
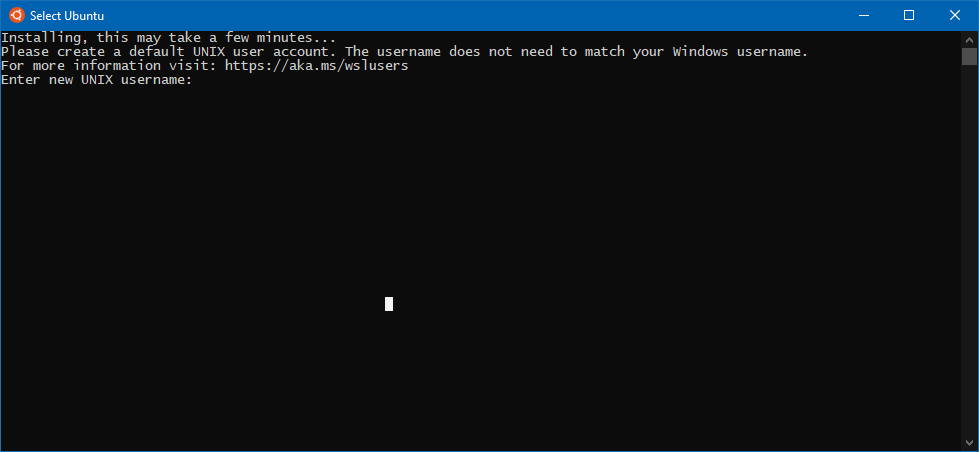
Step 3: Allow Ubuntu to Finish Installing / Create Username and Password
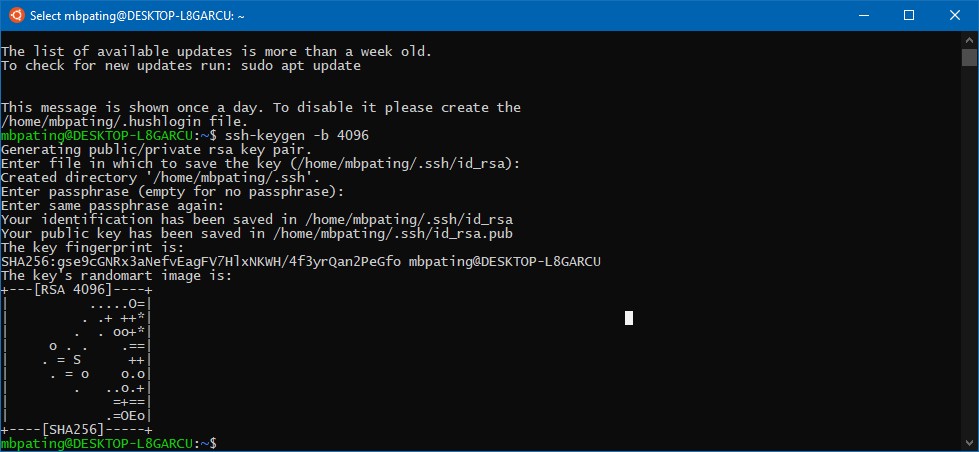
When the Ubuntu window launches, the program will take a moment to finish installing, after which it will prompt for a username and then a password. Once complete, you’ll return to a prompt ready to create your SSH key. The whole process looks like this:
Step 4: Create Your SSH Key Pair
Type the following command at the prompt then press enter.
ssh-keygen -b 4096
When prompted for the file in which to save the key, press enter. The default location will be created.
(Optional, but recommended) Enter a passphrase when prompted.
Repeat the passphrase for confirmation.
Congratulations! You now have an SSH key. The whole process will look like this:
What does all this mean?
The key-generating process has created two files.
id_rsa: This is your private key, do not lose or give this to anybody!id_rsa.pub: This is your public key that you add to your servers or give to others to place onto servers for you to authenticate against using your private key.
These are both stored inside this directory: /home/yourusername/.ssh/
Within Windows, you can find this location by going to
C:Users%USERNAME%AppDataLocalPackagesCanonicalGroupLimited.UbuntuonWindows_79rhkp1fndgscLocalState
ootfs
Step 5: Copy Your Public Key To Your Clipboard
You could go to the path listed above and copy the contents of your public key, but it’s much easier to open the file from within Ubuntu and copy from there.
Change directories by using the following command
cd ~/.ssh
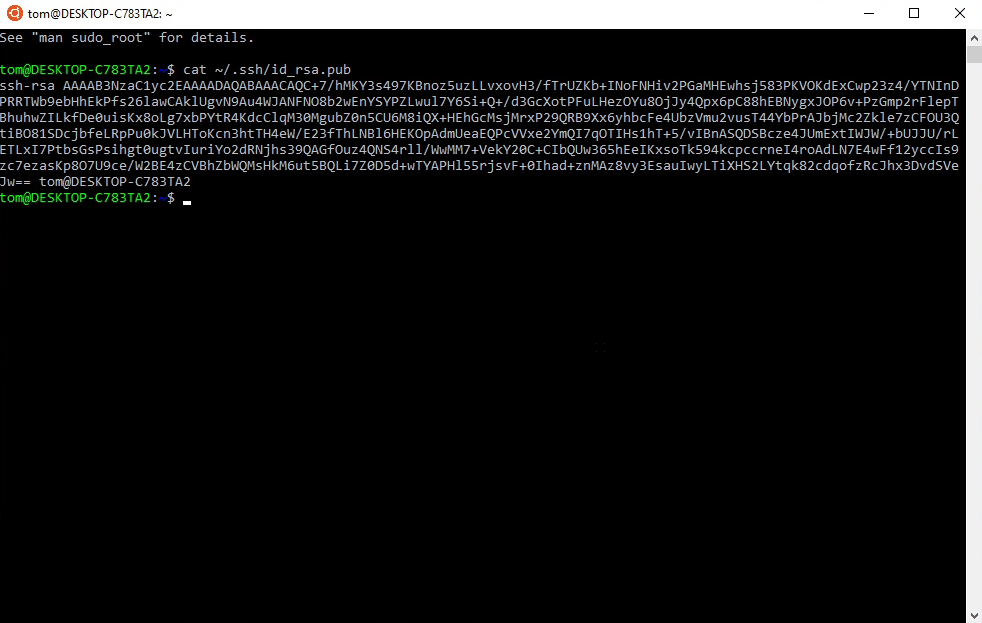
Now you’re in the .ssh directory where your keys are stored. Use the cat command to view the contents of the public key file like this:
cat id_rsa.pub
Moving to the directory wasn’t necessary, but it is good practice if you’re unfamiliar with working in a terminal window. The public key contents can be displayed from anywhere by typing the following:
cat ~/.ssh/id_rsa.pub
The output will look similar to this
Step 6: Add Your Public Key To Your GridPane Settings
Highlight the output of the previous command and press enter. This copies the data to your clipboard. You may find it useful to paste this into a Notepad document while you log into your GridPane account.
Login to your GridPane account and click the Your Settings menu item in the dropdown menu accessible by clicking on your username and icon:

Locate and click the SSH Keys option in the left horizontal menu, and then paste your Public SSH Key in the Add SSH Public Key panel and click Add Key:
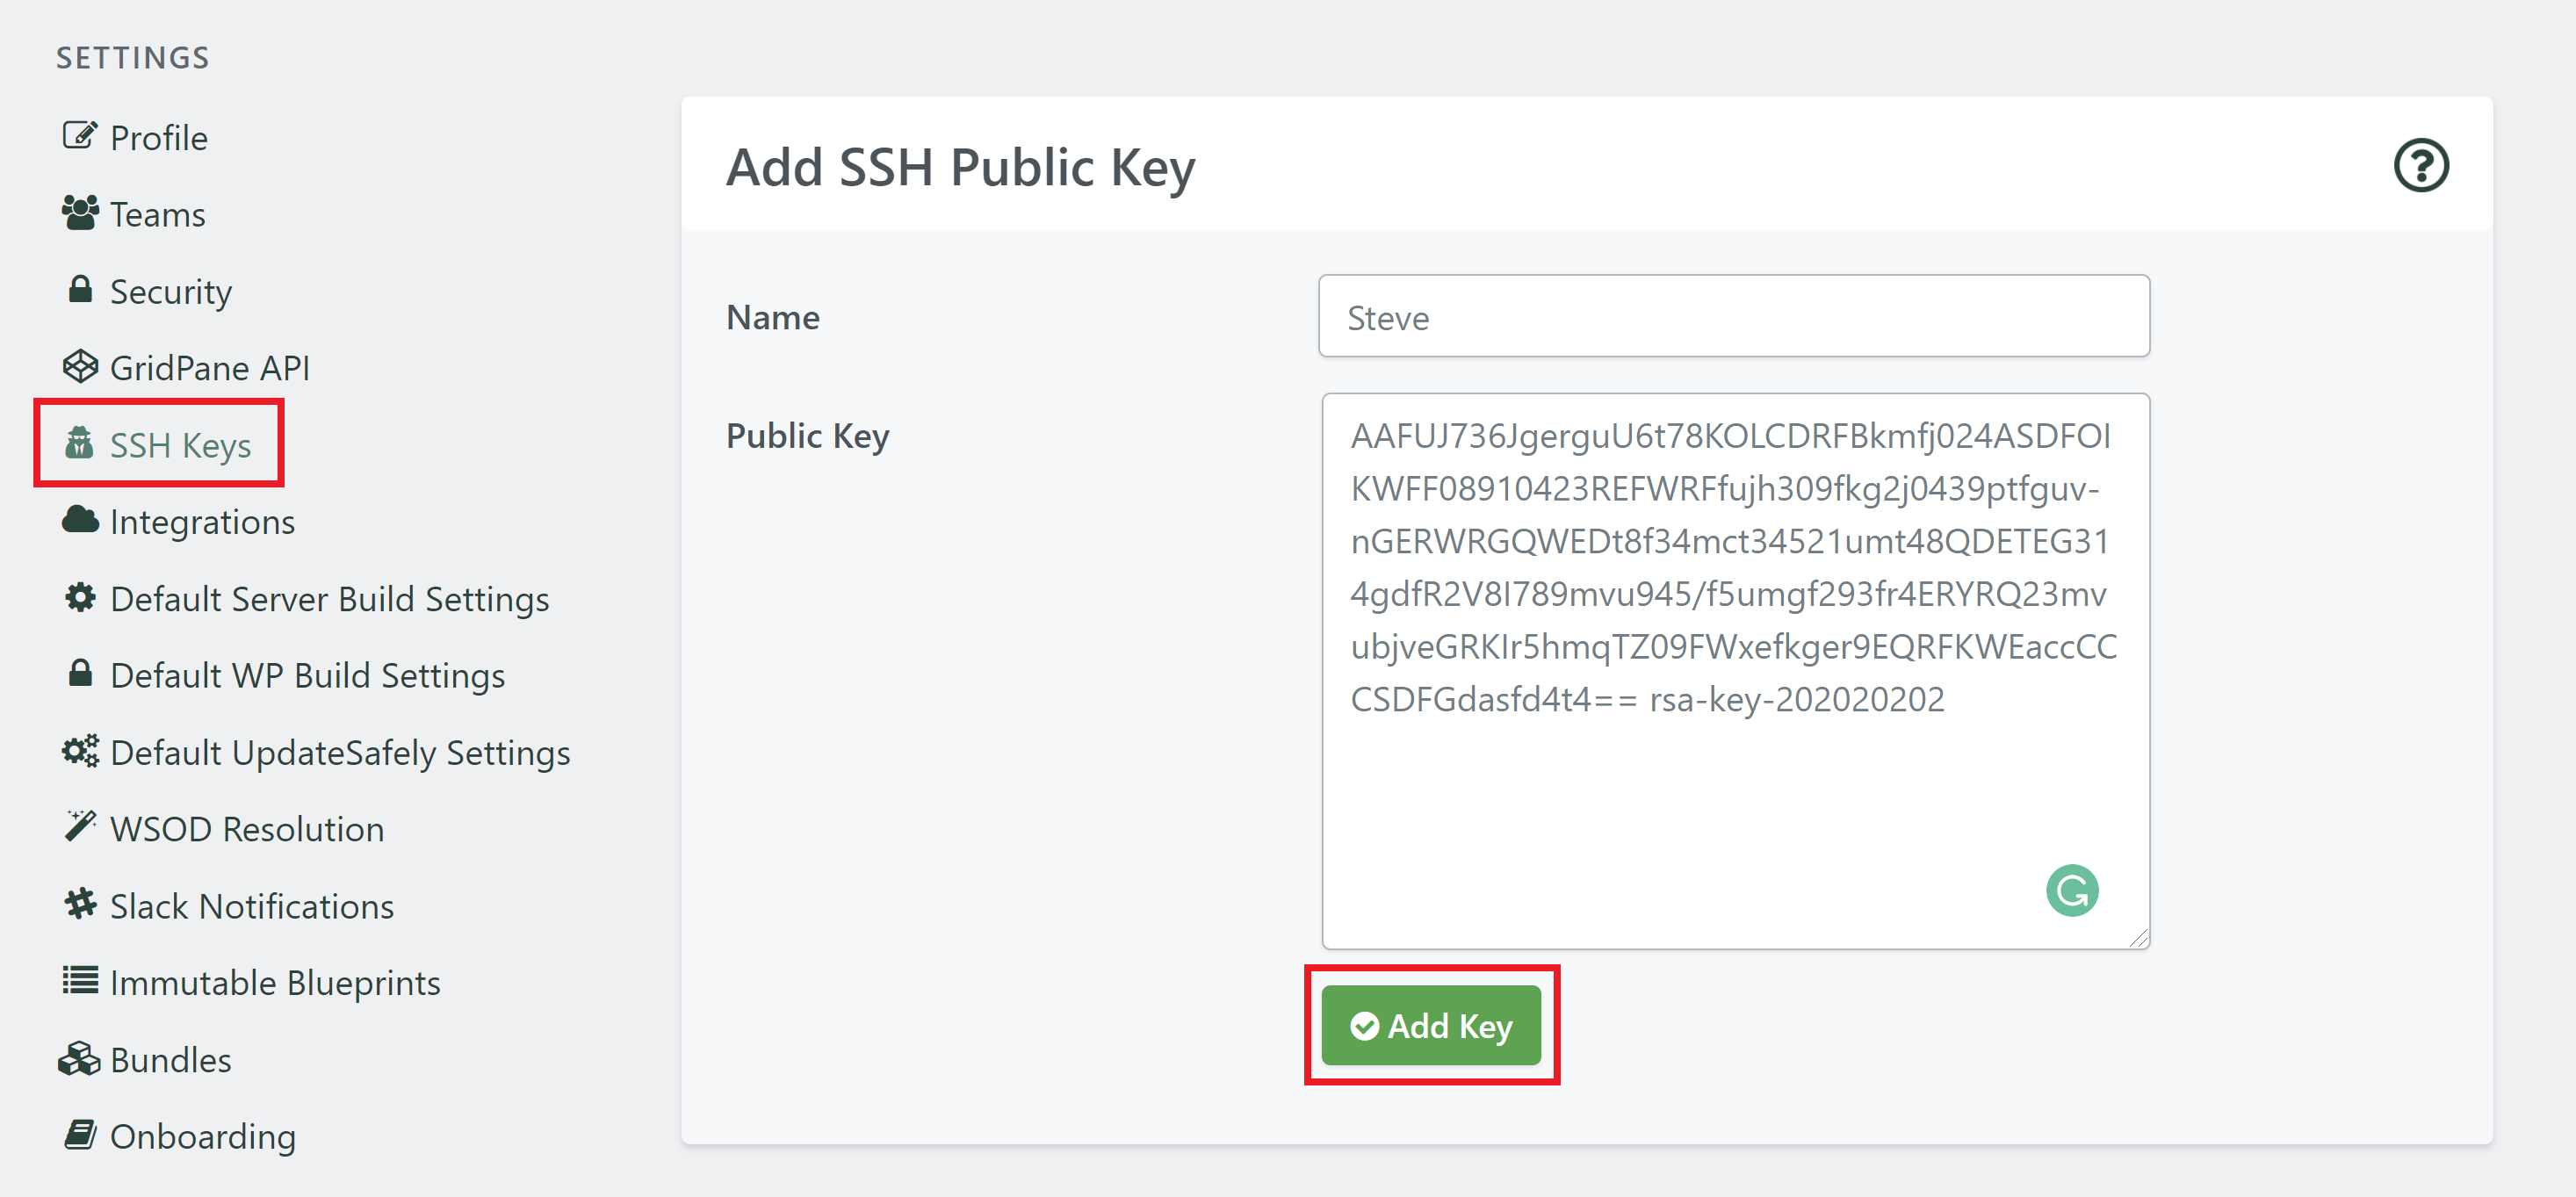
If you do this all correctly, your new key will appear below in the Active SSH Keys list.
Step 7: Push Your Public Key To Your Server
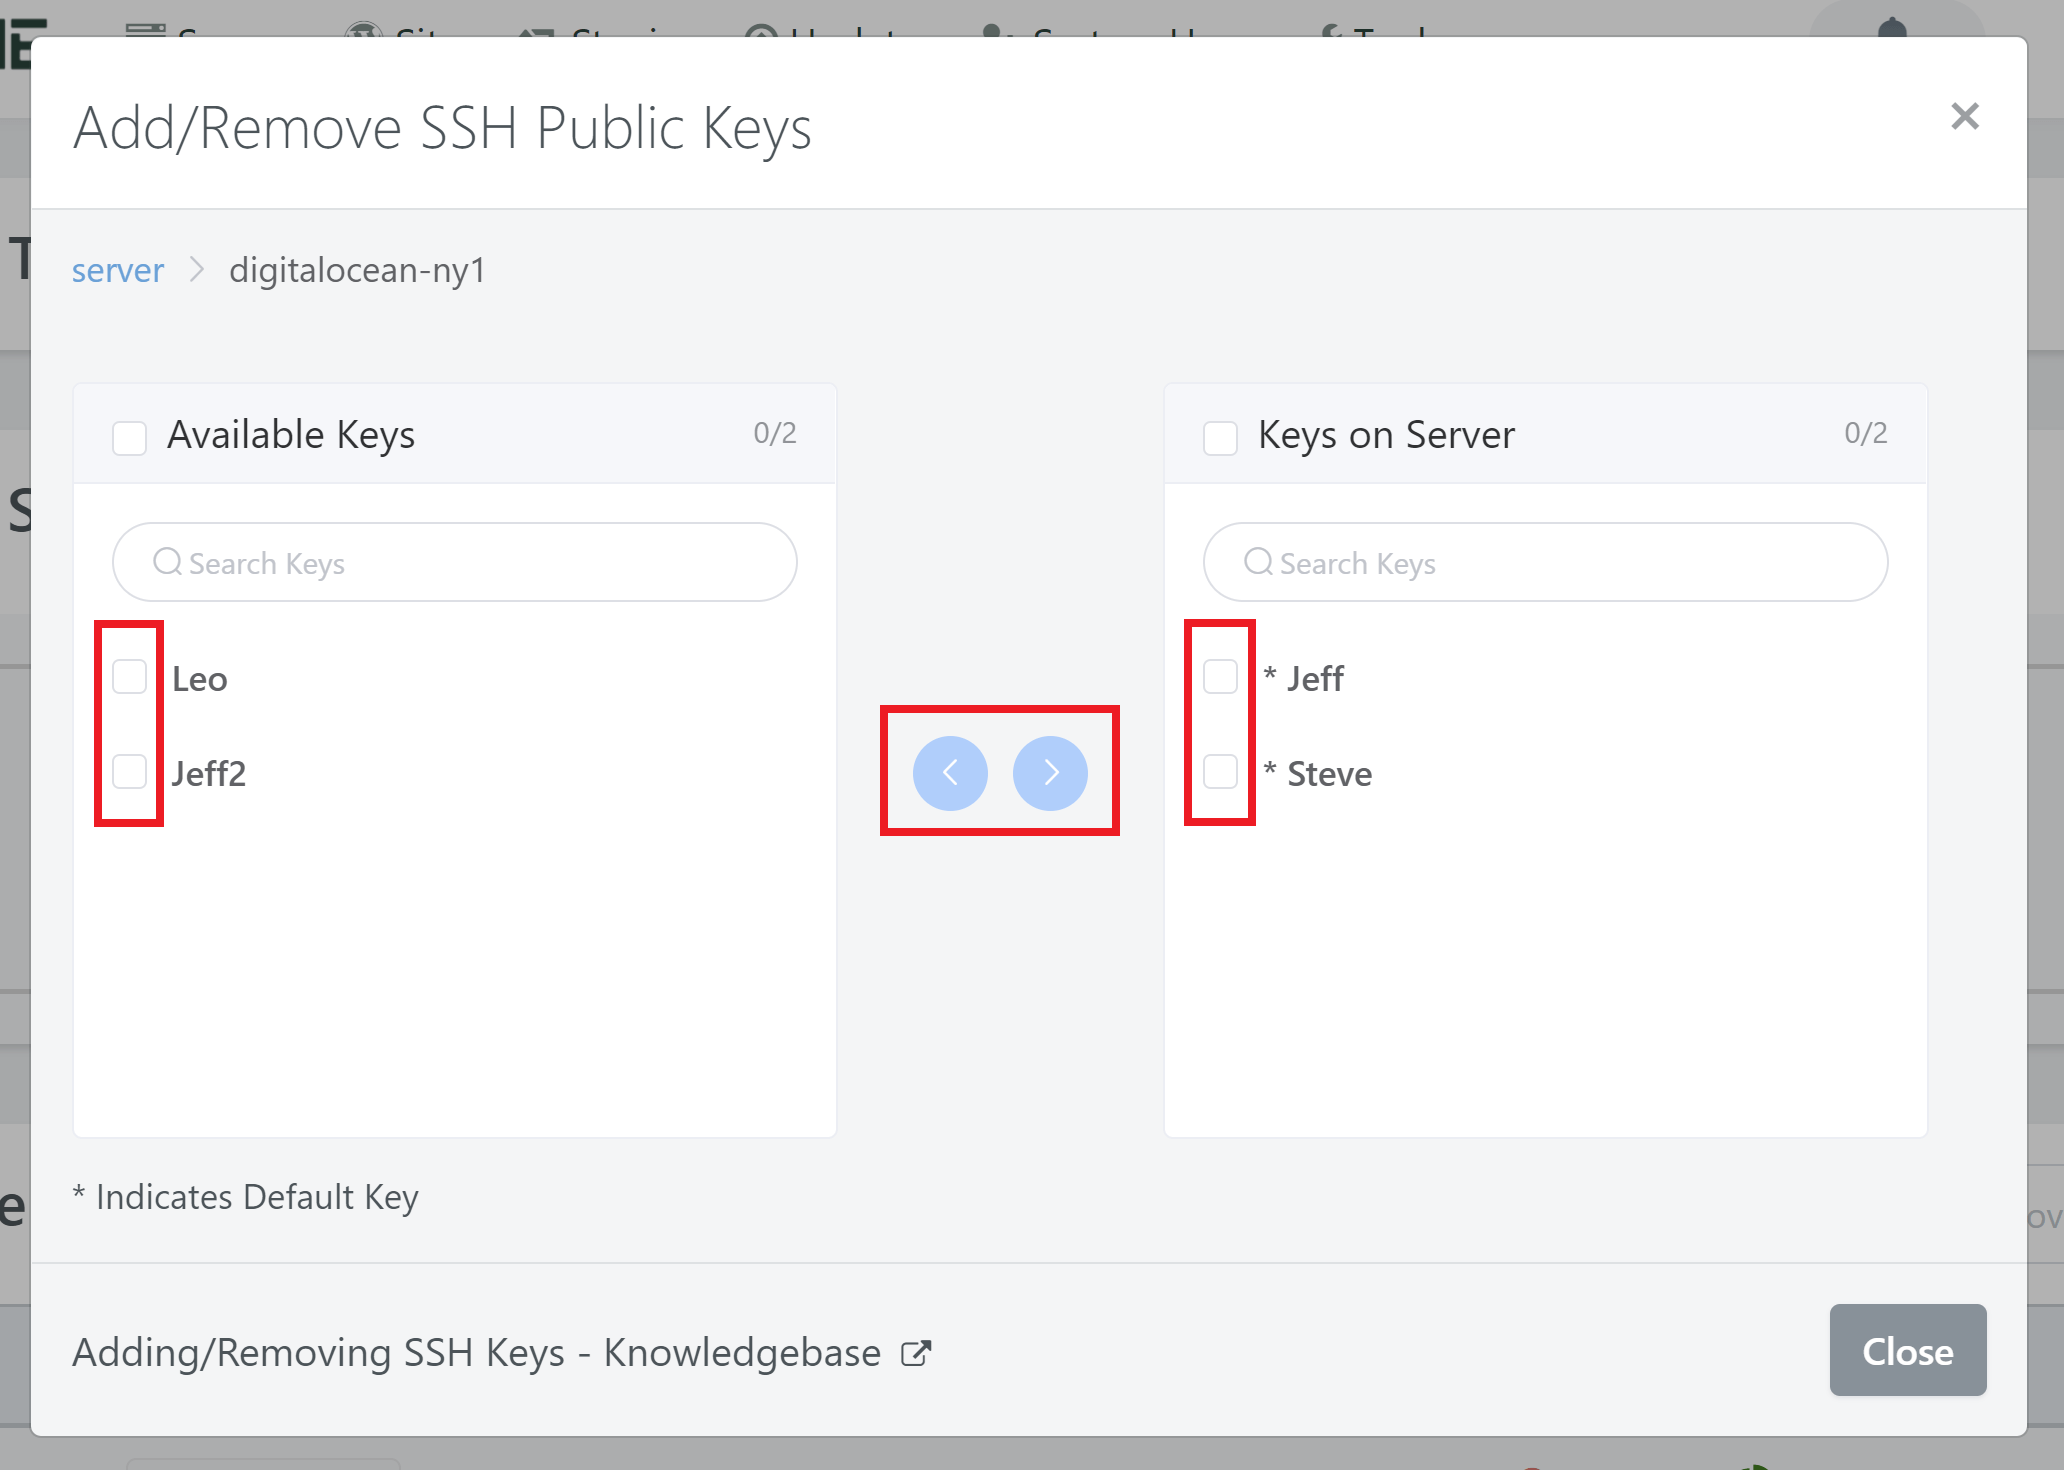
Next, head over to the Servers page inside your GridPane account. Now that you have an SSH key added to your account, a key icon will appear next to each server on the right.
Click the key to open up the Add/Remove SSH Public Keys modal window. This will display your available keys, and here, you can easily remove keys by switching to the Added Keys window and reversing this process.
Step 8: Connect To Your Server
Back in Ubuntu, connect to your server with the following command:
ssh root@ipaddress
For my example, this is
ssh [email protected]
Wait, root? But I did not name my key root! That doesn’t matter. Every key, regardless of name that is added to your GridPane Active SSH Keys is a root key.
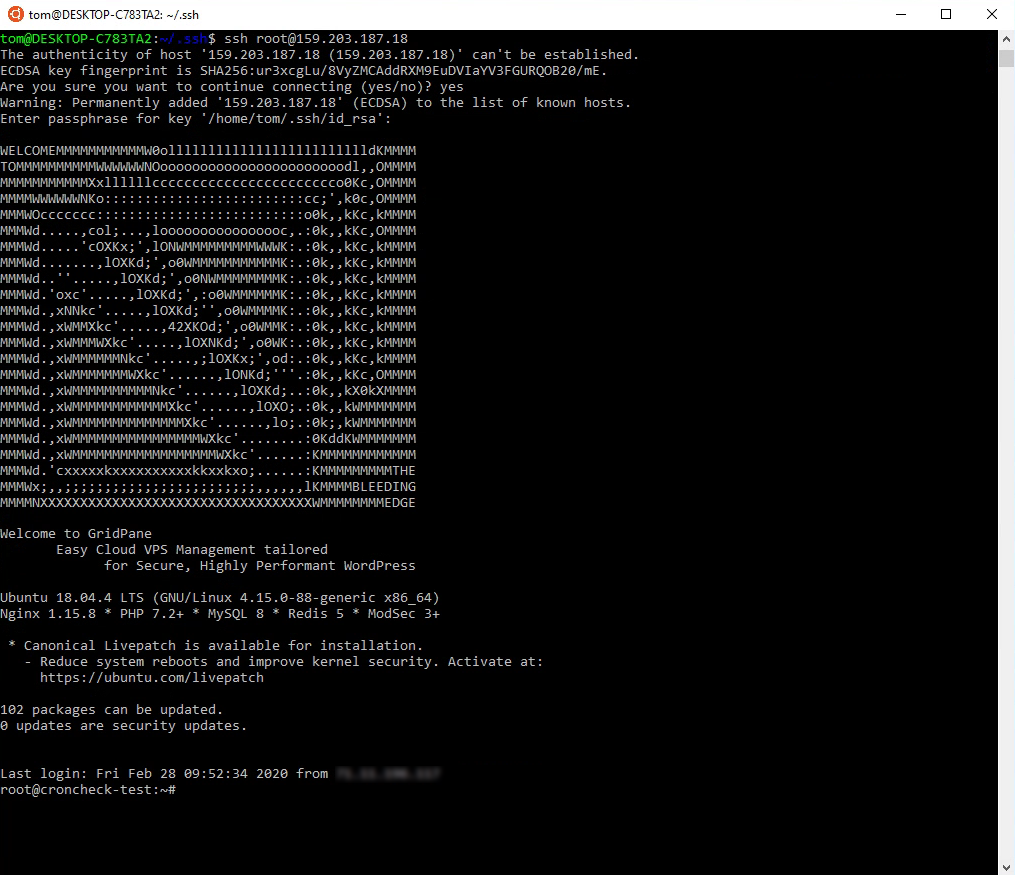
If this is your first time connecting to this server, you will be asked if you want to continue connecting and add this IP address to your list of known hosts. Type yes.
If you have a passphrase associated with your SSH key, you will be asked for it at this time. Type it in and press enter.
If the private key on your machine matches the public key on the server, you will be authenticated and connect to the server.
The whole process looks like this:
That’s it! It may look complicated, but once you have Ubuntu installed, it’s about a five-minute process. If you have trouble with this, reach out to support, and we’ll be happy to help you.