GridPane includes functionality in the Control Panel to manage and configure the domains for your WordPress sites.
The primary domain of the GridPane site is what we think of when we think of the site URL, but it is possible to add unlimited Alias domains and Redirect domains to any site using the domains manager from the site customizer.
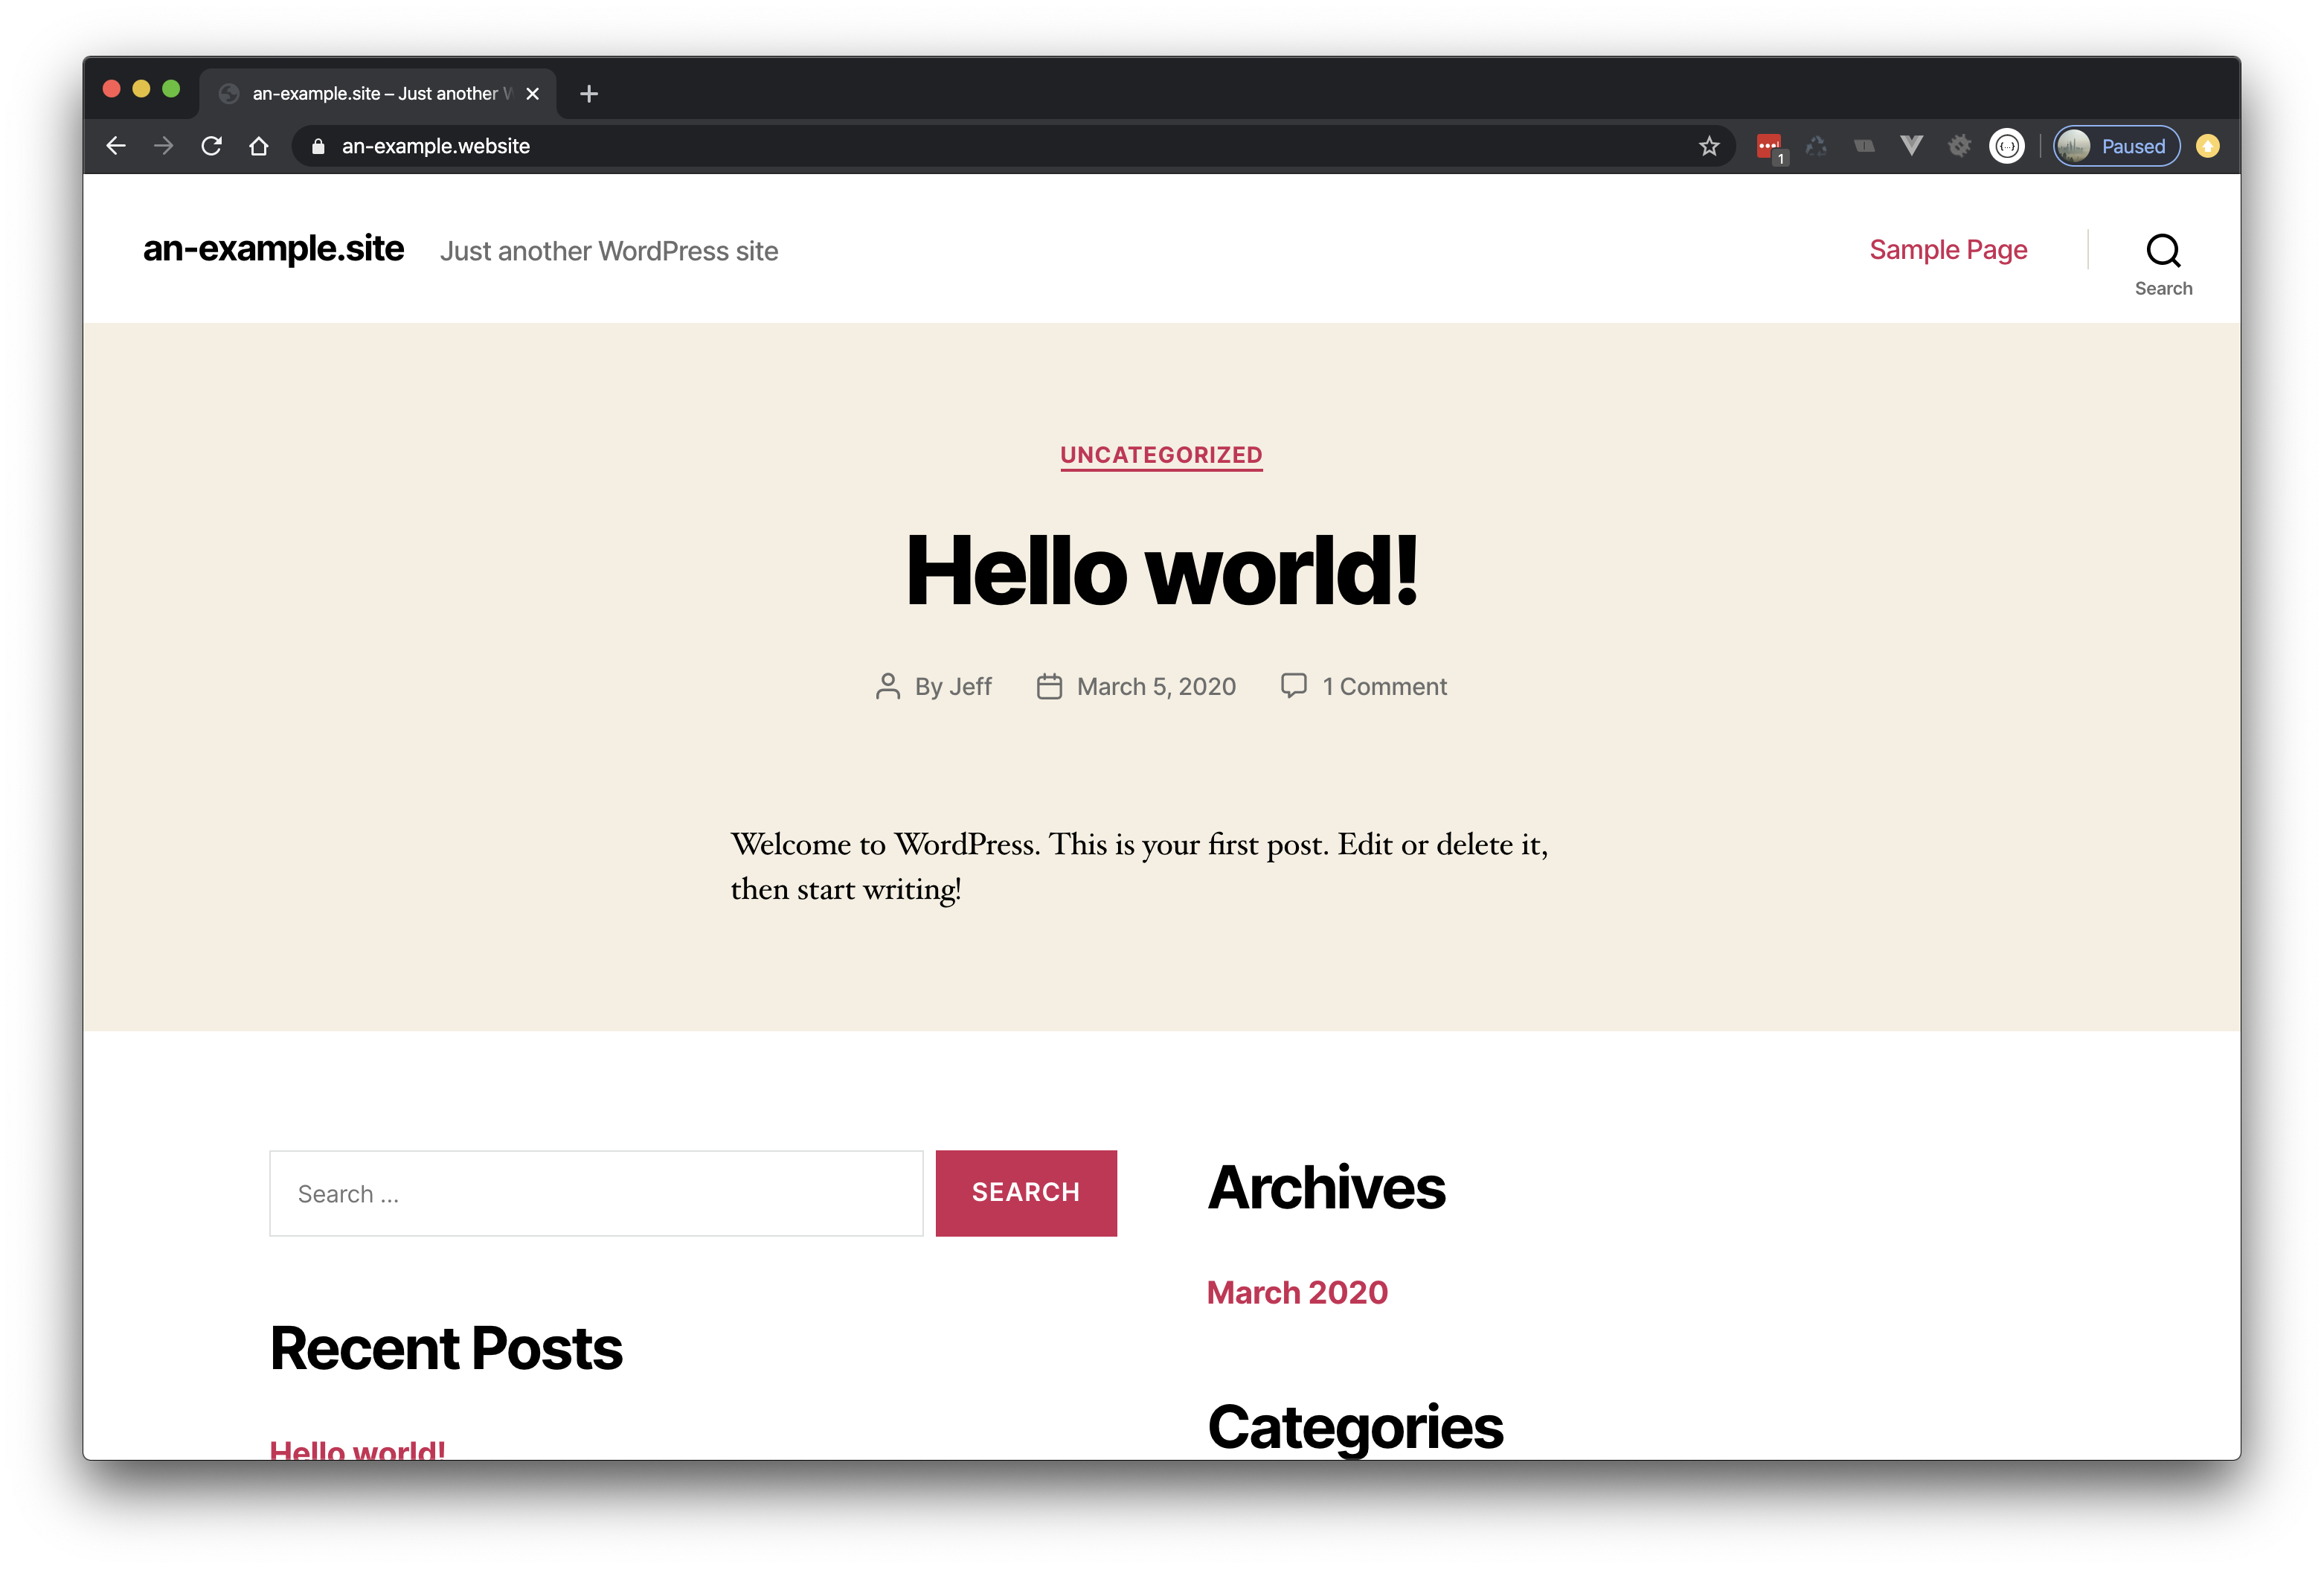
This article will run through the process of adding an additional alias domain to a site with the primary domain of an-example.site.

The alias domain that will be added to the site is an-example.website
Alias domains are most useful for things like mapping subdomains to in a multisite network.
Note: When making changes to site domain configurations you must disable any caching and clear any existing cache.
Step 1. Go to the Sites Section of the GridPane Control Panel
Click on the sites link in the GridPane main menu to go to the Sites management page.

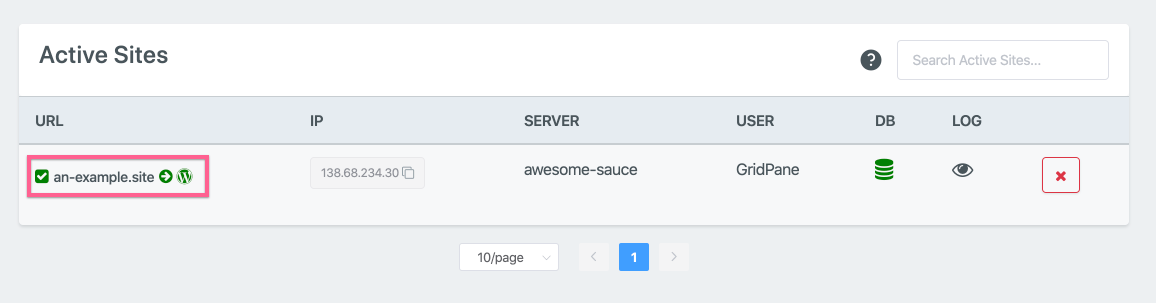
Step 2. Open the Site Customization Panel for your Active site
In the Active Sites panel, click on the domain in the URL column to open the Site Customization pop up box for the site you wish to update.
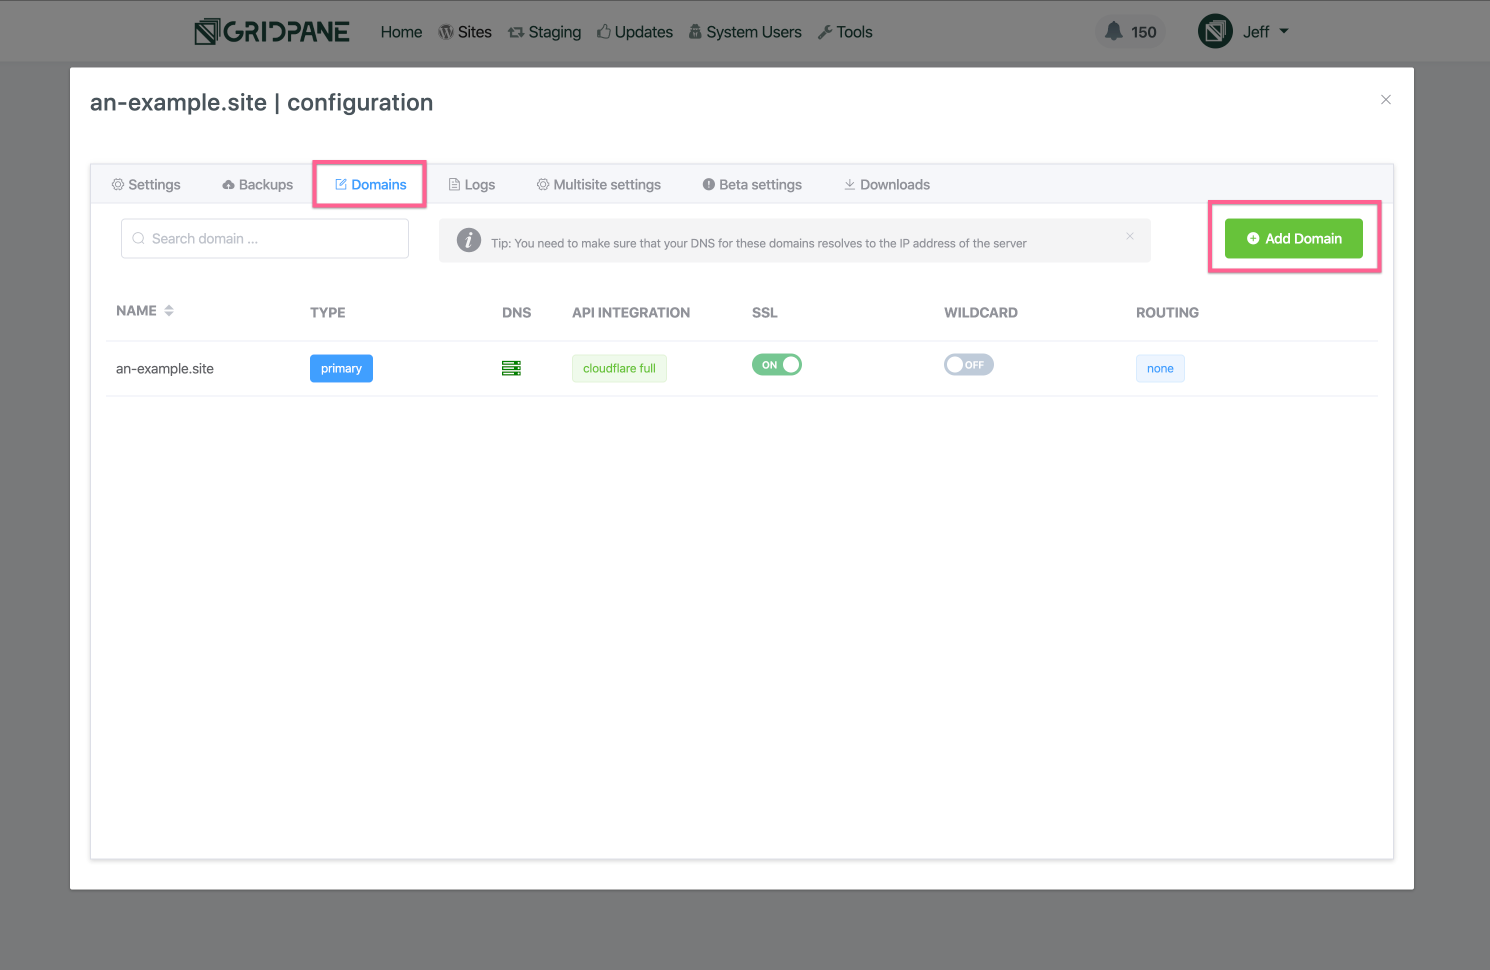
Step 3. Add the Alias domain to the Site
Open the domains manager tab of the site customizer, and click the Add Domain button
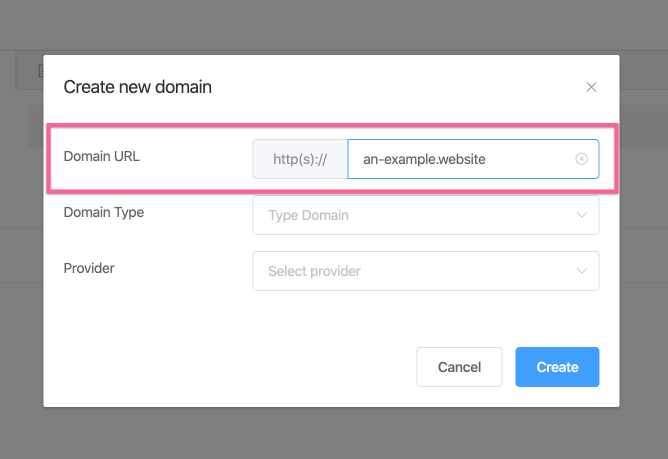
In the Create Domain modal, first enter the domain URL that you wish to add. Do not include the http/s scheme, nor the www host subdomain.
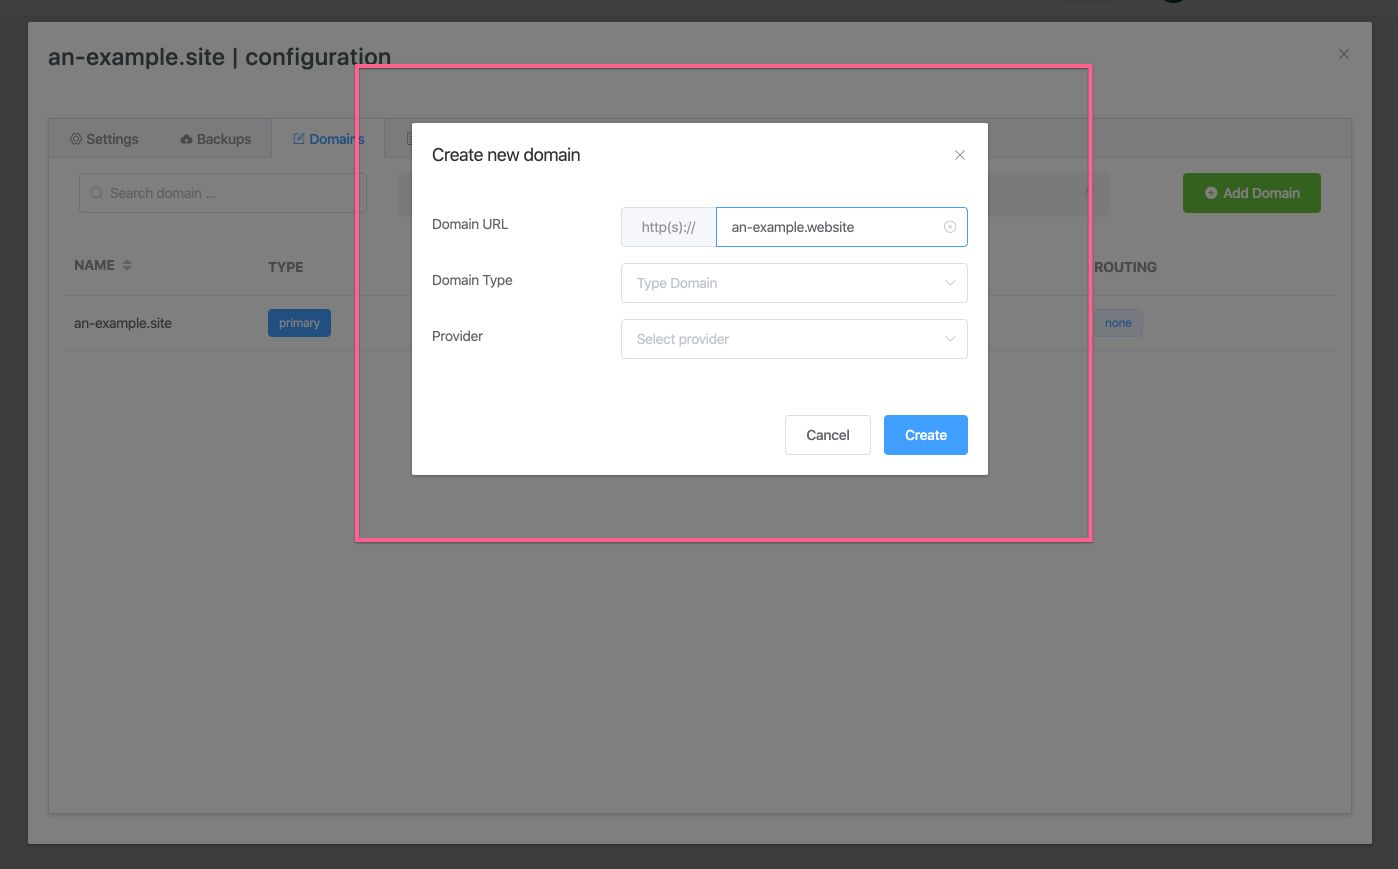
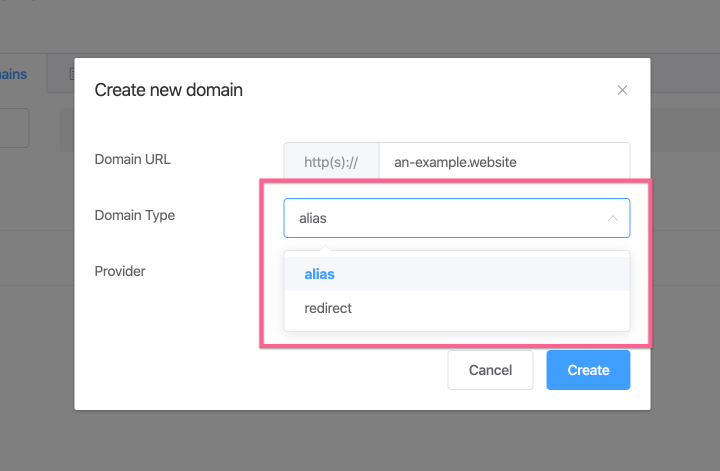
Next, in the Domain Type dropdown selector, choose Alias
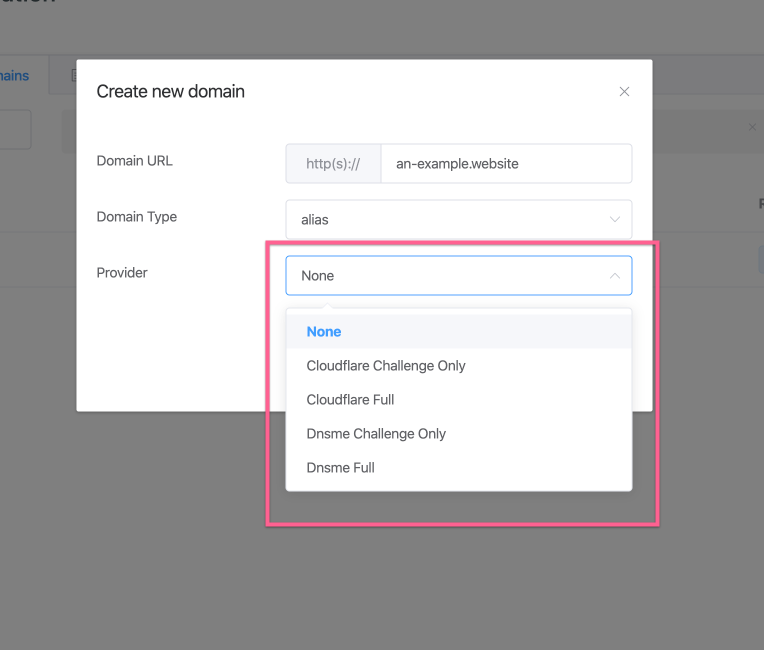
From the Provider dropdown, select the DNS management provider you wish to use, if any, to manage this domains DNS records and/or it’s SSL provisioning.
We currently have full DNS record integrations or and Challenge proxy (SSL only) with Cloudflare and DNSMadeeasy.
If you do not wish to use any, please select none.
Once you are satisfied with your configuration choices click the Create button, or Cancel to begin again.
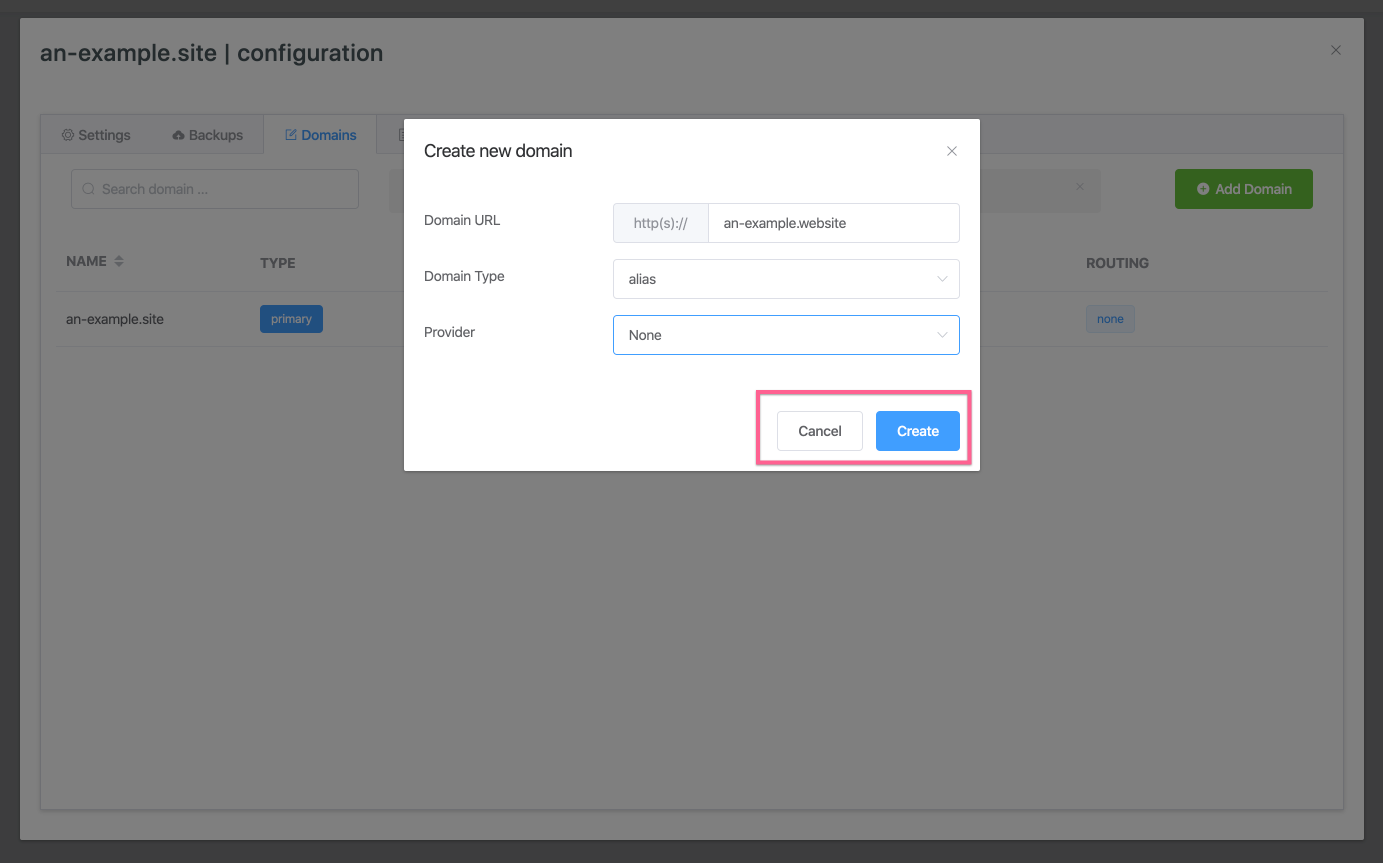
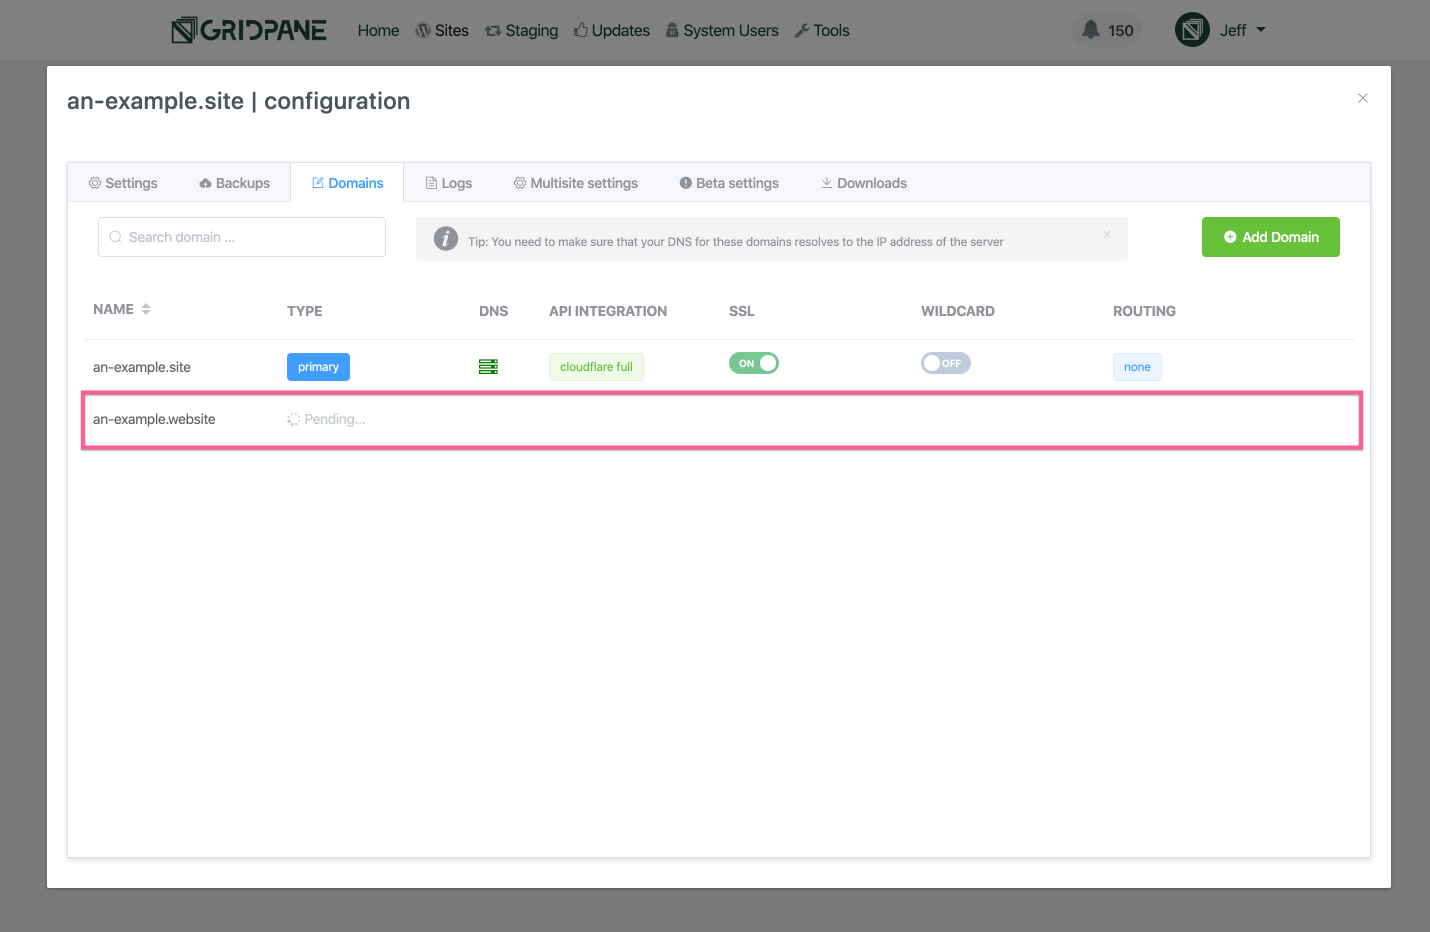
Once you click create button the platform will add the domain to your site and reconfigure nginx, during this process you will see a new row appear in your domains list with the processing pending notification.
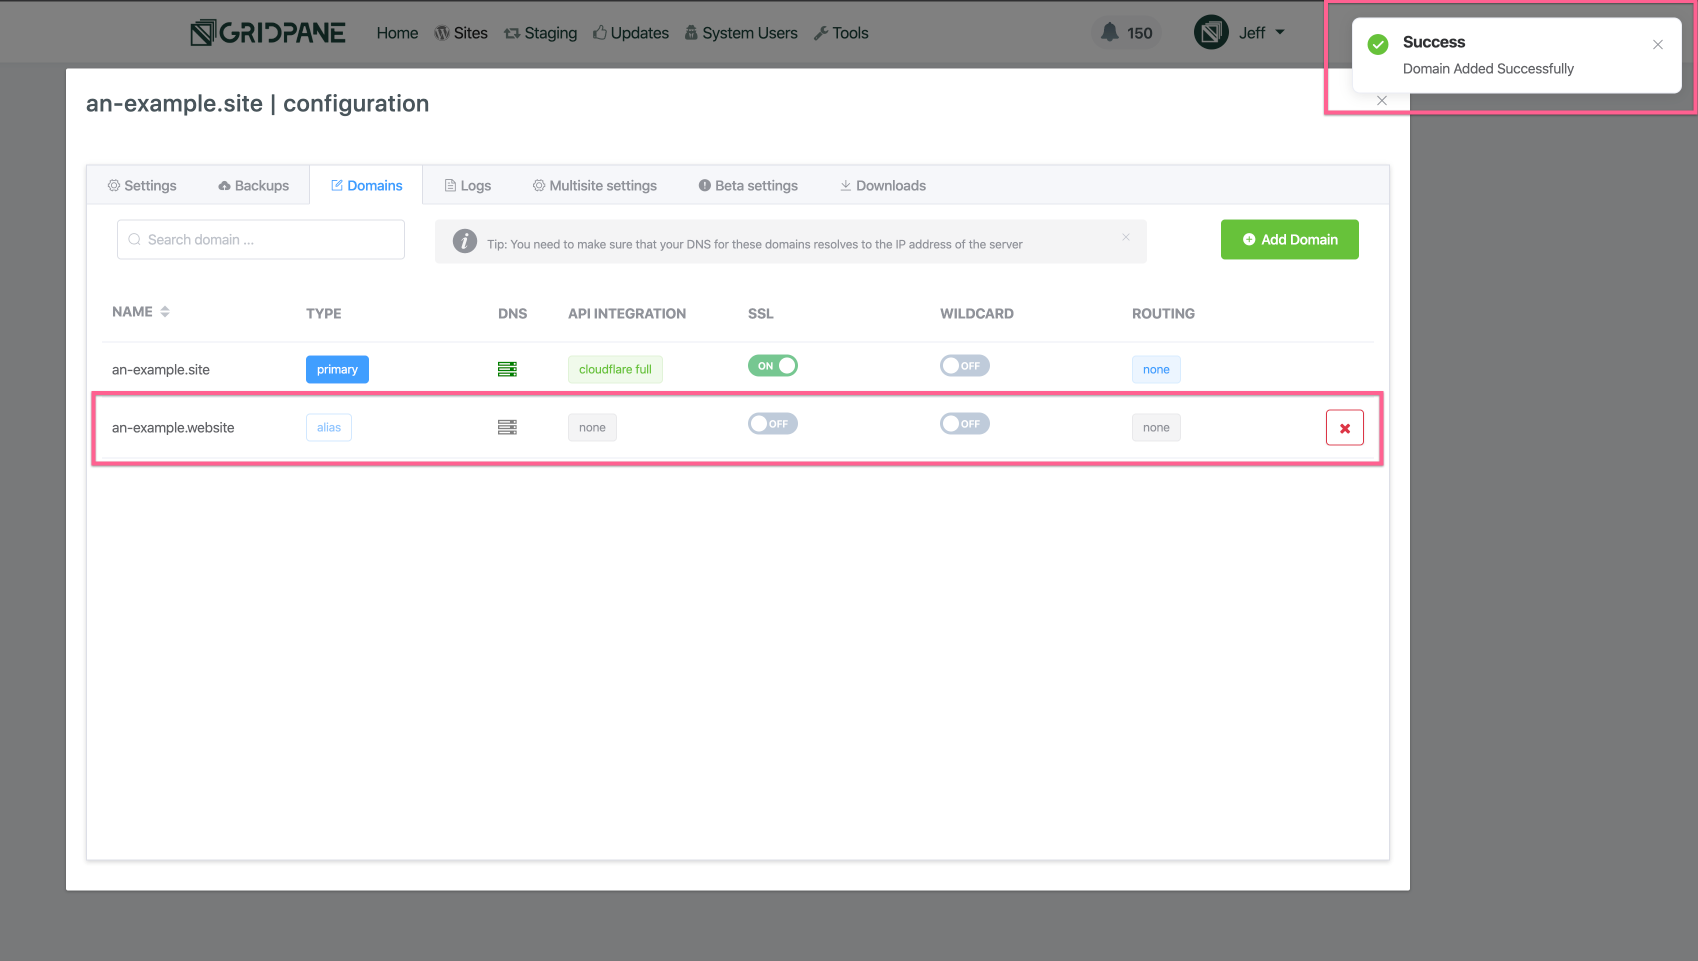
When the domain has been successfully added, you will receive a success notification in the top right of your dashboard and the Alias domain row will populate with the UI elements that allow you to manage it SSL, reconfigure its nginx virtual server to serve as a wildcard domain, change it’s API integration and manage it’s DNS records, as well as to delete the domain from the site/server.
Each of these features will be explained in their own Knowledge base articles.
What about SSLs?
In the case of our example, if you were to visit this domain an-example.website now you would be greeted with a security Not Secure as the site and primary domain have an SSL enabled, but the Alias domain does not yet have an SSL.

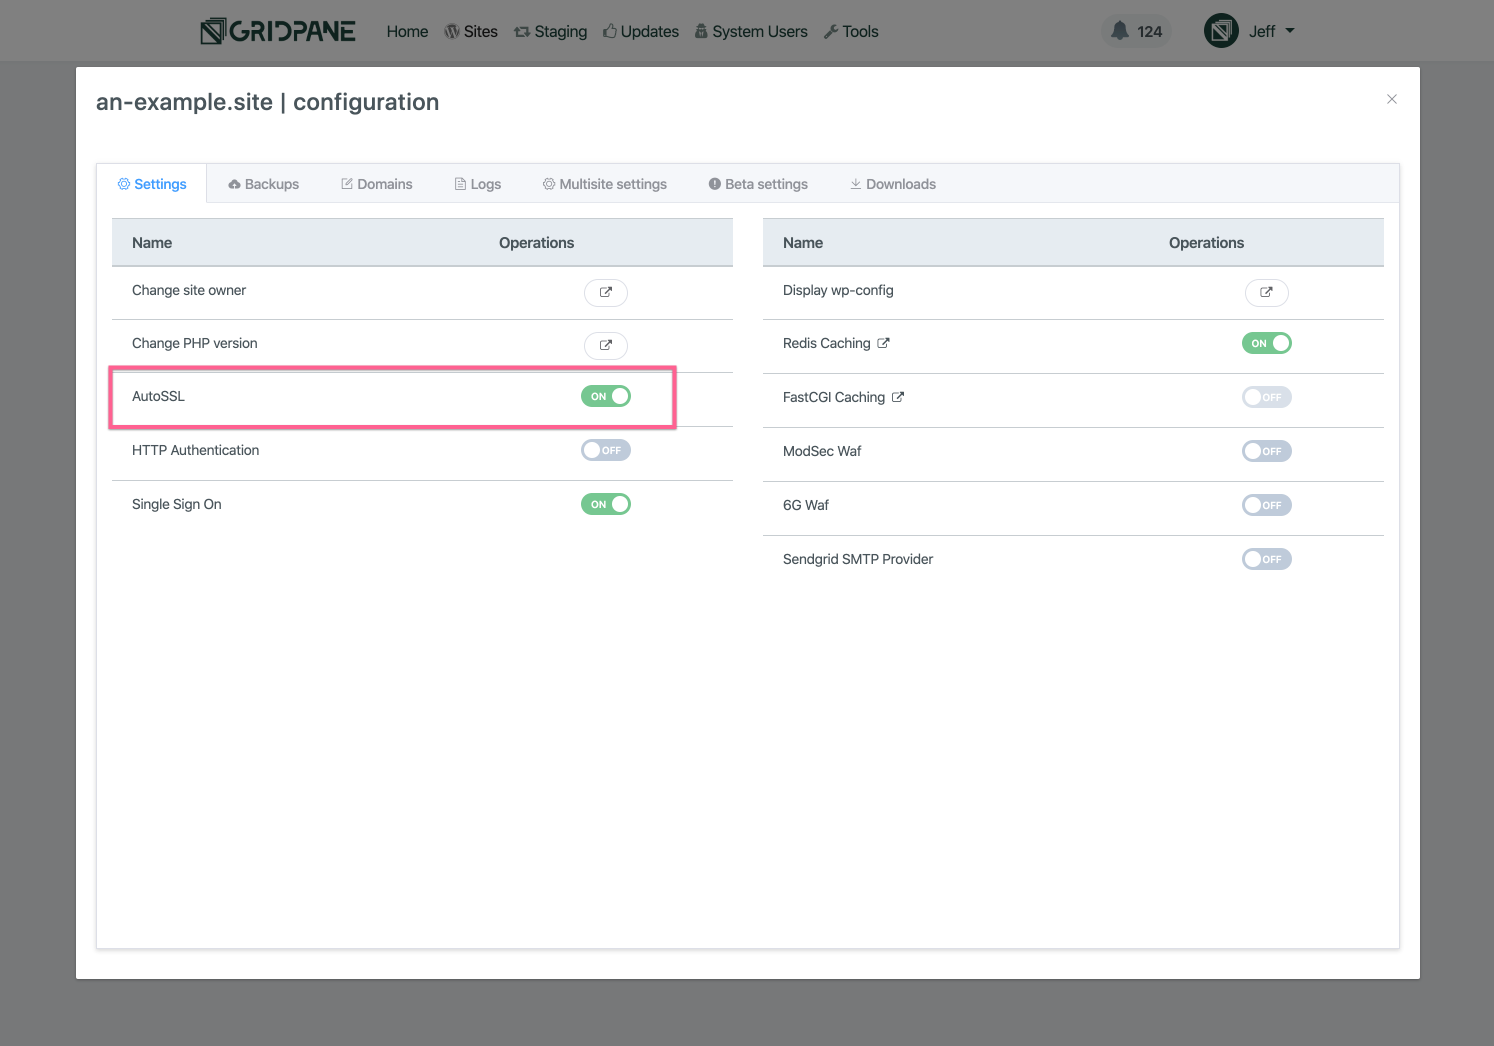
That is easily remedied by enabling an SSL, however if you had AutoSSL enabled when you added the domain then be patient, as soon as the domain has been added the system will begin the process of adding an SSL to the newly added domain.
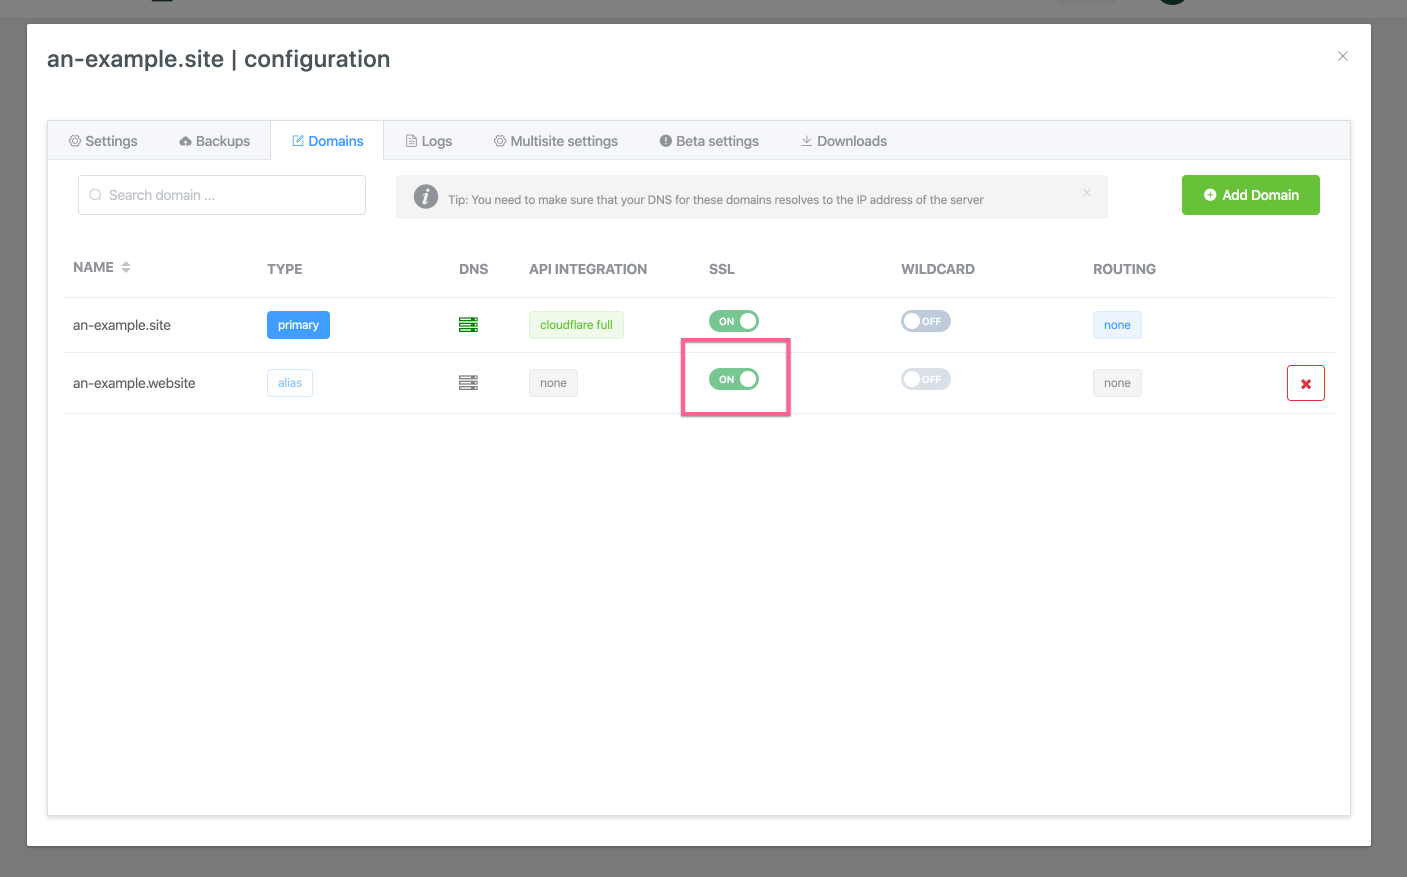
Otherwise, just enable the SSL by following one of our guides (depending on the type of DNS management integration), it’s just a toggle away (and maybe a few clicks).
We highly recommend that you check out our guides on enabling SSL for your domains, and please reach out to support if you have any questions.
- Adding SSL certificates to GridPane Sites – An Overview
- Using GridPane AutoSSL
- Provisioning an SSL for a domains using Webroot Domain Verification
- Provisioning an SSL for a domain using DNS API Domain verification
- Provisioning an SSL for a domain using DNS API Domain verification by Proxy Challenge
- Provisioning a Wildcard SSL for a domain using DNS API Domain verification
- Provisioning a Wildcard SSL for a domain using DNS API Domain verification by Proxy Challenge